Abyssinian Banana Tree Care: Practical Tips for Healthy Growth
I first got my hands on an Abyssinian Banana Tree (Ensete ventricosum) about three years ago, completely mistaking it for a typical banana plant because of those huge, paddle-shaped leaves. I’ll admit—it was a bumpy start. Yellowing leaves, painfully slow growth, and some near-disastrous watering blunders had me wondering if I’d just bought a glorified leafy decoration doomed to fail. Turns out, this plant marches to the beat of its own drum—very different from the Cavendish bananas we’re used to seeing in grocery stores.
So here’s what I wish someone had told me back then: practical, real-world advice that goes way beyond “grow in well-drained soil” and “water regularly.” Those vague tips almost killed my enthusiasm, but learning the right way saved the day—and your Abyssinian Banana can thrive too.
What Exactly Is the Abyssinian Banana? (And Why It’s Not Your Grocery Store Banana)
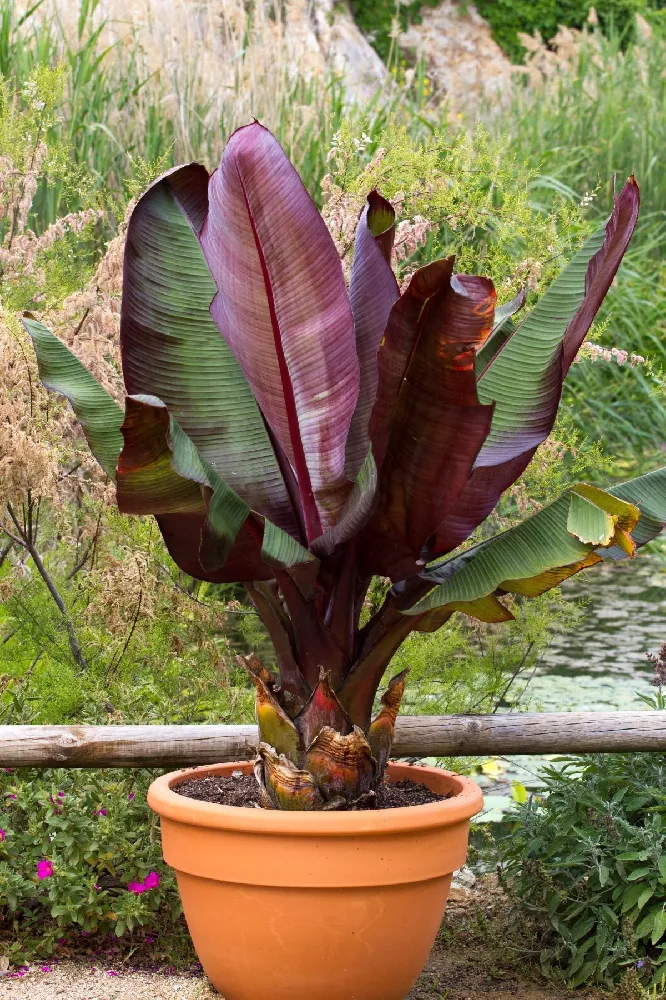
First things first: don’t confuse this with your everyday banana tree. The Abyssinian Banana hails from Ethiopia—formerly called Abyssinia—where it’s grown more for its thick, starchy pseudostem (that’s the tough, trunk-like base) than for fruit. Unlike Cavendish bananas that give you those sweet yellow snacks, this plant rarely fruits at home—and when it does, the bananas are tough and not tasty.
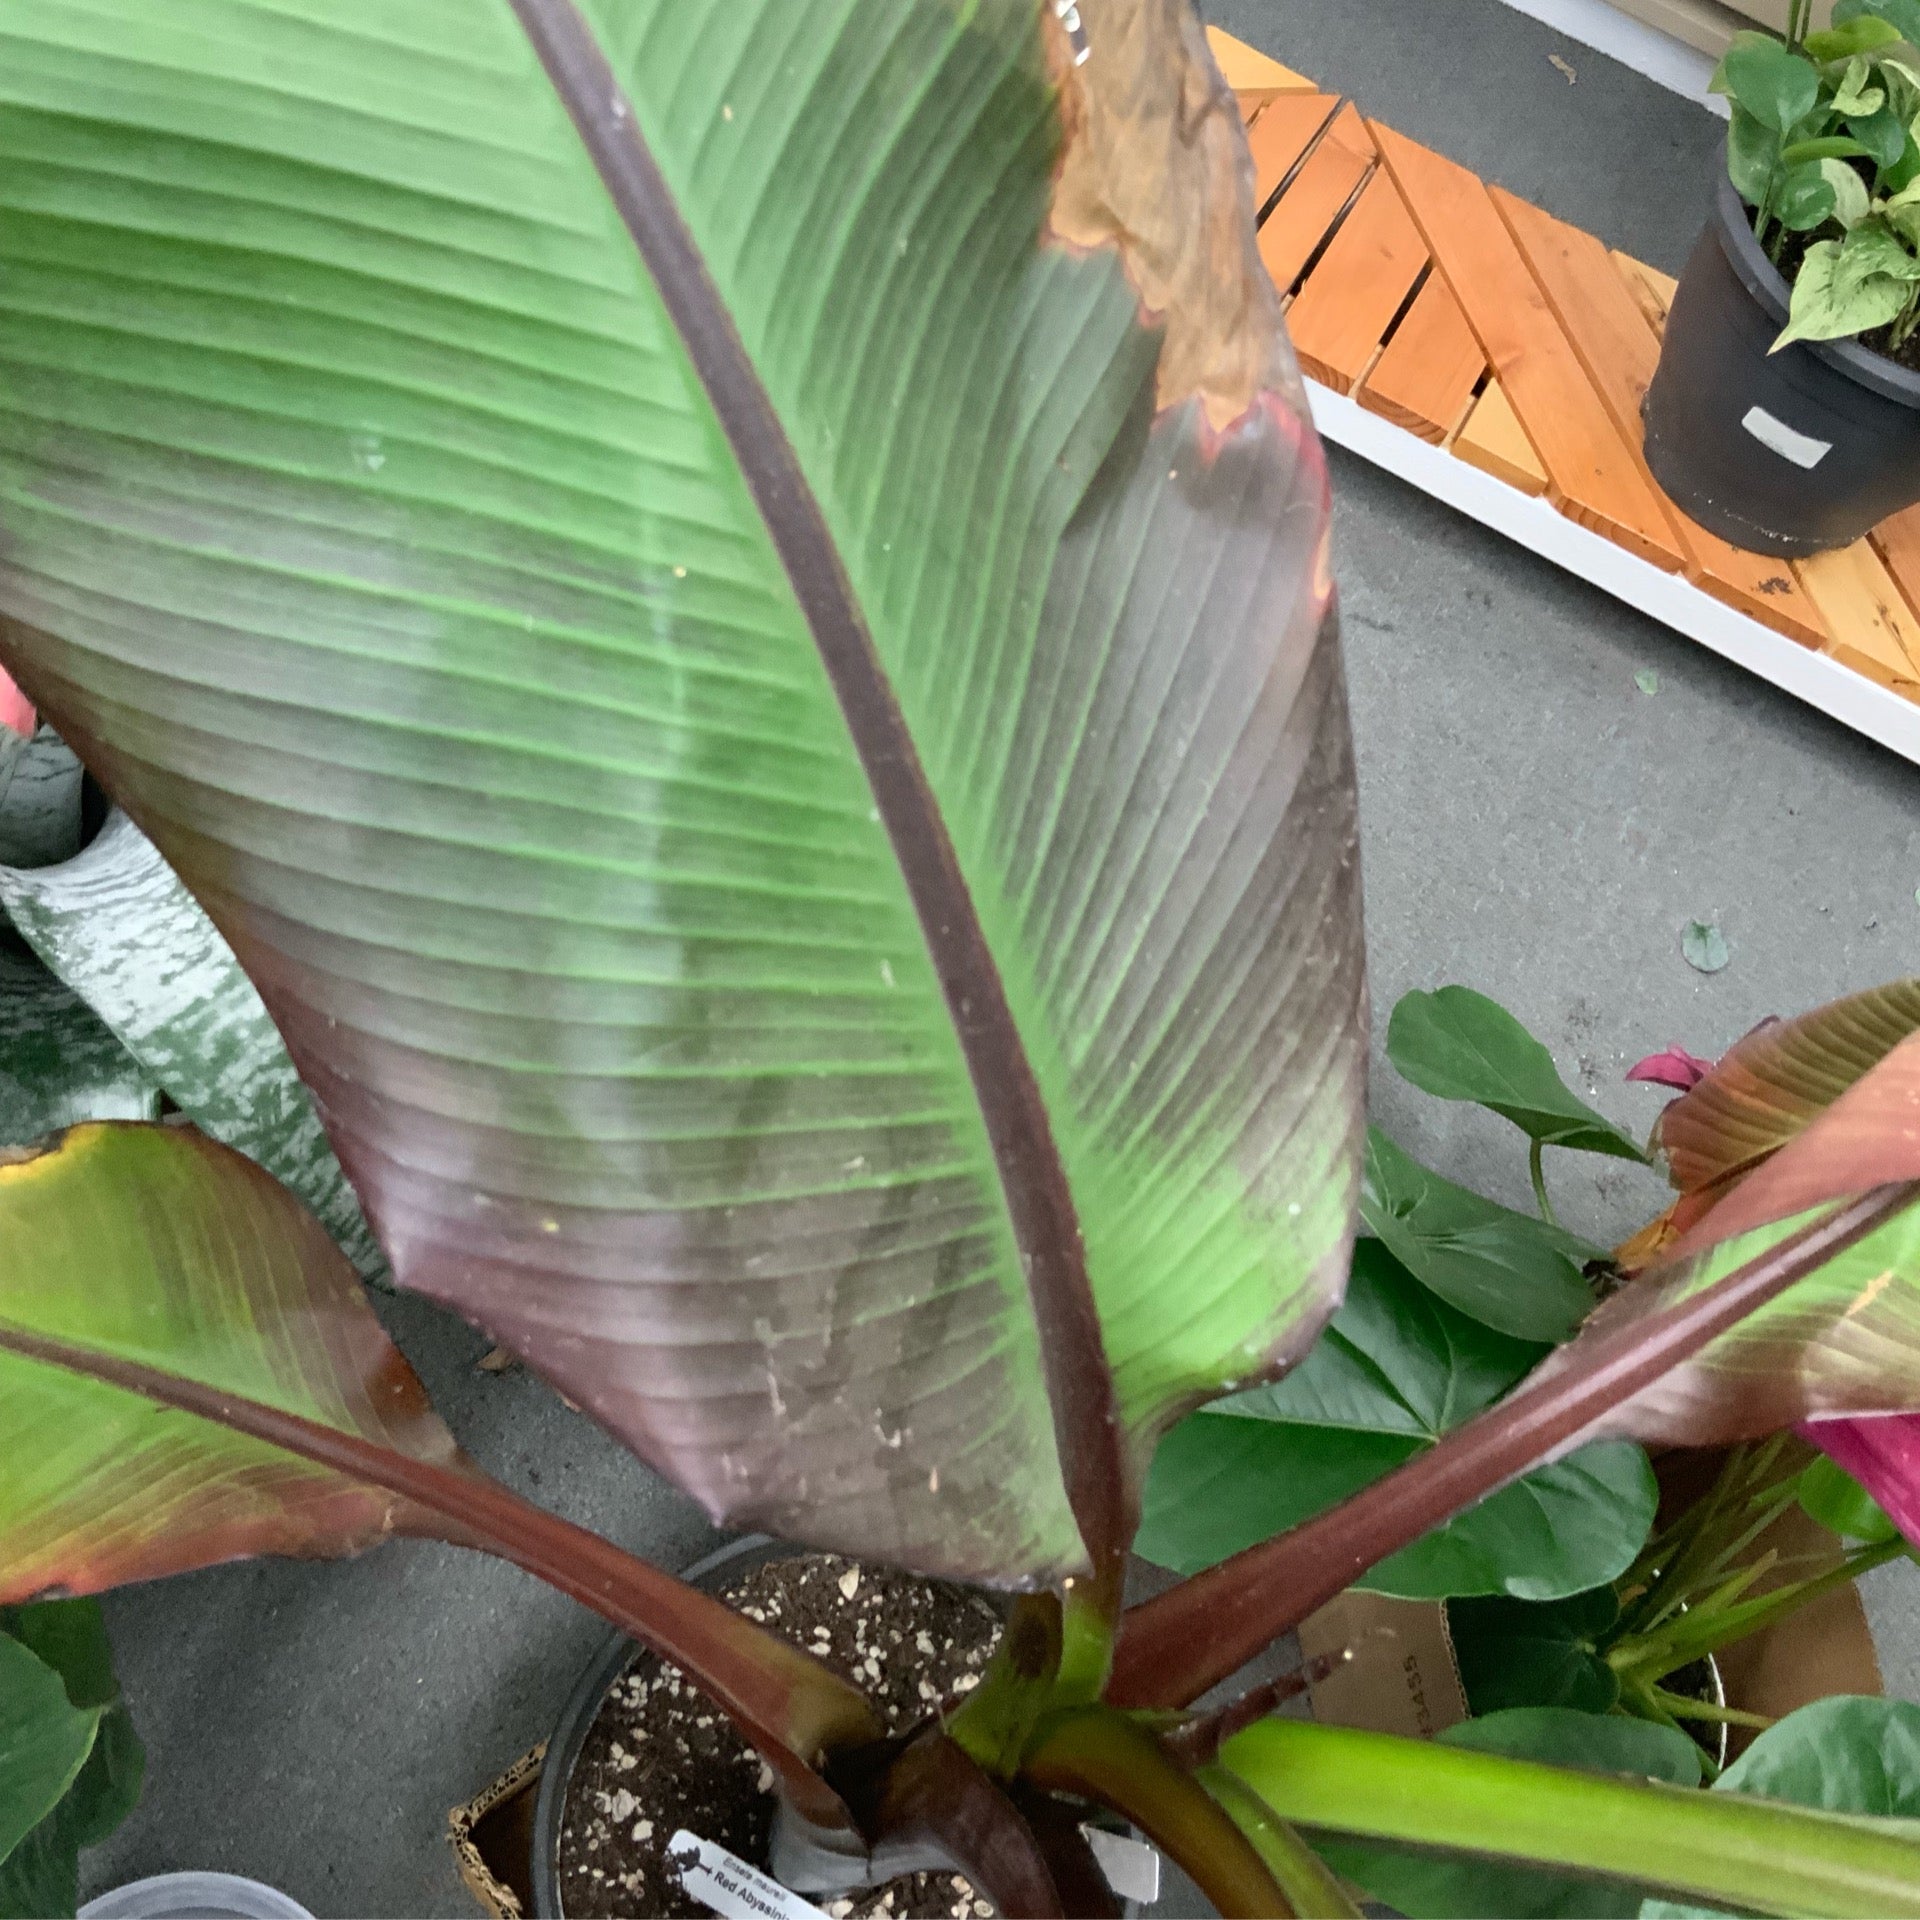
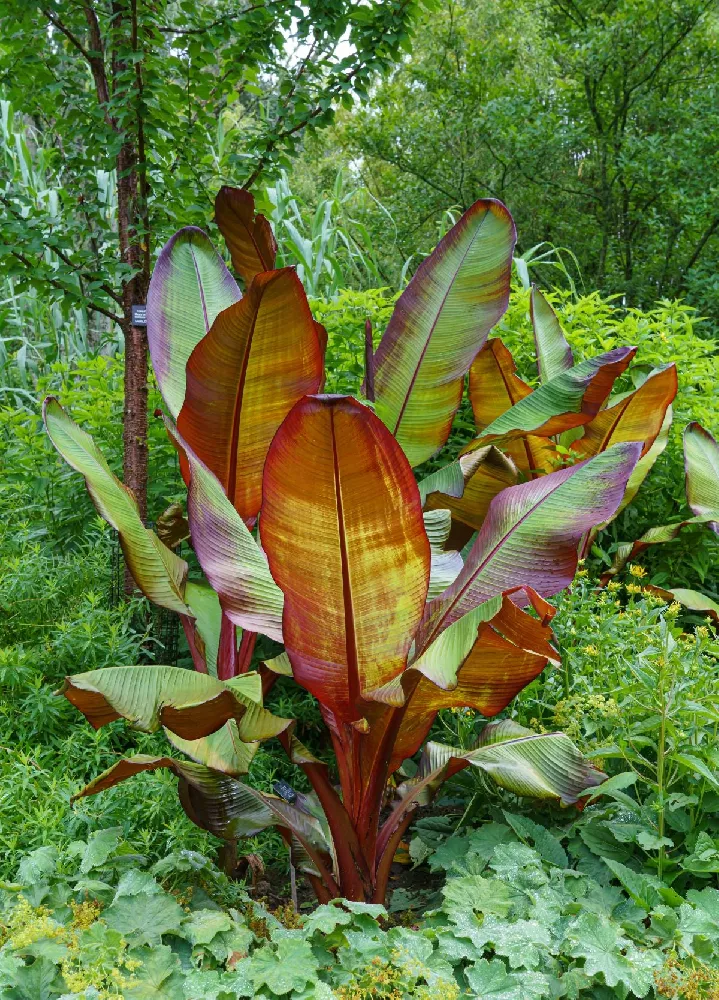
What really makes it stand out is its presence. This giant can reach 15-20 feet tall outdoors (and grow impressively indoors under great conditions), with leaves stretching 3-5 feet long that create a lush tropical canopy effect. It’s one of the few tropical plants I’ve met that looks spectacular in a suburban garden without demanding constant repotting or heavy pruning.
From my experience and observations (plus some reading), Ensete ventricosum thrives best in USDA zones 8 through 11. Outside these zones? You’ll want to grow it in containers and bring it inside or protect it during winter—more on that later.
Soil: The Single Most Important Factor (Trust Me—Don’t Skimp!)
Let me tell you about my first soil disaster. I planted mine straight into heavy clay soil right from my yard. Within two weeks, curling leaves and yellow blotches appeared like clockwork. My first instinct? Water more and feed more fertilizer. Big mistake—that just made things worse.
The game changer came when I repotted it into a custom mix I concocted myself: roughly 50% high-quality coconut coir (great for holding moisture without sogginess), 30% rich organic compost for nutrients, and 20% sharp sand to improve drainage. Within three weeks, new leaves looked vibrant green again and growth picked up noticeably.
If you’re potting yours, here’s a must-do: pick containers with multiple drainage holes—4 to 6 depending on size—to avoid waterlogging roots. If planting in the ground without amending soil heavily, root rot will likely sneak up on you because these plants want moist but never soggy roots.
Quick tip: Test your soil drainage by digging a 12-inch hole and filling it with water. If it takes more than two hours to drain fully? Time to amend!
Watering: Finding That "Just Right" Balance
Everyone says “water regularly,” but what does that even mean for an Abyssinian Banana? From running an office garden where this plant was the star centerpiece (yes, people notice!), I quickly learned watering was tricky business.
At first, twice-weekly watering in summer seemed logical—but half the leaves dropped due to root rot symptoms within weeks.
Switching gears, I started using a simple digital moisture meter (I recommend the XLUX T10—it’s affordable and reliable). Keeping the top 2 inches of soil consistently moist but not saturated turned out to be gold.
Here’s what worked best for me:
- Summer: Water every 4–5 days if there’s no rain.
- Winter: Cut back drastically—maybe once every 10–14 days indoors.
- Always avoid watering directly on the crown or leaves; wet foliage invites fungal problems.
Fertilizing is another balancing act. After seeing floppy leaves from too much nitrogen early on, I switched from biweekly feeding to monthly applications of Osmocote Plus slow-release pellets (15-9-12 NPK). This slower release kept leaf growth steady without making them limp or weak.
Cold Protection: Don’t Make My $120 Mistake
Here’s a costly lesson learned during an unexpected cold snap last April. According to USDA maps, zone 9a should have been safe for my plant—but overnight temps dipped below 45°F (7°C). I wrapped the stems snugly with fleece blankets but forgot about insulating the roots.
By morning? Most leaves were brown and wilted; dark streaks marred the pseudostem—a clear sign of tissue damage. Replacing that plant cost me $120 at my local nursery—not fun!
If you live anywhere near those borderline zones:
- When temps drop below 50°F (10°C), wrap stems and pile at least a 3-inch layer of organic mulch around roots.
- For potted plants, bring them indoors at least 48 hours before cold hits.
- If they stay indoors but away from windows or direct heat sources, use portable electric heaters or heat mats during extended cold spells.
Timing is critical because damage can show up within hours once temperature thresholds are crossed.
Pests & Diseases: Catch Problems Early Before They Get Out of Hand
I made a rookie mistake by ignoring tiny spider mites until they became visible webs all over my plant’s undersides—ugh! Now I check weekly under bright natural light or grow lights so early signs don’t catch me off guard.
Tiny speckles or faint webbing usually mean spider mites; aphids and mealybugs sometimes show up too—but ladybugs as natural predators have been lifesavers without resorting to harsh chemicals that might stress this tropical giant further.
Root rot is still the most common disease enemy—usually linked to overwatering combined with poor air circulation around base stems. Quick fixes include pruning yellowed or spotted foliage promptly and spacing plants at least three feet apart when growing multiple specimens outdoors for better airflow.
Propagation: Skip Seeds Unless You Have Superhuman Patience
Out of curiosity once, I tried sowing seeds—it took over a year just to see seedlings emerge! Plus they were incredibly fragile early on—not beginner-friendly at all.
Division of suckers is hands-down your fastest and most reliable bet:
- Wait until suckers develop roots about six inches long.
- Carefully separate them with a sharp spade or knife—don’t just rip them off!
- Pot suckers immediately in rich soil mix—the same as mature plants.
- Keep them shaded and mist watered twice daily until new growth appears (usually takes 3–4 weeks).
I learned this the hard way; dividing suckers without roots led only to dead starts.
Final Thoughts: Growing an Abyssinian Banana Is Worth Every Challenge
If you’re starting your Abyssinian Banana journey today—or feeling like giving up after some setbacks—I get it! This plant demands patience and respect but rewards you with jaw-dropping architecture and lush tropical vibes unlike any other backyard addition.
Remember this golden rule above all else: invest heavily in creating perfect soil conditions and protecting against cold before piling on fertilizer or fussing over minor leaf spots. Treat this plant like the architectural marvel it is—not just another banana—and it will thrive beautifully.
Quick Action Plan To Get You Started:
- Test your soil drainage now with that simple water test.
- Grab an affordable digital moisture meter like XLUX T10 for accurate watering.
- Use slow-release balanced fertilizer pellets such as Osmocote Plus 15-9-12 monthly.
- Prepare frost cloths/burlap and stockpile organic mulches before cold snaps hit.
- Schedule weekly pest inspections under natural light.
- Identify healthy suckers each spring ready for propagation by division.
Growing an Abyssinian Banana isn’t always straightforward—I’ve had moments where I wondered if all this fuss was worth it—but watching those massive green leaves unfurl into something majestic makes every hiccup worthwhile. You’ll notice little quirks along the way too; like how new leaves sometimes unfurl so fast they make you blink twice!
Stick with it—you’re not alone in this adventure—and soon enough your garden will have that wow factor everyone talks about when they see one of these tropical giants standing proud.
If persistent problems linger despite your best efforts, don’t hesitate to consult local nursery experts or extension services—they can offer tailored advice based on your specific climate and conditions.
Happy growing! And remember—every gardener has their stories of nearly losing their favorite plants before mastering their care tricks. Your Abyssinian Banana will thank you for sticking around.
Glossary:
Pseudostem: The thick “trunk” formed by tightly packed leaf bases—not a true woody stem like trees have
NPK ratios: Nutrient balance of Nitrogen (N), Phosphorus (P), Potassium (K) in fertilizers
Feel free to ask if any other questions pop up—I’m always excited to share what I’ve learned!


