Aesthetic Terrariums Made Easy: Your Go-To Guide for Stylish Greens

If you’ve never touched dirt except to pull a weed or two, but you want something alive and beautiful that won’t make you feel like a full-time gardener, aesthetic terrariums are your perfect starting point. They’re tiny, self-contained gardens inside glass containers—miniature worlds you build and maintain, blending art and nature in a simple but satisfying way. This isn’t fluff or complicated horticulture; it’s practical, doable, and with the right info, anyone can become confident fast.

What Exactly Is an Aesthetic Terrarium?
At its core: a terrarium is a small garden in a glass container. “Aesthetic” means it looks good—not just plants squished together willy-nilly, but thoughtfully arranged with style. Think clear containers showcasing layers of rock, soil, plant life, maybe some stones or mini figurines for personality.
The magic happens when form meets function:
- A clear glass vessel lets light in and shows off your creation.
- Layers underneath keep plants healthy by managing water.
- Plant choices match the environment inside that container (humidity levels vary depending on whether it’s open or closed).
- Careful watering and light balance keep everything thriving without turning into a soggy mess.
I’ll break down how to build these from scratch later on—but first let’s get fundamentals straight so you don’t waste time guessing.
Fundamentals: The Backbone of Getting It Right
Most beginners think terrariums are just about dumping soil and plants into a jar. That’s where failure creeps in quietly. Here’s what really matters:
1. Container Choice — More Than Just Pretty Glass
Beginners should start with open containers about 6–8 inches wide—a simple bowl or jar works fine here. Open tops reduce mold risk and give airflow.
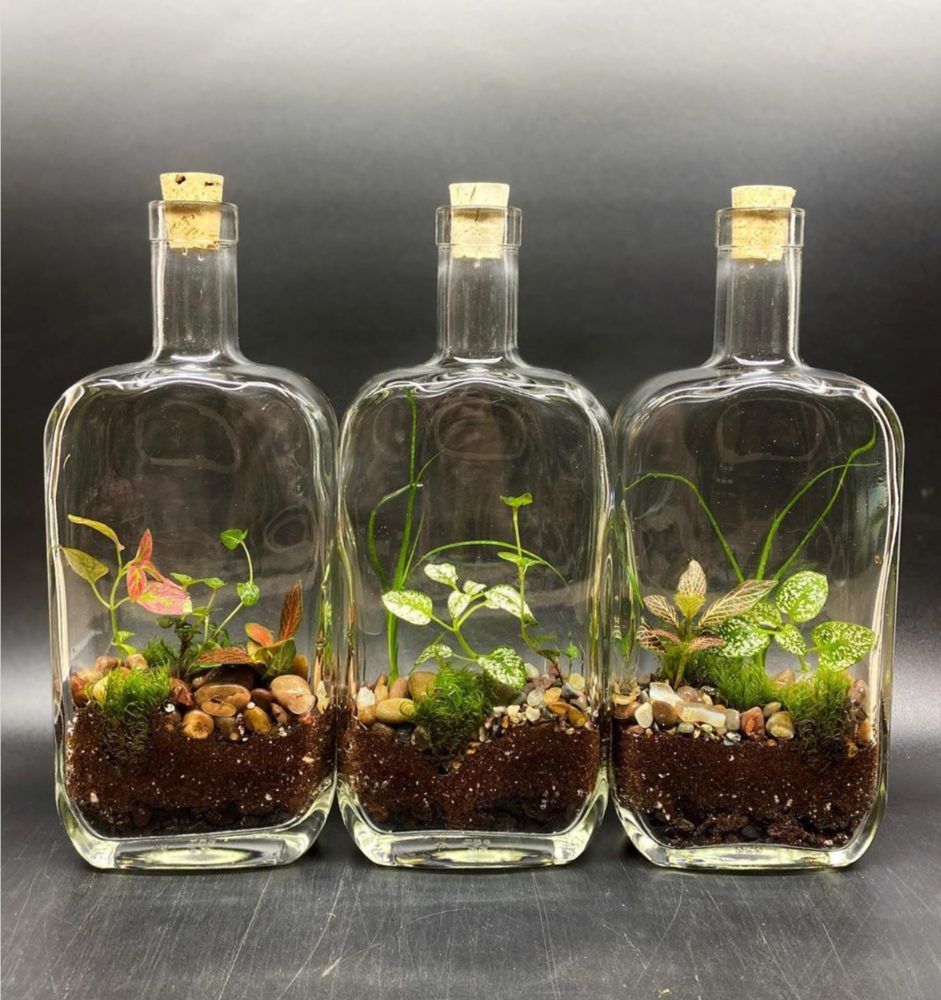
Closed containers trap moisture like little rainforests; tricky if you’re new because they need careful monitoring for condensation and ventilation.
Shape affects design possibilities but don’t overthink this early on—start functional before fancy.
2. Build Layers Like You’re Baking a Cake
Each layer has purpose:
- Drainage Layer: Small pebbles or gravel at bottom (~1 inch deep) to prevent roots sitting in water.
- Activated Charcoal: Thin layer above pebbles to absorb toxins that otherwise foul water quickly.
- Soil/Substrate: Tailor this to your plant choice (succulents need gritty sandy mix; ferns prefer richer potting mix).
3. Plants That Don’t Hate Each Other
Here’s where newbies often sabotage their work: mixing plants with wildly different needs.
- Succulents hate wet feet—use them only in open terrariums with sandy soil.
- Mosses and ferns love humidity—best for closed containers.
Pick one environment type per terrarium for success.
4. Decorative But Functional Additions
Adding small stones or figurines is great for personality—but keep it balanced so plants have room and light doesn’t get blocked.

Why Bother With Terrariums?
You could buy houseplants—but terrariums deliver:
- Low-maintenance greenery even if you kill most other plants.
- Visual impact thanks to layering/design.
- A mindful hobby that doesn’t overwhelm time-wise but offers noticeable progress.
- Conversation starters on desks or shelves that guests actually notice.
Plus they translate easily into gifts or even small side hustles once you know your way around plant combos.
Step-by-Step Beginner Build Guide (No Fluff)
Imagine this scenario: You’re standing at your kitchen table with a clean glass globe waiting patiently for some green magic. Let’s walk through building from zero confidence to proud owner step-by-step—no jargon or overwhelming complexity:
Step 1: Pick an Open Glass Container About 6 Inches Wide
Easiest to manage airflow and watering mistakes here without fungal disasters eating your plants alive.
Step 2: Collect Materials
Here’s what worked flawlessly for my first three builds:
- Pebbles — about enough to cover the base around one inch deep
- Activated charcoal — get aquarium charcoal powder online (~$5 per pack)
- Potting soil — succulent mix if using cacti/succulents; regular indoor potting mix plus fern moss if going tropical
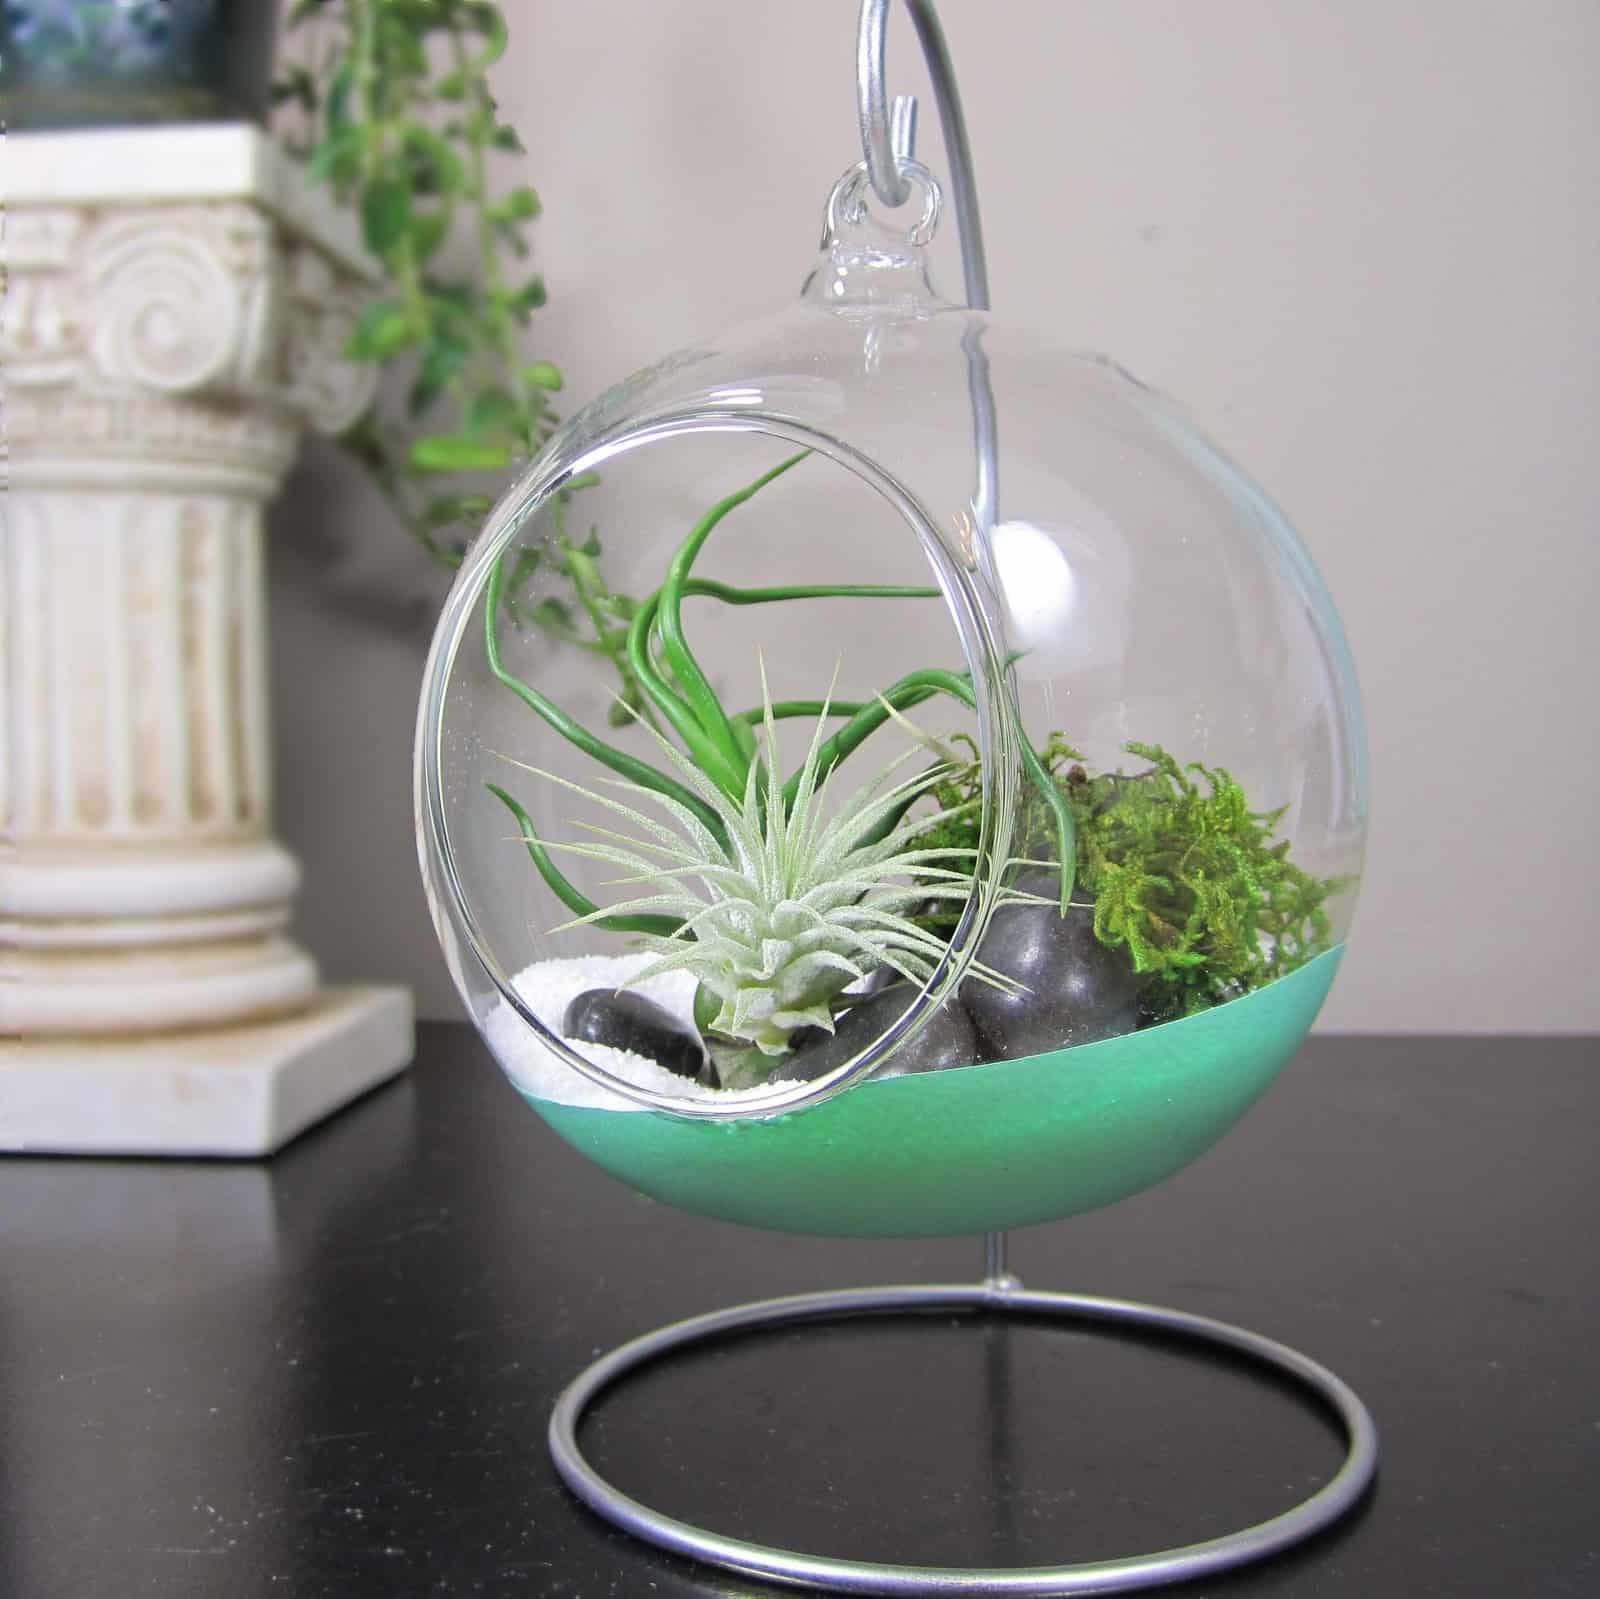
- Plants — start small: Echeveria succulents are hardy; air plants (Tillandsia) handy because no soil needed; moss packs from craft stores affordable as well
- Tweezers/chopsticks — help place tiny elements precisely without smashing leaves
- Decorative touch — smooth white stones look sharp against green foliage
Step 3: Assemble Layers Like Soil Lasagna
- Pebbles evenly spread covering bottom
- Charcoal dust sifted thinly on top (don’t skip—it saved me twice from stinky molds)
- Soil gently added next—don’t compact too hard; roots need breathing room!
Step 4: Plant Insertion With Care
Think of each plant as delicate treasure not just tossed in randomly:
Plant deeper roots firmly but gently create hills/valleys shaping terrain naturally—
Avoid crowding which chokes growth early on!
Step 5: Style Your Mini Garden Artistically
Balance colors & textures visually:
Dark green moss next to plump pale succulents accented by white stones creates pleasing contrast without chaos cluttering your view.
Step 6: Water Lightly & Place Wisely
Succulents only need light misting every couple weeks;
Ferns/moss thrive with more humidity so occasional spray bottle showers help;
Place near bright indirect sunlight windows—avoid harsh afternoon sun which overcooks enclosed terrariums quickly;

Rookie Mistakes I’ve Seen Over And Over (And How To Dodge Them)
Mistake #1: Drowning Plants
Overwatering kills faster than neglect; always check substrate dryness before watering again; use sprayers instead of pouring big glugs—that raised my success rate by over 70% right away.
Mistake #2: Mixing Tropicals With Desert Dwellers
Trying succulents in closed jars humid enough for moss spells disaster within days;
Mistake #3: Skimping On Light
Not enough natural or artificial bright indirect light makes leggy stretched-out sad plants ruining your whole display;
Mistake #4: Sealed Containers Without Ventilation Awareness
Closed lids trap mold fast unless opened periodically, condensation wiped away carefully;
Going Beyond Basics — Next-Level Tips For When You Feel Ready
Once comfortable try combining species creating mini microclimates like taller fern shades protecting tiny moss below or arranging succulents clockwise spirals by height drawing eye naturally across design lines.
Play with color theory basics—pair dark greens with muted purples; contrast rough textured driftwood against smooth shiny stones giving tactile richness felt visually too.
Try propagating favorites by cuttings atop moist substrate growing new specimens saving money while expanding collection;
My rosemary twig went from hopeful cutting to aromatic kitchen star in months!
Finally consider directional lighting setups creating dramatic shadows mirroring seasonal changes enhancing emotional connection beyond visual appeal alone.
Tools & Resources For Maximizing Success Without Breaking The Bank
| Tool | Purpose | Why It Helps | Cost Estimate |
|---|---|---|---|
| Tweezers/Chopsticks | Precise placement | Avoid plant damage | $5-$10 |
| Mini Spray Bottle | Controlled watering | Prevents root rot | $5 |
| Grow Light | Supplemental indoor lighting | Extends growing range | $30-$50 |
| Moisture Meter | Checks soil moisture | Confidence builder | $15-$25 |
| Activated Charcoal | Keeps water clean | Essential filtration | ~$5 per pack |
Community resources like the Reddit forum r/terrariums offer problem-solving help free of charge plus inspiration from hundreds of enthusiasts worldwide every day—
Books such as “The New Terrarium” by Tovah Martin provide expert botanical insight paired with approachable DIY guidance valuable even years after first read.
Troubleshooting Real Issues Without Panic
Yellow Leaves? Likely waterlogged roots => Hold off watering longer until topsoil almost dry then resume lighter routine carefully adjusting frequency gradually until balanced;
Mold/Bacterial Growth? Poor ventilation => Open lid daily briefly wipe excess moisture away introducing gentle airflow improves conditions dramatically;
Leggy Stretched Growth? Insufficient light => Move setup closer window supplement natural sunlight slowly increasing exposure prevents shock helping plants regain compact shape quickly;
These situations taught me patience is key—and problems usually fix quickly once identified avoiding costly replacements saves frustration overall!
Real People Real Results – Quick Case Studies From My Circle
Lisa flooded her first succulent terrarium excitedly pouring water after planting thinking “more is better.” Three days later yellow mushy leaves confirmed error! Once she switched to mist-only schedule her setup came back vibrant within weeks proving slow consistent care beats enthusiasm-fueled mistakes every time...
Sarah embraced minimalism turning her desk into zen haven focusing on soft moss cushions surrounded by few white polished stones calming stressed workdays impressing colleagues who kept asking how she did it…
Mark jumped into business crafting geometric air plant pyramids leveraging social media posting visually stunning shots along care instruction videos building loyal following rapidly monetizing passion sustainably turning hobby into income stream...
Takeaway? All beginners face bumps—but steady hands + smart decisions turned those early failures into mastery foundation solid enough supporting creative evolution confidently today!
Your Personal Action Plan To Start Today With Zero Guesswork
- Choose simple open container size ~6–8 inches diameter fitting space/style preference
- Source quality materials locally/online prioritizing activated charcoal & proper soils matching plant choice
- Decide ecosystem type upfront succulents/dry vs tropical/humid avoiding incompatible mixes initially
- Assemble layers precisely following drainage → charcoal → soil order using tweezers if possible avoiding compaction errors
- Gently place plants respecting spacing thinking aesthetically + functionally balancing form/color/textures complementarily
- Position near bright indirect light avoiding midday heat peaks especially if closed container
- Water sparingly observing substrate wetness weekly adjusting regimen preventing over/underwatering cycles
- Record observations taking notes weekly reinforcing care success patterns building confidence fast tracking skill development
9.When ready experiment propagations/design tweaks/lighting enhancements evolving personal style sustainably expanding repertoire
Every little attempt grows intuition sharpening judgment nurturing rewarding experience far beyond initial expectations—the real satisfaction lies not just owning living art but becoming its thoughtful guardian yourself!
Next Steps For Serious Growth Beyond Beginner Level
Congratulations—you now hold knowledge far beyond casual attempts ready expanding horizons confidently mastering personalized styles reflecting seasonal rhythms evolving expertise deeper botanical understanding joining community wisdom sharing journey making learning enjoyable ongoing…
Consider joining local gardening clubs attending workshops hands-on gaining practical skills under mentorship enriching process massively faster than solo struggles…
Follow credible Instagram/TikTok influencers specializing terrariums absorbing fresh ideas emerging trends mid-century modern minimalism mixes wild organic aesthetics inspiring continual creativity igniting joy passionate expression daily…
Think about gifting personalized terrariums sparking wonder bringing calm meaningful connection friends/family transforming hobby passion side hustle eventually scaling production sustainable lifestyle business unlocking financial freedom creatively…
Terrariums combine simplicity elegance nurturing living ecosystems requiring patience attentiveness yet rewarding deeply whenever admired—
Now go forth equipped armed knowledge confidence transforming humble glass vessels into verdant miniature paradises distinctly yours impressively beautiful wherever placed! Happy planting! 🌿💪🏼


