Air Plant Holder Guide: Easy Ways to Display and Care for Air Plants

Walk into any room with a well-displayed air plant and you’ll catch people pausing, peering closer: “Wait, those are real? How are they just... floating there?” That moment—the blend of wonder and curiosity—is exactly what an air plant holder can create. But building that magic isn’t about buying a trendy glass orb. Whether you’re a total beginner or growing your own living art wall, the journey to the right air plant holder is equal parts science, style, and problem-solving. Let’s walk through it together—from first steps to pro tricks I wish someone had shown me years ago.
1. Foundations: What Air Plant Holders Actually Do
When I got my first Tillandsia in 2013—a spiky little Ionantha—it lived on my windowsill unceremoniously for weeks. Within days it was rolling behind books or drying out unevenly. Lesson learned: holders aren’t just pretty accessories; they’re lifelines.
Think of an air plant holder as three things at once:
- A life-support system (airflow is non-negotiable)
- An ever-changing display frame
- A microclimate manager
Most guides gloss over this—so let’s start with what matters most:
- Airflow: No soil = no rot insurance; only if your holder lets air circulate freely.
- Support: Gravity does its thing. The right holder keeps every leaf visible and avoids pressure points on delicate roots.
- Watering Access: You need to remove your plant for soaking/misting. If the holder makes this awkward, you’ll water less often—and your Tillandsia will show it.
Types at a Glance (And When To Use Each)
Here’s how seasoned collectors match holders to situations:
| Holder Type | Best For | Watch Out For |
|---|---|---|
| Open wire frames | Multi-plant displays | Sharp edges |
| Glass globes | Modern aesthetics | Condensation build-up |
| Driftwood mounts | Natural/boho looks | Hidden mold in crevices |
| Magnetic pods | Office/fridge flexibility | Weak magnets, falling |
| Concrete bases | Pet-proofing | Weight on weak shelves |
Real Talk: Why Not Just Toss Your Plant On The Table?
I tried this more times than I care to admit. Here’s what happened:
- Leaves yellowed unpredictably (poor airflow)
- Water pooled underneath after misting (inviting rot)
- Plants migrated mysteriously (“Honey, have you seen the spiky thing again?”)
A well-chosen holder solves all three—and draws attention to your favorite specimens.
2. Material Matters: Choosing Your Canvas
Not all materials are created equal for air plants—and some fail spectacularly after a few months.
Let’s get specific about each option:
Wood
Back in 2019, I made a batch of oak holders for a craft fair—only to discover half developed fuzzy white mold by spring (I hadn’t sealed them).
Best Practice: Only use dense woods like teak or cedar and always seal with non-toxic polyurethane if you live in humid climates.
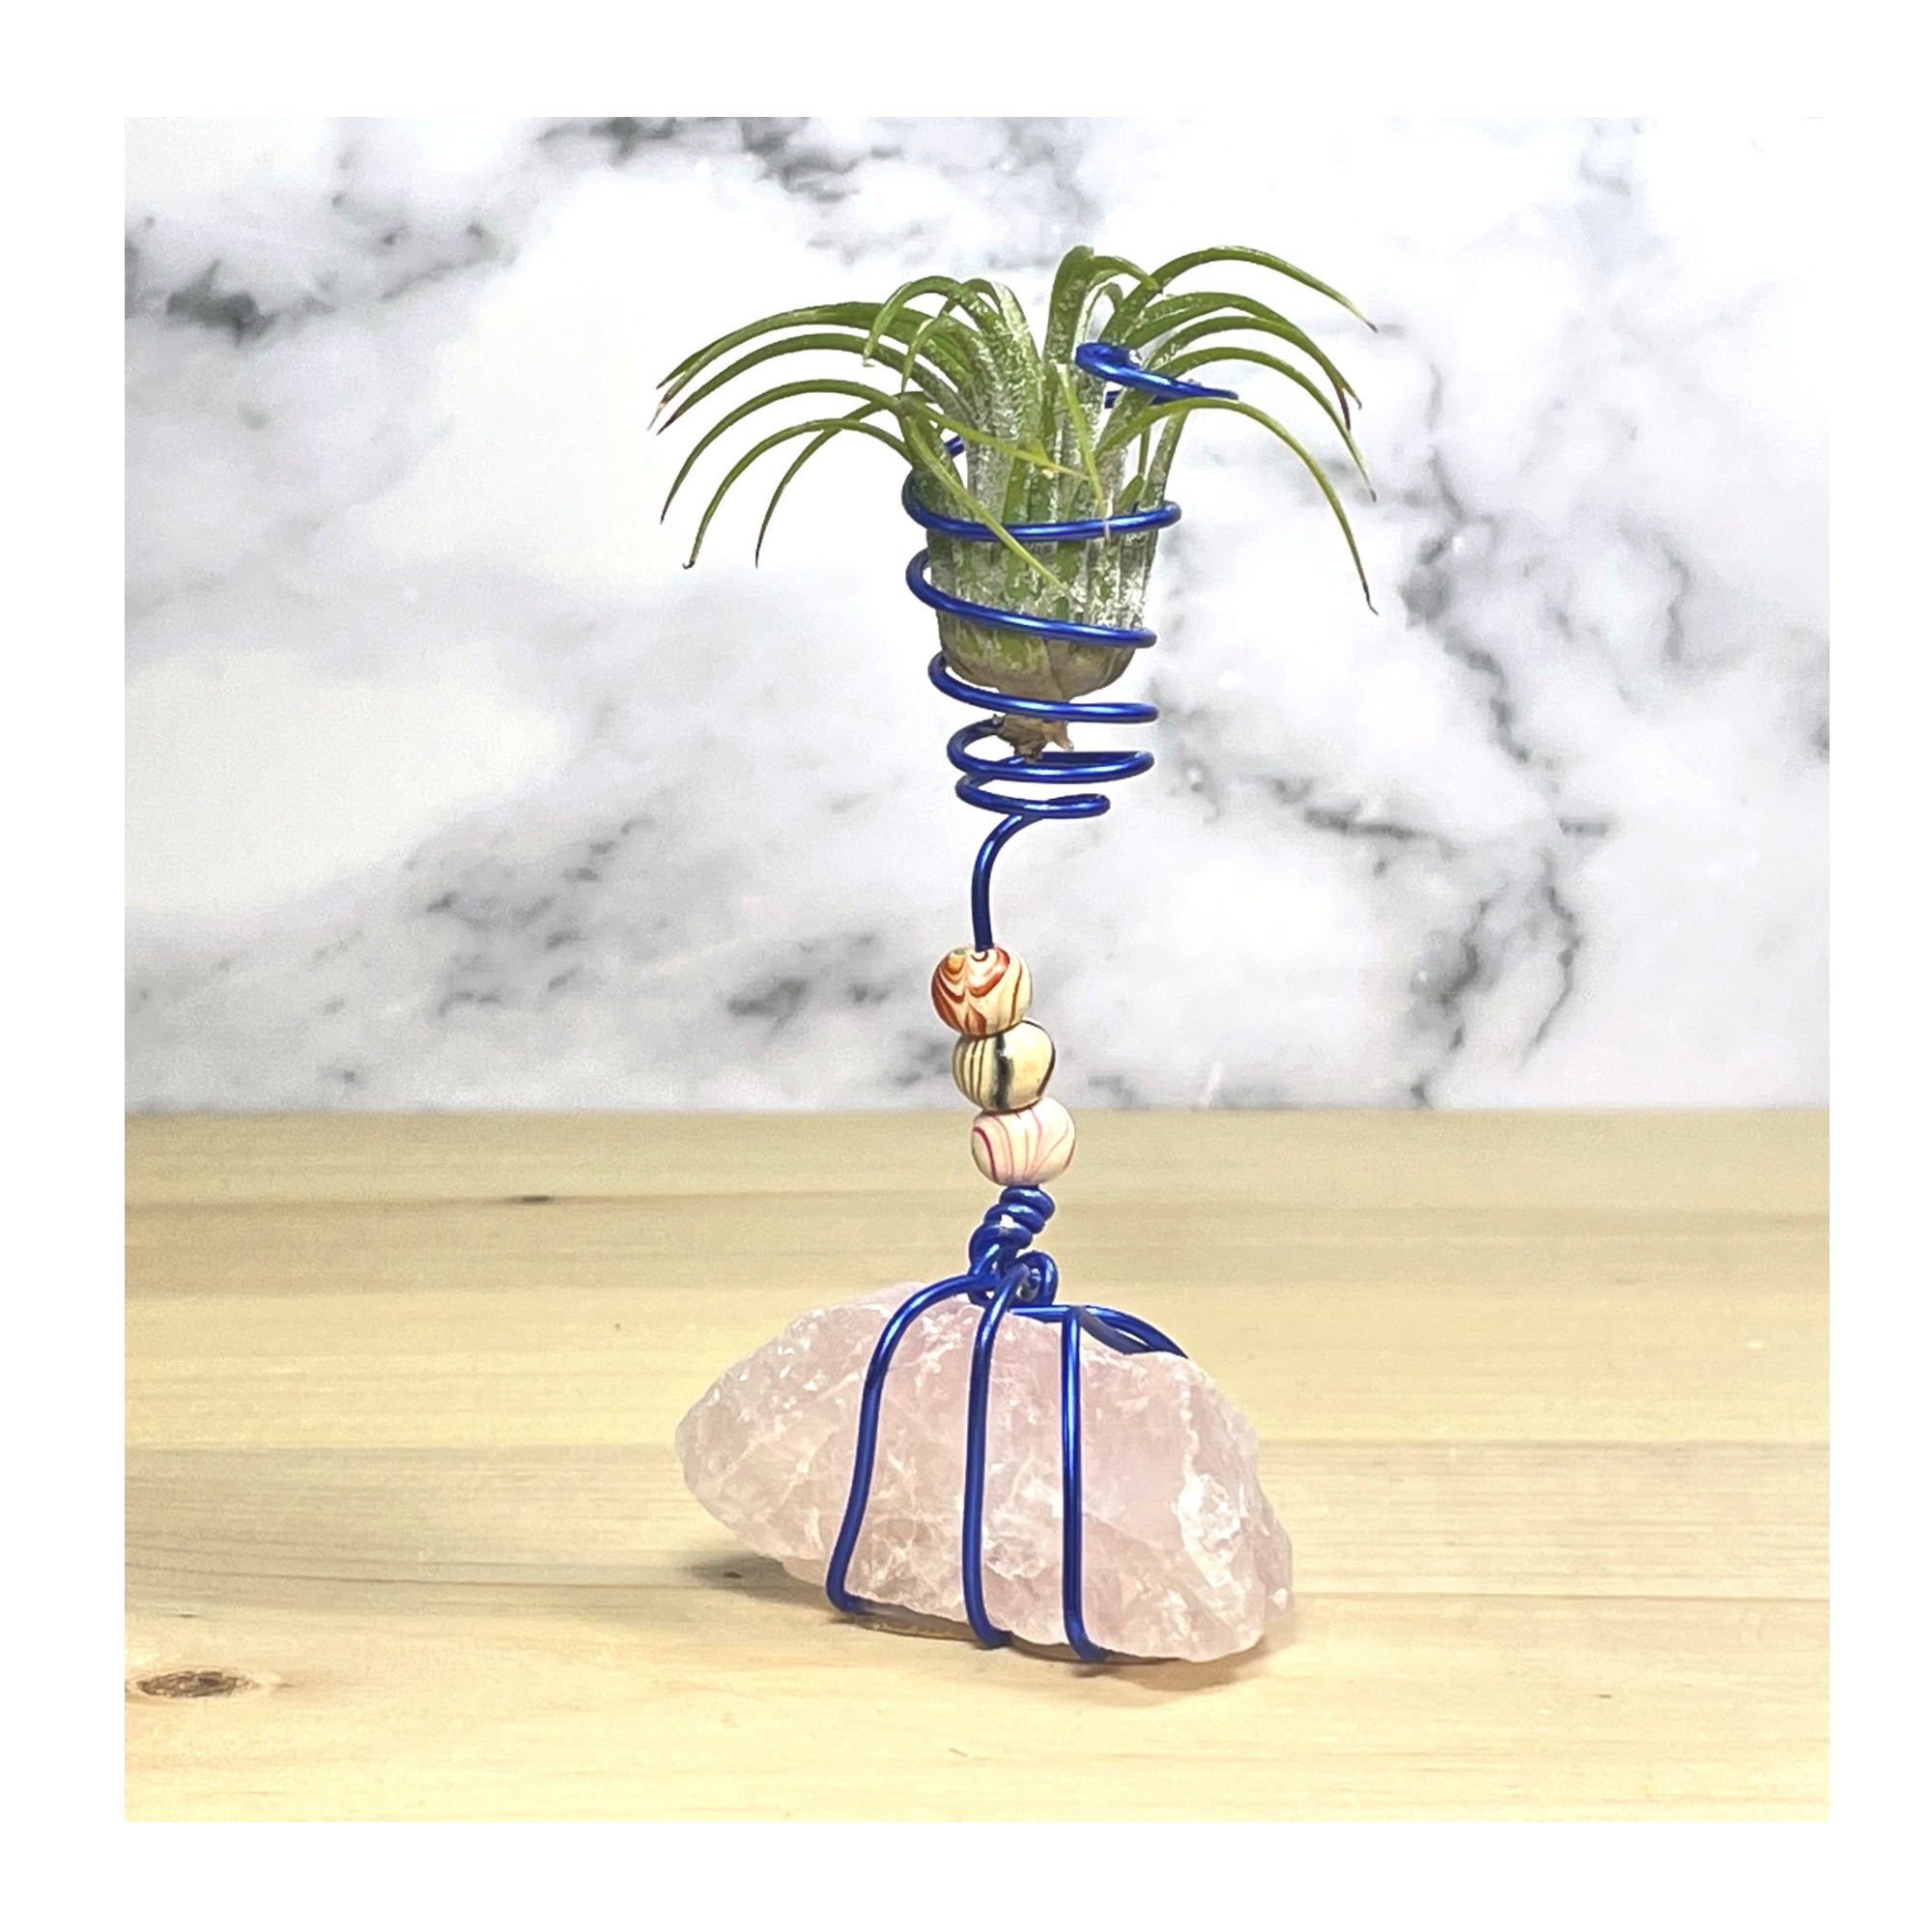
Metal
Stainless steel = nearly indestructible; copper looks gorgeous but leaches toxins over time. Cheap alloys rust quickly—learned that from $5 wire frames that left orange stains after two months.
Pro tip: Stick with powder-coated finishes or stainless steel if placing near windows.
Glass
Transparent globes create “floating” effects but trap humidity like mini saunas.
Solution: Use open-sided designs or punch extra holes with a diamond drill bit (slowly, under water) for DIY ventilation.
Ceramic & Concrete
Solid bases for pet owners or high shelves—my cats gave up knocking these off after one failed attempt!
Look for wide mouths and unglazed interiors so water dries fast between soaks.
Driftwood/Natural Objects
Each piece is unique—but always rinse thoroughly before use; beach finds can harbor salt and bacteria.
If using seashells, drill small drainage holes underneath (I lost two Medusae before figuring out why their bases stayed soggy).
3. Beginner Blueprint: Setting Up With Zero Experience
Here’s exactly how I teach new hobbyists—broken into micro-steps so nothing gets missed:
Step One: Scout Your Territory
Grab your phone and snap photos of:
- Brightest spots in each room (morning sun wins)
- Areas above pet reach or away from heat vents
- Corners needing visual lift
Step Two: Know Your Plant(s)
Measure from base to leaf tip—don’t eyeball it! My first Xerographica sat lopsided because its leaves dwarfed my chosen “medium” globe by several inches.
Step Three: Test Holder Candidates Before Committing
Set potential holders side-by-side; place each plant inside without fixing it permanently.
Ask yourself:
- Does it wobble?
- Can I pull the plant out easily?
- Is any part blocked from light/air?
If “yes” to any negatives, move on—you’ll save yourself frustration later.
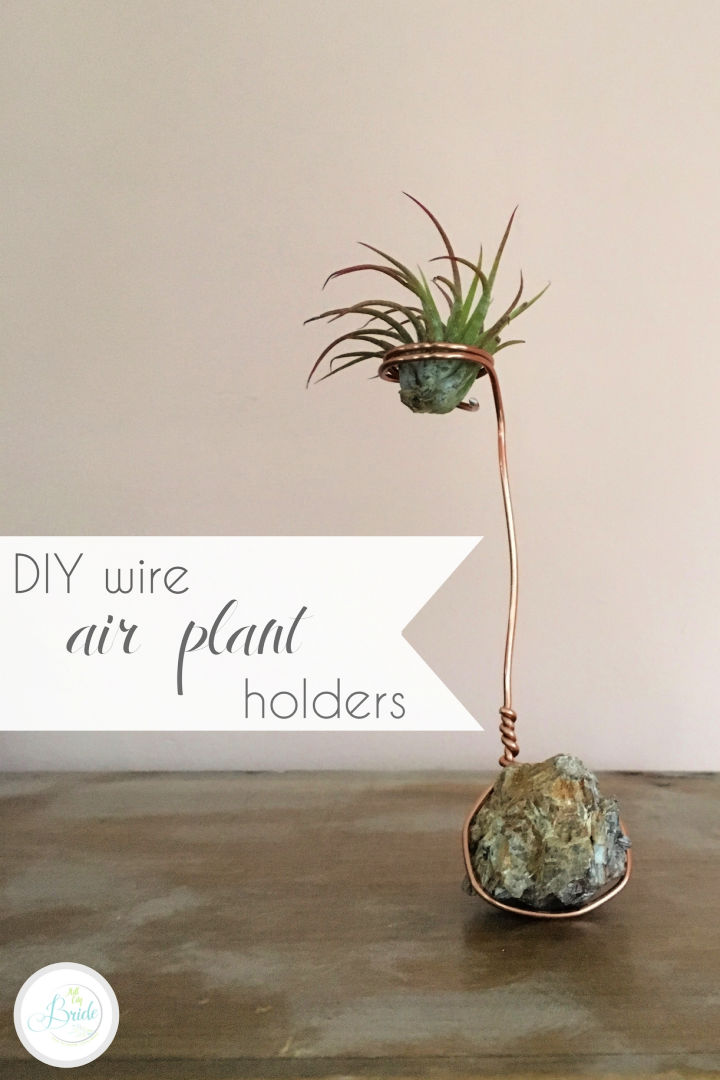
Step Four: Decide Buy vs DIY (And Don’t Apologize For Either!)
Pressed for time? Buy sturdy basics from reputable vendors (see my recs below).
Feeling crafty? Try mounting plants on sanded driftwood using fishing line—not glue! Hot glue suffocates roots over time—I learned that lesson when an entire batch browned off within months.
Step Five: Placement & First Watering Ritual
- Clean both holder and plant gently with soft brush/soap spray before assembly.
- Position holder in chosen spot before adding plant.
- After initial setup, soak the air plant fully outside its display (~20 mins), shake gently dry upside down, then insert once completely dry.
- Set phone reminders weekly; consistency trumps complexity every single time!
4. Rookie Mistakes That Kill More Plants Than Pests Ever Could
These errors cost me dozens of plants early on—I keep this checklist taped inside my cabinet even now:
- Closed Terrariums Without Air Holes
- Looks dreamy…until mildew sets in within weeks.
- Fix: Drill extra holes or switch to open designs altogether.
- Sharp Edges
- Wire baskets can slice tender foliage without obvious signs at first.
- Fix: Run your finger around every edge before use; sand sharp bits smooth or cover with moss/felt pads.
- Stagnant Water Pools
- Even ceramic cups can collect runoff unnoticed.
- Fix: Tilt holders slightly so excess drips away—or only water plants outside their displays!
- Too Little Light
- That bookshelf nook might be perfect decor-wise…but Tillandsias fade without bright indirect light.
- Fix: Rotate displays monthly toward east/west windows—or invest in compact LED grow strips ($18–$30).
- Unwashed Holders
- Overlooked grime = fungal paradise by month six.
- Routine: Quick wash every other month alongside regular watering day.
5. Advanced Mastery Moves (What Separates Hobbyists From Display Artists)
Once you’ve nailed basics, here’s where true creativity unlocks:
A) Construct Modular Living Walls
Start with honeycomb wooden grids spaced ~6" apart on drywall anchors—each cell holds one medium-sized air plant upright without crowding neighbors out of sunlight/airflow.
Every quarter, swap outermost plants inward—they’ll recover faster from seasonal draft changes than static arrangements ever could.
B) Build Hybrid Displays With Microclimate Control
In arid homes (<35% humidity)? Line interior backs of holders with thin sphagnum moss strips to buffer against rapid drying—but never block front openings!
In humid zones (>65%)? Opt for ultra-open frames made from coated wire or laser-cut acrylic skeletons so nothing ever stays damp overnight—even after enthusiastic soaking sessions during heatwaves.
C) Integrate Lighting + Movement
Mount low-profile LED grow bars behind shelf edges—not only do they boost growth October–March but cast dramatic shadows at dusk for gallery-worthy impact ($22–$60 depending size/output).
Magnetic planters allow instant relocation daily as sunlight shifts—a lifesaver during winter gloom when south-facing glass becomes prime real estate!

6. Tools & Resources I Rely On
No fluff here—these are tools that have saved my collection year after year:
Tongs/Tweezers: For arranging dense groupings without bruising leaves ($7–$12/set).
Soft Makeup Brushes: Perfect for dusting fine leaves & cleaning intricate holders ($4–$8).
pH-neutral Soap Spray: Monthly sanitation prevents both mineral buildup and mold ($11/bottle).
For buying ready-made:
- PlantVessel.com: Minimalist ceramics built tough enough for high shelves + cats (~$25 avg.)
- AirPlantShop.com: Bundles include clear care guides & starter tools (~$8–$35).
- [Etsy – RootAdorned/WoosahSupply]: Handcrafted wood/concrete pieces worth every penny if you want heirloom quality ($15–$70+).
DIY supplies:
Find driftwood at aquarium shops rather than random beaches—pre-sanitized saves hours of scrubbing!
Michaels/Hobby Lobby routinely carry faux moss rolls and floral wire ideal for custom racks (<$10/tray).
For inspiration + troubleshooting:
Instagram tags: #tillandsiadesign #airplantholderdaily
Subreddits: r/Airplants (“Show us your weirdest mounts!” threads are goldmines)
7. Real-Life Case Studies From My Own Students
Here’s how actual setups look when theory meets reality:
The Cat Parent Solution:
Lena lost two glass globes before switching to wide-bottom concrete cubes lined along her highest bookshelf—with nonslip pads underneath ("My tabby finally gave up trying").
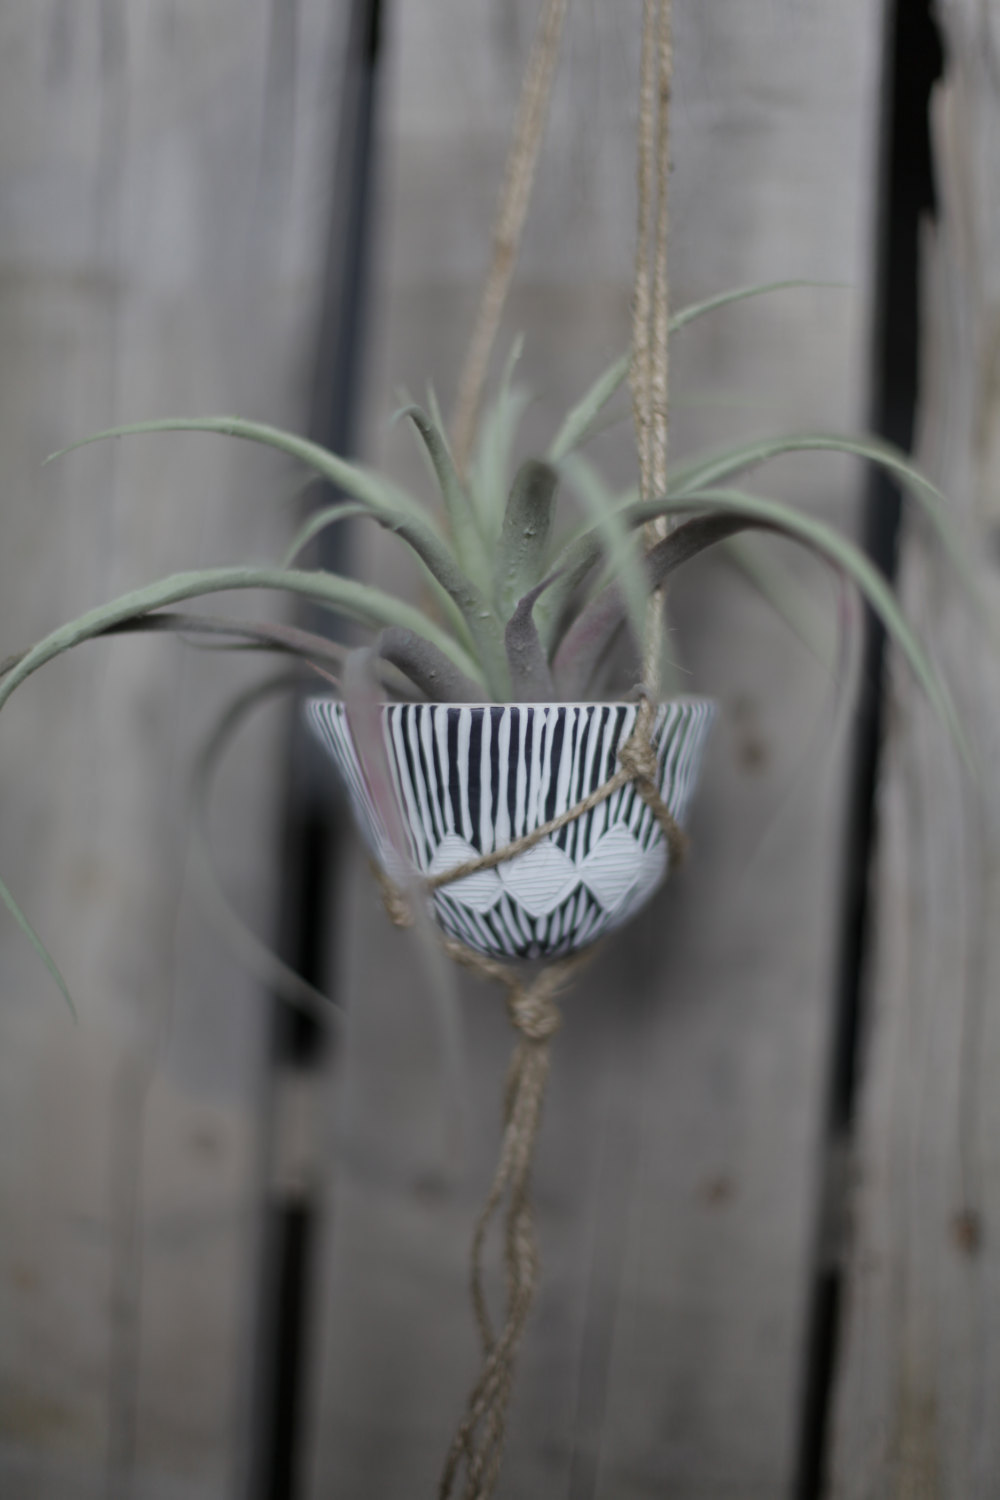
Boho Hallway Hack:
Sara drilled tiny holes through driftwood branches found on vacation; hemp string suspends clusters at different heights among fairy lights = instant entryway drama everyone comments on (“Where did you buy those?! Uh...I made them!”)
Office Flexibility Fix:
Mark uses magnetic pods stuck above his cubicle monitor; he swaps which side faces sun each week based on office window glare (“Co-workers keep asking if they're real”).
8. Troubleshooting Like An Expert
Something not thriving? Here’s my triage checklist:
“Leaves browning/tips crisp?”
Usually means underwatering or direct hot window exposure mid-day! Soak weekly outside display; avoid southwest sills except mornings/evenings.
“Holder growing fuzzy white film?”
Scrub with diluted vinegar solution every watering cycle; dry upside down overnight before reassembling display.
“Display tips over easily?”
Stick museum gel tabs under unstable bases ($8/tube)—invisible but game-changing stability boost!
“Plant suddenly outgrows space?”
Celebrate! Gently transfer into next-size-up mount each autumn while rotating older holdings forward—a healthy sign of success.
9. Action Plan Checklist — Rewind-Proof Progress!
1️⃣ Take photos + lighting notes around home/workspace
2️⃣ Measure current/future plants end-to-end
3️⃣ Choose open-design holders matching needed support level
4️⃣ Clean everything thoroughly pre-installation
5️⃣ Place/display WITHOUT adhesives/glue blocking airflow
6️⃣ Set calendar reminders for watering & maintenance checks
7️⃣ Rotate positions monthly as seasons shift light patterns
8️⃣ Join online groups/share wins AND fails—you’ll shortcut years off learning curve!
10. Next Steps — Growing Beyond Basic Displays
Don’t treat setup as “done.” Instead:
Rotate species quarterly—even swap displays between rooms seasonally!
Try new forms/styles annually (macramé hangers one year; minimalist concrete cubes next).
Share what works—and doesn’t—in online communities (#airplantaddicts welcomes experiments!)
Above all else? Keep experimenting joyfully—the most beautiful arrangements are ones that evolve alongside your own taste and experience level.
Set aside twenty minutes today to sketch ideas—or rearrange just one neglected corner shelf—and watch how quickly your skills grow alongside your living artwork! Your next visitor won’t just ask “Is that real?” They’ll say, “How did you make it look THAT good?”
Happy growing—and don’t be afraid to DM photos or questions anytime! Every collection has its own surprises…and solutions we discover together make all the difference in creating true botanical magic at home.