Transform Your Space: The Magic of Air Plant Terrariums Unveiled

If you’ve ever watched a YouTube tutorial on air plant terrariums and felt overwhelmed by the jargon—don’t worry. Most “expert” guides make it sound like you need a botany degree, a hygrometer, and a daily misting schedule that rivals a spa. But here’s the truth: keeping air plants alive in a glass terrarium is easier than most people (especially experts) let on—if you skip the fussy details and focus on what truly matters.

Let’s cut through the confusion. I’ll share what actually works, learned from my own trial-and-error (including one memorable year when I managed to kill every air plant I owned…twice), plus some simple fixes for common mistakes. You don’t need Instagram-perfect skills or rare supplies—just a willingness to observe, adjust, and keep things simple.
The Overcomplicated Myth: Air Plants Are Mysterious Creatures
Somewhere along the way, air plants got an aura of exotic mystery. The reality? They’re tougher than they look—and happier with less attention than most guides suggest.
My “Aha!” Moment:
Back in 2019, after losing my third set of tillandsias to rot (thanks to following elaborate watering regimens), I realized my grandmother’s approach was working better: place them in open bowls near her kitchen window and dunk them once a week while she had her morning coffee. No misters, no fancy fertilizer schedules—just routine and observation.
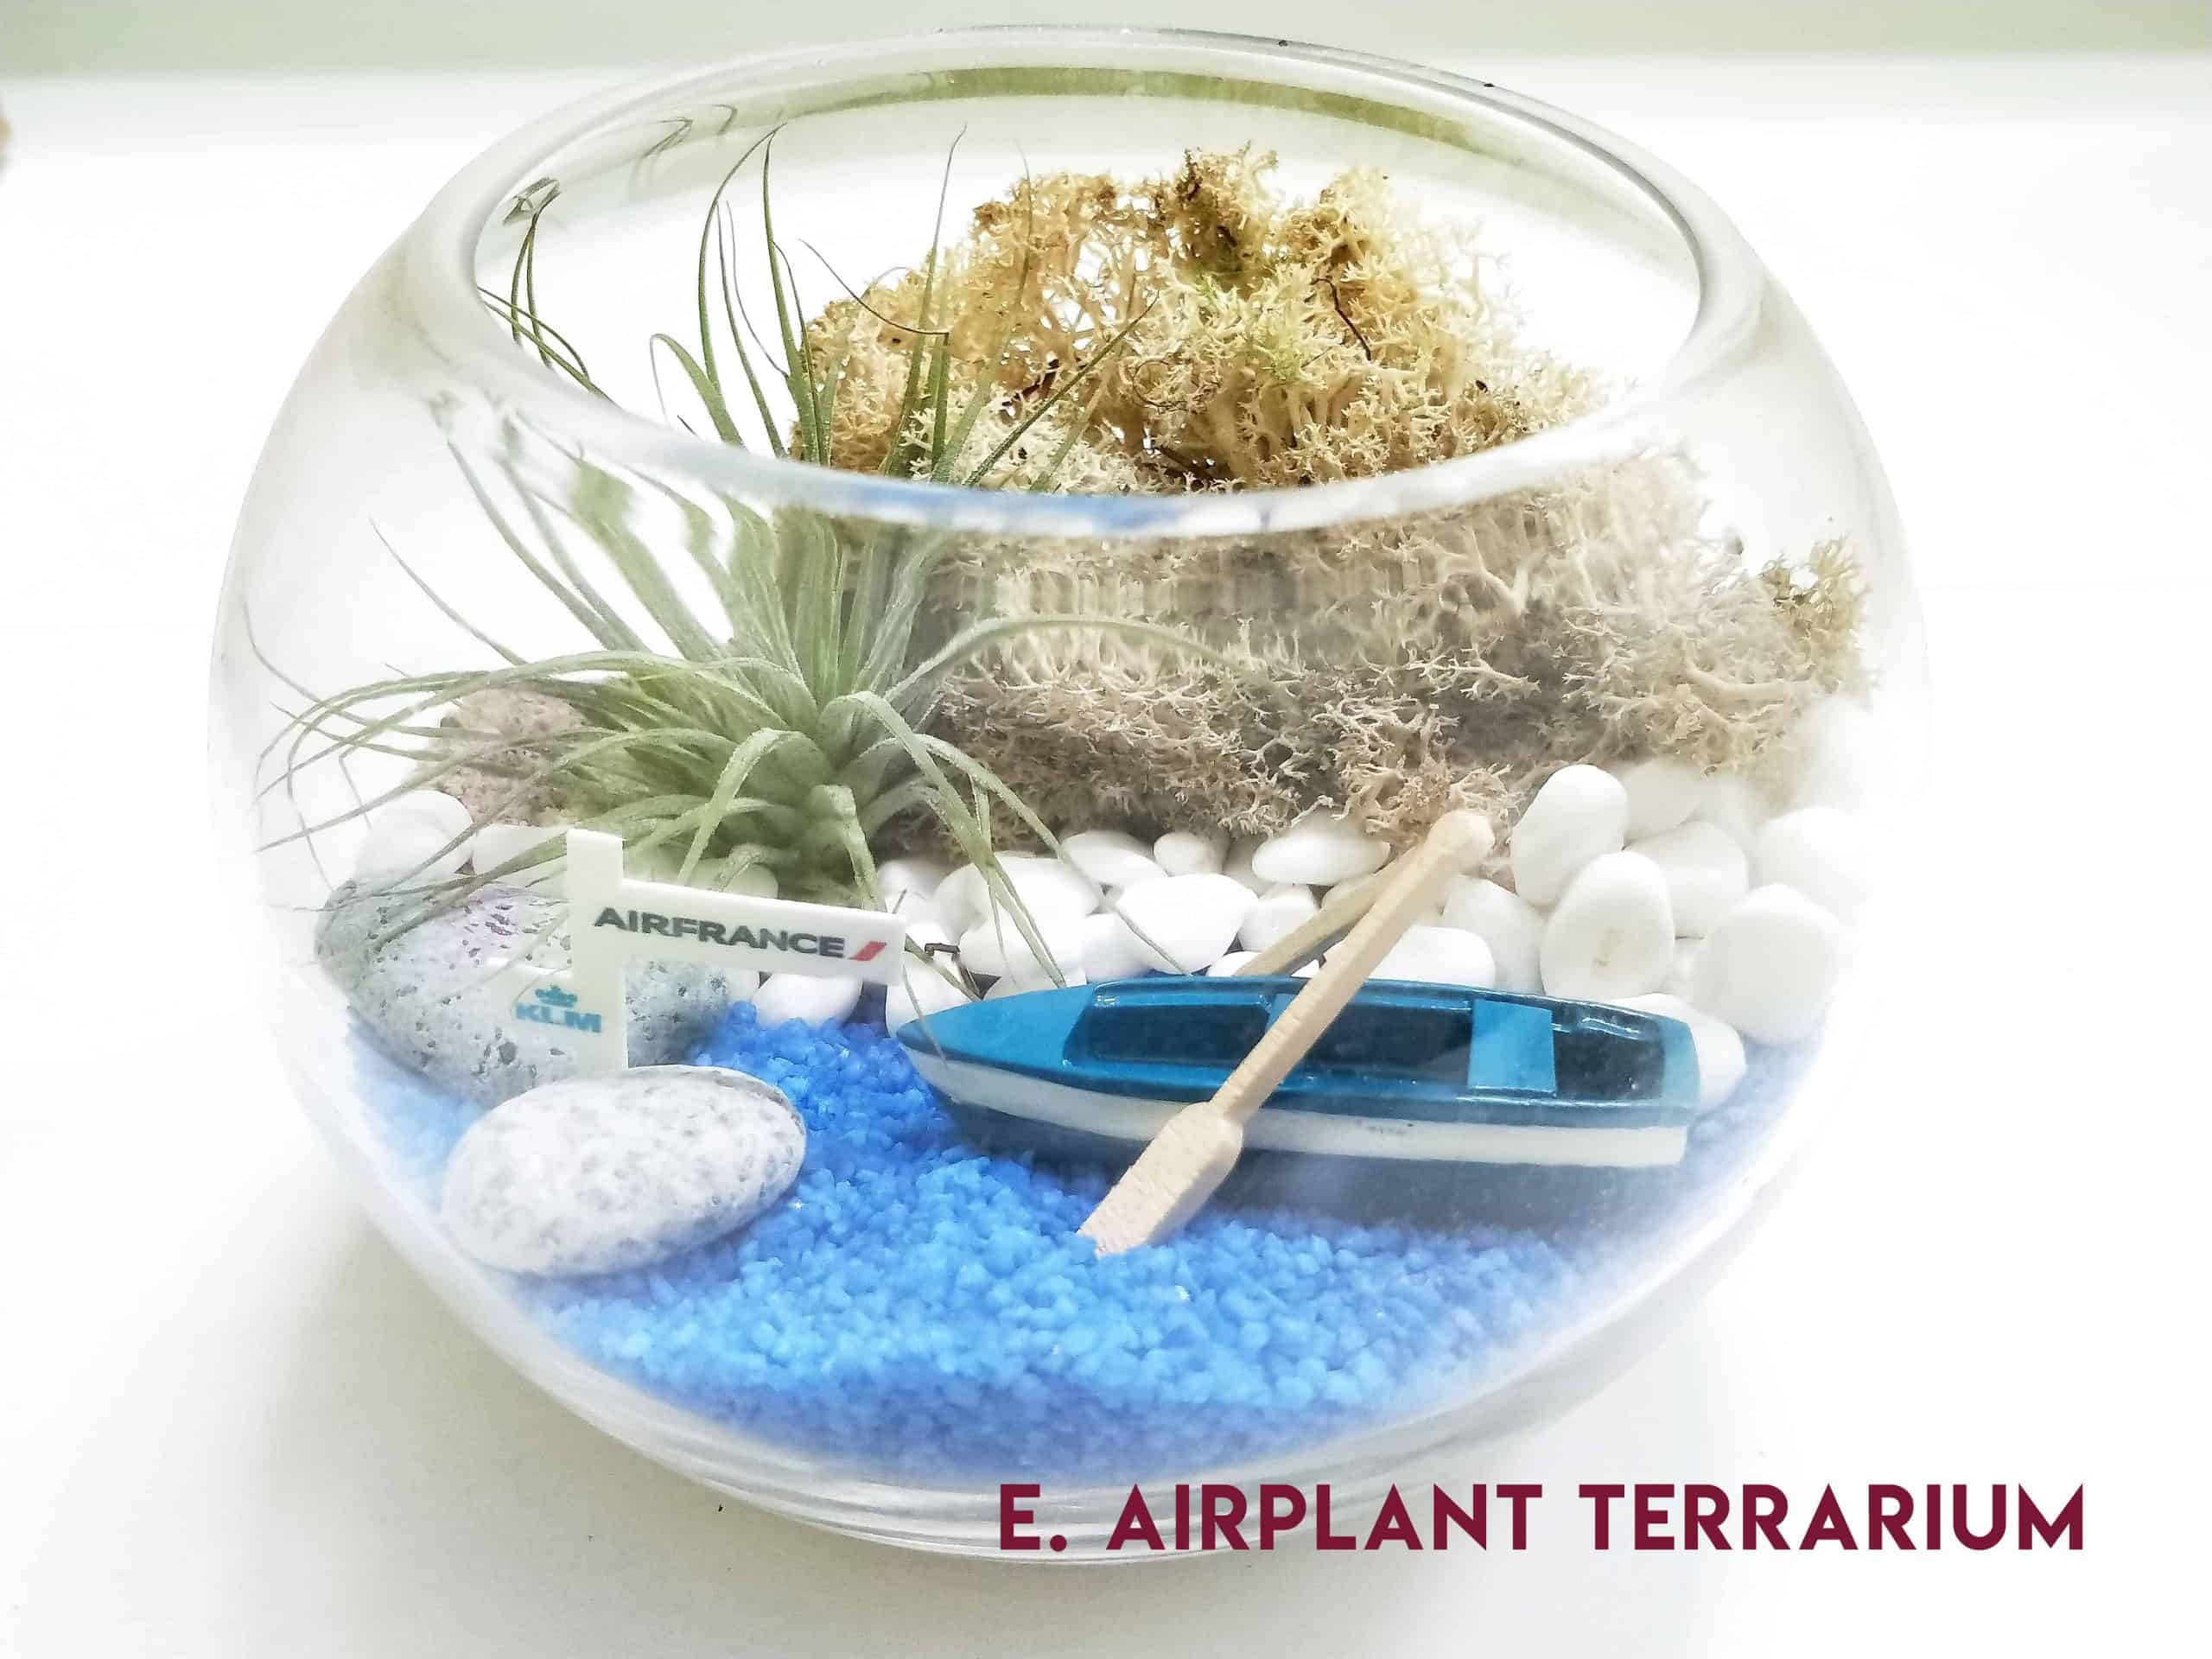
Step 1: Choose Any Open Container (Skip the Designer Glassware)
You don’t need specialty glass globes or terrarium kits. I’ve used everything from old jam jars with the lids off to thrift store vases with wide mouths. The only rule? If you can easily fit your hand inside and feel airflow when you blow across it, your plant will breathe just fine.
Pro tip: Avoid anything with a lid or narrow neck. My first mistake was making an “elegant” closed jar arrangement; within days it smelled like swamp water.
Step 2: Use Simple Fillers That Stay Dry
Experts love layering colored sand, activated charcoal, or rare mosses—but these often trap moisture right under your plant or leach odd chemicals over time.
My go-to setup now? A small handful of aquarium gravel ($4 bag from any pet store) topped with two pieces of driftwood found at the local park (rinsed well). No dyes. No soil. Nothing fancy.
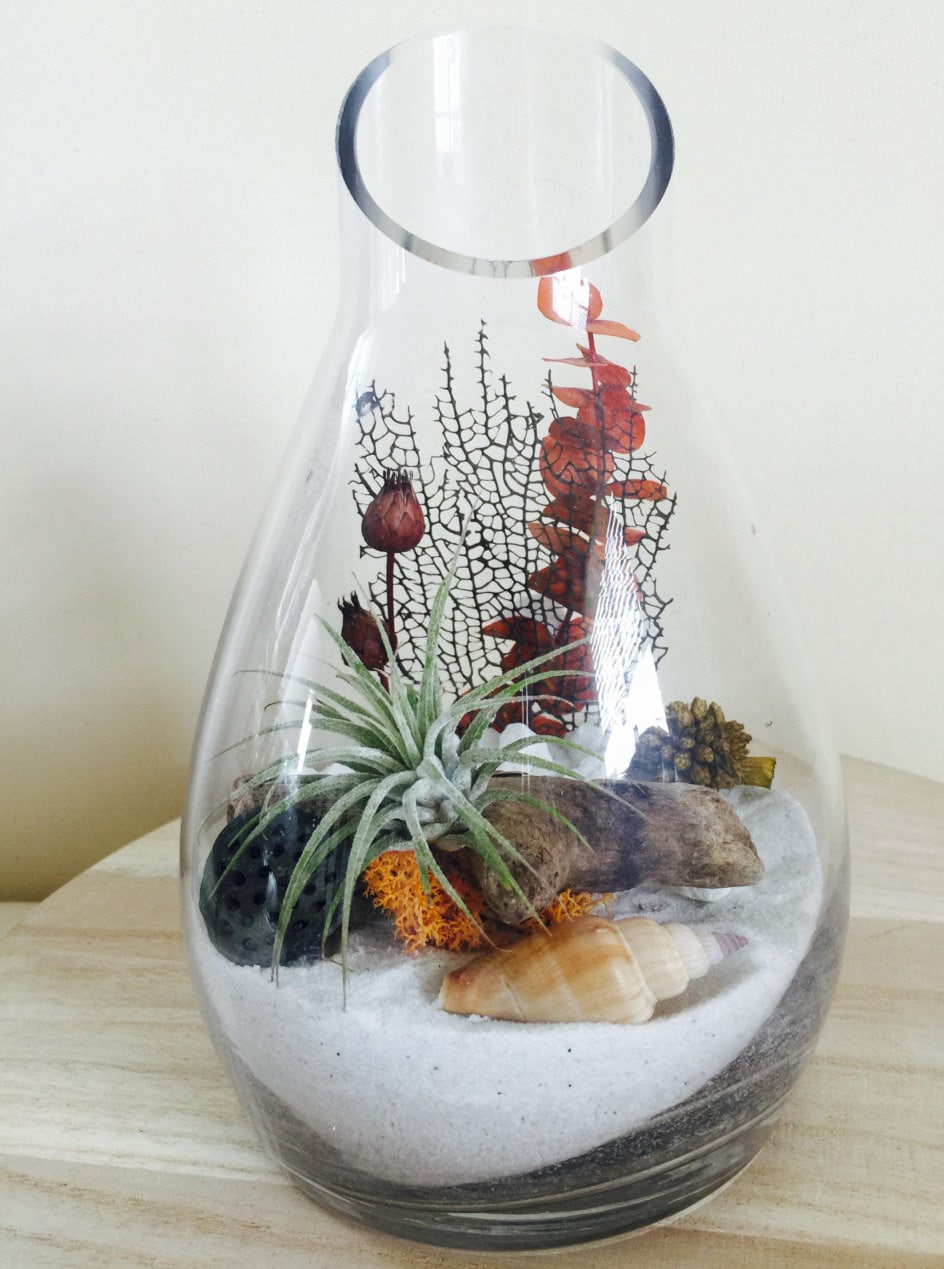
When I tried dollar-store craft sand as filler years ago, it looked amazing…until my plants melted into mush after their first soak because water pooled underneath for days.
Step 3: Water Once A Week—That’s It
Here’s where most advice spirals into overkill: tracking humidity levels, using filtered water only, precise misting schedules… Forget all that unless you live in an actual desert.
Instead:
- Once per week (I do Sundays), pull out your air plant.
- Dunk it in room-temperature tap water for about 20 minutes.
- Shake off excess water.
- Let it dry upside down on a towel for an hour before returning to its container.
If your home is bone-dry (think winter heat blasting), add one extra mist midweek—but don’t stress about daily sprays unless your leaves start curling tightly inward.
Real talk: For two months last fall, I skipped soaking while traveling—a few leaves browned at the tips but bounced back after resuming regular dunks. These guys are survivors!

Step 4: Light—Just Keep Them Out of Direct Sun
You might see photos of air plants basking on sunny windowsills; what those pictures don’t show is how quickly direct sun cooks leaves inside glass containers—even in winter.
The simplest solution? Place your terrarium near any window where light is bright but indirect. East-facing windows work best; north windows are okay if nothing blocks them outside (like trees).
When my office moved desks away from windows, I replaced sunlight with an $18 clamp-on LED grow light from Amazon set on a timer for ten hours/day—and honestly saw healthier growth than before.

Troubleshooting Without Panic
Even if you follow every step perfectly, stuff happens:
- White fuzz/mold? Take out the plant immediately; wipe down everything with vinegar diluted in water; trim damaged leaves; let things dry before reassembling.
- Brown leaf tips? Usually too much sun or not enough water.
- Shriveling/curling leaves? Nine times out of ten it means underwatering—not rot! Increase soak time by 10 minutes next round or add another weekly mist.
Don’t assume every blemish spells disaster—air plants bounce back from nearly anything except sitting wet for days at a time.
The Foolproof Routine
Here’s my current system—the one that finally ended my cycle of accidental air plant deaths:
- Open bowl + dry pebbles + driftwood
- Weekly Sunday soak (20 min)
- Dry fully before replacing
- Spot near east window
- Observe for new growth—ignore minor browning
No timers, no apps, no anxiety-inducing routines that make you dread caring for your plants.
Why This Works
When you strip away expert fussiness and trust simple habits—a set watering day each week; good airflow; bright-but-not-blazing light—you get more joy and less guilt from keeping air plants alive. Plus, there’s something satisfying about knowing you didn’t need expensive gear or constant vigilance to create something beautiful and thriving right on your shelf.
So if this is your first attempt—or fifth!—remember: skip the complicated steps everyone else swears by until you see what actually makes YOUR space work best. Adjust as needed; pay attention to how your tillandsias respond rather than memorizing rules; let yourself experiment without fear of failure.
Every healthy new pup that appears will remind you—it really can be this easy!
Happy growing—and may your terrarium always be more sanctuary than science lab!


