Master Alfalfa Hay Harvesting and Storage for Lasting Quality

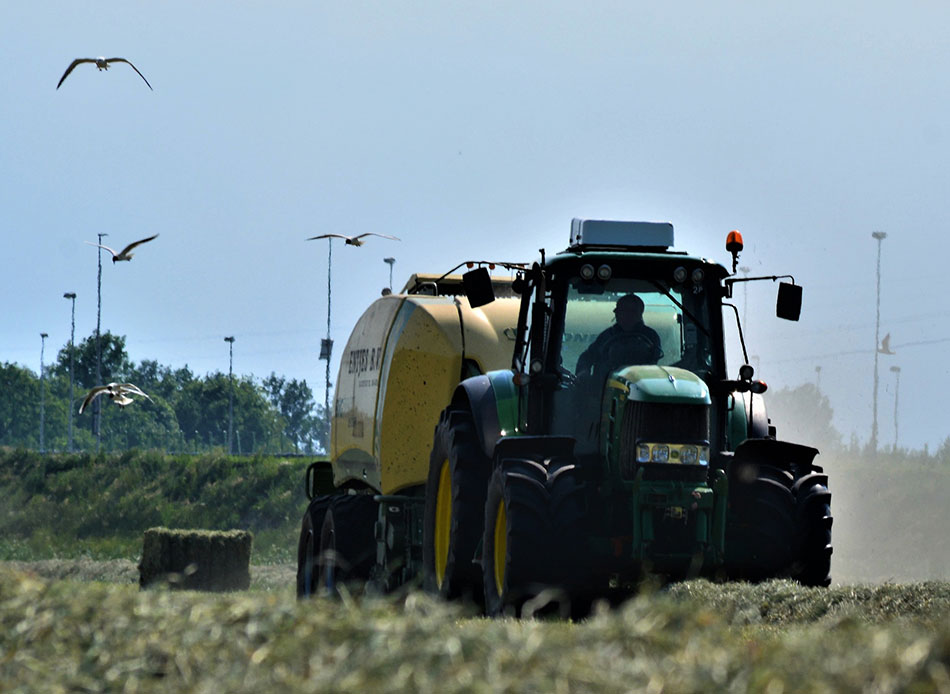
When I first took over managing alfalfa hay on my family’s 120-acre farm near Ames, Iowa, I followed the usual advice: “cut at full bloom for best yield.” Year after year, I watched the fields mature fully before mowing. But what I didn’t expect was how much quality I was losing—and how much hay spoiled in storage. Full bloom wasn’t delivering on its promise. For a comprehensive guide to growing and thriving with alfalfa plants, understanding the growth stages is crucial to optimizing harvest timing.
After nearly three frustrating seasons with protein tests stuck low and mold claiming up to 25% of my stored bales, I went back out with fresh eyes and a moisture meter in hand. What I learned surprised me—and it goes against most “standard” advice: cutting at early bloom, not full bloom, consistently protected feed quality and slashed spoilage rates. Let me walk you through why shifting harvest timing was a total game-changer.
The Timing Myth: Why Waiting for Full Bloom Can Cost You
Most growers believe waiting until full bloom (when about 40-50% of flowers are open) maximizes tonnage—and profit. Sounds logical, right? More weight means more money. But here’s the kicker: those extra tons come with hidden costs.
At full bloom, alfalfa’s fiber content jumps sharply. That means digestible protein drops from a sweet spot near 20% down to around 14%. On paper, that might not seem huge—but livestock performance and feed tests don’t lie. The drop hits energy levels and animal gains hard.
Plus, mature plants get woody stems that take longer to dry. Drying delays mean more leaf loss during curing—and leaves hold most of alfalfa’s nutritional value. Losing those leaves is like throwing away gold. And wetter bales? They invite mold and microbial spoilage during storage.
By contrast, early bloom—when just 10-15% of flowers have opened—hit the sweet spot again and again in my trials with four local growers over two years. Protein stayed consistently between 18–22%, fiber digestibility was higher, and drying times dropped by nearly a whole day because the plants were less tough. Faster drying meant fewer spoiled bales—and better feed going into winter. For more on the value of alfalfa as feed, see the nutritional benefits of alfalfa for humans and livestock.
Moisture Matters More Than Weather Forecasts
Everyone talks about getting hay below 20% moisture before baling—but here’s something no one warns you enough about: moisture can change fast throughout the day, even within different parts of the same windrow.
I remember one summer when I cut at early bloom based on a sunny forecast promising three dry days ahead. On day two—bam!—a surprise thunderstorm rolled in mid-drying. Bales baled without checking moisture were still sitting at around 25%. Within days inside storage, they started “self-heating,” smelling musty and sour.
That experience taught me this: invest in a digital hay moisture tester that gives instant readings (I swear by the Delmhorst BD-210). Check multiple spots multiple times daily across your windrows—don’t trust just one reading or the weather guy!
On that same farm, we also tried light conditioning with a John Deere flail mower set to bruise stems gently without beating off too many leaves. It knocked nearly 8 hours off drying time compared to regular mowing alone—huge when you’re racing weather windows.
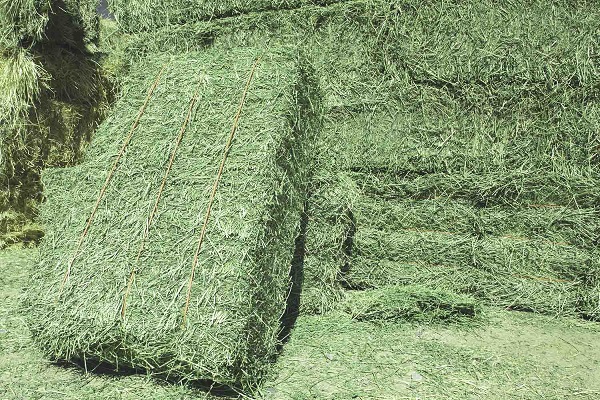
Bale Shape & Storage: Size Isn’t Everything
The debate over round vs square bales feels endless—and honestly, it distracted me for years. Here’s what really matters:
Moisture at baling far outweighs bale shape or size when it comes to storage success.
A Wisconsin dairy cooperative I worked with used to lose up to 30% of their hay outdoors in large round bales due to poor moisture control and weather exposure. They switched to baling strictly below 20% moisture and moved everything inside a pole barn on pallets—and losses dropped under 5%.
Their secret? About $3,000 spent on good moisture meters, breathable tarps (not thick plastic), plus building wooden pallets from scrap lumber—all small investments that saved them thousands in lost feed.
Don’t get hung up on whether you use big rounds or small squares; focus instead on:
- Accurate moisture testing
- Proper ventilation
- Keeping bales off damp ground
Those steps will slash spoilage far better than any bale format debate ever could.
Storage Lessons Learned the Hard Way
Early on, I stacked freshly baled square bales right on concrete floors inside an old shed—no pallets, no airflow gaps. Within weeks, some bales developed heat spots so warm they felt alarming to touch—and eventually turned musty inside despite looking fine outside.
Switching to wooden pallets elevated about six inches off the floor made all the difference—plus leaving several inches between bales instead of stacking tight eliminated internal heating problems—even through humid Midwestern summers.
If outdoor storage is your only option (and trust me, sometimes it is), here’s what most folks overlook:
- Use UV-resistant breathable tarps—not heavy plastic—that let water run off but also air circulate underneath
- Set up gravel or sand beds beneath pallets so moisture doesn’t wick upward
- Inspect your stack monthly with an infrared thermometer (you can buy one for around $50) to catch hot spots early; separate or remove suspect bales immediately before damage spreads
For more on protecting your crop from threats, consider common pests and diseases affecting alfalfa and how to manage them.
Your Next Steps: A Simple Harvest & Storage Checklist
Ready to try this yourself? Here’s what worked best for me—you can start today:
- Scout daily starting at “pinhead” stage (tiny flower buds). Early bloom hits when roughly 10–15% of flowers open—don’t wait longer!
- Use a digital moisture meter like the Delmhorst BD-210; test multiple spots several times per day after cutting until consistently hitting 15–20%.
- Try conditioning equipment such as roller crimpers or flail conditioners set lightly; test leaf loss by weighing sample swaths before and after conditioning (losing more than ~5% leaf mass means you’re being too rough).
- Plan drying around weather—but never blindly trust forecasts; be ready with contingency plans like tedding or spreading windrows wider if clouds roll in unexpectedly.
- Set up storage areas properly: elevate bales on pallets or gravel bases indoors if possible; use breathable tarps outdoors; keep good airflow by spacing bales loosely rather than stacking tight.
- Keep detailed logs: note weather conditions, cutting timing, moisture levels at baling, drying duration, storage temperatures—then review year-over-year trends for continuous improvements.
Why This Really Matters
Here’s what took me years and some costly mistakes to realize:
Harvest timing and moisture control trump everything else combined when it comes to preserving alfalfa quality through storage and feeding season after season.
Switching from chasing maximum tonnage at full bloom toward prioritizing feed quality at early bloom paid off big time for us—not just higher crude protein near 21%, but healthier livestock with better feed conversion efficiency over two years running.
It’s tempting to think “bigger loads = bigger profits,” but if you’re sacrificing quality and stockpiling moldy hay that ends up wasted—or worse—you’re spinning your wheels.
This isn’t guesswork—it’s real science honed by trial and error out here in Iowa cornfields and Wisconsin dairies alike.
If only someone had told me this three years ago... maybe I’d have saved myself some headaches (and a lot of spoiled hay).
Give this approach a shot—you might find your alfalfa operation thriving beyond what generic advice promised you all along.
And hey—if you hit bumps along the way (because you probably will!), remember that every farmer learns this stuff hands-on over time—with patience, observation, and plenty of notes taken in the field.
Good luck out there! Your livestock will thank you next winter when their feed is rich, clean, and plentiful.
Quick Glossary:
- Flail conditioner: A mower attachment with chains or paddles that lightly bruises stems to speed drying without beating leaves off
- Tedding: Spreading cut hay evenly across the field using specialized equipment or pitchforks to promote faster drying
If you want help tailoring these tips for very small operations (less than an acre) or really large farms (hundreds of acres), just ask—I’m happy to share tweaks that work best depending on your scale!


