Allium Plant Guide: Practical Tips for Healthy Growth Success
The Allium Chronicles: How I Learned to Grow These Globe-Topped Wonders and How You Can Too
When I first stumbled into the world of alliums, it wasn’t because I was a seasoned gardener or had any grand plan—it was more of a desperate rescue mission. A sad, neglected patch of my backyard needed something bold and beautiful. Then came those first shoots in spring, tall purple orbs bursting like tiny fireworks from the soil. I was hooked immediately.
But let me be honest: it wasn’t always picture-perfect. There were lost bulbs to rot, baffling yellow leaves that made me question my choices, and a whole bed flattened when a sudden windstorm caught me off guard. If you think growing alliums is effortless, think again! It took patience, trial and error—and some hard lessons—to get it right.
This isn’t just another how-to guide. It’s a journey through what makes alliums so unique, the quirks they bring, their needs (sometimes stubborn), and how you can grow them better than most guides tell you. Ready? Let’s dig deeper—literally.
What Makes Alliums So Special? More Than Pretty Onion Flowers
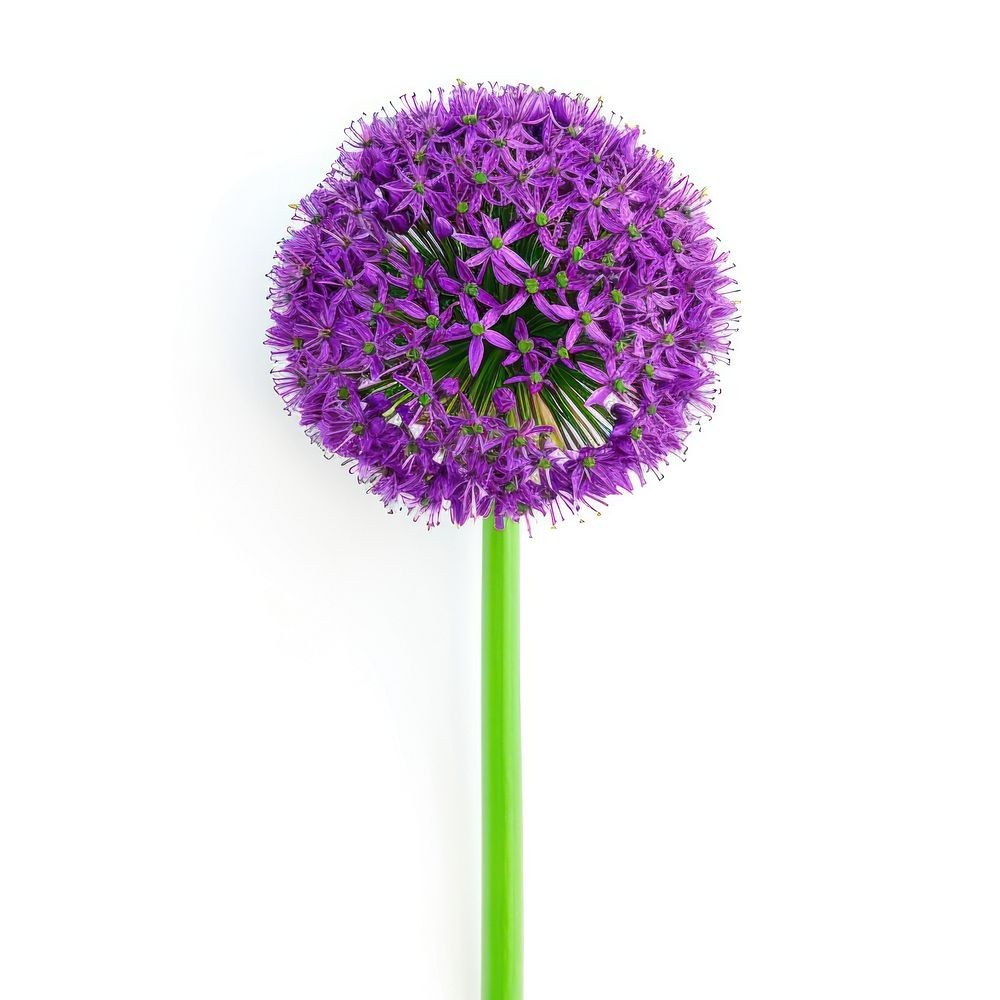
Alliums belong to a vast family with over 900 species—everything from your everyday kitchen staples like onions (Allium cepa) and garlic (Allium sativum) to exotic garden show-stoppers like Allium giganteum. What fascinates me is how these plants elegantly straddle edible and ornamental worlds.
When I planted my first Allium giganteum, purely for its dramatic purple globe atop a tall stalk, I didn’t expect to notice its subtle onion scent perfuming the garden on warm days—a reminder of its culinary cousins. That little detail made me appreciate alliums even more.
Here’s why they stand out in my experience:
- Bulbs with personality: Unlike tulips or daffodils you might “set and forget,” alliums can be picky about soil moisture and planting depth—the difference between a shriveled stem or no bloom at all can be an inch or two.
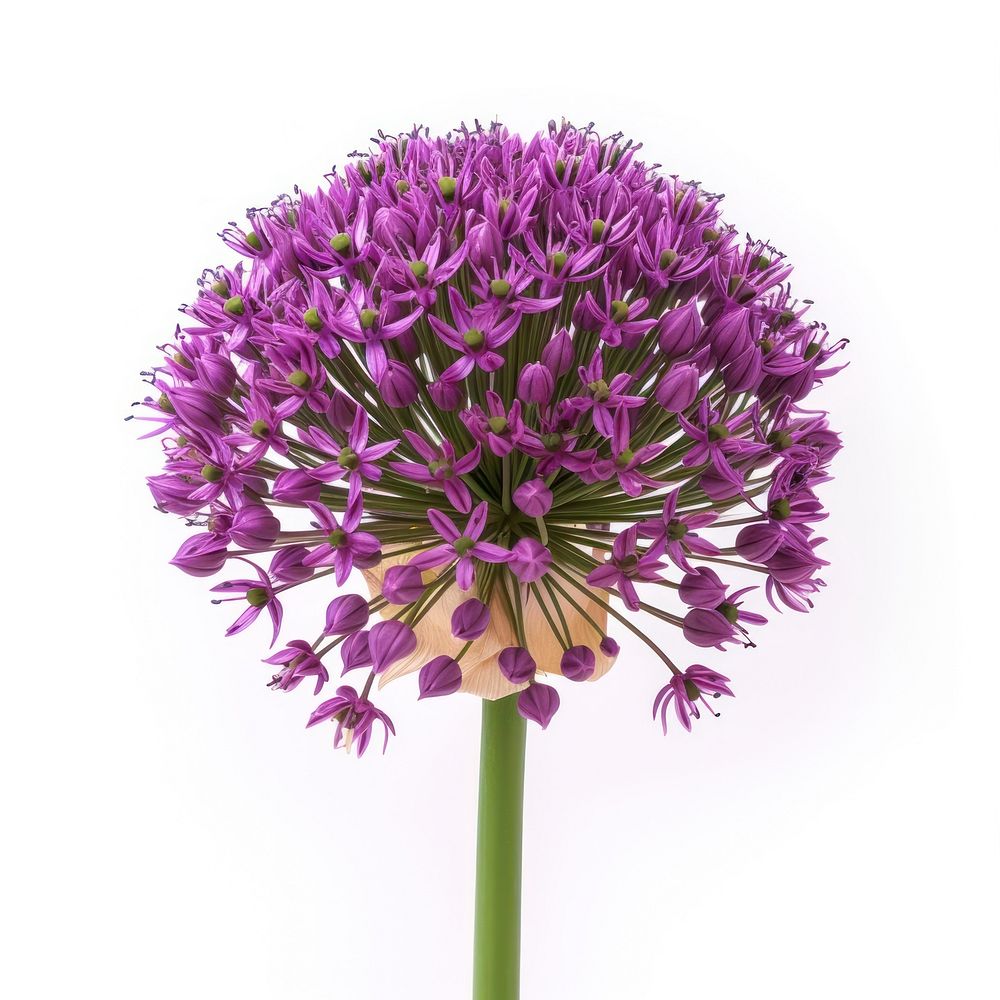
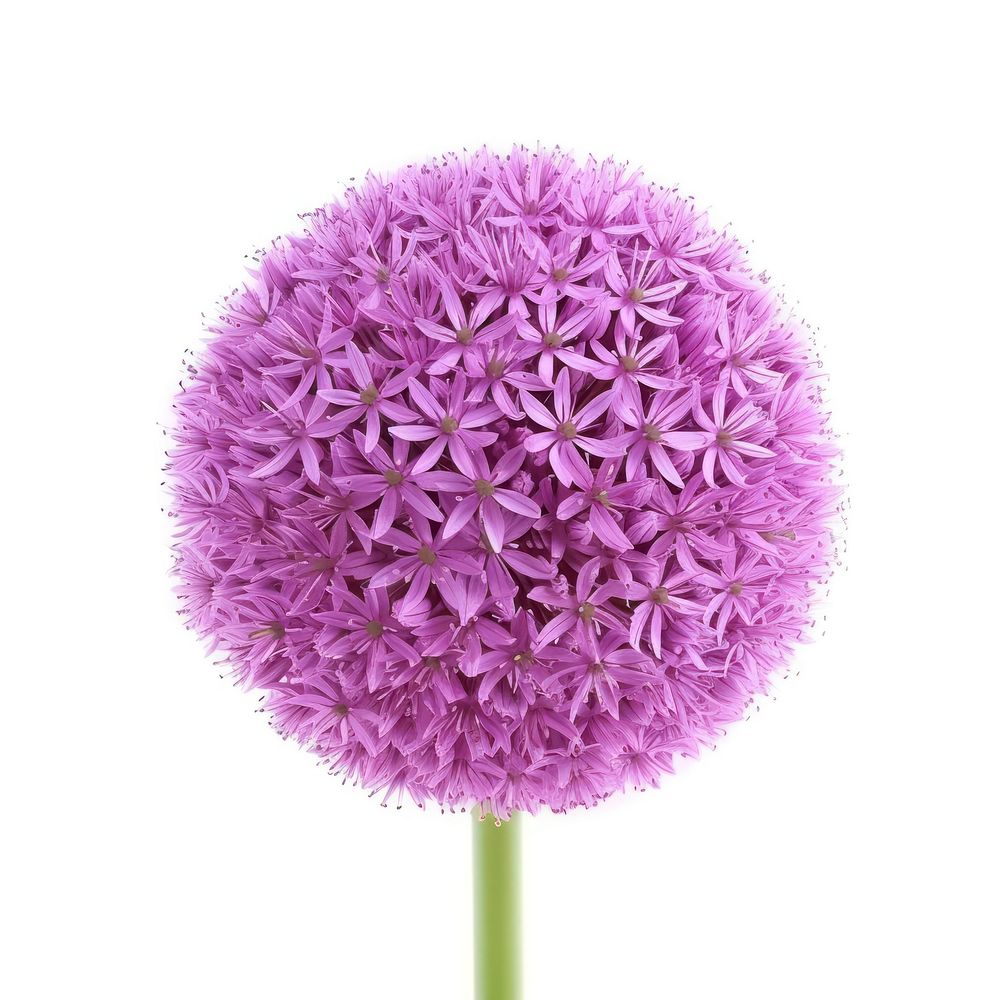
- Architectural drama: Those spherical umbels on tall stalks create vertical interest unmatched by many perennials, commanding attention even in busy flowerbeds.
- Pollinator magnets: Bees absolutely love them—I’ve seen hives cluster around blooms on sunny afternoons like it's their own private café.
- Ancient lineage: Alliums have shaped human history for thousands of years—as food, medicine, and symbols—which adds an almost magical sense of connection when you grow them yourself. For a deeper dive, check out the history and cultural significance of allium plants worldwide.
My First Fumble: Lessons From Failure
Let’s rewind to my very first attempt at growing Allium giganteum. I carefully planted bulbs in early fall but skipped one crucial step—making sure the soil drained well. My backyard is heavy clay; it holds water like an overstuffed sponge after rains.
Come spring, instead of proud purple spheres, I got limp yellow leaves curling up as if in protest. When I dug down… half the bulbs were mushy rot victims buried under soggy earth.
The fix? Raised beds filled with a sandy loam-compost mix that cost about $150 but transformed that sad patch into an allium paradise by summer.
Here’s what this taught me (and what I wish someone told me before):
Alliums loathe wet feet more than anything else—good drainage beats fancy fertilizers or perfect sunlight every time.
If your soil doesn’t drain well naturally, raised beds aren’t just nice—they’re essential. For more on how to manage these conditions, see my detailed guide to growing and caring for allium plants.
Choosing Your Alliums: Varieties That Suit Every Garden
Not every allium fits every gardener or purpose. After planting dozens of varieties—and chatting with some local landscapers—I settled on these favorites based on different needs:
-
For drama and height: Allium giganteum is king here. It towers over 3 feet with 6-inch-wide purple globes that stop people mid-walk... but be ready to stake early; those giants snap easily in windstorms.
-
For beginners or small spaces: Allium moly is compact (10–12 inches tall) with cheerful yellow flowers that tolerate partial shade better than giants do.
-
For edible gardens: Garlic (A. sativum) prefers cool soils planted late fall; onions (A. cepa) thrive in sunnier spots planted earlier spring—or fall if you live where winters are mild.
-
For continuous season color: Stagger plantings between early bloomers like A. moly and mid-summer giants keeps your garden buzzing longer with pollinators and color.
Want to try something unusual? Allium schubertii has a starburst form—like fireworks frozen in time—but it requires warmer climates and well-drained soil to flourish.
If you want to explore more about the different types, check out the article on common varieties of allium plants and their characteristics.
Planting Secrets They Don’t Tell You (But I Learned the Hard Way)
Most guides say “plant bulbs 4–6 inches deep.” That felt vague until I started measuring each bulb’s height precisely before planting—and then planting at exactly three times that height deep.
Why? Because planting too shallow leads to dried-out stems; too deep means weak or no flowering at all. For example:
- A 2-inch bulb should be planted 6 inches deep.
- A 3-inch bulb needs 9 inches of soil cover.
Also:
- Space bulbs 8–10 inches apart if your soil is rich; tighter spacing risks disease from crowding.
- Invest in a bulb planter tool—I swear by my Fiskars Bulb Planter ($20), which drills perfect holes without back-breaking digging.
- Mulch immediately after planting—but use shredded leaves instead of straw to avoid attracting rodents nibbling your precious bulbs through winter.
These small tweaks made a noticeable difference—my blooms grew bigger and stronger after adjusting planting depth precisely.
Watering Wisdom: Less Is More
Watering alliums feels tricky because too much moisture kills bulbs faster than drought does—I learned this the hard way when an overly enthusiastic watering routine gave me fungal problems and limp stems one season.
Here’s my rule now:
- Water moderately once or twice after planting just enough to settle soil around bulbs.
- Then rely mostly on natural rainfall unless there’s an extended dry spell.
- In spring growth months (March–May), keep soil moist but never soggy—if you see standing water after rain, either improve drainage or hold off watering until dry again.
Remember: Alliums come from steppes and mountainous regions where drought tolerance is part of their survival strategy—they don’t want to be waterlogged!
Battling Bulb Rot: My No-Nonsense Strategy
Bulb rot was once my arch-nemesis until I adopted this three-pronged approach:
- Build raised beds or heavily amend clay soils with sand & compost for fast drainage.
- Plant only in full sun locations where airflow dries out moisture quickly.
- Inspect bulbs yearly after foliage dies back—any soft, discolored, or shriveled ones go straight into the compost bin (not reused).
Bonus tip: In wet springs prone to fungus outbreaks, spray diluted neem oil on foliage every two weeks—it acts as an organic fungicide without harming pollinators. For more on identifying and treating common issues, see allium plant pests and diseases: identification and treatment.
Deadheading: The Unexpected Key To Bigger Blooms
Initially, I thought letting allium flowers go seed naturally was fine—it seemed waste-free and easy.
Boy was I wrong!
One summer my beds became overcrowded with runaway seedlings sprouting everywhere—pretty but overwhelming.
Now I deadhead spent flowers promptly—not just for tidiness but because it forces bulbs underground to divert energy into next year’s bloom rather than seed production.
This habit noticeably increased bloom size and vigor over seasons—a simple trick worth adopting early on.
Real Case Study: From Neglected Urban Plot to Pollinator Paradise
A few years ago, I helped transform a brownfield lot into a community garden centerpiece alongside a four-person urban landscaping team.
We chose Allium aflatunense for its striking purple globes and resilience—but initial plantings failed due to site neglect: compacted soil and inconsistent watering schedules sabotaged our efforts at first.
Our fix involved:
- Adding raised beds enriched with bone meal fertilizer,
- Installing drip irrigation programmed for early morning watering only,
- Staking tall varieties early before wind could flatten them,
By year two:
- Flowering rates jumped from 40% to 85%,
- Pollinator visits surged—the hum of bees felt almost like rain on sunny days,
- And community members found new pride in their vibrant shared space,
This project taught me how critical good prep work and consistent care are—and how rewarding it feels when nature responds generously.
Tools That Made Me Look Like A Pro Gardener (Even When I Wasn’t)
Beyond gloves and trowels, these tools transformed my allium game:
-
Fiskars Bulb Planter ($20): Perfect hole depth every time without muscle strain.
-
Soil pH test kit (~$15): Ideal pH for alliums is around 6–7; adjusting soil acidity pays dividends for strong growth.
-
Organic bone meal: A phosphorus boost at planting time encourages root development—skip high-nitrogen fertilizers unless you want leafy monsters without blooms!
-
Stakes & soft ties: Essential for supporting giant alliums against wind damage—they snap surprisingly easily without help!
If you want one bonus pro tip: keep a notebook logging what varieties you plant where each year—that way you track successes & failures more easily through seasons.
Advanced Tips & Troubleshooting For Growing Alliums Like A Seasoned Pro
Pest problems? Deer usually avoid alliums due to their oniony smell; rabbits sometimes nibble young shoots but rarely damage mature plants seriously. For slug issues, apply iron phosphate baits around beds—not chemicals harmful to pollinators!
Propagation beyond bulbs: You can grow many species by dividing clumps after flowering (usually late summer) or starting seeds indoors months ahead—but seedlings take 3+ years before blooming reliably. Patience pays off here! For detailed methods, see the propagation techniques for allium plants: seeds, bulbs, and divisions.
Soil testing & adjustment: If your test shows acidity below pH 6, add lime gradually before planting; if above 7.5 (alkaline), incorporate elemental sulfur sparingly—too far outside 6–7 range stresses bulbs badly.
Regional planting calendar example (temperate zone):
| Task | Timing |
|---|---|
| Order/prepare bulbs | August – September |
| Plant bulbs | Mid September – October |
| Mulch & protect | November |
| Foliage emerges | March – April |
| Deadhead spent flowers | June |
| Lift/replant (optional) | Late July |
Adjust timing slightly based on local climate zones—but fall planting remains best for most types due to cold dormancy requirements.
Final Thoughts: Why Growing Alliums Is Worth Every Patience-Tested Step
There’s something quietly thrilling about watching those onion-scented globes rise each spring from tiny bulbs tucked into cold earth months earlier—a slow magic unfolding with each passing day toward summer glory.
Yes—it takes patience:
planting at precise depths,
mastering tricky soil textures,
learning when less watering actually means healthier plants…
But once you crack those codes? Alliums reward you with architectural beauty unmatched by many perennials—a living bridge connecting food history, medicine lore, wildlife support, and artistry right in your backyard or kitchen window sill.
They’re not just plants—they’re stories rooted deep beneath our feet waiting for gardeners curious enough to listen closely—and brave enough to try again after failure knocks them down once or twice.
If you’re ready:
start this fall armed not only with bulbs but also these lessons etched deep from real dirt under real nails—and watch your garden transform into an allium wonderland year after year.
Happy planting! 🌱✨🌸
Quick Reference Cheat Sheet — Allium Growing Essentials
| Step | Details | Notes |
|---|---|---|
| Soil | Well-drained sandy loam + compost | Avoid heavy clay; use raised beds if needed |
| pH | Aim for 6–7 | Test soil prior; adjust liming/sulfur accordingly |
| Planting Depth | Exactly 3x bulb height | Measure each bulb individually! |
| Spacing | 8–10 inches apart | Wider spacing reduces disease risk |
| Mulch | Shredded leaves preferred | Avoid straw/straw-like mulch near bulbs |
| Watering | Moderate post-planting; then rely on rain | Keep moist during growth but never soggy |
| Fertilizer | Organic bone meal at planting | Avoid high nitrogen fertilizers |
| Support | Stakes + soft ties for tall varieties | Prevent wind damage |
| Pest Protection | Neem oil spray during wet seasons | Organic fungicide safe for pollinators |
Feel free to bookmark this sheet as your quick-start guide next fall!
With every bulb planted comes both challenge AND joy—a dance worth joining if you ask me. Now go create your own story among these globe-topped wonders!


