Why My Alocasia California Plant Transformed My Space Instantly

When I first brought home an Alocasia California, I thought caring for it would be pretty straightforward: “bright light, moist soil, humidity—done.” Turns out, that checklist barely scratches the surface. This plant demands more attention than just ticking boxes; it’s like having a subtle conversation with a tropical friend who can’t exactly tell you what it needs but shows you through its leaves and stems.
Here’s what I’ve learned over nearly a year of ups and downs—yellow leaves, overwatering disasters, and finally some wins—that might save you from the same headaches.
Light: More Than Just “Bright and Indirect”
The standard advice says “bright, indirect light,” but honestly, that’s too vague. My Alocasia looked great when placed near my south-facing window—until the sun hit its leaves directly in late afternoon. The edges started turning brown within days. It felt like the plant was screaming for help.
Moving it just three feet away behind a sheer curtain made a huge difference. Over the next three weeks, new leaves were deeper green with firm stems. Why? Because Alocasia leaves actively adjust to their light environment—they don’t just sit there soaking up whatever hits them. Too much direct sun stresses leaf cells on one side, causing uneven growth as the plant reallocates energy to recover.
Pro tip: Rotate your plant weekly. This simple step prevents lopsided growth and keeps your Alocasia balanced—like giving it a fair chance to “feel” all sides equally.
Watering: Find Your Goldilocks Zone
I wrecked my first few weeks by watering every 3-4 days like clockwork—and ended up with yellow leaves and mushy stems (hello, root rot). What nobody tells you is that your home’s microclimate changes everything.
For me, 40% humidity indoors meant soil stayed soggy far longer than expected. So instead of blindly following schedules, I started feeling the soil daily with my finger—checking about an inch deep—to know exactly when to water.
This little habit saved me. Only watering when that top inch felt dry kept moisture balanced without drowning roots.
Remember: The plant isn’t clockwork—it’s constantly assessing its environment internally. Overwatering mimics flooding stress; underwatering triggers drought defenses. Your job is to read these signals before visible symptoms appear.
Humidity: More Important Than You’d Think
Humidity felt like an abstract number until winter hit and my Alocasia’s leaf edges curled and browned overnight. Recommended levels are above 60%, but indoor heating makes this tough.
I added a small ultrasonic humidifier right next to the plant running through the night. Within two weeks, new growth looked healthier—and whenever I forgot or turned it off early, I could almost hear those crispy leaf edges whisper complaints.
Why does humidity matter so much? It keeps leaf cells full of water pressure (called turgor pressure), which holds leaves upright and firm. Dry air sucks moisture out faster than roots can replace it—hence those telltale brown tips.
If you hate misting (guilty!) or forget often, try placing your pot on a tray filled with pebbles and water—the evaporation helps raise humidity without soaking roots—or gather multiple tropical plants close together for a mini rainforest effect.
Temperature: The Silent Stressor You Might Miss
One cold snap caught me off guard when I had my Alocasia near an air vent. Within days, yellow leaves appeared as if overnight.
Tropical plants get stressed below about 60°F because their metabolism slows down—they can’t regulate their stomata properly and lose leaves to save energy.
Aim for steady temps between 65–80°F—and more importantly, avoid sudden drafts or temperature swings that mess up cellular processes inside leaves (kind of like how we get chills from unpredictable weather).
If your nights get chilly in winter, try moving your plant closer to interior walls or use draft blockers on windowsills to keep things cozy.
Soil & Drainage: Don’t Overlook This
Yellowing leaves aren’t always about watering frequency. A friend’s stubborn yellow tips turned out to be caused by compacted soil holding water endlessly without airflow—a suffocation zone for roots.
Switching her Alocasia into a mix of peat moss (for moisture retention), perlite (for drainage), and orchid bark (for aeration) made a dramatic difference within four weeks because roots could finally breathe again.
Good soil helps balance moisture and oxygen—both critical for healthy roots—even if watering seems right on paper.
Diagnosing Common Problems Quickly
- Brown leaf tips: Usually low humidity or inconsistent watering.
- Yellowing leaves: Could be overwatering, poor drainage, or temperature stress.
- Droopy or curling leaves: Often a sign of inconsistent watering or low humidity.
- Pests: Spider mites love hiding under leaves where airflow is poor; inspect weekly with a magnifying glass to catch them early before they spread widely.
Propagation: Patience Is Key
I tried dividing my Alocasia California rhizomes too early last spring thinking speed would help—it didn’t. One divided half languished for months before slowly bouncing back in fall.
This step interrupts the plant’s internal communication network between rhizomes and shoots—a stressful event needing stable conditions and plenty of recovery time.
Spring or early summer works best when the plant is actively growing because resources flow more efficiently then—which means better chances for successful division.
Big Picture Takeaway: Stop Treating Care Like Clockwork
The hardest thing was breaking free from rigid schedules (“Water every X days!”) and learning to listen closely instead—to soil dryness, leaf color changes, even subtle posture shifts in stems or leaf angles.
Running a humidifier at night might seem trivial but builds consistency in microclimates your Alocasia silently depends on. Switching from heavy garden soil to an airy indoor mix also made all the difference by replicating its natural rainforest floor substrate better than any generic potting mix I tried at first.
How To Know You’re Nailing It
Your Alocasia California will reward you with:
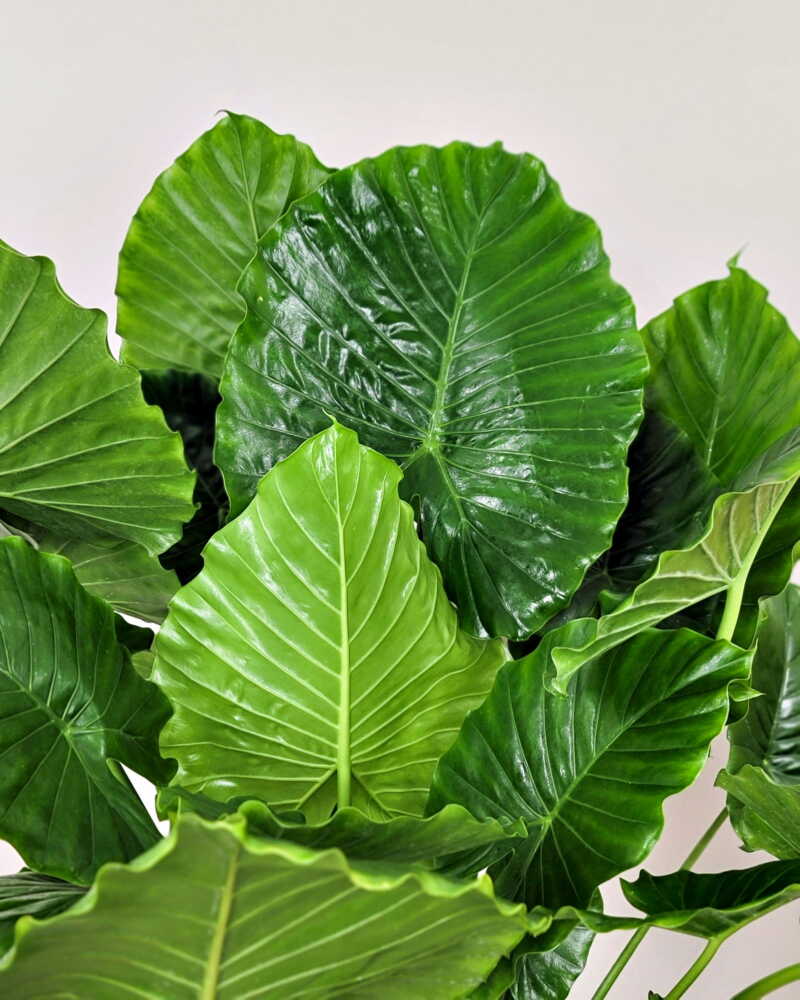
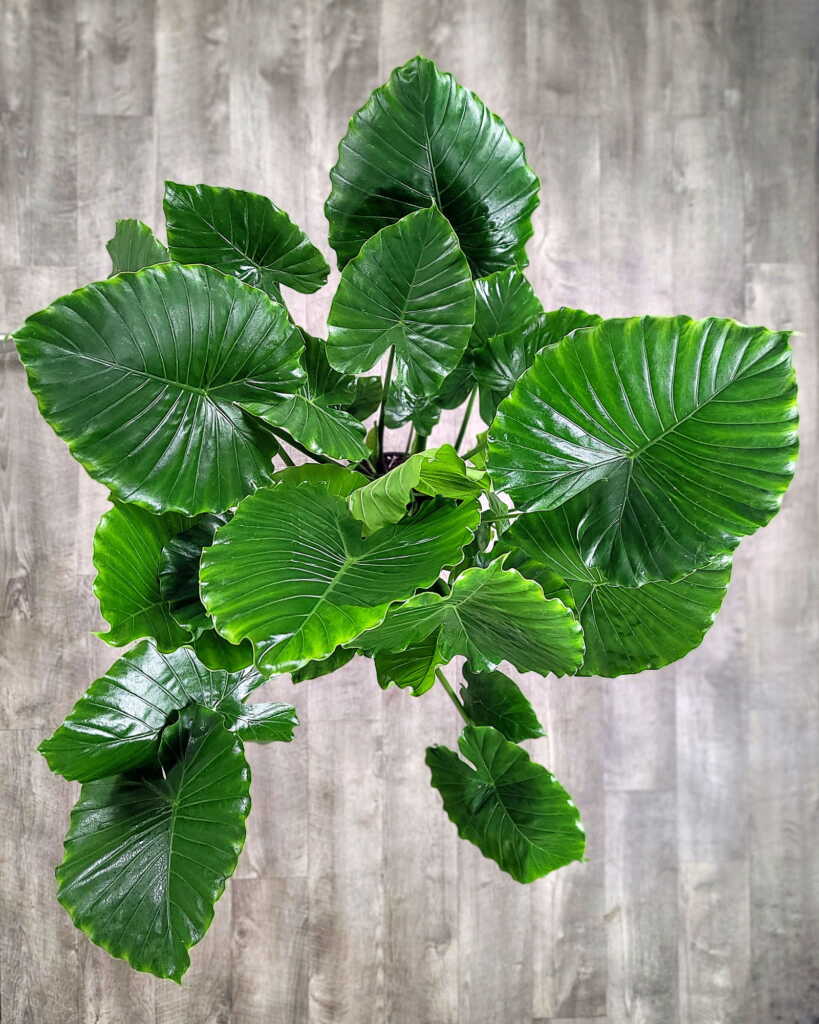
- Glossy green leaves showing crisp variegation patterns
- Upright stems that feel firm—not floppy
- New growth steadily emerging from spring through early fall
If things slow down or colors dull despite good routines, revisit humidity levels and check carefully for hidden pests around leaf bases or stem joints.
Quick Start Checklist — Put This Into Action Today!
- Light: East-facing window behind sheer curtains for bright but filtered sunlight
- Water: Finger-test top inch daily; only water thoroughly when dry
- Humidity: Keep >60% using nighttime humidifier or pebble trays
- Temperature: Maintain steady 65–80°F away from drafts/vents
- Soil: Use airy mix of peat moss + perlite + orchid bark
- Inspect: Check leaves weekly for pests or damage
- Rotate: Turn pot weekly for balanced growth
Caring for an Alocasia California isn’t about following rules blindly—it’s about tuning into what your plant really needs day-to-day (even if that means making mistakes along the way). Each wilted leaf or brown tip isn’t failure; it’s feedback guiding you toward creating the ideal environment where this tropical beauty can thrive fully.
My best tip? Stop treating watering like a chore on your calendar—start treating it like listening carefully to whispered needs beneath the soil surface and in each unfolding leaf edge. Once you get that conversation going, everything else clicks into place naturally—and caring becomes less guesswork and more confident craftsmanship worthy of such an extraordinary houseplant companion.


