Alocasia Enthusiasts: Your Ultimate Guide to Thriving, Vibrant Plants
Alocasia Enthusiasts: The Definitive Guide from Theory to Practice
If you’re reading this, you already know there’s something mesmerizing about Alocasias—the drama of their leaves, the way they seem to demand your attention one minute and then suddenly sulk if you get even a little off track. Let me break this down, whether you fell in love with a polly at the garden center or spent too much on a rare ‘frydek,’ welcome. This is your map through the gorgeous jungle—and yes, I promise, it won’t all be trial and error.
I’ve spent years coaxing moody Alocasias into magnificent showpieces (and probably watered as many to death as anyone else). My goal here is to break down every question—basic or advanced—into bite-sized, manageable steps. Let’s turn overwhelm into confidence and confusion into lush leaves.
1. Understanding The Alocasia Personality: Why Patience Pays Off
Concept: What Makes Alocasia Unique?
At first glance, caring for an Alocasia might seem like babysitting a plant that’s just waiting to surprise you—sometimes pleasantly; sometimes with drooping foliage out of nowhere. But why do so many people both adore and struggle with them?
Alocasias come from humid rainforests in Asia and Australia. Picture large leaves, moisture rising from damp ground, filtered sunlight (no blazing rays), consistent warmth, air that always feels a little heavy with humidity. That’s their comfort zone.
Key Features:
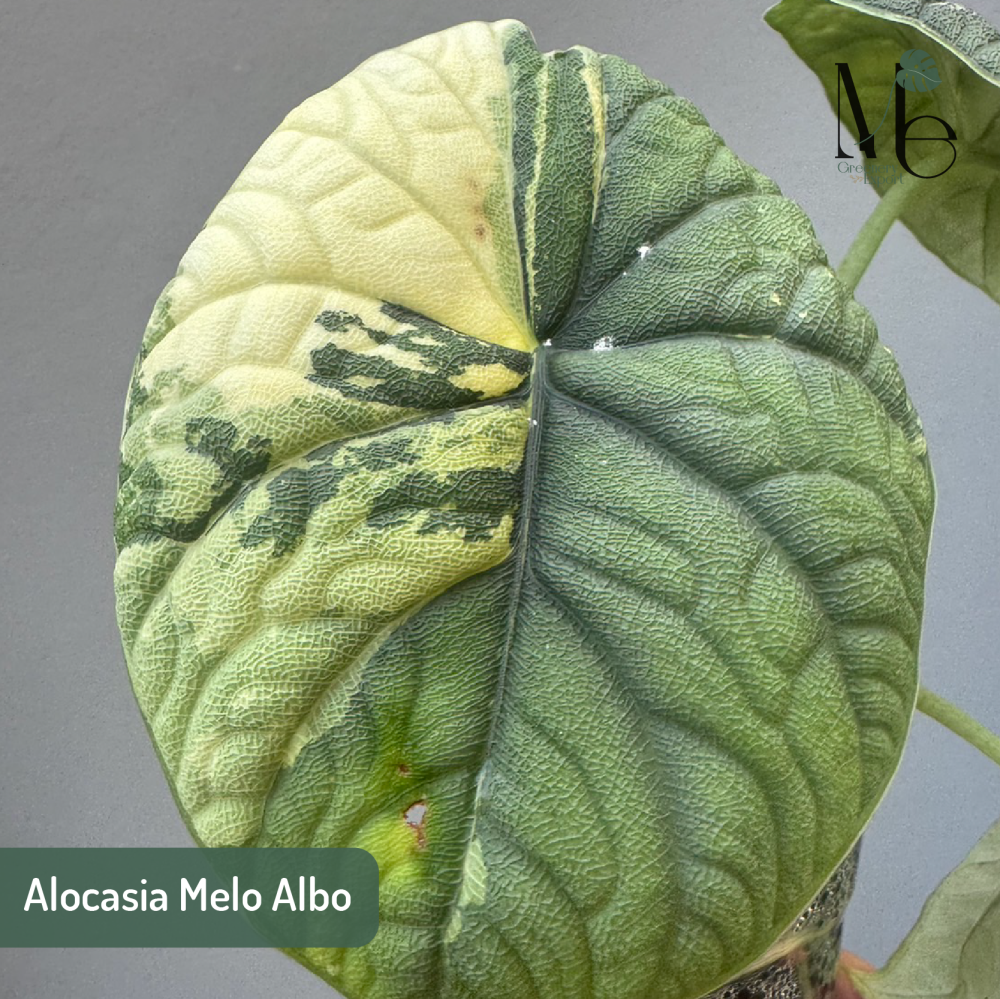
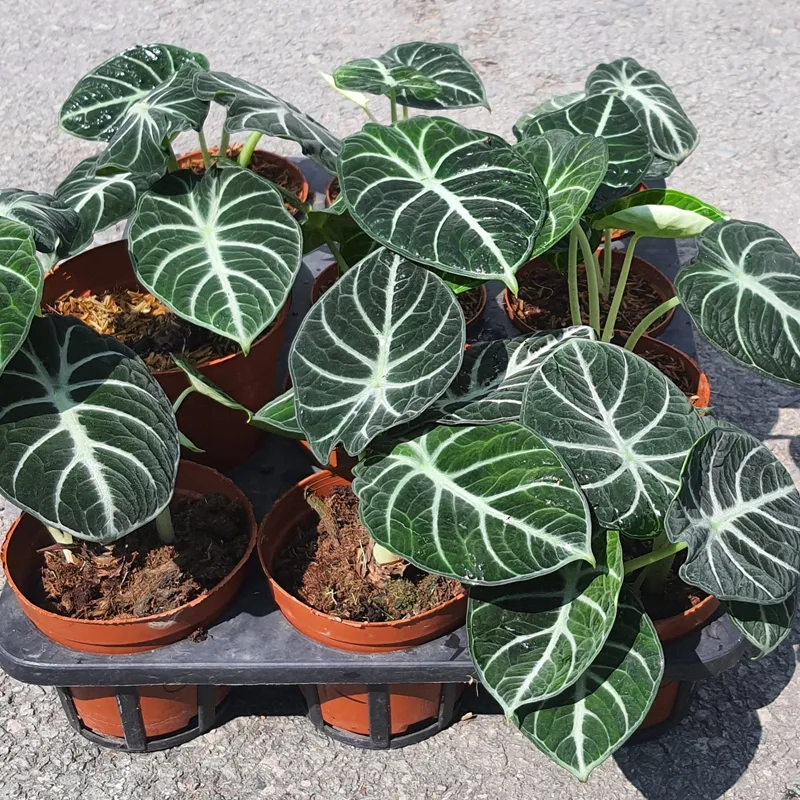
- Dramatic arrow- or shield-shaped leaves (varieties include Polly, Amazonica, Frydek, Regal Shield... there's a collector's list for every type)
- Bold vein patterns: Some have silvery veins (“Dragon Scale”), others deep emerald velvets
- Fast response to environment: happy = explosive growth; disappointed = dramatic decline
Think of these plants as expressive friends—they’ll tell you what they want (sometimes loudly, in yellowed leaves) but make no mistake: mastering their care leads to some seriously rewarding results.
Application: What You Can Expect as an Owner
What sets seasoned enthusiasts apart from frustrated beginners isn’t special gear—it’s dialing into their plant’s signals. Realize that your Alocasia doesn’t always forgive slips right away. If it drops a leaf after stress but shoots new ones up when you course-correct? Celebrate! Growth really does follow patience.
Sometimes I still inspect mine three times a week if humidity drops, and that’s after years of practice; perfection isn’t possible. But progress is.
Quick overview: If you’re prone to forgetting plants in dead corners or want blooms over monster foliage, Alocasia might not suit you now—but for those willing to invest attention? These become living art.
2. The Step-by-Step Path from Purchase To Pro-Level Care
Enough theory—let’s nail the everyday details! Here’s how I recommend building habits that will serve you long-term.
Step 1: Choose Your First (or Next) Alocasia — Start Easy
It can feel overwhelming when faced with dozens of cultivars online or at the store. Breathe! Go for reliability:
- Beginner-friendly picks:
- Alocasia Polly (“African Mask”): Adaptable indoors; resilient versus most
- Alocasia Amazonica: Slightly fussier but worth it for striking looks
- Alocasia Bambino: Petite stature fits small spaces
Leave “ultra-rares” like ‘Maharani’ or ‘Cuprea’ until you’re comfortable controlling humidity year-round.
Pro tip: Inspect roots before buying—a healthy plant should tug lightly out of its nursery pot showing white/rust-colored firm roots; avoid mushy brown ones (a sign of existing rot trouble).
Step 2: Sort Out The Best Spot — Light & Temperature Demystified
Here’s where many good intentions go sideways and turn excitement into quick regret:
- Light: Bright, INDIRECT light is crucial.
- Direct summer sun = burnt leaves. Think north/east windows.
- Sheer curtains are golden if your only spot is south-facing.
- No decent window? Try LED grow lights (I use an $18 clip-on during Seattle winters).
- Temperature:
- Ideal range: 65–80°F (18–27°C) day and night.
- Avoid cold drafts OR blasts from heaters/AC—the Minute Maid “cold window ledge” is a common rookie trap.
- Under 60°F for more than a night can trigger leaf loss; above 85°F without extra humidity dries them quickly.
Real-life moment: My oldest Polly once dropped all leaves after being left by my front door on a frosty December night. It did regrow months later…but oof.
Step 3: Water Smartly (‘Moist Not Soggy’ Solved)
Every beginner overwaters—believe me! “Moist” means just barely damp inside the root zone—not drenched.
How do you tell?
- Poke a finger in an inch deep; only water if this top layer feels dry.
- Water thoroughly until it drains OUT the bottom.
- Always empty saucer trays within an hour (standing water suffocates roots).
- In winter: Less frequent watering as growth slows down.
A simple rule I live by: water when the upper inch goes from cool-damp to crumbly-dry—don’t stick to calendar intervals!
Edge case: During heatwaves or central heating seasons, daily finger-checks save lives (of plants). If uncertain? Under-watering once is safer than overwatering once.
Step 4: Make Humidity Happen — No Excuses
Alocasias CRAVE humidity—especially indoors where most homes fall below safe levels (30–40%) in winter.
Options ranked easiest-to-most-involved:
- Pebble tray under pot filled with water (not touching base): Lifts local RH by ~5–10%
- Plant clusters: Group pots together—for real! Leaves “breathe” together raising local microclimate
- Humidifier: Game-changing if you have more than one tropical ($30–50 basic model)
Aim for above 55%, ideally 65%+. Use any cheap digital hygrometer ($10–20) so you stop guessing.
Example fix: My Frydek revived overnight leaf curl after moving from solo shelf onto grouped tray—all because the morning sun dehydrated faster than I realized.
Step 5: Soil That Breathes (and Protects Roots)
Forget bagged “potting soil” alone—it compacts and suffocates roots over time!
Best mix I’ve used:
- 1 part peat moss/coco coir
- 1 part perlite
- 1 part chunky orchid bark
Proportions don’t need perfection—a handful here or there works fine as long as overall mix is light/fluffy and holds some moisture yet drains quickly.
Repot every 1–2 years OR when roots reach edges/snarl up tightly.
Step 6: Feed Wisely—No Overkill
Feed only during active growth (spring → early autumn). More food in dormancy does nothing but risk salty buildup.
Start slow:
- Half-strength balanced liquid fertilizer once every month is plenty
- Look for NPK near “20-20-20”—but honestly anything close works
- For organic types try seaweed extract or worm tea monthly—gentler on sensitive roots
Don’t double dip! Yellow leaf tips can mean too much fertilizer OR excess salts lurking; flush soil lightly with plain water mid-summer if this appears.
Step 7: Gentle Acclimation & Watchful Eyes
Your plant will protest sudden changes! New arrival? Give it two weeks in gentle light before repotting/stretching conditions.
Keep notes—seriously! Jot down what works/not each month. After one season watching your patterns against leaf health, “mysteries” almost solve themselves.
3. Pitfalls & Solutions—How To Catch Trouble Before It Worsens
Let’s talk about what actually goes wrong…and how real owners fix real problems before throwing in the towel.
Overwatering & Root Rot — The Classic Mistake
Symptoms: Sudden yellowing/browning of lower leaves; mushy stems at soil line
Solution workflow:
- Gently unpot; inspect roots (brown/black mush = rot)
- Trim damaged bits with sterilized scissors/knife
- Rinse healthy roots gently under water
- Repot in DRY fresh mix; wait several days before next cautious watering
- Cut back on future frequency—even hold a sticky note reminder on your pot!
Light Deficiency — Looks Like Fading Or E.T.-long Stems
Thin stretched stems? Pale color?
Easy fixes: Move closer to light source OR add LED grow lamp set for ~12 hours/day during gloomy stretches
Spider Mites & Pests — Tiny Foes Strike Fast
You don’t need to panic—but catch infestations early!
Signs: Tiny yellow dots (“stippling”), fine webs under leaves
Control protocol:
- Spray both leaf surfaces gently with dilute neem oil solution or insecticidal soap every 7–10 days until clear
- Isolate affected plant so pests don’t move between houseplants
- Check surrounding plants too—even tough-leaf ones
Crispy Leaf Edges — Not Always Thirst!
This one surprises most new owners—a well-watered plant can STILL get browning tips or margins.
Most likely culprit? LOW HUMIDITY or salt/fert buildup—not dry soil!
Fix by boosting humidity PLUS checking saltiness (flush occasionally).
Advanced Troubleshooting Scenarios
Don’t sweat edge cases—they happen!
Case A: Newly imported rare cultivar arrives looking wilted despite perfect care
What’s happening: Often root shock/transport trauma—not your fault!
Action: Remove dead stuff but keep conditions stable; DO NOT fertilize until you see solid new growth for weeks
Case B: Plant enters full dormancy dropping ALL leaves after cold spell
What now?: Don’t toss! Leave rhizome dry in pot somewhere warm/light until spring—it often resprouts miraculously
4. Taking It Further: Intermediate & Advanced Techniques That Work
When watering and lighting become second nature…here’s how enthusiasts push boundaries.
Propagating Success Beyond Basics
Most people know division at repot time works reliably:
- Gently tease apart rhizomes at natural junctions using clean shears
- Dust splits with cinnamon powder as mild anti-fungal (my garden grandma swore by this)
But…if you crave challenge:
- Try stem cuttings wrapped loosely in moist sphagnum inside sealed plastic container (“prop box”) set warm/bright for several weeks—success rate climbs if patience does!
- Experienced hobbyists dive into tissue culture kits. Expensive up front ($200+), but fun science experiment yielding pest-free clones—and honestly pretty exciting if you like gadgets.
Setting Up The Ultimate Home Rainforest Shelf
Some take it beyond single pots:
- Build open shelves lined with waterproof trays
- Add compact ultrasonic fogger/humidistat combo (~$80 setup)
- Shelves covered lightly overnight with clear plastic sheeting boosts RH even higher
My friend Ravi fit three dozen tropicals in half a closet this way—from Jewel Orchids to his proudest Alocasia reginula. When visitors step into his “green nook,” everyone wants his setup notes!
Year-Round Vigorous Growth With Grow Lights
Not all grow lights are created equal!
Opt for full-spectrum LED panels meant for houseplants—not just desk lamps.
Mount them ~12 inches overhead set on timers (~12 hrs/day); adjust higher/lower based on leaf color/stretching observed weekly.
Rescue & Revival Stories—Warts And All
Not ashamed here—the best lessons come from worst mistakes:
Real Example One:
Emily had an Alocasia Zebrina collapse mid-January after heater air dried it out fast—all nine leaves fell! We experimented with enclosing it beneath an empty fish tank lid + daily misting + twice-weekly bottom watering only as needed…miraculously it regrew four lush new leaves by May.
Moral? Lost leaves rarely spell total doom if roots are alive and patient support resumes.
Real Example Two:
My own Silver Dragon went downhill fast after battling mealybugs unnoticed beneath lower stems—I almost gave up hope…until day-by-day Q-tip plus rubbing alcohol cleanup won it back over several stubborn weeks.
5. Tools And Trusted Gear I Lean On – With Honest Notes
| Tool | Why It Actually Matters | Field-Tested Comments |
|---|---|---|
| Moisture Meter | Stops random guessing about when to water | Calibrate occasionally / batteries die |
| Digital Hygrometer | Reveals invisible room dryness | Invest $15+ for reliable model |
| Small Humidifier | Raises plant happiness instantly during winter | Clean weekly to prevent mold |
| Chunky Soil Mix | Stops endless root rot cycles | DIY beats bagged “indoor mix” |
| Full-Spectrum Grow Light | Keeps year-round color fast | Timer saves effort |
| Neem Oil | Handles mites/aphids/mild fungus quickly | Smells strong; ventilate space |
Don’t feel pressure to buy everything at once—you learn which upgrades matter most after your first growing season.

6. Community Power & Learning From Other Enthusiasts
There are few things more comforting than seeing veteran plant parents admit blunders—or share photo evidence of miraculous recoveries!
Favorite groups/sites:
- Facebook group “Alocasia Lovers”—responsive community answers most questions fast/cooperatively
- Instagram tags #alocasiacollection #planttherapy spark creative display ideas
- YouTube channels like Summer Rayne Oakes (“Plant One On Me”) dig deep on rare/fussy varieties AND commonly overlooked issues
Consider tracking your own journey visibly—it speeds learning through shared wins and losses.
7. More Real-Life Transformations – Practical Lessons Instead Of Perfection
A few true stories that might sound familiar:
Sarah's Back-from-the-Brink Story:
She grew attached to her discount-store Polly, watered nearly daily till yellow droop hit hard mid-February.
After comparing notes, we dialed back watering frequency ONLY when top inch was fully dry…then introduced bathroom pebble trays during winter heat waves.
Not only did new crisp foliage emerge within weeks, Sarah sent photos beaming after four successive healthy leaves appeared without browning!
John Tackles Sunburn & Overwatering Doubts:
Bought Amazonica impulsively; placed in blazing afternoon window + weekly soaking routine led swiftly to limp brown streaking along veins.
Transplanted behind sheer curtain instead, invested under $35 total in clip-on grow light plus meter combo—and watched each fresh unfurling arrive larger/glossier than last photo shared online.
Maria Masters Division And Rare Cultivars:
Moved up from basic ‘Polly’ success by sourcing spectacular velvet-leaf ‘Frydek’. Crafted her own environmental mimic using low-cost timer controlled humidifier + regular neem spray routine every other week post-shower time—all while safely dividing her first robust rhizome into two thriving pots.
8. Practical Action Plan – Exact Steps To Progress Today
Let’s make theory actionable—you’ll see changes within days or weeks:
- Reevaluate Your Lighting: Check actual spot brightness by standing where your plant sits midday—is there clear shadow cast? If not, move closer/north toward better indirect light or get supplemental bulb ASAP.
- Buy Cheap Tools ($25ish total): Basic moisture meter + digital hygrometer change everything about confidence with watering/humidity tasks immediately.
- Hold Off On Water Now! Don’t cave just because surface looks dry alone—always check depth before acting.
- Add Simple Humidity Boosts Tonight: Place pebble tray/trough beneath smallest pot OR run bathroom shower nearby briefly during peak heating periods if no humidifier yet owned.
- Audit Soil Texture This Month: Scratch below surface—compacted heavy mass needs repotting soon using chunkier airy homemade mix described earlier.
- Light Feeding Only In Active Months: Spring onward use half-strength general liquid food monthly MAX…ignore all advice suggesting biweekly feedings unless massive consistent new growth obvious.
- Inspect Regularly For Pests Or Mold: Monthly glance under largest leaves/at base helps catch outbreaks before infestation spreads.
- Try Division Next Repot Season Without Fear: Only start once roots circle perimeter/stem clump thickens noticeably—but watching those first shoots emerge post-split remains a highlight yearly!
9. Growing Toward Mastery – Where To Push Next?
Enthusiasm breeds curiosity! Here’s what usually comes next along the journey:
- Experiment keeping brief weekly journals/photos showing location/season/watering tweaks versus leaf color/growth speed observed (“plant detective work” builds muscle memory)
- Level-up connecting with local botanical garden events/workshops focused on tropical species—or trade rarities/cuttings among enthusiasts offline
- Try adding rare types carefully AFTER baseline success locks down—remember foundational basics trump expensive imports every time
Curious about propagation science? Learning home-based tissue culture exists makes advanced mastery less intimidating—and connects hobbyists globally through exchange networks once considered out-of-reach for regular folks.
Last Thought As You Head Back Into Your Indoor Jungle…
Nurturing any Alocasia takes more than checklists—it’s collaborative tinkering between plant and person; progress happens incrementally not instantly, and sometimes setbacks teach more than quick wins ever could!
The finest displays started shaky—with shriveled stems rescued not just by luck but small persistent adjustments over seasons…and recounted fondly later alongside triumph shots online.
If this guide spurred conviction or offered troubleshooting where confusion once ruled—you’re further along already than you think! Keep curiosity alive one inspection at a time.
Here if questions ever pop up—or join others online sharing the same hands-in-dirt journey toward spectacular leafy displays indoors!
Rooting wholeheartedly for YOU,
A fellow persistent alokasiaphile