Alocasia Polly Plant Care: Practical Tips for Thriving Growth
When I first brought home my Alocasia Polly, I treated it like one of those tough succulents I’d cared for before—assuming minimal fuss would do. Within a week, its leaves started drooping and curling. It was an unmistakable cry for help. This plant plays by a different set of rules. It’s a tropical beauty that demands a finely tuned balance of light, moisture, humidity, and patience—not neglect or quick fixes.
What you’ll find here isn’t just another generic care guide. It’s the result of over two years of observing how Alocasia Polly reacts to tiny changes in its environment—at home, in my small office where we greened the space, and through troubleshooting dozens of rescues for friends and community members. You’ll get shortcuts to avoid common mistakes, advanced techniques for thriving plants, and some surprising insights that go against popular advice. Stick with me: caring for Polly isn’t complicated once you understand how she ticks—and it’s actually quite rewarding.
1. Understanding Alocasia Polly: Why Precision Matters
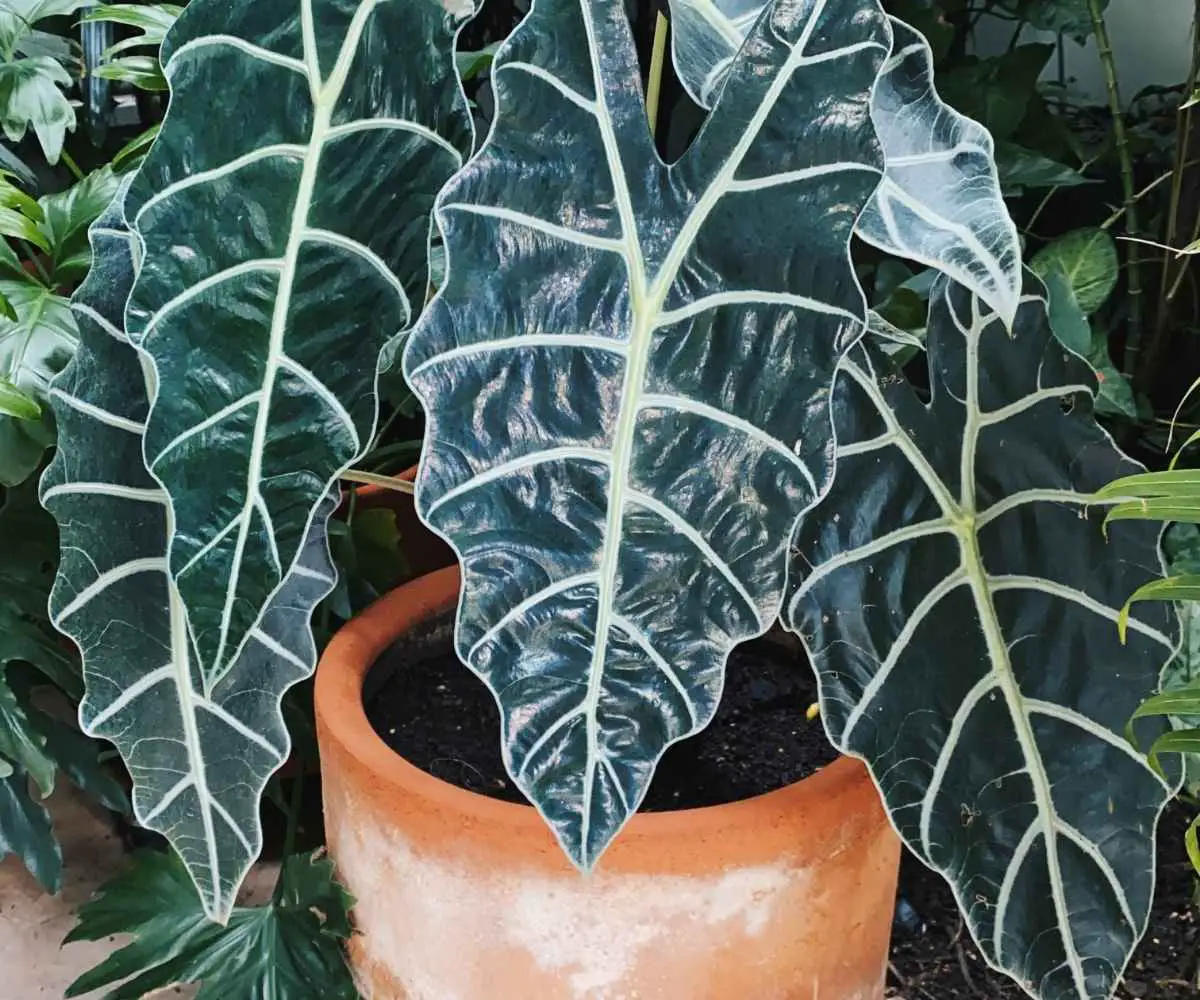
Alocasia Polly is a hybrid born from the Amazon rainforest’s dense understory. Unlike hardy succulents adapted to drought, Polly evolved under constant humidity with filtered light through thick canopies. Its arrowhead-shaped leaves with striking white veins aren’t just pretty—they’re delicate sensors telling you exactly what’s going on.
Here’s what I learned firsthand:
- Leaves are your early warning system: They droop within hours if watering is off or humidity drops below 60%. This isn’t gradual; it’s an urgent SOS.
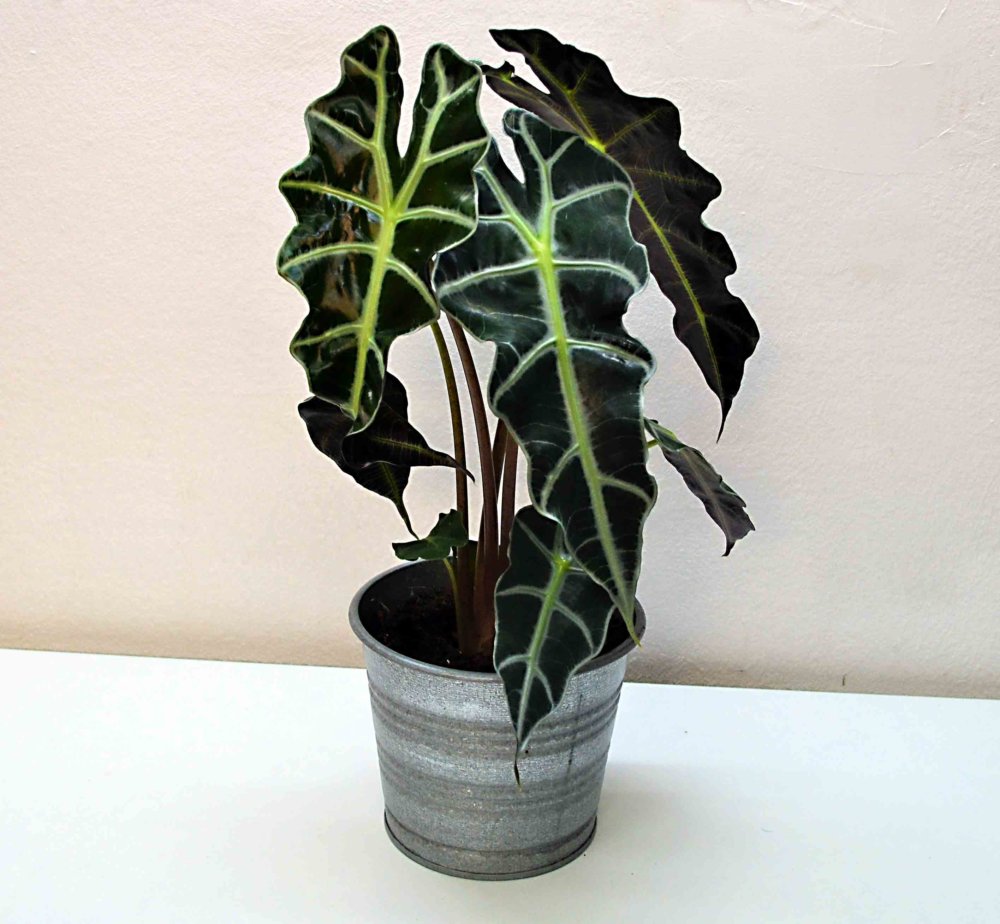
- Small size means big microclimate needs: At 12–24 inches tall indoors, Polly thrives best when grouped with other humidity-loving plants like Calatheas or Philodendrons. Think of it as creating a tiny rainforest ecosystem rather than leaving her alone.
- Rhizomes store water—but not forever: Thick underground stems allow some drought tolerance, but soggy soil quickly leads to rot.
In short: every care choice you make ripples immediately through her physiology—there’s no margin for error.
2. Setting Up for Success: Nail Your Environment
Spot Selection: More Than “Bright Indirect Light”
Most guides stop at “bright indirect light,” but that’s too vague to keep Polly happy long-term.
I used a Lux Light Meter app on my phone over three weeks to measure light intensity across my apartment windows. Polly thrived between 1000 and 1500 lux consistently—any lower and growth slowed; higher than 1800 lux caused leaf scorch within hours.
Pro Tip: If your natural light swings wildly (cloudy days vs blazing sun), supplement with a timer-controlled full-spectrum LED grow light like the Spider Farmer SF1000. Place it about 14 inches above the canopy, running 12 hours daily during winter or in low-light spaces.
This precision prevents guesswork—and trust me, guessing is where most people lose their Pollys. For a detailed guide to understanding light and humidity needs of Alocasia Polly plants, check out our dedicated article.
Soil Mix: The Recipe That Works Every Time
After testing more than ten mixes on office plants (and dozens at home), here’s what really works:
- 40% Coco Coir: Sustainable and retains moisture without compacting
- 30% Orchid Bark: Adds aeration and mimics rainforest leaf litter
- 20% Perlite: Ensures drainage
- 10% Worm Castings: Slow-release nutrients that feed steadily
I know many guides recommend peat moss—but here’s the catch: peat compacts quickly and holds too much water, increasing root rot risk over time.
For more on choosing the right soil and fertilizers, see our best soil and fertilizers for healthy Alocasia Polly growth.
Choosing Your Pot: Clay or Plastic?
Halfway through one growth cycle, I switched from terracotta to plastic pots because our humidifier kept ambient moisture above 70%. Plastic pots held beneficial moisture longer during winter dormancy; terracotta dried out roots too fast in that scenario.
But if you live somewhere dry or don’t run a humidifier, terracotta wicks away excess moisture effectively. So pick based on your environment—and don’t be afraid to switch if conditions change!
3. Watering Like a Pro: Timing & Quantity Matter Most
Watering trips up most new owners—it’s easy to underwater or drown your plant without realizing it.
Here’s what helped me dial in perfect watering:
- The weight test beats soil touch tests every time: Lift your pot before watering to memorize its ‘dry’ vs ‘moist’ weight difference—a subtle but reliable signal.
- Frequency depends on your climate: In my New York apartment during winter (45% RH), watering every 10 days worked well; during humid summers (70% RH), every 5 days was necessary.
- Amount matters more than schedule: Overwatering by even a few ounces causes root trouble in small pots (<6-inch diameter). Water slowly until about 20% runoff appears; less runoff often means compacted soil or poor drainage.
I once watered strictly on schedule regardless of soil dryness—and lost an entire batch of leaves in under two weeks due to soggy roots. Lesson learned the hard way!
4. Humidity: Your Game-Changer (Don’t Skip This)
Anyone who says “just spray your leaves” hasn’t lived with Polly through winter dryness.
I ran an experiment placing three identical Pollys side-by-side:
- One got daily misting only
- One had an ultrasonic humidifier maintaining 65–70% RH
- One sat on a pebble tray
Within just three weeks:
- The mist-only plant developed brown edges
- The pebble tray plant fared better but still showed stress
- The humidifier plant grew robustly with glossy leaves
If you invest in only one tool beyond soil and potting mix—a cool-mist humidifier like Levoit LV600HH will save you endless guesswork and stress.
No humidifier? Try grouping plants tightly together near your most humid spot (like the kitchen) and use pebble trays as best as possible—but temper expectations for winter months unless you can boost humidity otherwise.
For more on humidity and light requirements, see our understanding light and humidity needs of Alocasia Polly plants.
5. Fertilizing Wisely: Less Is More Here
Most sources push monthly feeding—but my routine monitoring tells a different story:
Polly prefers moderate feeding every 2 weeks during growing season, at half-strength fertilizer (I use Miracle-Gro Indoor diluted to 0.5x dose). Over-fertilizing shows up fast as brown tip burn after just three feedings in one month.
Here’s the kicker: skipping fertilizer entirely during winter dormancy leads to healthier spring resprouting than low-dose continuous feeding!
For detailed fertilizer recommendations, check out our best soil and fertilizers for healthy Alocasia Polly growth.

6. Troubleshooting Like a Scientist: Track Patterns Not Just Symptoms
Instead of guessing causes based on single symptoms, track multiple variables over time—watering patterns, humidity levels, light intensity—to pinpoint problems objectively.
| Symptom | Watering Pattern | Humidity Level | Light Intensity | Diagnosis & Fix |
|---|---|---|---|---|
| Drooping leaves | Overwatering or sudden drought | <50% | >1800 lux direct? | Adjust watering schedule; raise humidity; filter harsh light |
| Yellowing bottom leaves | Infrequent watering | Ideal (~60%) | Too low (<700 lux) | Increase lighting; stabilize watering |
| Brown crispy edges | Frequent fertilizing | <55% | Moderate light | Cut fertilizer dose; boost humidity |
| Spider mites present | Dry air + dusty leaves | <40% | Any | Deep clean leaves weekly; increase humidity |
Keeping a simple journal noting these factors daily made problem-solving far more objective than relying on intuition alone—it feels less like guesswork and more like detective work!
If you want to dive deeper into common issues, see our article on common pests and diseases affecting Alocasia Polly and how to treat them.
7. Propagation That Works: Division Without Heartbreak
After three failed attempts cutting leaf sections hoping they’d root (spoiler alert—they didn’t), division became my go-to method:
In early spring when new growth surges are visible:
- Gently remove Polly from its pot
- Identify natural clumps where rhizomes branch off separately
- Using a sterilized serrated knife—not scissors!—cleanly separate rhizomes ensuring each has at least one stem attached
Repot divisions into pre-moistened coco coir-rich mixes, then cover loosely with clear plastic or place inside a mini greenhouse setup to maintain near-100% humidity for four weeks until new shoots emerge.
Patience here is key—don’t rush separation or repotting too early!
8. Rescue Story: Bringing Back A Root Rot Victim
A friend once sent me photos of her Alocasia Polly base blackened and mushy from chronic overwatering combined with poorly draining sphagnum peat moss soil.
We agreed on this emergency protocol:
- Remove all soil gently
- Trim rotten roots with sterilized shears—it smelled awful indicating anaerobic bacterial infection
- Soak bare roots briefly in diluted hydrogen peroxide solution (1 part H2O2 to 4 parts water) to kill pathogens
- Repot immediately into airy coco coir + orchid bark mix
- Use a moisture meter daily going forward to avoid repeat overwatering
- Place near east-facing window behind sheer curtains with supplemental grow light running evenings only
Six weeks later? New leaf shoots unfurled strong and glossy—a full recovery many thought unlikely at that stage!
You might face setbacks too—that’s normal! But steady observation paired with decisive action can bring your Polly back from the brink.
9. First Month Blueprint for Confidence
Week One: Set up potting mix & location exactly; water deeply once; install humidifier if possible; weigh pot daily pre/post watering to get feel for dry vs moist weight.
Week Two: Start biweekly fertilizing at half-strength if new growth appears; wipe dust weekly using microfiber cloth dampened with distilled water (keeps pores open).
Week Three: Monitor leaf firmness morning & night; adjust distance from window/grow light if curling appears; check closely for pests using magnifying glass—early spider mite detection saves headaches later!
Week Four: Review growth progress via weekly photos—tiny changes become visible over time; prepare repot plan only if rhizomes protrude or soil compacts seriously—avoid premature disturbance otherwise.
This slow build helps build confidence while giving your plant space to settle without overwhelm—a gentle rhythm wins here every time.
10. Long-Term Mastery: Tracking Progress & Joining Community
Consistent success comes down to disciplined tracking plus learning from others:
- Use Notion or Evernote templates customized for plant care logs including columns for watering dates, humidity %, fertilizer doses, leaf health notes
- Share photos weekly on Reddit r/houseplants or local meetups where real-time troubleshooting happens
- Experiment slowly by changing one variable at a time—switched pots? Monitor differences over minimum one full growth cycle (~3 months)
Biggest insight? Pollys hate rushed interventions more than neglect—they bounce back faster when routines stay stable rather than frequent repotting/fertilizing binges pushed by impatience.
Quick Start Summary For Beginners
If all this feels overwhelming right now — start here:
- Find bright indirect spot near east-facing window (~1000–1500 lux)
- Use airy soil mix rich in coco coir + orchid bark + perlite (skip peat moss!)
- Water only when top inch feels dry and pot feels lighter than usual (weight test)
- Keep humidity above 60% by grouping plants + misting + pebble tray / humidifier if possible
- Feed half-strength fertilizer biweekly during growing season only
- Watch leaves closely—droop means act fast! Adjust water/humidity/light accordingly
Remember—it takes patience! Expect small setbacks but celebrate each healthy new leaf as proof you’re getting it right.
Your Alocasia Polly isn’t just another houseplant—it’s an ongoing conversation between you and nature’s delicate balance distilled into living artful foliage that commands attention wherever it grows.
From measuring lux levels precisely to mastering propagation techniques—I hope this guide arms you not just to keep your Polly alive but nurture her into thriving centerpiece status that makes every minute invested feel worthwhile.
And hey—if you ever feel stuck or discouraged? That happens even with years of experience! Reach out online or check back here—you’re never alone in this journey toward mastering the quirkiest beauty in your indoor jungle garden.
Happy growing! 🌿


