Aloe Vera Plant: A Simple Guide to Growing and Healing Benefits

Aloe Vera isn’t just a pretty succulent to line your windowsill—it’s a living, breathing miracle plant with a rich history and practical uses that go far beyond decoration. I’ve spent more than five years caring for Aloe Vera in all kinds of settings—from sun-baked balconies to cozy urban greenhouses—and trust me, the journey is equal parts rewarding and educational. This guide isn’t another generic list of tips you’ve seen before. Instead, it’s packed with honest lessons, specific instructions, and real-world examples that will help you grow Aloe Vera confidently, harvest its healing gel safely, and appreciate every little quirk this fascinating plant throws your way.
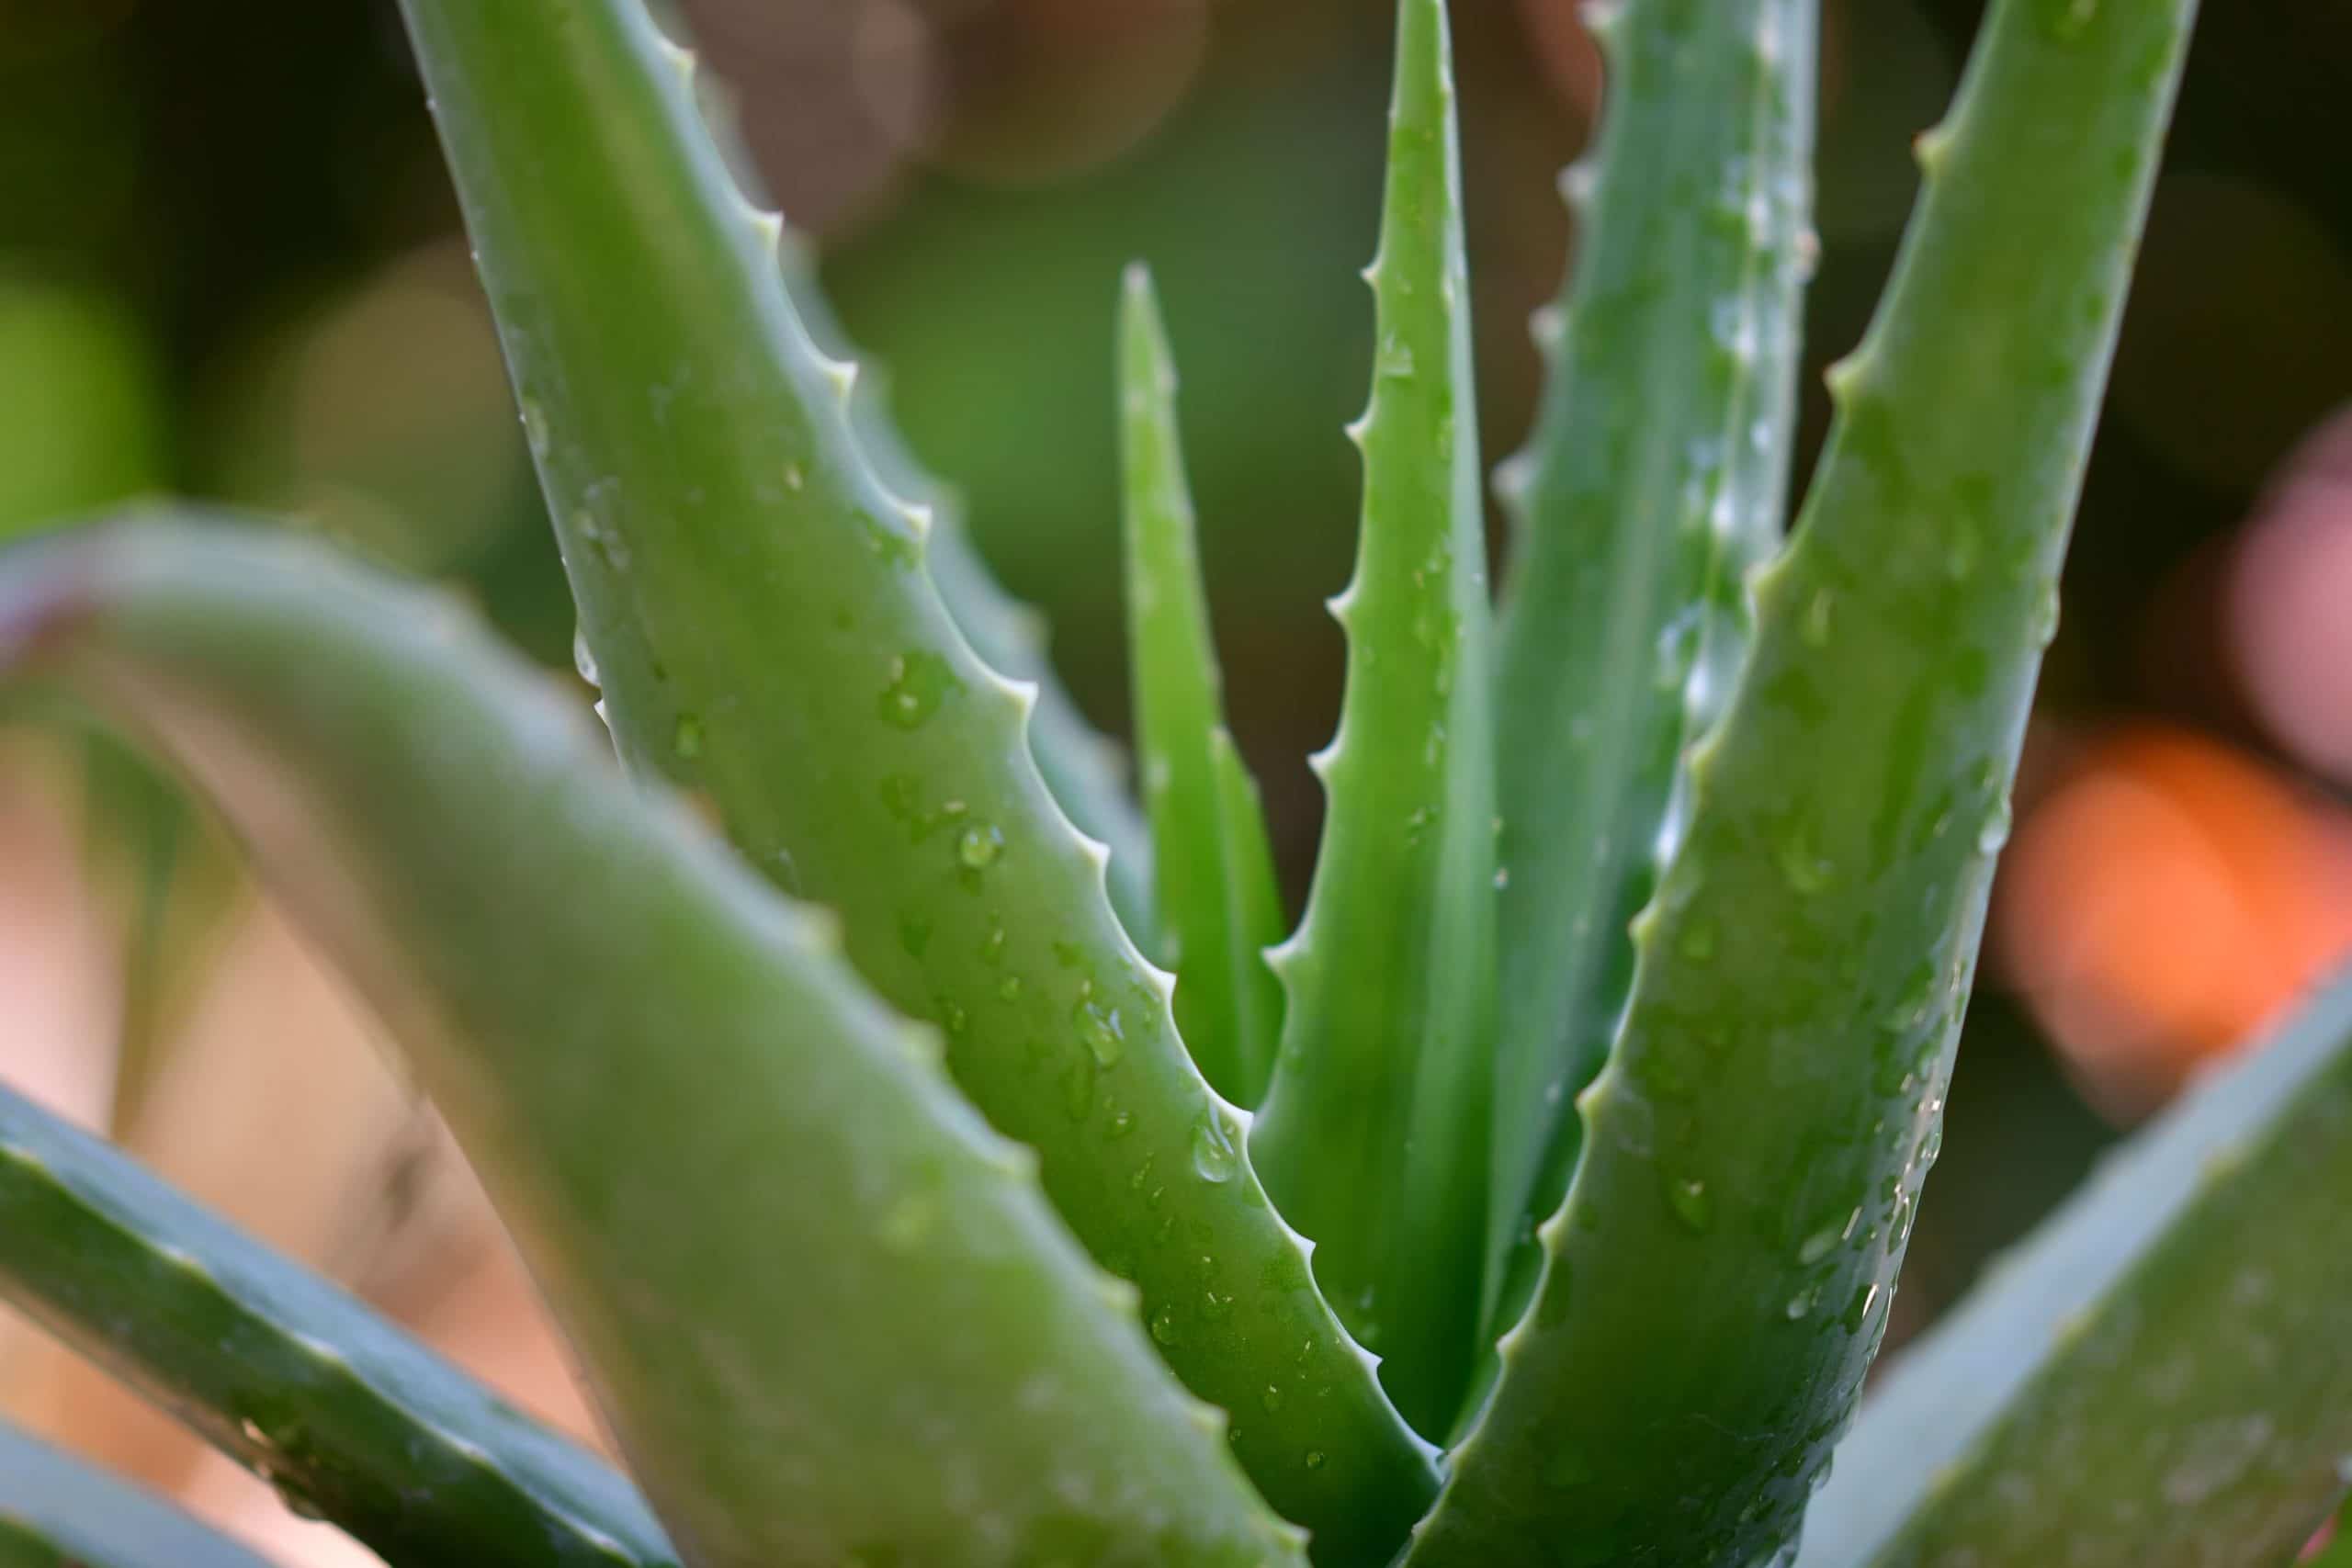
1. Meet Aloe Vera: More Than Just a Succulent
When I first brought home an Aloe barbadensis Miller, I treated it like any other houseplant—mostly as eye candy. But very quickly, I realized it’s a biological powerhouse and herbal treasure. Native to the Arabian Peninsula yet now flourishing worldwide in warm climates, Aloe Vera is tough but not invincible.
Its thick fleshy leaves are water reservoirs—over 99% water with the remaining 1% bursting with enzymes, vitamins A, C, E, minerals like magnesium and zinc, polysaccharides (these complex sugars are key players), and amino acids. That clear gel inside? That’s where the magic happens.
Here’s a crucial heads-up from my experience: inside mature leaves lies this bitter yellow sap called aloin—don’t confuse this with the gel! Aloin can irritate skin or upset your stomach if consumed without caution. My rookie mistake was slicing into a young leaf too hastily and ending up with a stinging rash on my arm. Lesson learned: always pick thick, mature leaves near the base.
2. Starting Strong: How to Set Up Your Aloe for Success
What You’ll Need Before Planting
- Pot: Clay or terracotta pots with drainage holes are your best friends here—they wick away excess moisture and reduce root rot risk. I once tried plastic pots indoors; let’s just say that was a slow march toward soggy roots.
- Soil: Don’t grab any old potting soil! Aloe loves fast-draining soil. Use cactus mix or DIY your own blend:
- 50% potting soil
- 25% perlite (for airiness)
- 25% coarse sand (for drainage)
- Light: Bright indirect light for about 6–8 hours daily is perfect. Full noon sun? It can turn those leaves crispy orange overnight—I learned this the hard way on my balcony.
- Watering tool: A watering can with a narrow spout or even a drip irrigation ring helps keep water at soil level—not splashing on leaves where it invites fungal trouble.
Step-by-Step Planting Guide
- Fill your clay pot about three-quarters full with your well-draining mix.
- If you have pups (little offshoots), gently separate them with some roots intact; if it’s a mature plant, carefully loosen roots without breaking them.
- Place the plant so roots spread naturally—not cramped—and cover lightly with soil but leave leaf bases exposed.
- Most important: wait at least 3 days before watering after potting to let any root damage heal and prevent rot.
I didn’t wait those few days once—my first pup got root rot within two weeks! Now I’m religious about this waiting period.
If you want a detailed guide to propagating Aloe Vera, check out this step-by-step guide to propagating Aloe Vera plants.
3. Watering: Mastering the Balance Between Thirsty and Soggy
“Water sparingly” is advice you’ll hear everywhere—but what does that really mean? Here’s what worked in my experience:
- In summer heat (75–85°F / 24–29°C): Water deeply every 3 weeks—not just misting but pouring enough so water drains from the bottom.
- In cooler months or indoors (below 65°F / 18°C): Stretch watering out to every 5–6 weeks.
- Always check soil moisture first by sticking your finger about 2 inches deep—it should feel bone dry before you water again.
- Avoid watering leaves directly; wet foliage encourages fungal infections.
For peace of mind, I use a moisture meter like the Dr.meter Moisture Sensor ($15 on Amazon). It saved me from overwatering disasters more times than I can count.
4. Light: Finding Aloe’s Sweet Spot
Aloe Vera adores bright light but hates extremes:
- Too little light means lanky, pale leaves stretching out weakly toward any brightness (called etiolation).
- Too much direct midday sun scorches leaves quickly—they turn orange or develop brown patches.
My best setup? An east-facing window that bathes my Aloe in gentle morning sun without frying it later in the day.
No natural sunlight? No worries! A modest LED grow light like VIPARSPECTRA Pro Series (~$70) running about 10 hours daily on a timer will keep things thriving indoors.
5. Feeding Without Overfeeding: The Right Way
Fertilizer is often ignored or misused—too much can do more harm than good.
Here’s how I feed mine:
- Use balanced liquid fertilizer diluted to 25% strength (think “snack,” not “feast”).
- Fertilize only during active growth seasons—spring through summer—once every 6 weeks.
- Skip feeding entirely during fall/winter when Aloe enters semi-dormancy.
Overfed plants develop soft mushy leaves prone to rot—I learned this after blindly following generic feeding schedules early on!
6. Harvesting Gel Like a Pro: Step-by-Step
The healing gel inside mature leaves is pure gold—but extracting it takes care:
- Harvest early morning when gel concentration peaks (I mark my calendar monthly).
- Cut mature leaves near the base using a sharp sterilized knife; toss any slimy or damaged parts.
- Lay leaf flat on a cutting board; carefully slice off serrated edges.
- Peel back top green skin gently—you want just the clear gel inside.
- Scrape out gel into clean glass containers immediately.
Pro tip: Rinse gel under cool running water to wash away lingering aloin latex—I skipped this once and ended up with mild stomach upset after blending raw gel into my smoothie!
Store fresh gel airtight in the fridge for up to 7 days, or freeze in ice cube trays for longer storage.
To learn more about the benefits and uses of the gel you harvest, see the top health benefits of Aloe Vera gel.
7. Propagation That Really Works
Most guides say leaf cuttings work fine—but honestly? Leaf cuttings almost always rot before rooting unless you dry them for at least 7 days until calloused—a tedious gamble I've tried dozens of times.
Offsets (“pups”) are far better:
- Wait until pups reach at least one-fifth the size of their parent plant.
- Gently separate at the root ball; let pups callous on newspaper for about four days before planting.
Last spring I propagated three pups simultaneously using this method—all thrived within months!
For a full walkthrough, check out this step-by-step guide to propagating Aloe Vera plants.
8. Troubleshooting Real Problems With Real Solutions
Yellow/Brown Leaves?
Usually caused by overwatering or too much direct sun exposure causing stress.

Fix: Cut back watering immediately; move plant away from harsh afternoon rays.
Soft Base & Foul Smell?
Root rot alert! Act fast:
- Remove plant from pot ASAP.
- Trim rotten roots with sterilized scissors.
- Repot in fresh dry soil.
- Hold off watering for at least one week while roots recover.
Pesky Pests?
Mealybugs love hiding around leaf bases:
- Wipe affected areas gently using cotton swabs dipped in diluted rubbing alcohol.
- Alternatively use insecticidal soap spray early morning when pests are less active.
9. Beyond Growing: Medicinal & Culinary Insights You Can Trust
I’ve personally used fresh Aloe gel multiple times as an emergency burn remedy—with soothing relief within minutes and noticeably faster healing than commercial gels.
Science backs these benefits:
- Hydrates skin cells deeply
- Reduces inflammation thanks to compounds like acemannan
- Speeds wound repair by stimulating collagen production
But be cautious internally:
Only consume pure clear gel after careful latex removal—the yellow aloin-rich juice causes diarrhea or cramps if ingested whole-leaf style.
Inspired by Middle Eastern traditions like “Aloesheer” drinks, I experimented extensively in the kitchen; meticulous peeling and rinsing are musts to avoid bitterness and side effects here too!
For more on Aloe Vera’s healing properties, see the top health benefits of Aloe Vera gel.
10. Tools & Resources That Make All The Difference
My personal Aloe toolkit includes:
- Sharp Fiskars pruning shears sterilized regularly
- Miracle-Gro Cactus Soil Mix enhanced with extra perlite
- Dr.meter Moisture Meter ($15)
- VIPARSPECTRA LED Grow Light ($70)
- Food-grade glass jars for storing fresh gel
- “PlantSnap” app for quick identification of suspicious aloe-like plants
Online communities like Reddit’s r/Aloe have been invaluable when facing rare issues beyond what books cover—don’t underestimate crowd wisdom!
11. Final Word: Growing Aloe Vera Is A Journey Worth Taking
Aloe isn’t just another plant—it communicates subtly if you learn its language:
- Droopy leaves? Probably thirsty or cramped roots needing repotting.
- Dry cracked soil but limp leaves? Check humidity levels or signs of root trouble.
I still keep notes on each plant’s seasonal quirks because no two Aloes behave exactly alike depending on microclimate variations around your home.
Patience + observation + learning from failures = mastery here (trust me—I’ve had plenty of early overwatering disasters).
With this guide as your foundation—and maybe even some trial-and-error—you’re ready not just to grow Aloe but truly understand its remarkable nature so you can unlock its full potential for health, home care, or even small-scale product creation if that interests you someday.
Welcome to aloe stewardship—from my hands to yours!
Bonus Section: Advanced Tips & Commercial Cultivation Insights
If you want to take things further...
Varieties & Hybrids
Besides Aloe barbadensis Miller (the medicinal classic), there are dozens of other species worth exploring—like Aloe arborescens (hardier outdoors) or colorful hybrids prized by collectors which may require slightly different care routines due to varying sunlight tolerance or growth rates.
Commercial Scale Growing
For those dreaming bigger:
- Use raised beds outdoors with sandy loam soils for optimal drainage.
- Irrigate via drip systems timed precisely—overwatering kills crops faster than drought here!
- Implement shade cloths during intense summer heat spikes.
Proper pest management includes monitoring for scale insects and fungal pathogens more common outdoors—regular scouting plus organic neem oil sprays help maintain healthy stands without harsh chemicals.
Deeper Dive Into Medicinal Compounds
Research continues uncovering fascinating molecules in aloe like acemannan's role in immune modulation plus antioxidant profiles unique among succulents—but remember quality varies greatly depending on growing conditions and harvest timing!
If you made it this far—thank you! Growing aloe well is both science and art—and sharing stories keeps our community growing too. If you have questions or want tips tailored exactly to your climate or setup, just ask!
Now go forth and nurture that spiky green friend—you might be surprised how much joy one resilient little plant can bring into your life.
If you'd like photos illustrating these steps or printable checklists—I’d be happy to help put those together next!


