Amaranth Farming: Practical Tips From Someone Who’s Been There

Let’s strip away the fluff and cut to what really matters if you’re just starting with amaranth farming. It’s not some magical, hands-off crop—it requires practical attention, but nothing too complicated once you know what to watch for. The truth is, your success hinges on understanding a few down-to-earth basics and common snags that new growers often miss.

Start with Soil—Don’t Skip This Step
Here’s where many beginners stumble: assuming amaranth can grow anywhere without fuss. Reality check: it prefers soil that drains well. I learned this the hard way years ago when I planted seeds in my backyard, which had compact clay untouched for decades. Sure, sprouted seedlings popped up but then vanished overnight because waterlogged roots invited rot.
Here’s a quick test for you:
- Dig a 30 cm hole, fill it with water, and time how long it takes to vanish into the ground.
- If water hangs around beyond 24 hours, you’ve got soggy soil needing help—add sand, composted organic matter, or even plant in raised beds if that’s an option.
Avoid shady spots too; amaranth needs sunlight like a car needs fuel. If you find your patch less than ideal, pick another—or get ready to amend the soil until it behaves better.
Handling Tiny Seeds Like Delicate Treasures
Those little seeds look like dust specks but expect different germination rates if you scatter them blindly. One newbie friend of mine threw seeds all over her veggie patch and got only sparse shoots from half-hearted spots—not poor seed quality but uneven planting.
What works best:
- Loosen soil at least 5 cm deep—you want it soft enough to make contact with those tiny seeds.
- Clear out any stones or old debris; these create air pockets preventing seedlings from pushing through.
- Plant in rows roughly 30 cm apart so young plants don’t compete fiercely.
- Cover seeds with a light layer (~1 cm) of fine soil—too deep will suffocate them.
- Keep consistent moisture but don’t soak them.
This approach means more uniform sprouts and fewer empty patches crawling with weeds later on.
Watering Smarter Not Harder
More frequent watering doesn’t mean healthier plants here—if anything, overwatering quickly kills amaranth roots through fungal attacks. You’ll hear a bit of conflicting advice online about “light daily watering,” but trust me: deep soaking once or twice per week is better.
Try this simple trick:
- Stick your finger 5–7 cm below the surface; if it feels dry there, pour water slowly at the base of each plant.
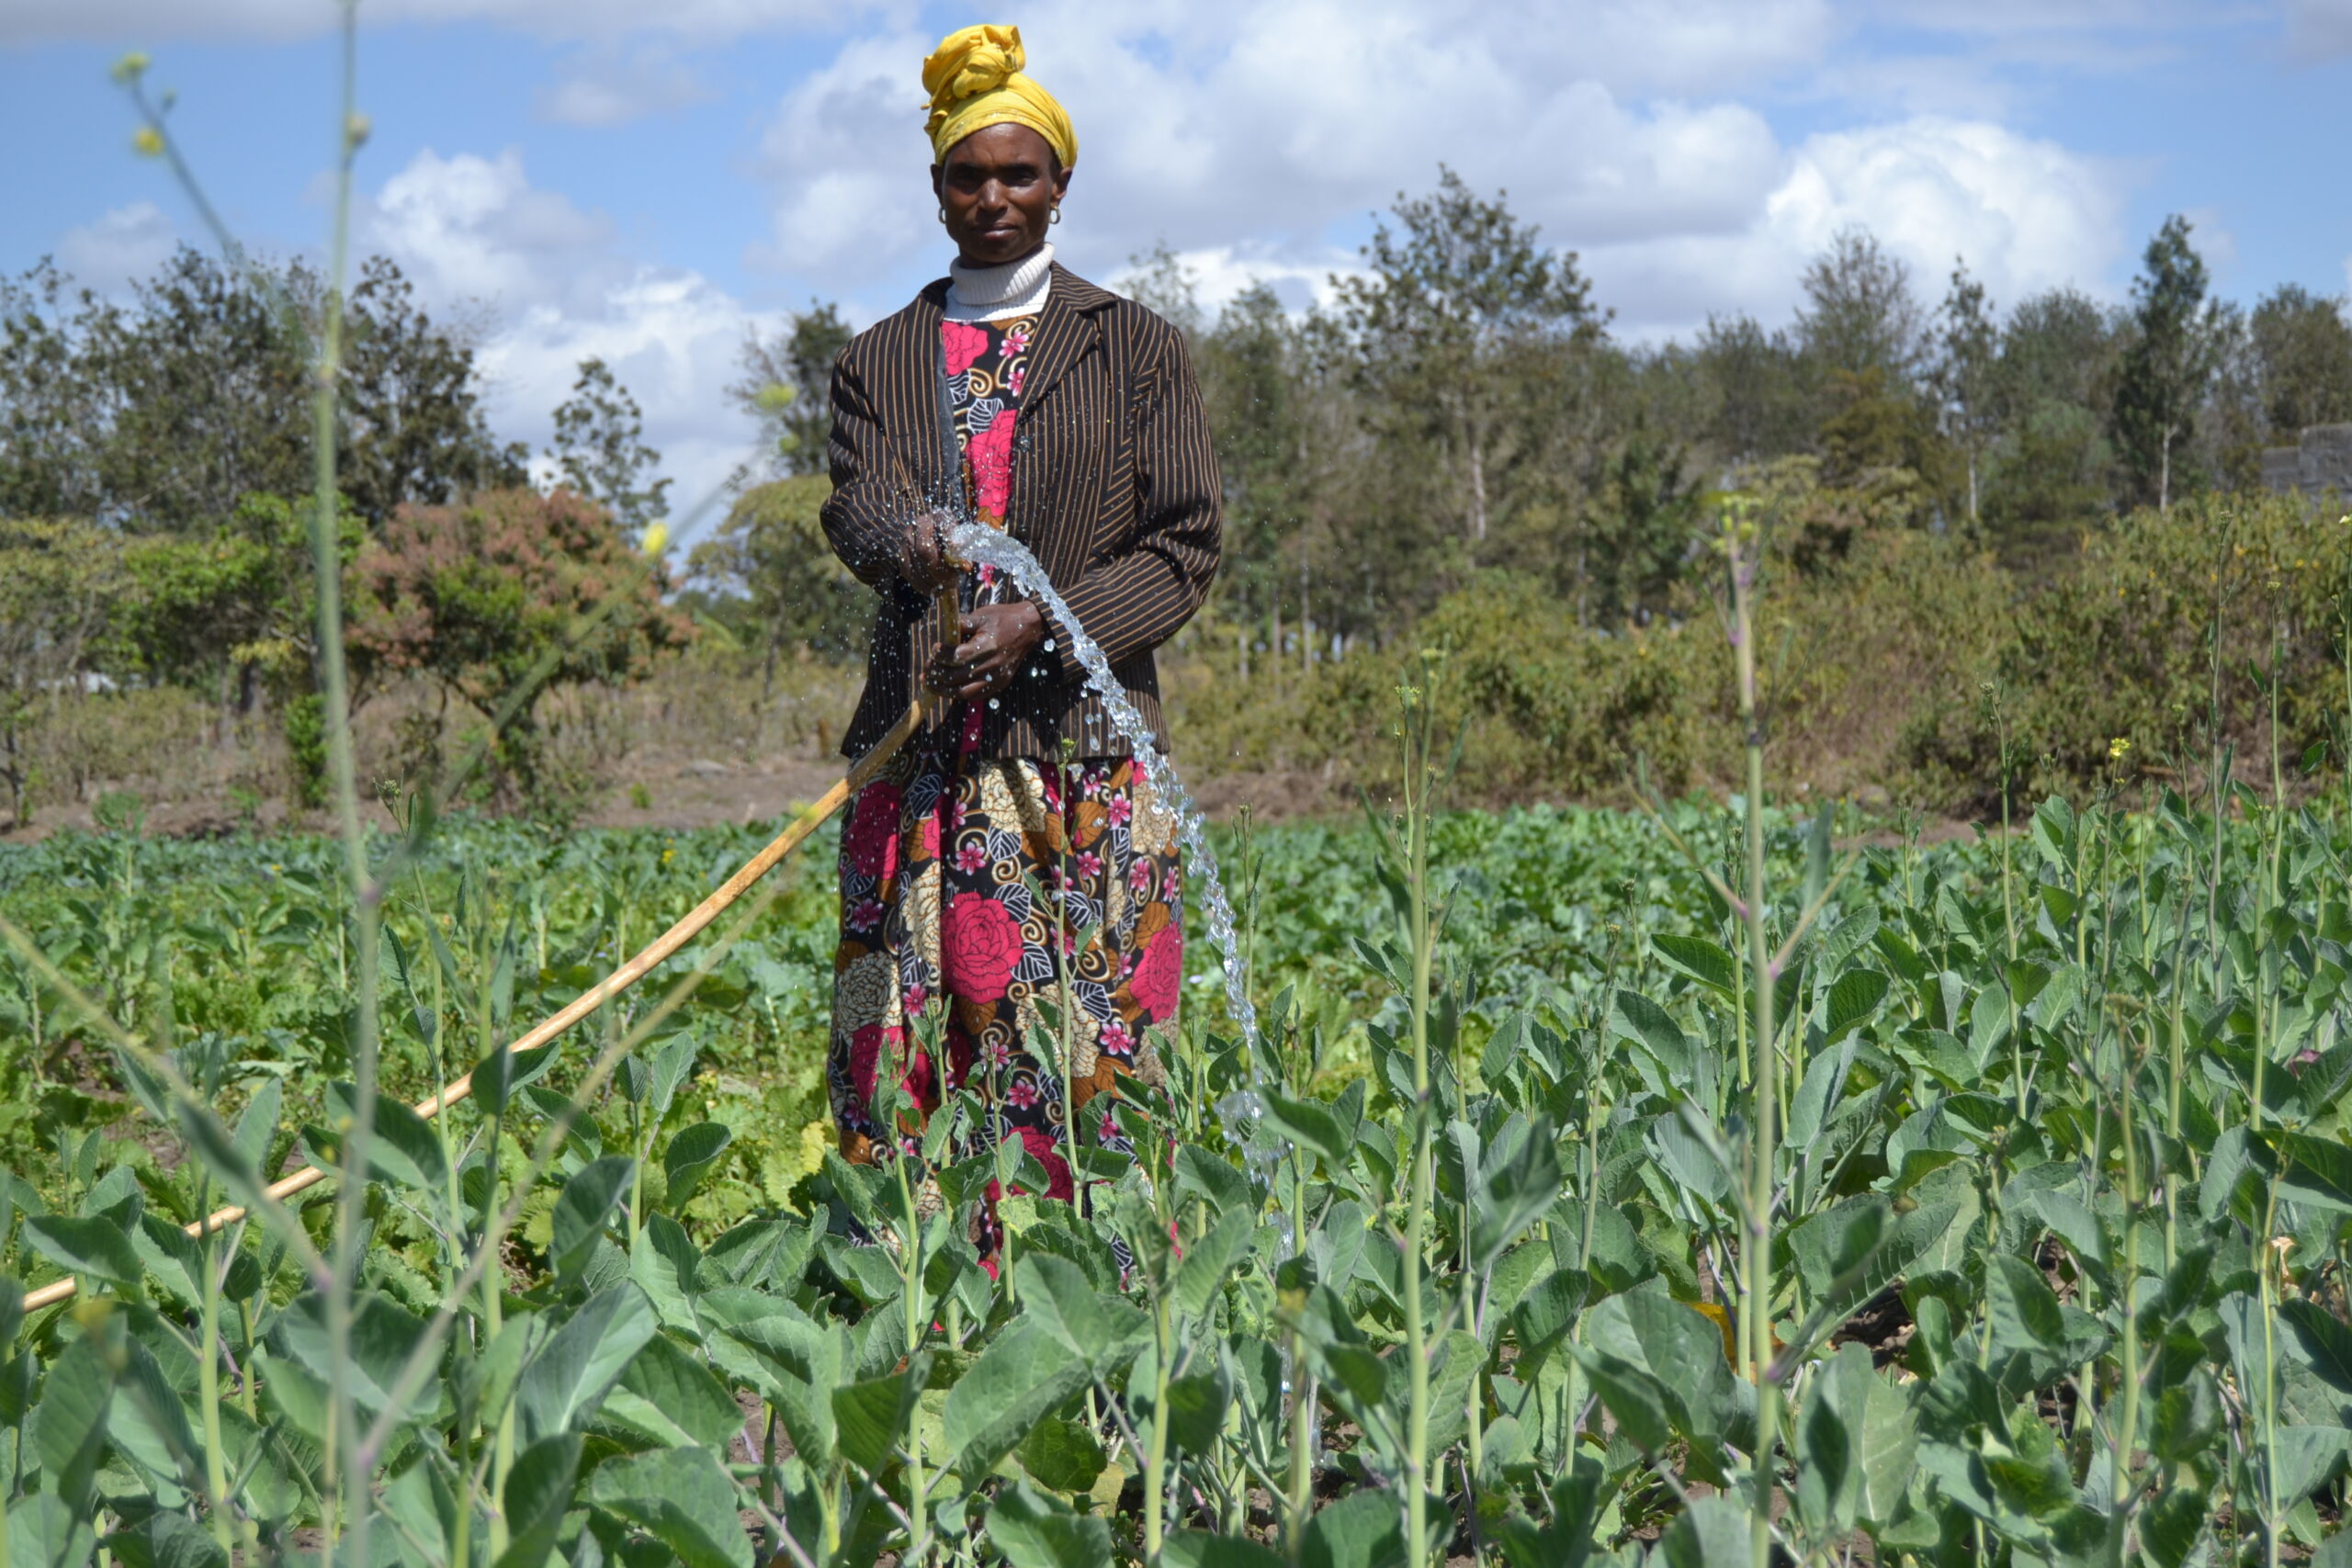
- Mulch heavily around plants using straw or shredded leaves—it keeps moisture steady without turning roots into soggy messes and checks weed growth too.
Think of watering amaranth like giving a tired dog just enough water at intervals—not drowning it continually or letting thirst sets in badly between drinks.
When To Harvest For Best Outcomes
One question I get asked frequently is timing: when should leaves be picked versus waiting for seed pods?
Here’s my tested formula based on field work:
- Clip tender leaves after about 4–6 weeks once the plant has 8–10 fully expanded leaves; pick selectively from lower branches to keep the main stalk strong.
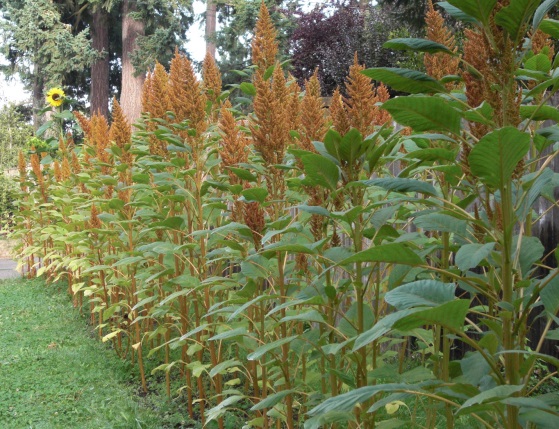
- Let remaining plants keep growing until 10–12 weeks post-sowing before harvesting seed heads—just wait until grain clusters feel firm and slightly rough—you’ll notice how seeds darken and start loosening easily by gently rubbing flower spikes between fingers.
If you grab leaves too late or harvest seed heads prematurely, yields drop fast. Splitting these harvests gives you fresh greens early plus decent grain production later—the best of both worlds when done right.

Dealing With Common Glitches Without Panic
Stuff goes wrong—that’s farming reality—but here are troubleshooting notes that can save beginner headaches:
Seedlings failing to emerge: Usually soil too cold/frost risk not passed yet. Fix: Sow after day temps settle consistently above 15°C (60°F) or start indoors under grow lights for jump-starting spring crops.
Yellow or spotted leaves: Likely fungal infection from excess wetness. Fix by improving drainage immediately; prune affected foliage; avoid sprinklers late afternoon when humidity remains high during evening hours.
Birds feasting on ripening seed heads: Protect using low-cost nylon garden netting stretched lightly over tall stakes before grains mature—a simple barrier saves harvest loss. Alternatively, stagger leaf vs seed harvests so food isn’t sitting exposed long periods inviting wildlife visits.
Real Talk: Your First Season Won’t Be Perfect—and That’s Okay
One grower who emailed me last season admitted he almost gave up after uneven germination left half his plot bare and weedy patches everywhere. What shifted? Patience plus technique refinements:
- Switching from random broadcasting of seed to neat rows
- Adjusted watering schedule (ditched daily sprinkling)
- Mulching aggressively for moisture consistency
- Harvesting leaves first at planned times rather than later scrambling
By season's end? His modest harvest gave him handfuls of vibrant greens plus pockets of seeds he sold locally—real progress meaning more confidence heading into year two.
If that sounds reassuring—it should! Everyone stumbles first time they farm something new; amaranth is no exception—but its forgiving nature rewards effort increasingly once initial lessons are absorbed clearly.
Action Plan: Your Steps Right Now To Get Going
- Check soil drainage (yes—the hole & water test).
- Pick planting dates after local frost dates (use regional extension service calendars).
- Prepare beds carefully: loosen topsoil + clear stones/debris fully before sowing down to proper depth.
- Source quality fresh seeds from reputable suppliers—not last year's dusty stash found lying around forgotten!
- Make a watering timetable keyed off actual soil dryness indicators rather than clock-watching routines alone—to give exactly what roots need not drown them accidentally!
- Decide ahead whether your focus is leafy greens early season or grain later—and plan spacing & harvesting timing accordingly—no guessing mid-way through crop life cycle needed anymore!
Sticking with this practical approach is one huge reason I keep suggesting new farmers take notes like they’re prepping an exam rather than trial-and-error chaos—that mindset makes every decision clearer and faster as you take control step-by-step instead of being overwhelmed all at once trying "everything."
In sum: Amaranth farming doesn’t demand rocket science—just sensible groundwork combined with mindful care tuned toward realistic expectations early on makes all difference between frustrated attempts versus proud first-season wins worth repeating annually.
Keep this straightforward handbook close while nurturing those tiny seeds under your care—they’re eager to grow strong green stalks turning slowly into glowing clusters full of nourishing goodness ready to supply table or market alike someday soon!


