Grow Beautiful Blooms: Your Friendly Guide to Amaryllis Cultivation Success
So, you’re thinking about diving into the world of Amaryllis cultivation? Honestly, I’ve been there—not too long ago, staring at that hefty bulb and wondering if I’d end up with glorious blooms or a sad little wilt. Growing an Amaryllis can feel like learning a new dance; you need the right rhythm and patience to match those dramatic trumpet-shaped flowers. But trust me, once you get the hang of it, it’s incredibly satisfying—and I’m here to walk through every step with you, no rush, just steady hand-holding.
What Makes Amaryllis Such a Showstopper?
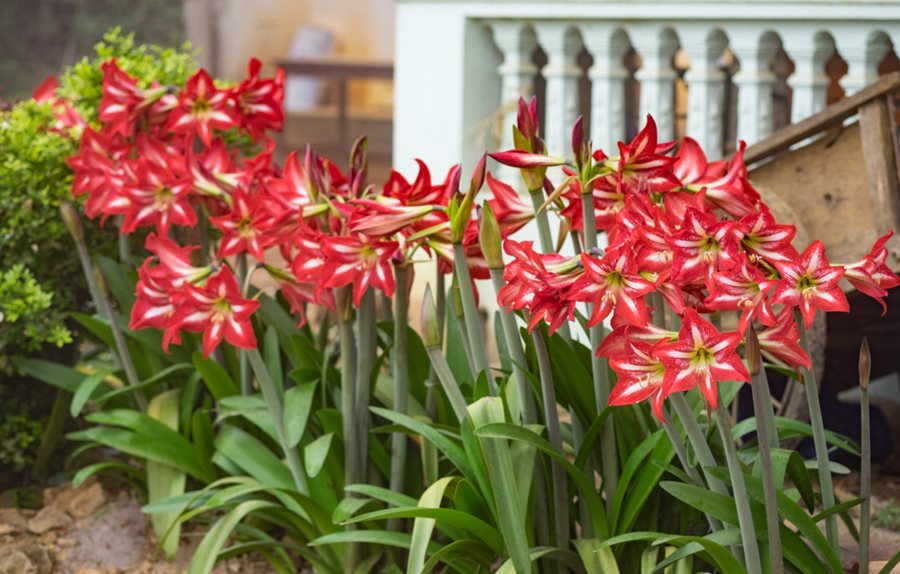
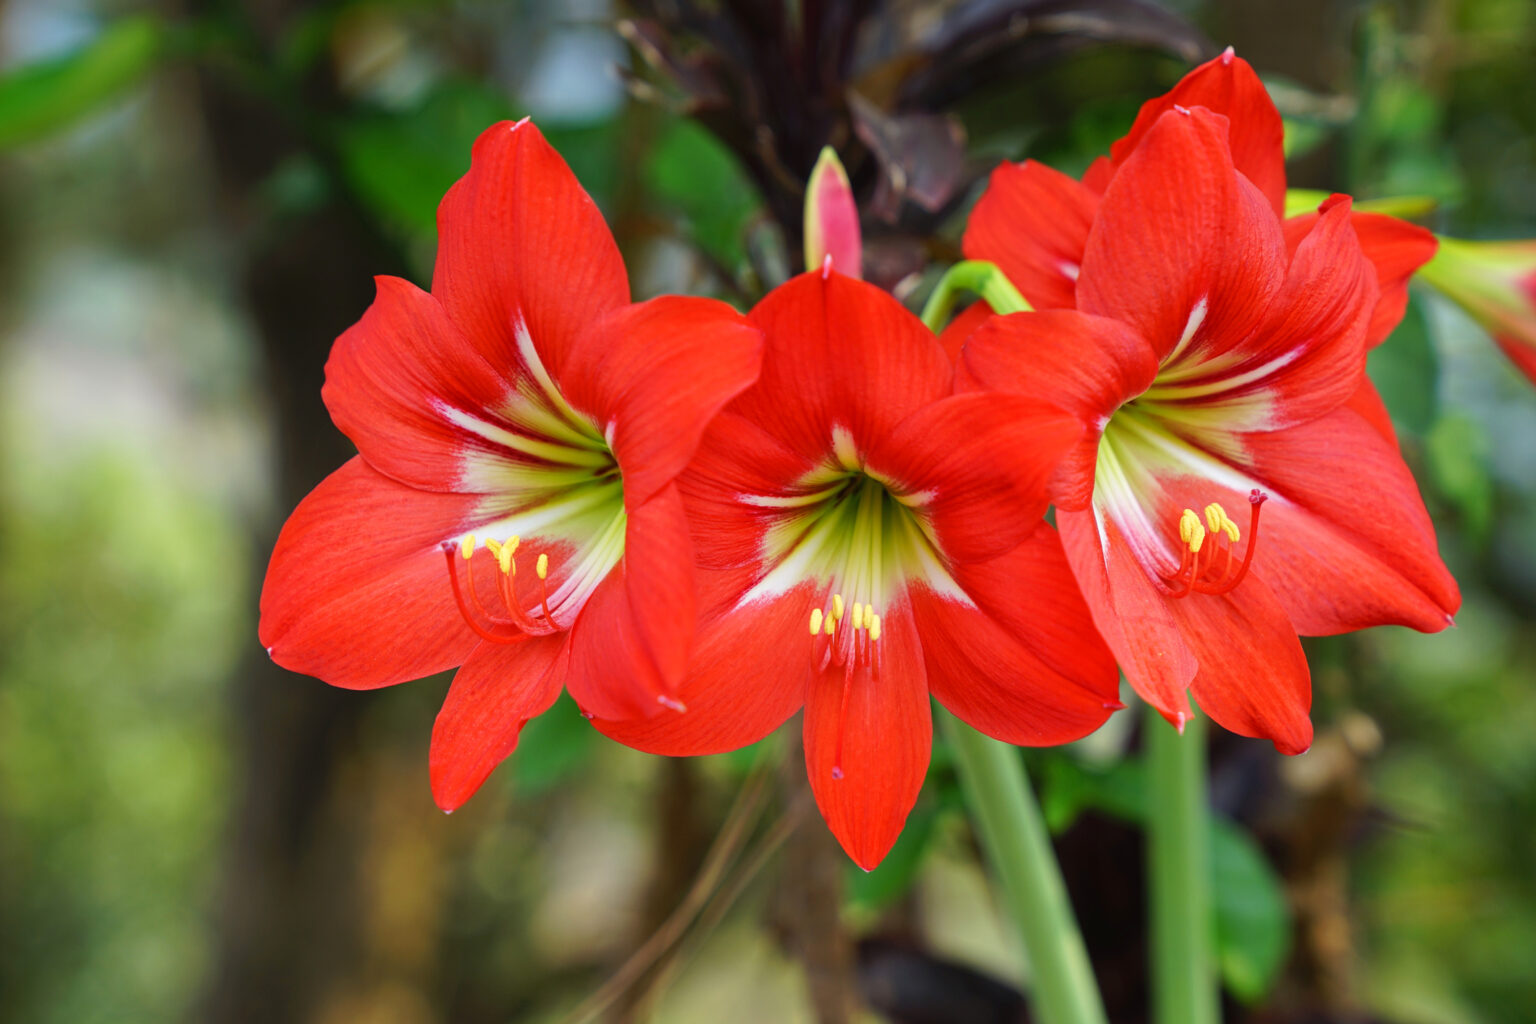
Before digging in, let’s chat about what makes this plant so special. These beauties aren’t your run-of-the-mill houseplants—they come from tropical South America with a natural rhythm built for dramatic football-sized flowers bursting from thick green stalks.
Here’s something cool: Unlike many plants where leaves grow first then flowers, Amaryllis does the opposite. You’ll see those boldly colored blooms pop up before the foliage shows itself. And after their dazzling display? The leaves stick around to soak up sun and quietly gather strength back into the bulb for next year’s party.
A neat way I like to think about this is like hitting pause on a Netflix series—not the whole story disappears but sometimes you just need to rest before catching up again. Respecting this cycle means less frustration (and fewer “why isn’t my flower blooming” moments).
Getting Your Feet Wet (or Soil Deep)
Okay—here’s how to actually start:
-
Pick Your Bulb Like You’re Choosing New Friends
I learned this one the hard way after buying some sad-looking bulbs online and watching them rot before sprouting anything. Look for bulbs that are plump, firm as a basketball but without mushy spots or mold—that’s a dead giveaway they’ll struggle. Bigger bulbs often reward your care with more robust flower stalks. -
Pot & Soil: Treat Like Goldilocks
Not too wet, not bone dry—just right! Pick a pot with drainage holes (trust me on this), fill it with potting soil blended with perlite or coarse sand so water doesn’t linger around those roots like an overenthusiastic uncle at Thanksgiving dinner. -
Planting Ritual: Leave Room to Breathe
Place your bulb so its top third peeks out of the soil; this helps prevent rot and lets air circulate around what will become the flower stalk base. -
Find It Its Sunny Sweet Spot
Bright but indirect sunlight is amaryllis heaven inside your home—a south-facing window softened by sheer curtains usually nails it. -
Water Wisely—Like Pouring Just Enough Cream in Your Coffee
Don’t drown it yet! At first, give only enough water so soil isn’t completely dry—you want roots waking gently from dormancy around 2-3 weeks post-planting. -
Keep Temps Cozy & Consistent
About 60-70°F is ideal—think cozy room temperature where you’d chill comfortably reading a book. -
Feed Those Leaves When They Arrive
Balanced liquid fertilizer every couple of weeks fuels growth; skip this part early on though because bulbs access energy stored inside themselves initially.
If you imagine planting an Amaryllis as nurturing a shy friend who blossoms when shown patience rather than force—you’ll be just fine!
Common Oops Moments We All Make
You know how sometimes we think “water more” equals “plant more happy”? Yeah... not always true here.
-
Overwatering Before Growth: When dormant, excessive moisture invites rot—as if leaving someone wrapped too tight in blankets leads to sweat and discomfort.
-
Burying Bulb Too Deep: Covering all but leaves strains emergence and traps wetness at neck causing fungal nasties—instead give some breathing room by exposing top third bulb above soil line.
-
Lack of Light: If amaryllis looks leggy or refuses to bloom it probably wants more sunshine hugs—but gotta keep direct midday sun away which burns delicate shoots.
-
Chopping Leaves Too Early Post-Bloom: Leaves might turn brown eventually but cutting them prematurely starves future flowers because they store food in bulb during that time
Take these missteps like learning skateboarding falls—you bounce back wiser every time!
Leveling Up: Tricks To Feel Like A Pro
Once your green thumbs warm up… want to mess with Mother Nature’s calendar?
-
Force Blooms Earlier For Holiday Cheer: Keep bulbs cool (~50°F) in darkness for 8–10 weeks simulating winter sleep; bringing indoors warm + light triggers bloom whenever you want! (Christmas party here we come.)
-
Multiply Like Bunnies (Well… Sort Of): Split offsets from big healthy bulbs during dormancy—a quicker route than seeds for growing brand-new plants to admire or gift friends later.
-
Stage-Specific Feeding: Float nitrogen-rich fertilizer early during leaf growth then switch balanced feed when preparing for flowers—post-flower reduce feeding back gradually keeping bulb rested well-fed without stress.
These steps move beyond basics so remember—it’s perfectly okay to take these slow as confidence builds…
Must-Have Tools That Save Your Sanity
There was definitely trial by error when I first tried growing amaryllis indoors—but some tools made life easier:
- Well-draining pots (ceramic look fancy but plastic saves money)
- Moisture meter handset like “XLUX T10” removes guesswork about watering frequency
- Balanced liquid fertilizer labeled something like 10-10-10 NPK formula did wonders
- Grow lights helped during gloomy winter months especially if natural light is scarce indoors
- Labels + markers — tracking variety & planting date means future victories feel sweeter when looked back upon!
Also: hit up local garden clubs or Facebook groups dedicated to amaryllis enthusiasts near you—they’re treasure troves filled with tips tuned to YOUR climate zone instead of generic advice flying online.

Troubleshooting Without Freaking Out
When things go sideways don’t stress—we all get puzzled—
| Problem | What You See | Likely Cause | How To Fix |
|---|---|---|---|
| No Flowers | Only leaves | Bulb immature / low light | More light + proper rest period |
| Yellow Leaves | Pale/yellow/soft | Overwatering / nutrient lack | Cut water + fertilize carefully |
| Soft Bulb Base | Mushy/smelly | Too much moisture | Trim rot + repot fresh draining mix |
| Pests | Holes/sticky residue | Aphids or mites | Spray mild soap spray/light rinse |
Your nose can be your ally here—if anything smells funky near roots dig cautiously check damage fast!
Real Talk From My Own Plant Storybook
One funny moment still cracks me up—I bought what seemed like perfect bulbs but kept fiddling with daily watering thinking “more water = faster blooms.” After three soggy failures lacking any sign of life... I backed off drastically watering only once soil top dried out completely and BAM buds sprung live after three weeks! Sarah, one of my first mentees laughed because she’d gone through similar agony until her patience clicked on too—the relief plus those deep red blossoms felt priceless.
Another time Tom was sure sun loving meant putting his outdoor amaryllis right in scorching direct afternoon heat—leaves became crisp heartbreakingly quick until we moved them into filtered shade combined with drip irrigation keeping consistent moisture levels... that summer brought him arguably largest trumpets he ever imagined he'd grow!
Those hiccups reminding me day-to-day care really builds understanding—not failure—and stories like these help make each journey uniquely rewarding.
Ready To Take The Plunge? Here’s Your Chill Starter Plan
- Grab firm healthy Amaryllis bulbs locally or trusted online.
- Choose pots twice bulb width max with drainage holes.
- Mix potting soil lightly amended by perlite/sand.
- Plant bulbs exposing top third above surface.
- Place in bright indirect sunlight near window filtered gently.
- Water sparingly now; wait 2–3 weeks for shoots showing before upping watering frequency.
- Maintain ambient temps around 65°F (18°C).
- Feed balanced liquid fertilizer biweekly post-leaf appearance.
- Practice patience noticing subtle daily progress—you’d be surprised how quickly changes happen once set properly!
10.Allow foliage post-bloom fully mature over months before trimming away.
11.Plan next cycle slowly based on experience: tweak water/fertilizer/light if needed adapting stepwise season-to-season growth mastery grows naturally!
That measured pace will prevent overwhelm—walking through each phase confidently instead of rushing blindly makes growing an enjoyable ritual instead of frustrating chore.
Looking Ahead With Warmth & Encouragement
Growing Amaryllis isn’t about rushing perfection—it thrives best under gentle care paired with curiosity about each season’s mood swings from bulb nature itself reminding us plants work their own magic timing patiently waiting beyond our human clocks ticking fast…
Maybe next year you'd try propagating offsets or branching out into colorful hybrids? Or experiment forcing different bloom times aligning beautiful warmth exactly on holidays shared by family?
Whatever path feels exciting—remember everyone started somewhere uncertain... You have what counts most already: care, curiosity, readiness to learn at your own speed AND my support rooting alongside cheers from afar wherever your amaryllis adventure takes you next!
So seriously… dive in now knowing even stumbles shape success stories worth sharing while watching those spectacular trumpets brighten rooms—and hearts—for many seasons yet ahead!
Feel free anytime to reach out sharing progress snaps/questions—I’m always here clapping softly cheering every tiny leaf unfurl toward peak bloom magic together!