Grow Stunning Amaryllis: Your Warm Guide to Blooming Success

The Analyst’s Definitive Insider Guide to Mastering Amaryllis: Beyond Basic Care to Real Bloom Success
When I first planted an Amaryllis bulb over eight years ago, I thought it’d be a simple holiday charm—just pop it in soil, water it a bit, and enjoy bright flowers. Boy, was I wrong. What followed was a rollercoaster of trial and error: bulbs rotting unexpectedly, gangly leaves stretching without flowers, and frustrating seasons with nothing but green blades to show for my effort. It turns out this plant isn’t just “set and forget.” It demands attention, patience, and understanding of its natural rhythms.
After nurturing dozens of bulbs through multiple cycles—in my home, at a friend’s place, and even in a bustling 4-person creative agency where I experimented with office greenery—I’ve boiled down everything I learned into this detailed guide. This is not theory or guesswork; these are real-world insights from failures and triumphs that can help you get vibrant trumpet blooms reliably.
Why Amaryllis Is Not Your Average Houseplant (And Why That’s Awesome)
Most people buy an Amaryllis bulb expecting an easy flower show during winter holidays or early spring. Instead, many end up puzzled when the bulb refuses to bloom again or falls victim to rot.
Here’s the deal: Amaryllis (Hippeastrum hybrids) are tropical bulbs that naturally cycle between growth and dormancy. Indoor growers often miss this crucial rest phase. Unlike common houseplants that thrive on consistent care, Amaryllis need carefully timed shifts in light, water, temperature, and rest to recharge their energy for flowering.
Some key points that surprised me early on:
-
Bulb size truly matters: Bigger bulbs (5 inches across or more) store more energy and almost always flower better than smaller ones. That tiny 3–4 inch bulb I once bought? It took two full seasons before showing any bloom—and even then it was weak.
-
Dormancy isn’t optional: Skipping the rest period is like running a marathon on empty. About 8–10 weeks of cooler temps (~55°F/13°C) with minimal water is essential to reset the bulb's internal clock for next year’s blooms.
-
Light quality is subtle but critical: Bright indirect light for 6+ hours daily works best. Too much direct sun scorches leaves fast—I learned this when a ‘Red Lion’ bulb’s foliage went crispy brown near a south window within days! East-facing windows with morning sun filtered through curtains or supplemental grow lights are safer bets.
Have you ever noticed your Amaryllis leaves turning limp or yellow? Often it’s overwatering or too little light—not lack of fertilizer as many assume.
Step-by-Step: Starting Your Amaryllis Right (Avoid My Early Mistakes)
- Choose the right bulb:
Go for healthy bulbs at least 5 inches wide with firm skin and no soft spots. Avoid blemished or tiny ones unless you want leafy plants instead of flowers for a while.
Example: I once bought a 4-inch bulb that refused to bloom two years straight. Later, upgrading to a 5.5-inch ‘Apple Blossom’ brought vibrant flowers within just 7 weeks.
- Prepare your potting mix:
Use well-draining soil blended with perlite and peat moss (or coconut coir if you prefer). A good ratio is about equal parts Espoma Organic Potting Soil + perlite + peat/coir.
Don’t use heavy garden soil or plain store-bought mixes—they hold too much moisture and cause rot. For a detailed guide to the best soil and fertilizer, check out our best soil and fertilizer for healthy Amaryllis growth.
- Planting depth matters:
Set your bulb so roughly two-thirds is underground and one-third sticks above the surface. This helps air circulate around the neck where fungal issues love to start.
Pro tip: Planting too deep is a common mistake that leads to rot.
- Find the ideal spot:
East-facing windows are usually perfect—morning sun filtered through curtains gives gentle light without burning leaves.
When daylight fades in winter, try supplementing with a 6500K full-spectrum LED grow light for about 6 hours daily. That saved one office bulb from sulking all season!
- Master watering rhythm:
Before shoots appear: water sparingly—about once every 10–14 days depending on humidity.
After leaves emerge: water deeply but only when the top inch of soil feels dry.
Moisture meters ($15 models work fine) take guesswork out of watering—trust me, they saved me from drowning bulbs multiple times.
- Control temperature:
Keep your plant between 60°–75°F during growth phases but cool it down post-bloom for dormancy at around 55°F if possible (a basement or unheated room works well).
If you want a thorough walkthrough on indoor growing techniques, be sure to read our how to grow Amaryllis bulbs indoors successfully article.
The Dormancy Period: Your Amaryllis’ Secret Weapon
If you skip dormancy—or treat it like just “less care”—you’re setting yourself up for disappointment.
Here’s how I learned this hard lesson: After pushing constant watering and feeding post-flower, my bulbs grew lush leaves but stubbornly refused buds for two whole seasons!
What really works:
- After flower fade (around week 10), stop fertilizing immediately.
- Gradually reduce watering until soil is nearly dry.
- Move the plant somewhere cooler (~55°F), dark if possible.
This timeout lets the bulb recharge energy reserves so it can bloom again next cycle.
For a step-by-step approach on timing your blooms perfectly, see our step-by-step guide to forcing Amaryllis to bloom on time.
Push Beyond Basics—Advanced Tips To Get Exceptional Blooms
- Fertilize smartly:
During active leaf growth feed monthly with balanced fertilizer (10-10-10). Once buds form, switch to high phosphorus fertilizer like Jobe’s Organics Bulb Fertilizer (10-30-20) which encourages bigger flowers.
Why phosphorus? It supports root development and flower formation—think of it as bloom fuel.
- Support tall stalks creatively:
Flower stems can reach up to 24 inches tall and flop easily under heavy blooms.
Bamboo stakes tied loosely with soft twine work wonders without damaging stems—a trick I wish I knew earlier instead of wrestling floppy stalks!
- Propagate via offsets:
Every 2–3 years during repotting season separate offsets gently from parent bulbs using sterile tools.
These baby bulbs take about three years to bloom but reward patience beautifully—I have an offset from my original ‘Minerva’ now blooming proudly after five seasons.
- Water deeply but less often:
Resist watering lightly every day—it encourages shallow roots prone to stress.
Instead, give thorough watering every 7–10 days during growth so roots dig deep searching for moisture.
Troubleshooting Real Problems With Real Solutions
-
Yellow leaves? Usually from overwatering or excess nitrogen fertilizer causing lush leaves but no flowers.
-
Soft or rotting bulbs? Repot immediately into dry gritty soil; cut away mushy parts with sterile scissors or knife.
-
Green healthy leaves but no flowers? Check dormancy enforcement first; also ensure sufficient bright indirect light—sometimes moving closer to morning sun makes all the difference.
-
Leaves getting burned? Move plant away from direct sun—even short exposure can cause brown crispy edges fast.
Insider Tools & Resources That Changed My Game
- Moisture Meter (Atree ~$15): Stops guessing when to water; saved countless bulbs from rot due to overwatering.
- Cirrus LED Grow Light (~$40): Essential during short winter days for steady blooms indoors.
- Espoma Organic Potting Soil + Garden State Perlite: Perfect drainage mix; avoids soggy roots.
- Book Recommendation: “The Bulb Book” by Phillips & Rix — deep botanical background beyond typical care guides.
Stories From The Growing Frontlines
In my agency office experiment, staggering planting dates by six weeks meant fresh Amaryllis blooms almost every month throughout gloomy winters—a mood booster none of us expected!
Once I bought a cheap post-holiday bulb that sat cold too long in storage; it finally bloomed after an agonizing twelve weeks instead of seven—a reminder how supply chain quirks impact success more than we realize!
Common Mistakes Summary — What To Avoid At All Costs
| Mistake | Result | Fix |
|---|---|---|
| Small/bad-quality bulb | No/little flowering | Buy large (>5”) firm bulbs |
| Planting bulb too deep | Rot-prone neck area | Leave ~1/3 exposed above soil |
| Overwatering before shoots | Bulb rot | Water sparingly until leaf emergence |
| No enforced dormancy | No repeat blooming | Cool dark rest period ~8–10 weeks |
| Direct harsh sun | Leaf burn | Use filtered east window light |
Your Quick Action Plan For Bloom Success
- Buy large healthy bulbs (~5 inches+).
- Mix equal parts organic potting soil + perlite + peat/coir for excellent drainage.
- Plant two-thirds submerged in pots with drainage holes; leave neck exposed.
- Place near east-facing window with filtered morning sun; supplement winter light as needed.
- Water lightly before growth emerges; increase frequency after shoots appear based on moisture meter readings.
- Fertilize monthly during leaf growth; switch to high-phosphorus fertilizer once buds form.
- Stake tall flower stalks loosely using bamboo stakes and soft twine.
- After flowering (~week 10), drastically cut back water; move plant to cool (~55°F), dark spot for dormancy lasting 8–10 weeks minimum.
- Repot every few years; gently separate offsets at repotting time if desired.
- Keep notes on timing, watering intervals, temperatures—each environment differs subtly.
Bonus Section: Busting Common Myths About Amaryllis
Myth #1: "You can keep watering constantly after flowering."
Truth: Without dormancy enforced by reduced watering & cooler temps, blooms won’t return reliably next season.
Myth #2: "All Amaryllis bulbs are basically the same."
Truth: Size matters hugely—not all bulbs have enough stored energy for big showy flowers immediately.
Myth #3: "More fertilizer = bigger blooms."
Truth: Wrong balance kills blooms! High nitrogen fertilizers promote leaves over flowers; phosphorus-rich feeds support buds best once they appear.
Final Thoughts — Patience Pays Off In Spectacular Blooms
Amaryllis looks deceptively simple but requires respect—for its natural cycles and subtle environmental needs—to truly shine year after year.
If your first season doesn’t wow you with giant red trumpets don’t despair! Each cycle teaches you something new about your space’s quirks and how small changes make big differences in coaxing those lush blooms alive again—and again.
Nothing beats sipping coffee on a chilly winter morning watching fiery trumpet flowers brighten your room knowing you cracked their code through patient care honed over seasons of trial and triumph.
Happy growing—from one enthusiast who’s been there many times over…and still learning every season!
For any questions or sharing your own growing stories, feel free to reach out—I’d love to hear how your Amaryllis journey unfolds!
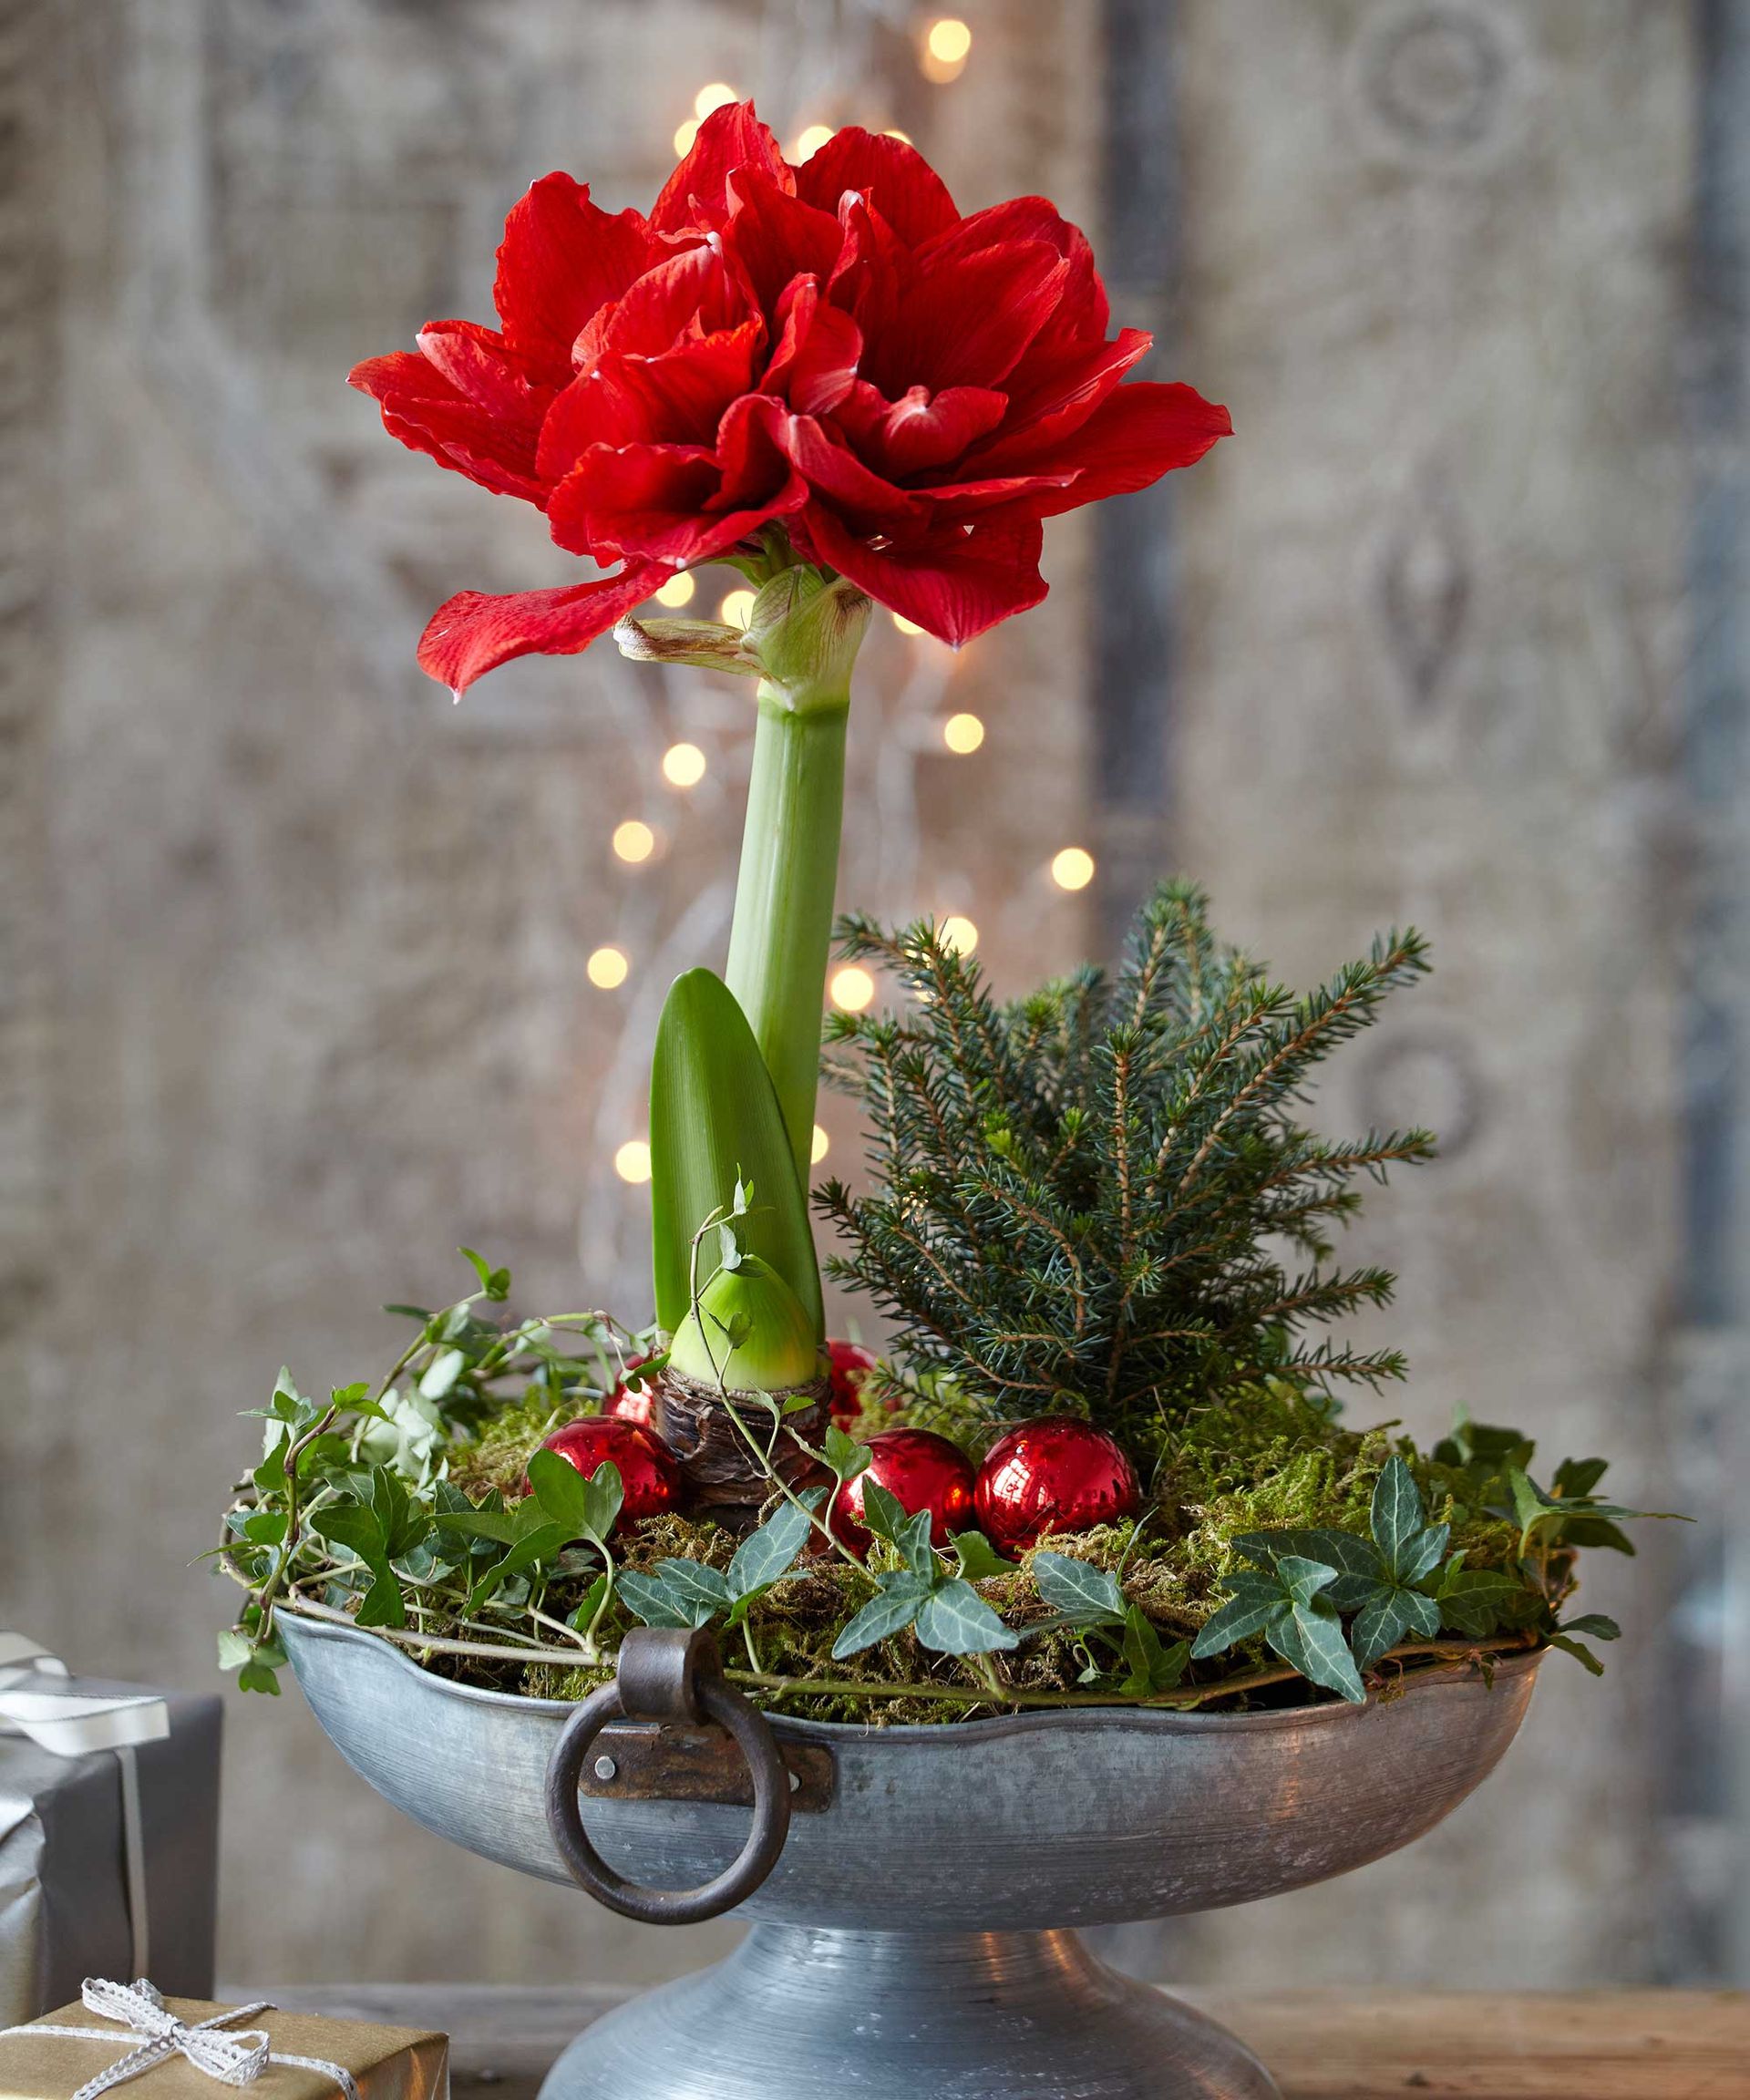
If you’re looking for inspiration beyond growing, explore our creative ways to use Amaryllis flowers in home decor to brighten your living spaces.


