Arnica Cultivation Made Simple: Proven Steps for Successful Growth
When I first started growing Arnica, I was eager but clueless. I remember staring at those tiny yellow seeds, wondering how on earth they’d turn into the healing flowers everyone raved about. Over time—and quite a few missteps—I learned what it really takes to nurture Arnica from fragile seedlings into robust plants bursting with medicinal power. This guide is the roadmap I wish someone had handed me back then: a clear, step-by-step journey from zero knowledge to confident grower.
Here's where Starting with the Heart of Arnica Cultivation: What You Need to Know Before Planting
Understanding Arnica Beyond the Label
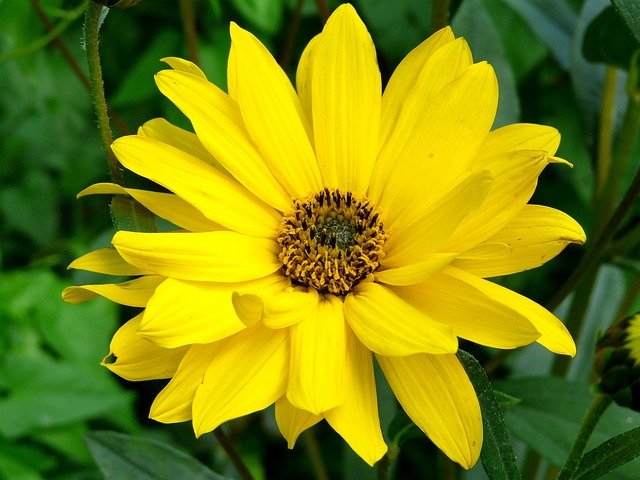
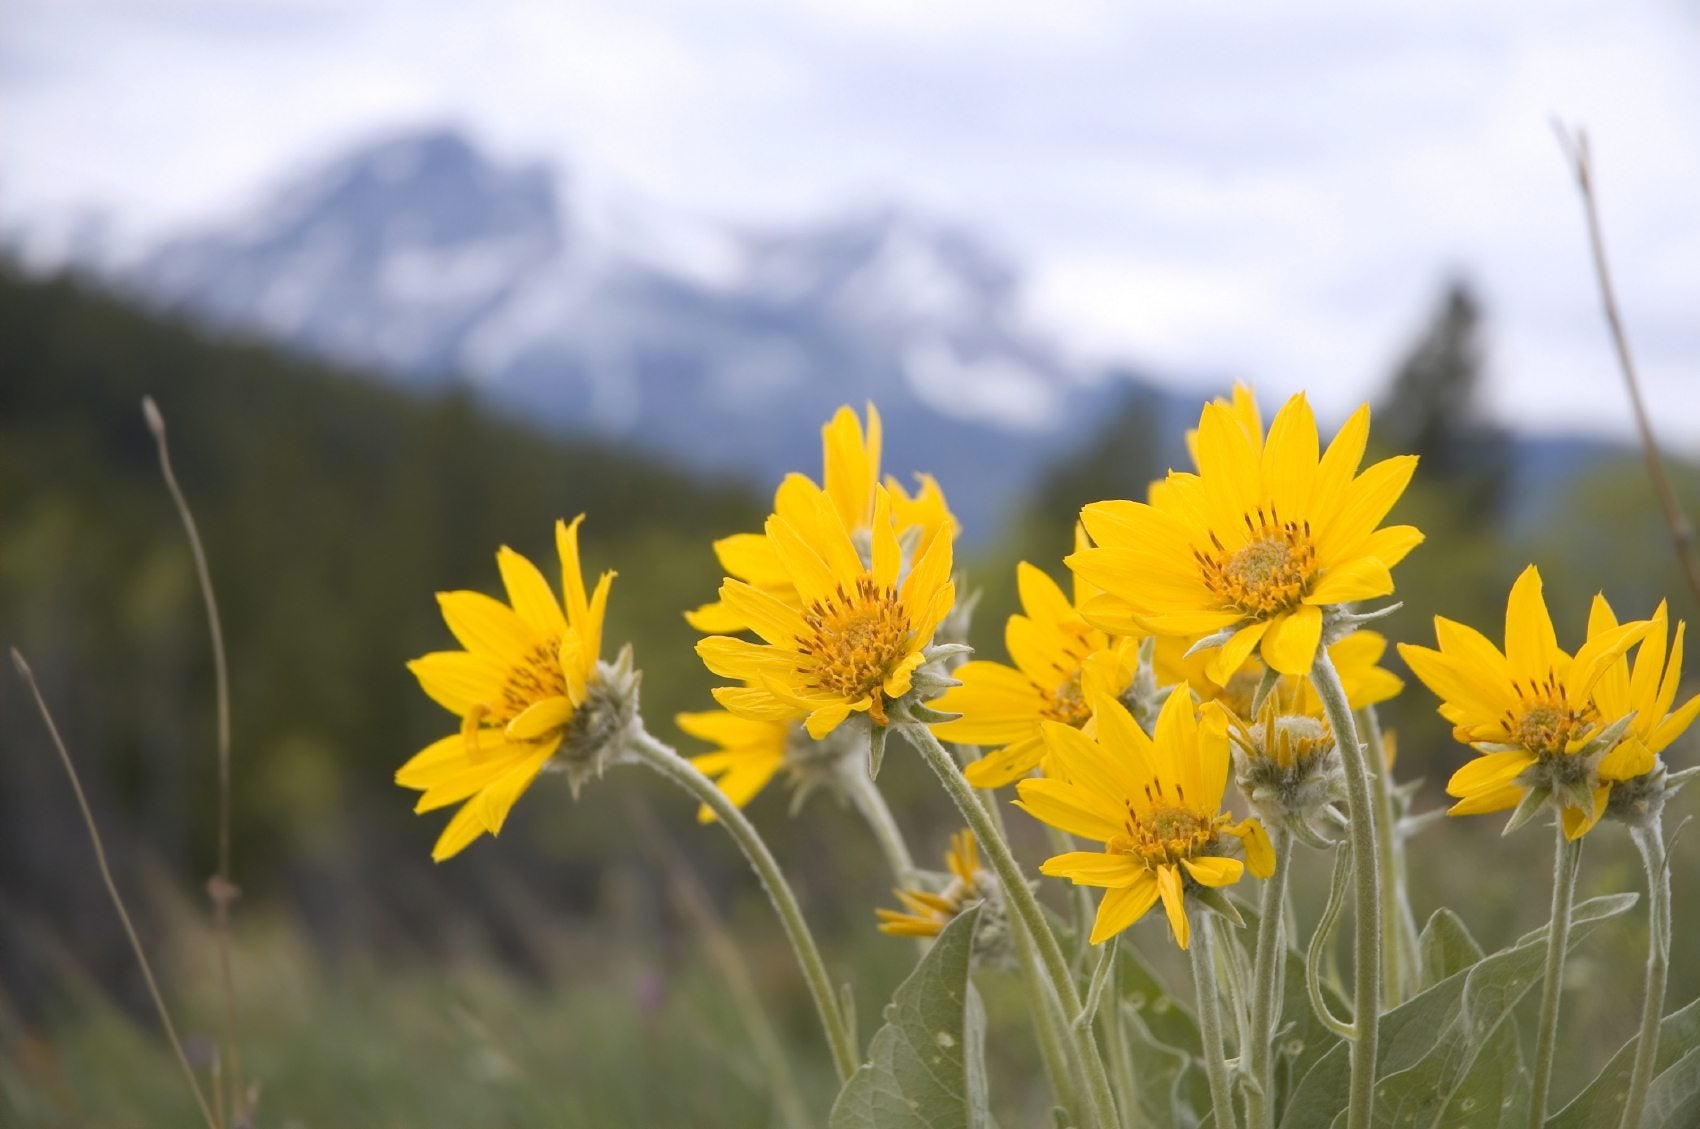
Arnica montana isn’t just any yellow flower—it’s a resilient perennial herb that thrives in specific conditions and carries potent anti-inflammatory compounds mainly in its vibrant flower heads. Think of it as a mountain dweller that prefers cool, well-drained soils and crisp air rather than sweltering heat or soggy ground.
I learned early on that expecting Arnica to flourish like your average garden daisy leads to disappointment. It grows slowly—seedlings often take an entire season just to establish roots before they bloom in year two or three. Knowing this paced timeline saved me from premature frustration.
The Soil and Sun Dance
The single biggest mistake I made initially was planting Arnica in heavy clay soil without proper drainage—a sure recipe for root rot. Here’s my tested advice:
- Soil: Aim for loose loam or sandy soil with a pH between 6.0 and 7.0 (neutral to slightly acidic). If your garden soil feels dense and sticky after rain, amend it generously with compost and coarse sand or build raised beds.
- Sunlight: Full sun is ideal for flowering, but if you live somewhere hot—like I do during some summers—partial afternoon shade keeps plants from wilting.
- Moisture: Keep soil moist but never soggy; overwatering invites fungal diseases faster than you can say “Arnica.”
From Seed to Sprout: Real Steps That Work
Starting seeds indoors changed everything for me—and stratification (a cold chill period) was the game-changer no one mentioned when I began.
Step 1: Selecting Seeds That Don’t Let You Down
I used to buy cheap bulk seeds online only to end up with patchy germination rates around 20%. Now, I get mine from trusted suppliers like Horizon Herbs or Strictly Medicinal Seeds—they guarantee freshness and genetic purity which means less waste and heartbreak.
Step 2: Mastering Cold Stratification
Arnica seeds need about 4–6 weeks at refrigerator temperatures (~4°C/39°F) nestled in damp peat moss or sand before sowing. This mimics their natural alpine winter dormancy trigger.
Here’s what you do:
- Mix seeds gently with moist peat moss in a sealed ziplock bag
- Place in fridge door away from freezer vents
- After stratification, sow seeds thinly on top of sterile seed-starting mix (don’t bury them)
- Keep trays at steady 15–20°C (59–68°F) with consistent moisture but no puddles
This method lifted my germination rates from frustratingly low numbers to nearly 80% success within weeks!
Step 3: Transplanting Like a Pro
Once seedlings sport their second set of true leaves (usually after 6–8 weeks), give them a gentle introduction outdoors:
- Hardening off means exposing them gradually over seven days—from an hour outside increasing daily—to toughen them up.
- Prepare garden beds by loosening soil deeply and mixing in organic matter.
- Space transplants generously—12–18 inches apart—to prevent crowding that invites mildew.
What Nearly Broke Me—and How You Can Avoid It
Some lessons cost me time, money, and more patience than I thought I had:
Overcrowding: Early on, I crammed too many seedlings together hoping for dense coverage. Instead, they competed viciously for light and nutrients—and got sick easily. Now thinning is my ritual using small scissors so roots stay undisturbed.
Waterlogging: Using clay-heavy soil without drainage killed half my young plants overnight once rains came hard. Raised beds fixed this permanently; if you can’t build them immediately, adding grit or sand improves drainage dramatically.
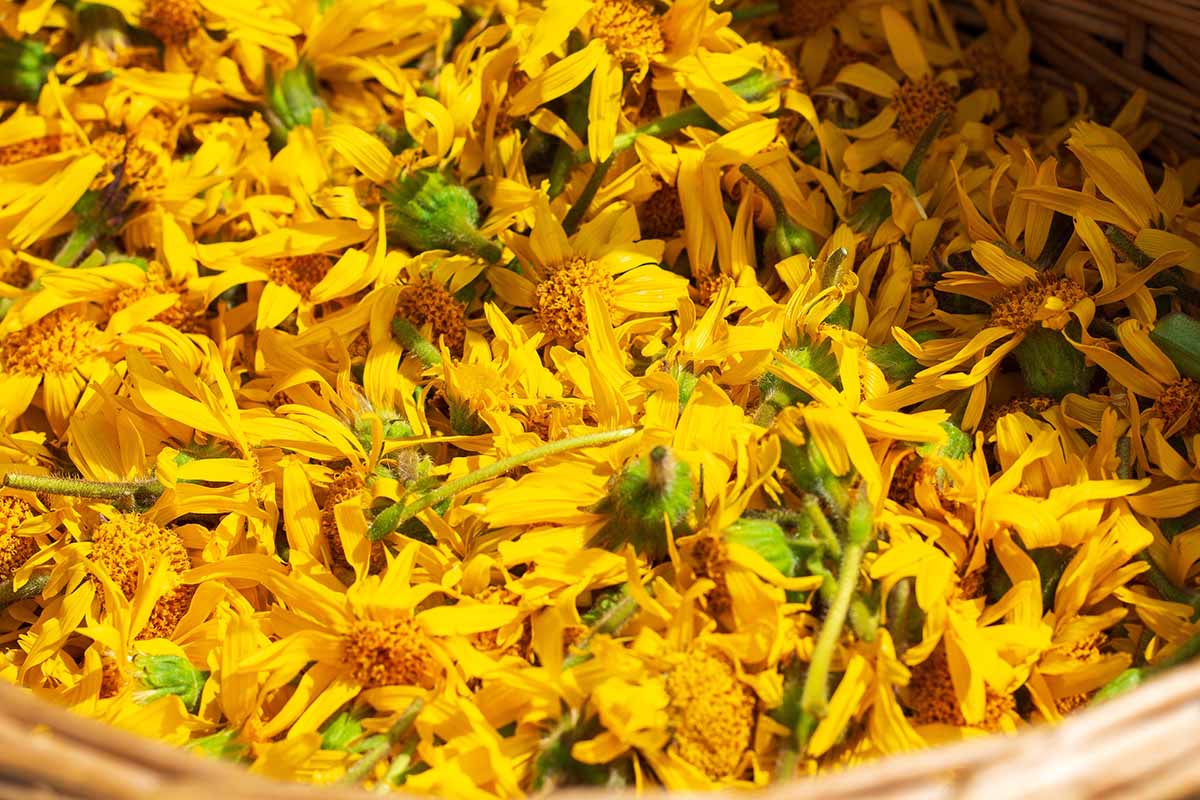
Harvest Timing Confusion: Picking flowers too early robbed potency; waiting too late meant petals browned and medicinal value dropped sharply. My trick? Daily observation during bloom—harvest bright-yellow flowers as soon as most open fully but before any start fading.
Growing Beyond Basics: Techniques That Elevate Your Crop
Once you’ve got seedlings thriving under your belt, consider these strategies that took my crop quality from good enough to outstanding:
Propagation Alternatives
Seed-grown plants vary genetically—that’s both charm and challenge—but if you want uniformity:
- Divide mature clumps every 2–3 years during dormancy (fall/spring). This keeps vigor high.
- For large-scale growers: tissue culture labs produce clones identical to parent plants though setup costs are high ($2-$5 per plantlet).
Feeding for Potency Not Just Size
Over-fertilizing with nitrogen-rich fertilizers encourages leafy growth but dilutes key medicinal compounds.
My preferred approach?
- Use balanced organic fertilizers low in nitrogen but higher in phosphorus & potassium especially near flowering stages.
- Add mycorrhizal fungi inoculants which improve root nutrient uptake naturally—a little packet goes a long way!
Organic Pest Control Through Smart Partnerships
Instead of chemical sprays—which destroy beneficial insects—I rely on companion planting:
- Marigolds keep aphids away
- Garlic planted nearby deters many pests
- Introducing ladybugs controls aphid populations naturally
Regular leaf checks help catch fungal spots early; remove affected leaves promptly before spread.
Trusted Tools That Made My Life Easier
Investments here were small yet critical:
| Tool | Purpose | Why It Matters |
|---|---|---|
| pH Soil Tester | Monitor acidity | Keeping pH ~6–7 optimizes growth |
| Moisture Meter | Prevent watering mistakes | Avoids root rot & drought stress |
| Seed Trays & Heat Mats | Consistent indoor germination | Stabilizes temperature for sprouting |
| Organic Mulches | Retains moisture & suppresses weeds | Saves water & reduces labor |
| Certified Seed Suppliers | Genetic quality assurance | Reliable germination & traits |
Those tools saved me countless hours guessing when conditions were right—or not.
Real Stories From Fellow Growers — Learning Together
Take Sarah from Oregon who struggled with fungal diseases due to dense planting on heavy clay until she switched to raised beds amended with sand plus introduced marigold companions—yield improved dramatically by year two.
Or James in the UK whose seed batches failed repeatedly until he adopted cold stratification combined with fresh certified seeds; his seedlings now establish reliably every spring without fail.
Their journeys echo mine—it’s all about learning through trial while applying proven fixes patiently.
Troubleshooting Quick Guide
If things go sideways:
Wilting despite watering? Likely root rot—loosen soil immediately + cut back watering drastically until recovery begins.
Sparse flowers? Check fertilizer type (too much nitrogen?) + light exposure (move sunnier if possible).

Remember even experts revisit basics regularly—it’s part of growing mastery not failure!
Getting Started Today — Your Action Plan
- Order certified Arnica montana seeds + pH/moisture meters online now.
- Start stratifying seeds indoors if it’s late winter/early spring.
- Build or prep raised beds ensuring loose well-drained soil.
- Sow stratified seeds thinly indoors; harden off seedlings carefully after 6–8 weeks.
- Transplant outdoors spaced widely; mulch organically.
- Monitor weekly for moisture levels, pests & disease signs throughout growing season.
- Harvest flowers precisely at full bloom (~70 days post-germination).
- Plan clump divisions every few years starting third year onward for vigor maintenance.
One step at a time—that’s how confidence grows alongside your plants!
Looking Ahead: Growing With Purpose
After mastering basic cultivation consider expanding your herbal repertoire by experimenting with other Arnica species adapted locally or exploring value-added products like salves/tinctures requiring precise harvest timing and storage techniques.
If commercial ambitions call you might pursue certifications like organic status or Good Agricultural Practices (GAP) which open doors in herbal markets—and connect with botanical gardens/herbalist communities offering mutual learning opportunities.
Growing medicine-grade Arnica is more than gardening—it’s nurturing nature's remedy itself—with patience matched by passion fueling every step forward.
From fumbling beginner moments through careful observation, adjustment, and persistence—you’re joining a long line of cultivators who transformed struggle into success by respecting this special plant's unique needs.
Keep this guide close; revisit sections as questions arise—the path unfolds clearer each season until those golden blooms become your proud harvest…and your healing legacy starts here today!


