Asparagus Cultivation Made Simple: Grow Healthy, High-Yield Crops Fast
Growing asparagus is a truly rewarding journey that only a patient gardener can fully appreciate. If you've ever imagined pulling tender green spears straight from your own soil, this guide will walk you through each step—slowly but surely—to ensure success. Asparagus isn’t a crop you rush; it’s more like building a lasting relationship with your garden that pays dividends for decades. Step by step, the early years demand patience, but oh, the payoff is worth every moment!

whether you’re new to gardening or want to sharpen your asparagus-growing chops, together we’ll explore every detail—trials, tips, and all—that turns bare ground into a flourishing perennial bed. Let’s get digging.
1. Understanding Asparagus: The Patient Perennial Superstar
Before you shove a spade into the earth, it’s important to know what makes this plant tick—and why patience is your secret weapon.
What Is Asparagus, Exactly?
Asparagus (Asparagus officinalis) is a perennial vegetable in the lily family. Instead of giving up at the season’s end like most veggies, it stores energy in thick underground root clumps called crowns. These crowns build strength over years and then send up fresh shoots each spring.
Imagine asparagus as your wise old neighbor—not flashy at first but faithful over time, yielding delicious spears for 15-20 years or more if cared for properly.
The Growth Cycle — A Slow and Steady Story
The first couple of years won’t thrill you with harvests—they’re all foundation work:
- Years 1 & 2: Crowns expand roots and establish themselves. Resist temptation; no picking allowed.
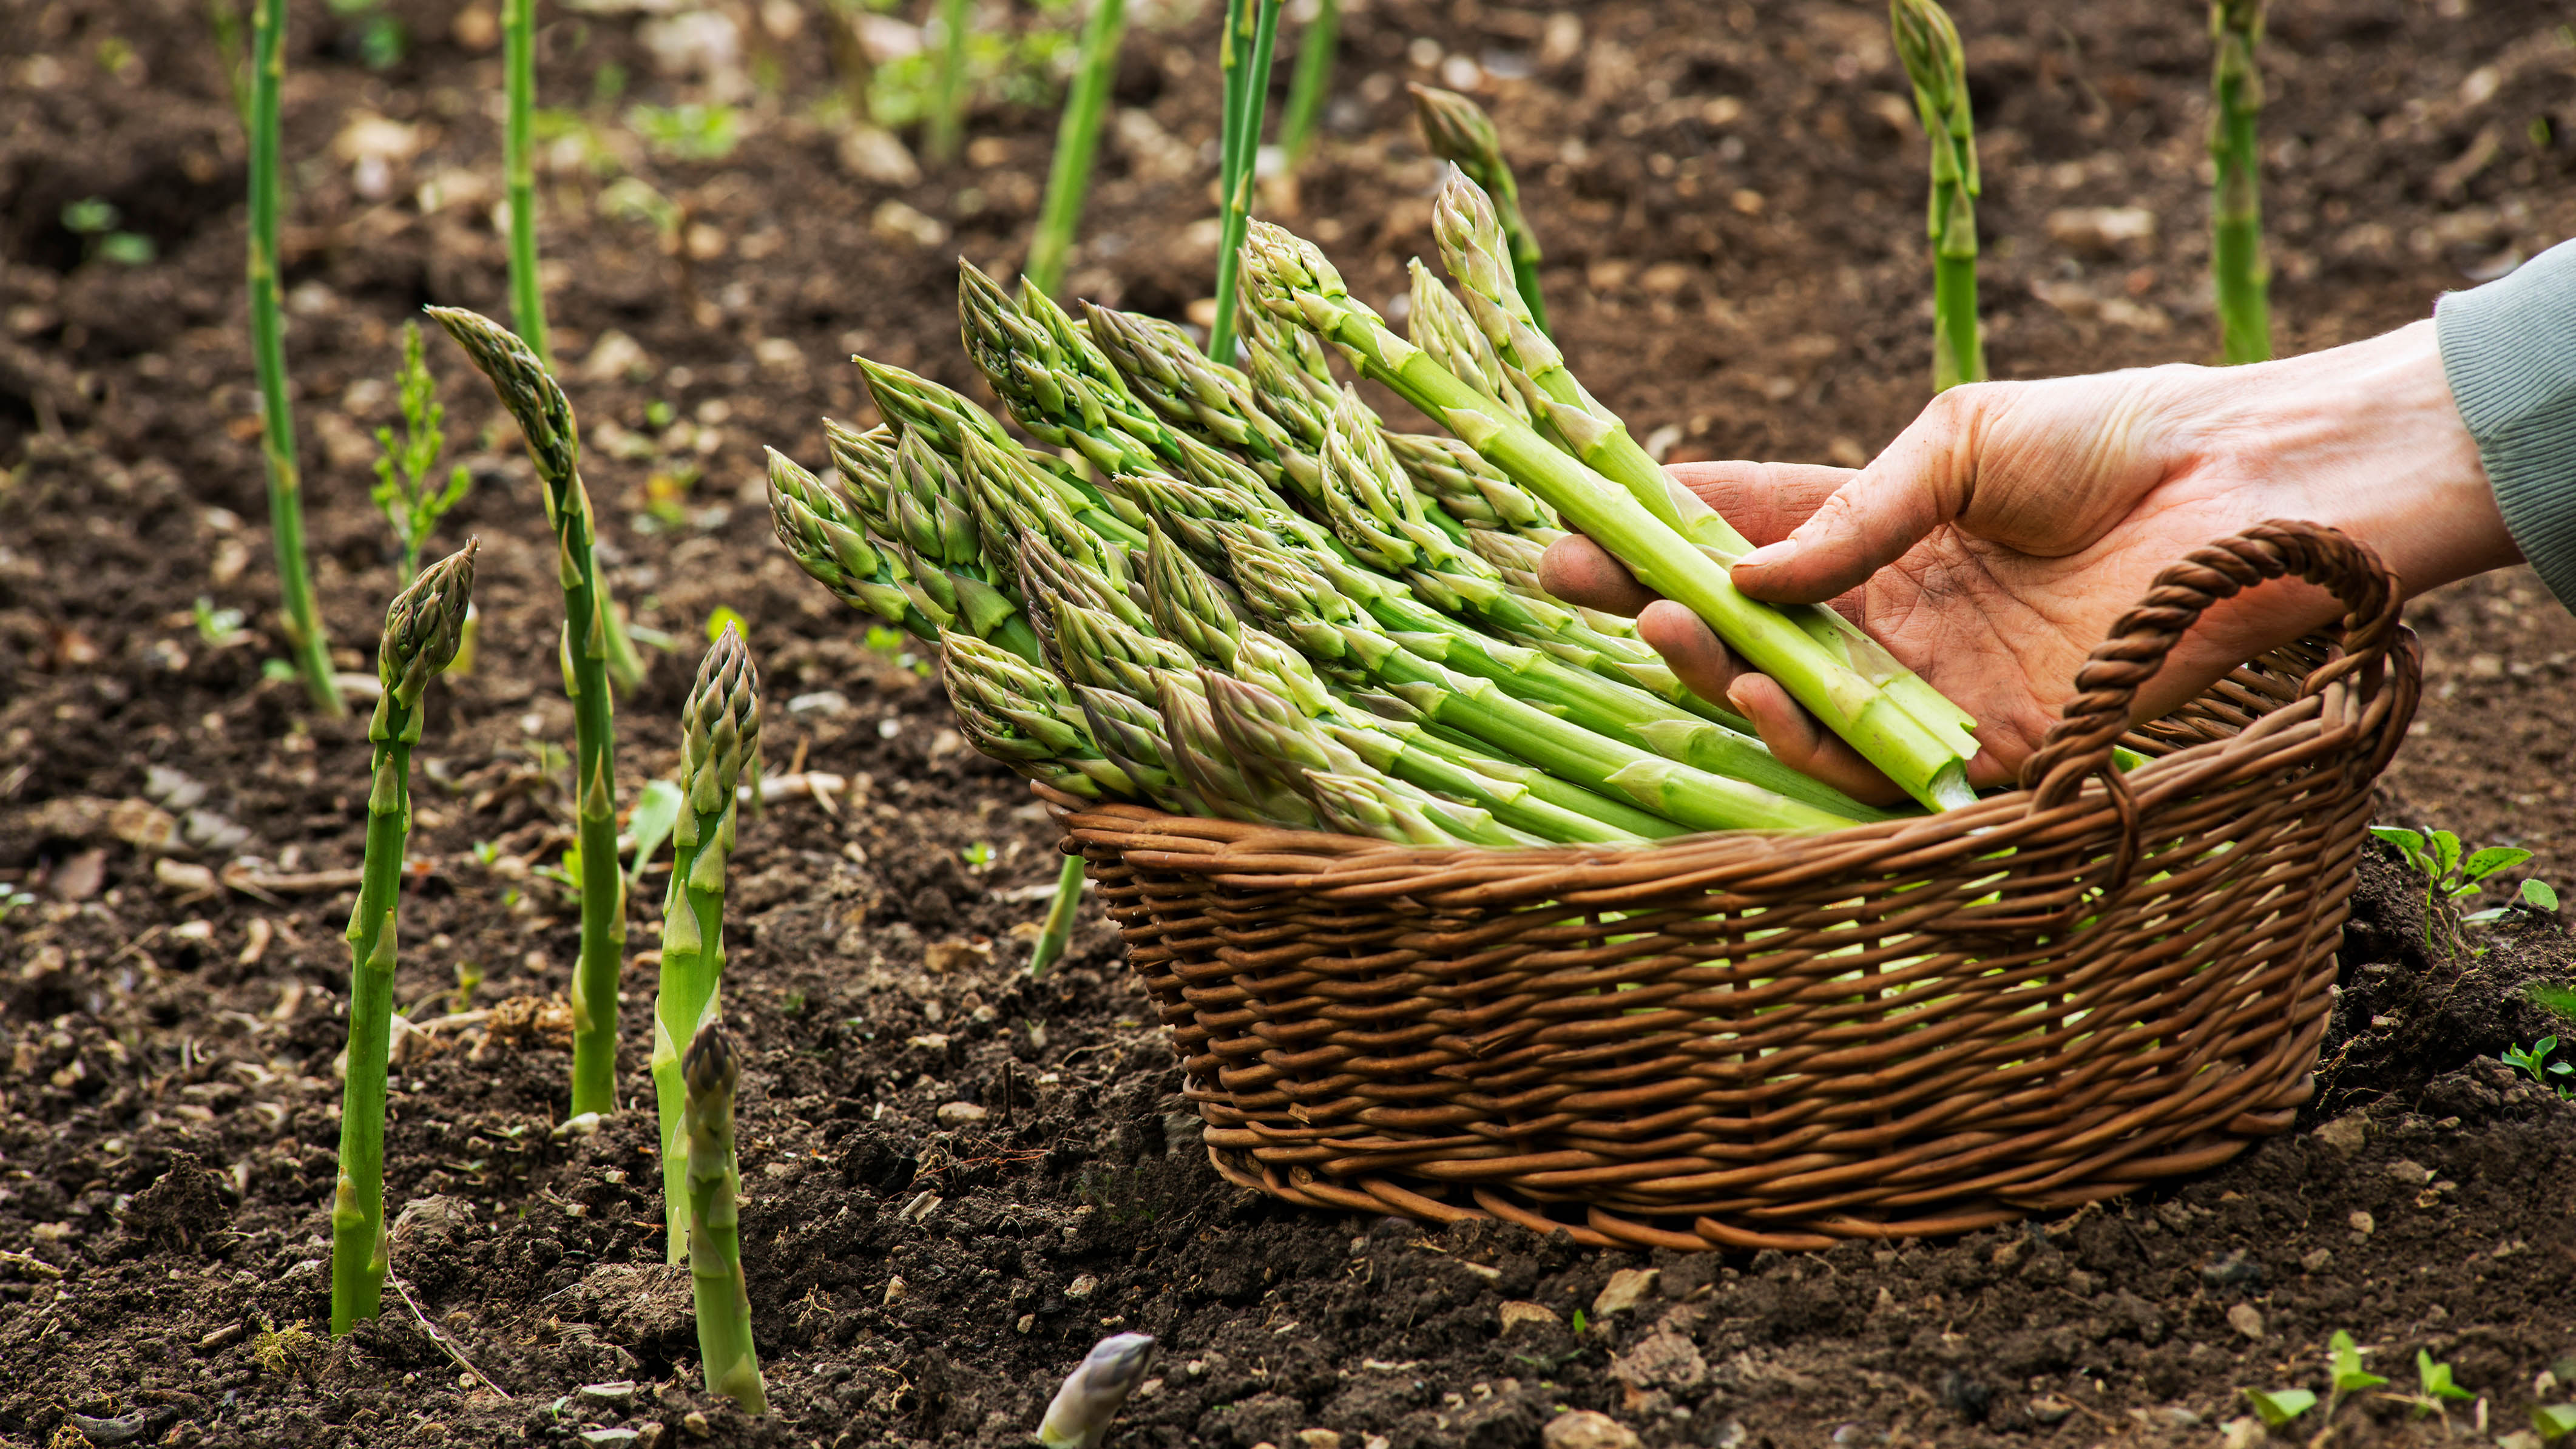
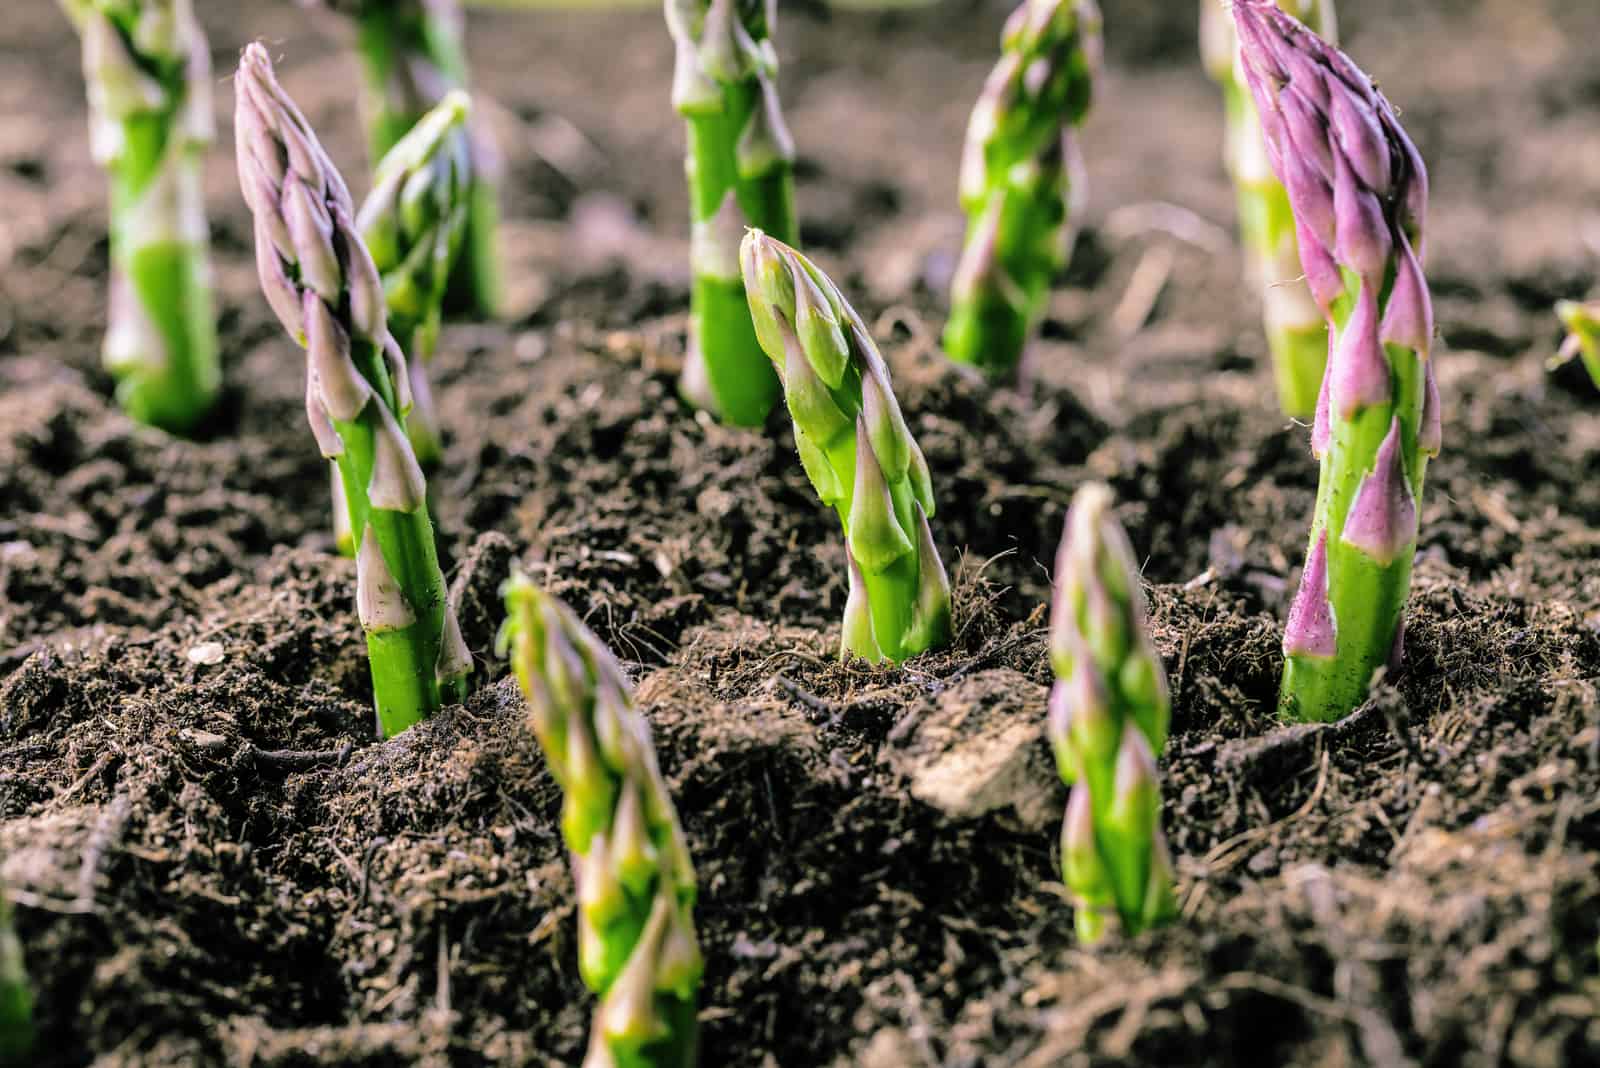
- Year 3 Onward: You can gently start harvesting spears about 6–8 weeks during spring when they reach pencil thickness (about 6–8 inches tall).
After harvest wraps up (usually late May or early June), those remaining stalks grow into lush ferns. They may look wild and messy but are crucial—they feed the crown via photosynthesis for next year. When winter arrives, ferns die back naturally, and beneath the soil crowns rest under mulch blankets.
Why This Patience Pays Off
I’ll be honest: waiting those first harvest-free summers tested my willpower! But when I finally grabbed my first basket in year three—the feeling was unforgettable. The reward isn’t just tasty spears; it’s knowing you helped build something that feeds you year after year.
What does patient care look like? Water regularly enough to keep soil moist—not soggy—pull weeds carefully so crowns aren’t disturbed, and enrich your soil with organic matter yearly. The more consistent you are now, the longer and stronger your asparagus bed grows.
2. Getting Started: Planting Your First Asparagus Bed With Confidence
Ready to turn theory into practice? Here’s exactly how to prepare for success from day one.
Step 1: Location — Sunlight Is King
Asparagus loves full sun—aim for at least six hours daily—to fuel spear growth and fight off diseases by drying out damp surfaces quickly.
Look also for:
- Good air circulation (garden spots with gentle breezes help fend off mildew).
- Enough space: mature crowns spread underground through rhizomes, so space rows at least four feet apart.
- Well-draining soil without puddles after rain—standing water causes root rot fast!
Step 2: Soil Prep — Treat It Like Royalty
Because asparagus crowns live here season after season, prepping soil well is essential:
- pH should be near neutral—between 6.5 to 7.5
(I use inexpensive soil test kits from my local garden center; easy and revealing!) - Loosen soil deeply (at least one foot) to break hard layers.
- Add plenty of organic matter (compost or well-aged manure) months before planting—but avoid fresh manure as it can burn roots!
If your pH is too acidic (<6.5), apply lime evenly about three months ahead so it adjusts before planting.
Step 3: Seeds or Crowns? Choose Your Path Wisely
Here’s the trade-off many gardeners ask about:
| Method | Pros | Cons |
|---|---|---|
| One-year-old Crowns | Fastest route—harvest possible by Year 3 | Costs $3–$5 per crown; handle gently |
| Seeds | Cheaper upfront; genetic variety | Takes ~4 years till harvest; needs more care |
For most eager gardeners ready to skip the very long wait—I recommend starting with healthy one-year-old crowns from reliable nurseries like Johnny's Selected Seeds or local trusted growers.
Step 4: Planting Like a Pro — Step-by-Step
Here’s what worked best in my own trials—it might feel fiddly at first but stick with it:
- Dig trenches about 6–8 inches deep and roughly 12 inches wide.
- Place crowns horizontally inside trench with roots fanned gently outward.
- Space each crown about 12–18 inches apart within rows spaced four feet apart.
- Cover gently with only two inches of loose soil initially (don’t pack tightly!)
- Over ensuing weeks as spears rise, gradually fill trench fully without impeding growth.
Water thoroughly after planting and then consistently keep soil moist but never waterlogged during establishment.
3. Sidestepping Common Pitfalls — Because We All Stumble!
Every gardener has faced challenges—and I sure did! Here are some common traps I learned to avoid:
Temptation to Harvest Early—Don’t Do It!
Those first tiny spears waving hello in Year One or Two feel like gifts from nature—but resist plucking them! Early harvesting weakens roots drastically leading to poor yields later on.
Try this instead: Use that energy for feeding via compost/balanced fertilizers plus steady watering until Year Three minimum.
Weed Wars Can Feel Never-ending
Weeds sneak nutrients underground away from young asparagus roots—and they multiply fast!
My fix: Lay down thick mulch annually using straw or shredded leaves, then hand-pull weeds carefully around emerging shoots before they dig deep itself.
Too Much Water = Crown Rot Disaster
Overwatering cuts oxygen supply causing crown rot—a nightmare I encountered once early on.
Lesson learned: Use raised beds if drainage is poor; drip irrigation systems deliver steady moisture without puddles near crowns.
4. Level-Up Strategies For Thriving Beds That Wow Year After Year
Once basics feel comfortable here are advanced tips seasoned growers swear by:
Smart Fertilizing Rhythm
Before spears emerge in early spring apply a light dose of balanced NPK fertilizer (~10-10-10) around plants—not directly on crowns! Then side-dress compost right after harvest during the fern-growth phase so nutrition feeds plants steadily throughout summer.
Personally, mixing slow-release pellets with worm castings created a gentle “food drip” effect keeping stress low while ensuring healthy growth overall!
Mulching Magic After Harvest
Once cutting stops around June:
- Cover ferns completely with thick straw or bark chip mulch.
- This holds moisture through summer drought,
- Buffers temperature swings in winter,
- Shields delicate crowns from frost damage,
- And keeps weeds at bay naturally!
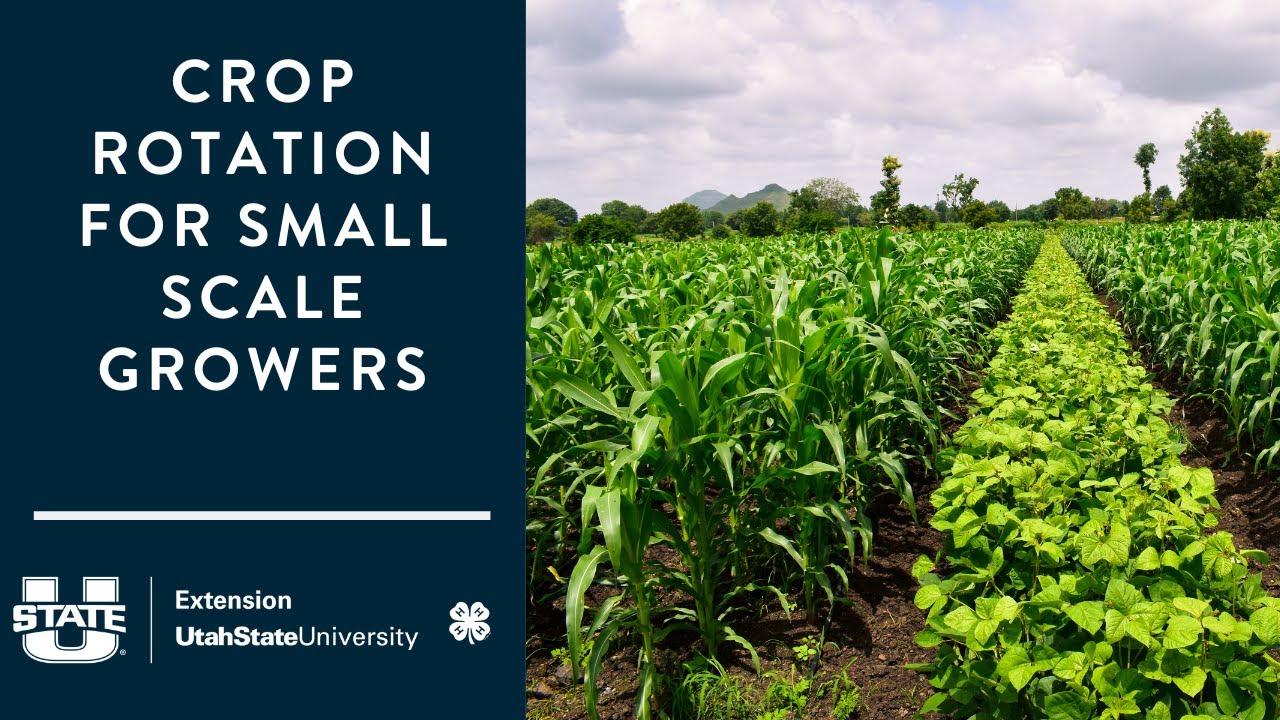
Crop Rotation & Sanitation — Thinking Long-Term
Though asparagus beds last decades rotating them every ~10 years avoids build-up of pests/diseases like Fusarium wilt which silently sap vigor over time.
If space is tight:
- Remove all dead fern material each fall promptly,
- Avoid planting affected crops nearby (like tomatoes or potatoes),
- Sterilize tools between jobs preventing cross-contamination aggressively!
5. Essential Tools To Keep Gardening Easier & More Enjoyable
When I share my toolbox friends often ask “what do you really need?” Here’s essentials that make a big difference:
| Tool | Purpose | Favorite Pick |
|---|---|---|
| Garden Fork | Breaking up soil before planting | Forged steel fork with curved tines — strong but careful |
| Long-handled Hoe | Precise weeding around shoots | Sharp blade hoe that slices weeds fast without strain |
| Soil pH Test Kit | Checking acidity levels | At-home kits under $20 available everywhere! |
| Mulch Materials | Moisture retention + temp control | Fresh straw works best in my experience |
| Drip Irrigation Kit | Consistent watering without waste | Easy-to-install kit from Rain Bird saved me tons of time! |
Joining communities like The National Asparagus Council connects you with seasonal advice tailored just for asparagus growers nationwide—a resource I highly recommend exploring early on!

6. Stories From The Field — Real People Making It Work
Nothing beats real-life examples to inspire persistence:
Janet’s Journey – Oregon Backyard Transformation
Janet started with five simple one-year-old crowns along her sunny fence line using only basic hand tools she already had indoors. Through patience and steady care—consistent watering plus fall mulching—her small plot grew vigorously enough within five years not just to feed her family but also provide fresh spears for her community farmer's market stall—a true grassroots hero proving small starts bloom big stories!
Raj’s Farm Triumph – Fresno, CA
On an acre farm under hot summer sun paired mild winters perfect for asparagus cycles Raj integrated drip irrigation paired weekly fertigation with soluble balanced nutrients experiments which led yield increases averaging +25% over two seasons despite climate challenges! His strategy shows how blending technology alongside careful crop observation pays real dividends over time shaping industry innovation even at smaller scales.
7. Quick Troubleshooting For When Things Don’t Go Smoothly
Even experts hit bumps—the trick is spotting problems early and acting wisely:
Yellowing Ferns After Harvest?
Often caused by nutrient deficiencies or beetle larvae boring beneath ground weakening stems prematurely interrupting nutrient flow…
Quick fix: Apply foliar micronutrient sprays immediately; use neem oil sprays early spring targeting beetle population cycles effectively!
Slow Spear Growth Or Weak Shoots?
Compacted soils suffocating expanding roots or unexpected cold snaps delaying shoot emergence reduce harvest windows especially below USDA Zone 5…
What helps: Annual thorough loosening adding compost pre-season; row covers protect young shoots extending safe harvest periods avoiding cold stress losses!
8. Action Plan: Next Steps You Can Take Today For Tomorrow’s Harvest
Let’s map out practical tasks ready now—building blocks toward tasty rewards spring after spring:
1️⃣ Order an inexpensive soil test kit today → Amend pH as needed several months before freeze
2️⃣ Pre-order quality one-year-old crowns this fall → Sketch trench layout while seeds arrive
3️⃣ Dig trenches early March → Follow spacing guidelines precisely
4️⃣ Plant carefully → Give generous initial watering & light loose mulch
5️⃣ Commit firmly NOT TO HARVEST until year three despite temptation—it builds future bounty!
6️⃣ Mulch heavily annually post-harvest → Maintain vigilant weed control throughout season
7️⃣ Monitor fern health post-harvest → Prepare winter mulch covering routinely protecting crowns
If these steps feel overwhelming remember—as someone who stumbled countless times on this path—the key is steady consistency combined with curiosity and learning… You’ll get there step-by-step building confidence as seasons pass transforming patch into perennial treasure chest bursting forth every spring fully fed by YOUR hands 🌱✨
Final Thoughts From Me To You
Starting an asparagus bed demands patience uncommon among many other crops—it tests willingness to wait quietly while nature does its work below ground before rewarding you above it—but this slow journey blossoms into decades of delicious meals filled by your own labor invested wisely ahead of time.
If doubt sneaks in remember even expert growers began exactly where you stand now—with questions paired steady care growing knowledge season after season becoming masters over time—and soon enough YOU’LL be sharing joy picking crisp green spears glowing in morning sunlight because YOU dared plant that first crown today!
Happy growing friend—you’re armed here not only with information but genuine encouragement rooting beside every step along this exciting path toward thriving perennial abundance!