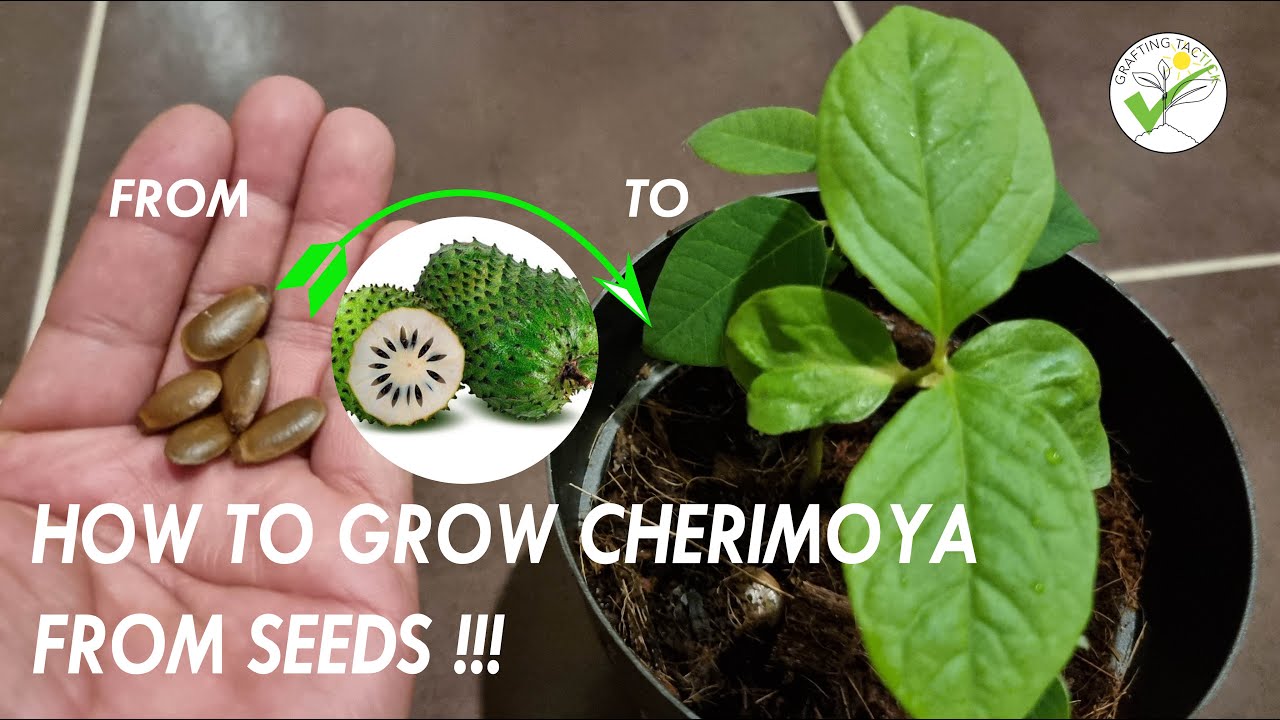
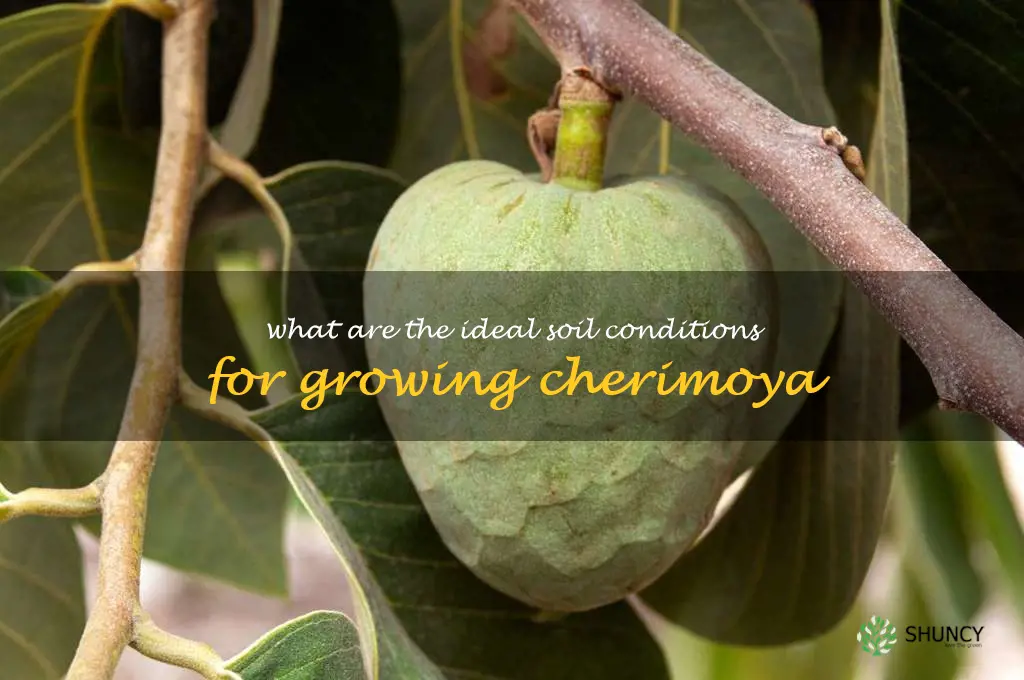
Best Soil Types and Preparation Methods for Optimal Cherimoya Growth
Forget everything you’ve heard about “good garden soil” being enough for cherimoya. The glossy magazine recommendations—“just mix in compost and plant!”—are exactly why so many would-be cherimoya growers end up with stunted trees or, worse, a stick that never wakes up after winter.
If you want real fruit (not just lush leaves or endless troubleshooting), it’s time to challenge the standard playbook.
Why Standard Soil Advice Fails Cherimoya—And What Actually Works
Every expert parrots: “Cherimoya needs loamy, well-drained soil.” But here’s what they don’t tell you: most backyards don’t have true loam, and no amount of bagged compost will magically transform clay or sand overnight. I learned this the hard way—a $40 sapling sunk into a promising mound, only to suffocate as spring storms turned my “well-prepared” bed into soup.
Let’s Get Contrarian
1. Raised Mounds Beat “Amended Holes”—Every Time

Conventional wisdom says dig a big hole, add compost, plant. That’s how you create a bathtub effect—a recipe for root rot in heavier soils. My best cherimoyas? They sit atop 18-inch-high mounds composed of native soil mixed with coarse builder’s sand (not play sand) and decomposed granite. Water drains through like a dream—even during El Niño years. Cost breakdown: one cubic yard coarse sand ($38), two bags decomposed granite ($12 each), and sweat equity.
2. Compost Isn’t King—It Can Be the Culprit
Most compost piles are too fresh; even “organic certified” bags sometimes reek of ammonia or feel slimy. That spells doom for subtropical roots susceptible to pathogens. Instead of dumping on generic compost, opt for worm castings (proven pathogen suppressant) blended at no more than 10% total volume—and only if your soil test shows organic matter below 3%. I once lost two trees to root rot from overzealous manure addition; now I rely on leaf mold aged at least two years.
3. Ignore pH ‘Ranges’—Pinpoint Your Problem First
The pH advice out there is broad (“6–7 is fine”). In reality? Roots can show iron deficiency symptoms even at 6.5 if calcium from concrete leaches in (seen it happen on new builds). Grab a digital meter—not the paper strips—for under $20 and check after every amendment session. Back in 2020, adjusting my beds from 7.4 down to 6.8 using granular sulfur took three months but completely reversed yellowing leaves when nothing else worked.
Soil Prep: The Unvarnished Checklist
Step One: Test Like You Mean It
- Dig a foot-deep pit in late winter.
- Pour in water after three dry days.
- If it takes longer than four hours to drain? Don’t plant until you fix it.
- Texture test: squeeze moist soil until it balls up; does it smear (clay) or crumble instantly (sand)?
Step Two: Build Up—Don’t Dig Down
- For clay or slow-draining soils: skip the classic “hole,” and create an 18–24" mound across a minimum 3-foot diameter.
- Mix ratio for mound: 50% native soil, 30% coarse sand/decomposed granite, 20% aged leaf mold/worm castings.
- For sandy soils: build mounds lower (about 8") but layer in coconut coir or biochar for moisture retention.
Step Three: Amend With Precision
- Only add nutrients based on what’s missing—a $25 lab test saves hundreds in dead trees.
- Never exceed recommended doses of manure; half-strength is safer than full.
- Avoid wood chips directly under roots—they tie up nitrogen as they break down.
Step Four: Mulch Smarter, Not Harder
- Use mulch sparingly near trunk base; keep a collar-free zone at least four inches wide to prevent fungal attack.
- Opt for pine needles if your pH trends high—they acidify gently over time.
When Preparation Goes Wrong—My Failures Speak Louder Than Success
Year one with cherimoya was humbling—I followed all the usual advice and still watched roots drown after heavy rain because I’d improved drainage only inside the planting hole instead of the whole area ("bathtub syndrome"). The tree survived—but never thrived until I rebuilt its home above grade.
Later, I tried shortcutting compost quality during pandemic shortages—within weeks, bacterial wilt set in and cost me another sapling ($45 gone fast). Now every amendment passes the sniff test (earthy, not sour).
Sensory Reality Check
Healthy cherimoya roots smell faintly sweet when you dig nearby—not swampy or sulfurous. Well-amended mounds feel springy underfoot even after hard rain, not sticky or compacted like modeling clay. And when wind passes through your site without pooling fog or cold air at ground level—you’ve nailed both airflow and drainage.
Real Conversations From The Field
A neighbor once scoffed at my raised mounds (“It looks silly!”). By midsummer his tree was yellowing while mine pushed out glossy new growth—even though we started with identical plants! He finally rebuilt his bed following my specs—and sent me photos three months later with his first flower buds forming.
The Contrarian Takeaway
Stop trying to force standard soil improvement tricks onto cherimoya—it punishes imprecision more than almost any other fruit tree I’ve grown (and I’ve trialed dozens). Build up mounds; use only finished amendments; monitor pH obsessively post-amendment; avoid quick fixes like chemical fertilizers unless absolutely necessary.
If you’re willing to do these things upfront—yes, even if it means hauling wheelbarrows of coarse sand or waiting on that lab report—you’ll spend far less time troubleshooting later…and far more time harvesting fragrant fruit from vigorous trees others will envy.
So next time someone tells you “just mix some compost into your dirt,” smile politely—and go get your shovel ready for something better.