Blossom-End Rot Solutions: Nurture Your Garden to Healthy Harvests
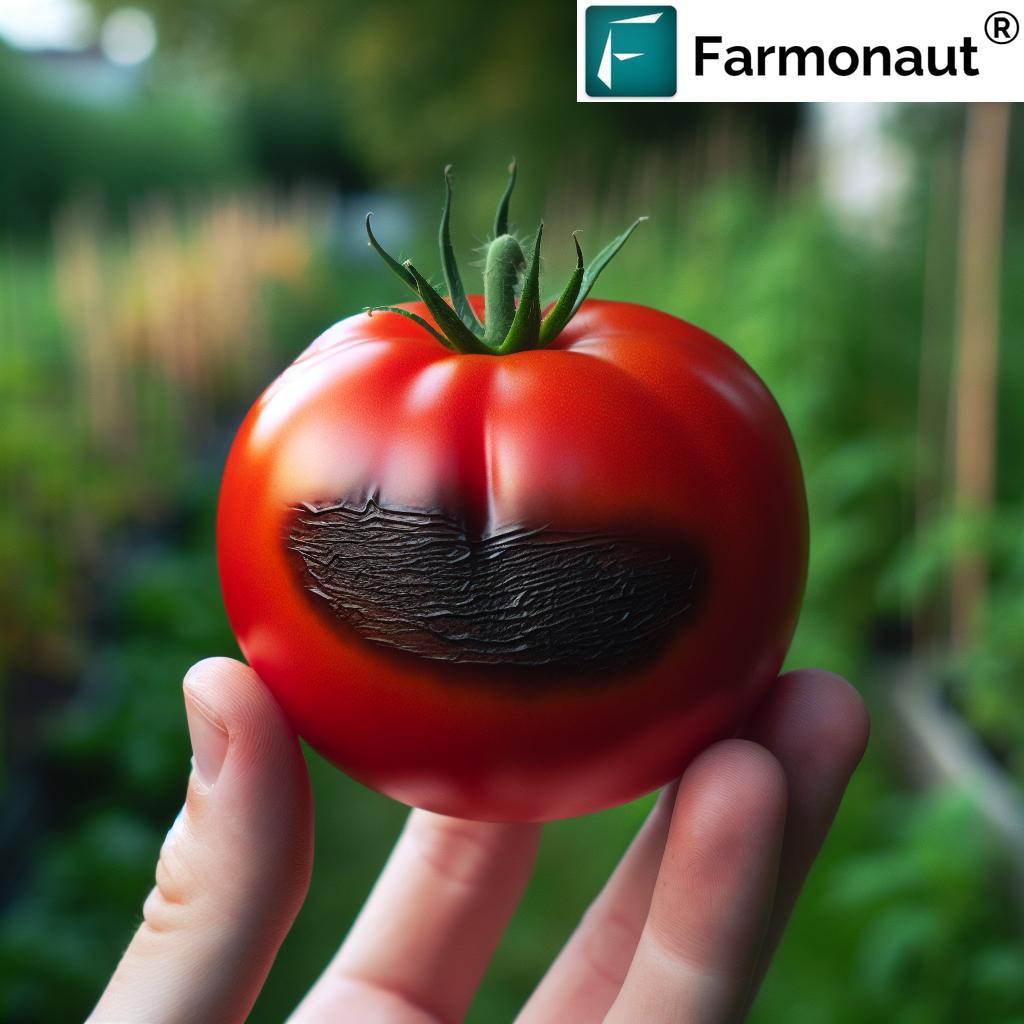
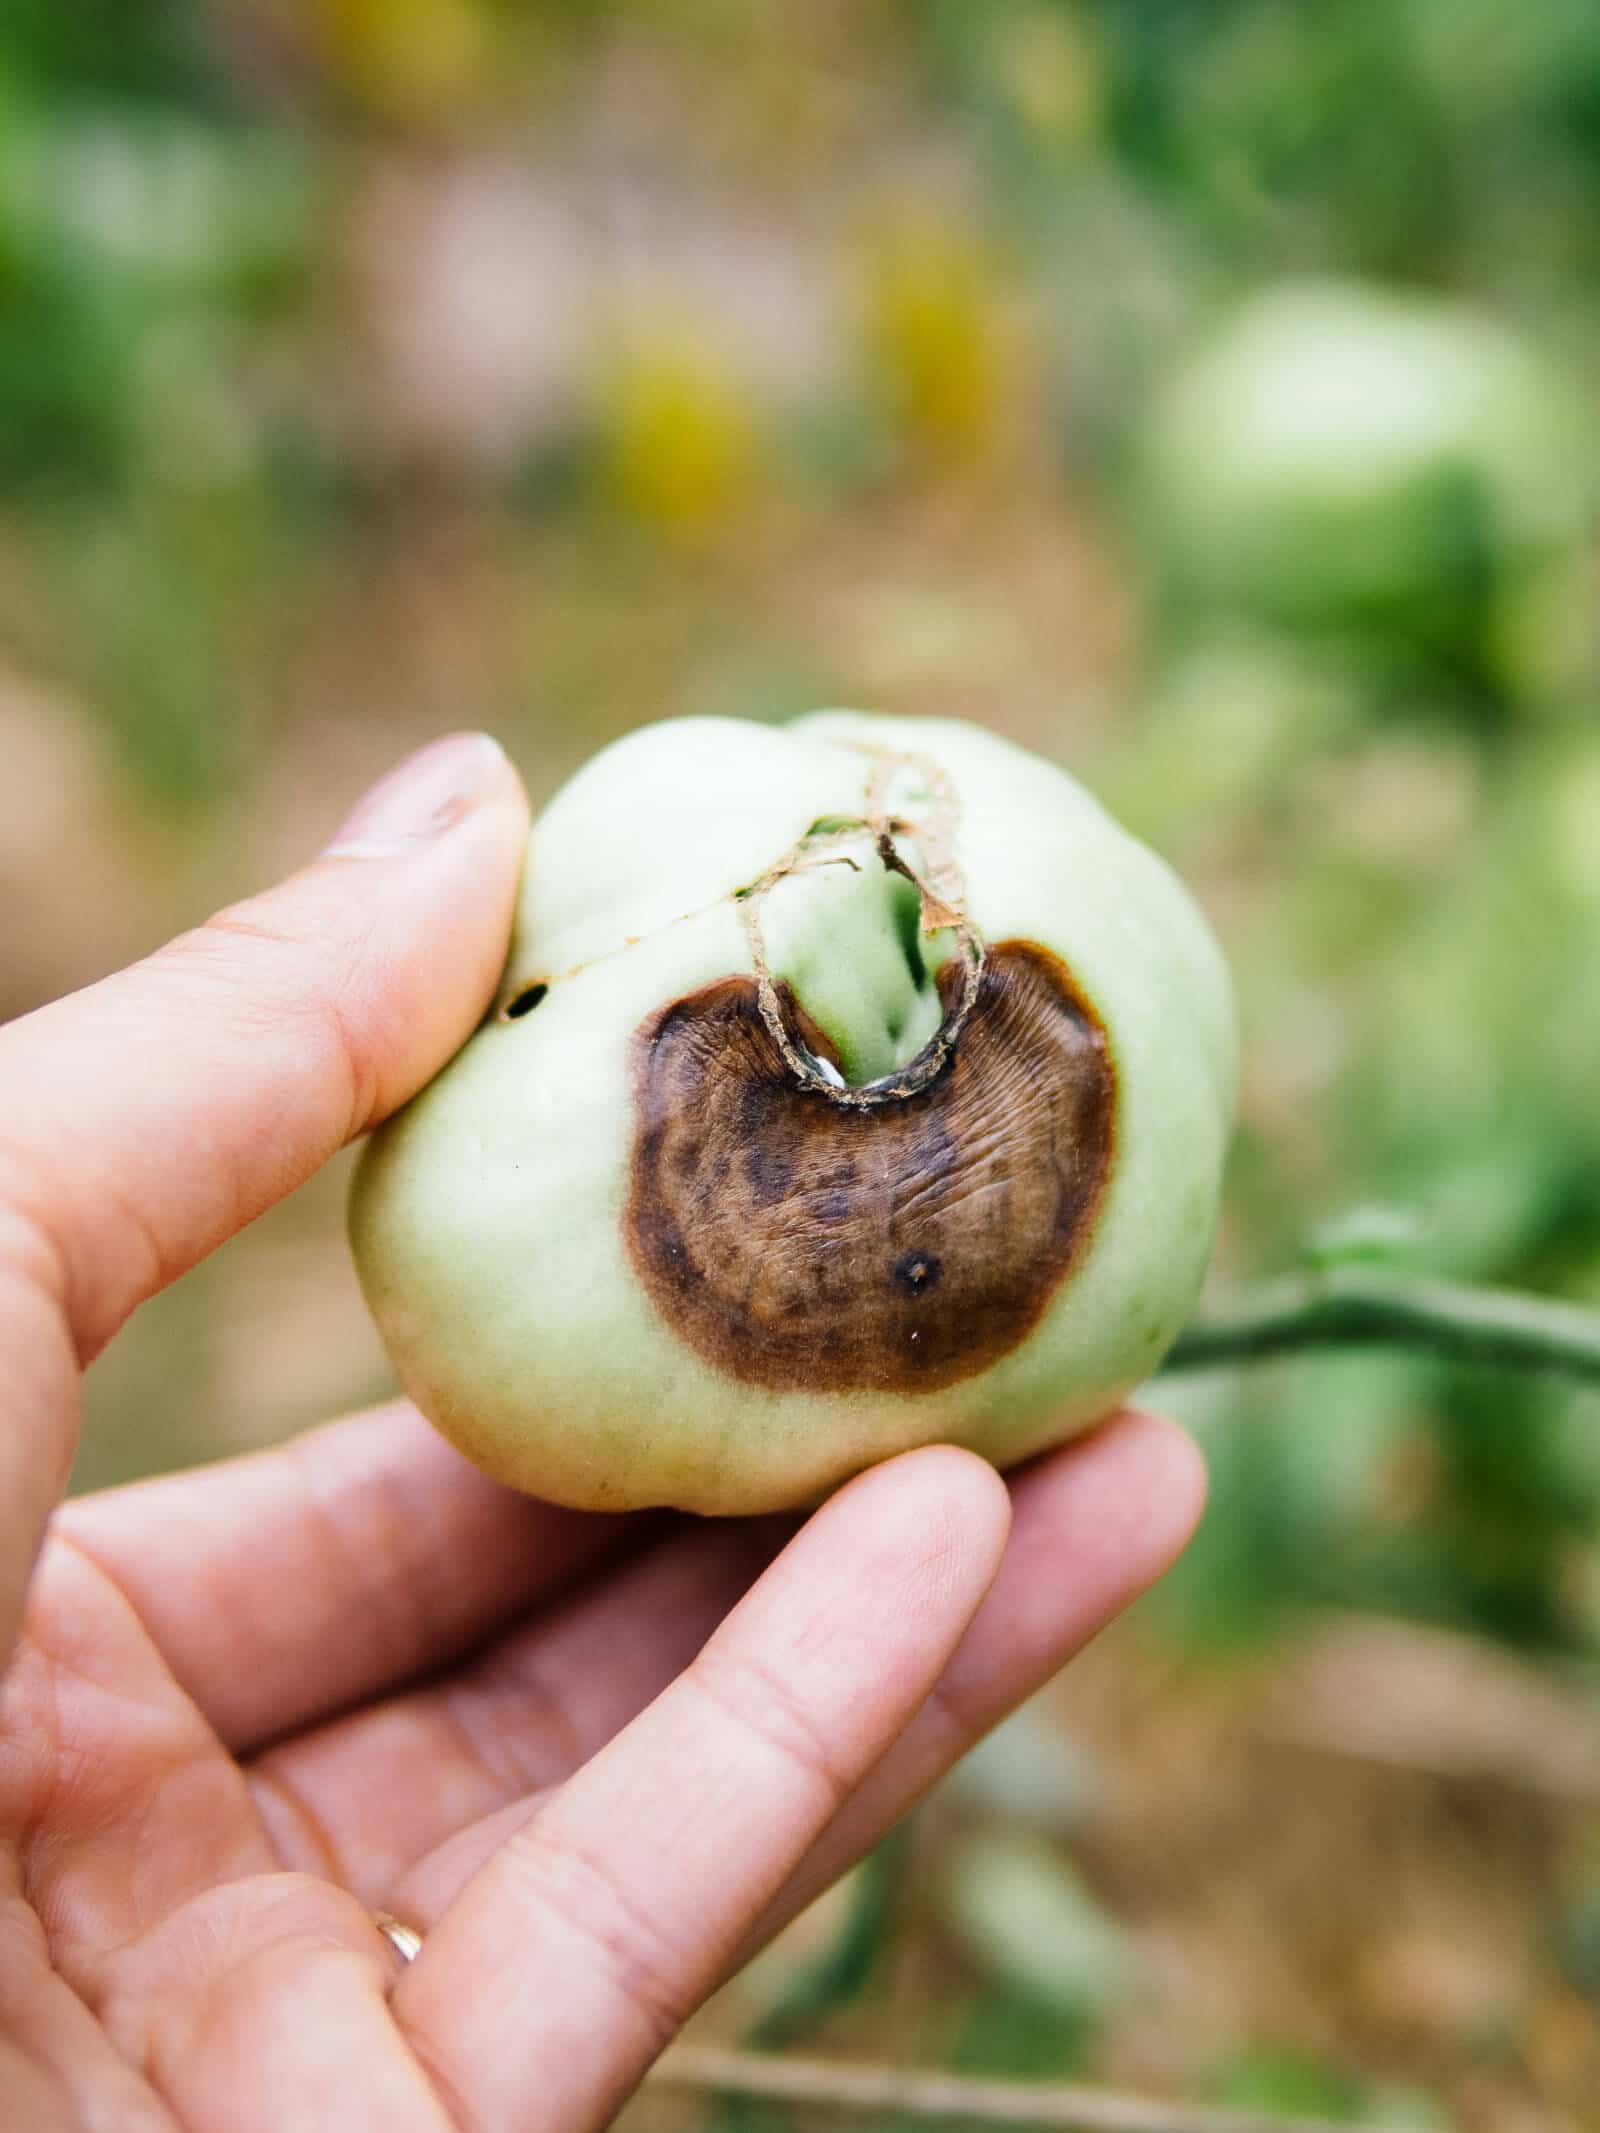
Not all garden failures sting like blossom-end rot. The first time I spotted those leathery brown patches creeping up the bottoms of my San Marzano tomatoes, it was mid-July—unforgiving humidity, soil hot to the touch, and my confidence as a gardener at an all-season low. Since that brutal harvest back in 2019, I’ve trialed every “solution” under the sun: eggshells, fancy calcium sprays, timers, mulch types—plus more failed experiments than I care to recall. Here’s what actually works in the field when you’re fighting blossom-end rot—not just what sounds good on paper.
Step 1: Pinpointing Your Rot Trigger
Everyone parrots that blossom-end rot is about “calcium deficiency”—but after years running side-by-side trials (pot vs. ground, sandy loam vs. thick clay), I’ve learned it’s almost never about calcium quantity. In fact, three consecutive soil tests from my own beds (2019–2021) showed nearly identical calcium levels whether or not the plants got hit with rot.
Blossom-end rot is almost always about root stress: wild moisture swings, compacted soil, overfeeding with fast-acting nitrogen. Think of your plants’ roots as couriers—they can only deliver calcium if the highways (soil moisture and structure) are open.
Step 2: Master Moisture—The Non-Negotiable Fix
The year I finally beat blossom-end rot in a majority of my crop was when I installed $25 worth of drip tubing ($0.10/foot at local hardware) with a basic timer set for daily 5 A.M. runs: 20 minutes for raised beds; 15 for containers; skipped irrigation altogether if rain topped 1" that week (measured with a rain gauge zip-tied to my tomato stake).
Real-world win:
My Black Krim tomatoes showed a 70% reduction in BER spots compared to hand-watering every other day—a direct result of keeping moisture consistent right at root level.
Practical system:
- Use your index finger or a $12 digital moisture probe; check daily after sunrise.
- If soil feels dry below two knuckles deep, water that morning.
- For containers on concrete patios—sunbaked and thirsty—double-potting cut my watering frequency by one-third.
Step 3: Mulch for Consistency (and Sanity)
I once tracked surface temperatures in mulched vs. bare rows using an infrared thermometer during August heatwaves (peak afternoon): mulched zones clocked in at 14°F cooler. That translates directly into less evaporation stress—which equals steadier nutrient flow.
Field-tested parameters:
- Lay down at least three inches of straw or shredded leaves within a five-inch radius—but keep clear of stems to avoid fungus.
- Re-mulch after major storms; flooded mulch cakes up and stops breathing.
- For potted peppers/tomatoes, try pine bark fines or even cardboard disks cut to fit—these both kept my root zones damp through entire vacation weeks.
Step 4: Realistic Calcium Boosts
Eggshell folklore just won’t save this season’s fruit—that’s biochemistry talking. In four direct comparisons between plants amended midseason with pulverized eggshells versus none at all (n=8), no measurable difference surfaced until next year.
Actionable steps:
- Pre-season: Work one cup garden lime per plant into soil two weeks before transplanting.
- In-season crisis? Only liquid chelated-calcium foliar sprays made any visible difference—and only on fruits that hadn’t yet set by spray day. Best bang-for-buck was Bonide Liquid Calcium at $8/bottle; follow label dilution rates weekly during HOT stretches.
- Bone meal offers slow-release help but also bumps phosphorus—a bonus for late bloomers.
Step 5: Fertilizer Restraint Pays Off
A hard lesson from my third year growing peppers: double-dosing Miracle-Gro led to lush foliage…and more than half my first flush rotted out before ripening. Nitrogen jumpstarts leaf growth faster than fruit walls can fortify themselves with calcium—that imbalance is fatal to healthy sets.

What proved effective?
Switched exclusively to Espoma Tomato-Tone (3-4-6) compost-based formula every four weeks once buds appeared—no extra nitrogen spikes—and saw rot incidence drop from ~40% down to less than 10% over two seasons (tracked by hand count).
Bonus finding: Mixing in finished kitchen compost gave steadier results than synthetic blue stuff ever did—likely due to its slow nutrient release and improved microbe action around roots.
Step 6: Handle Roots Like They’re Priceless
In one regrettable experiment (“speed-weeding” between tomato cages using a three-tined cultivator), the resulting shallow root nicks led—to the tune of six ruined Cherokee Purples—to severe BER on every subsequent fruit set for those plants.
Now? All weeds come out by hand within a four-inch radius; farther out only shallow scuffle hoe use allowed, especially after midsummer rains when roots run laterally near surface.

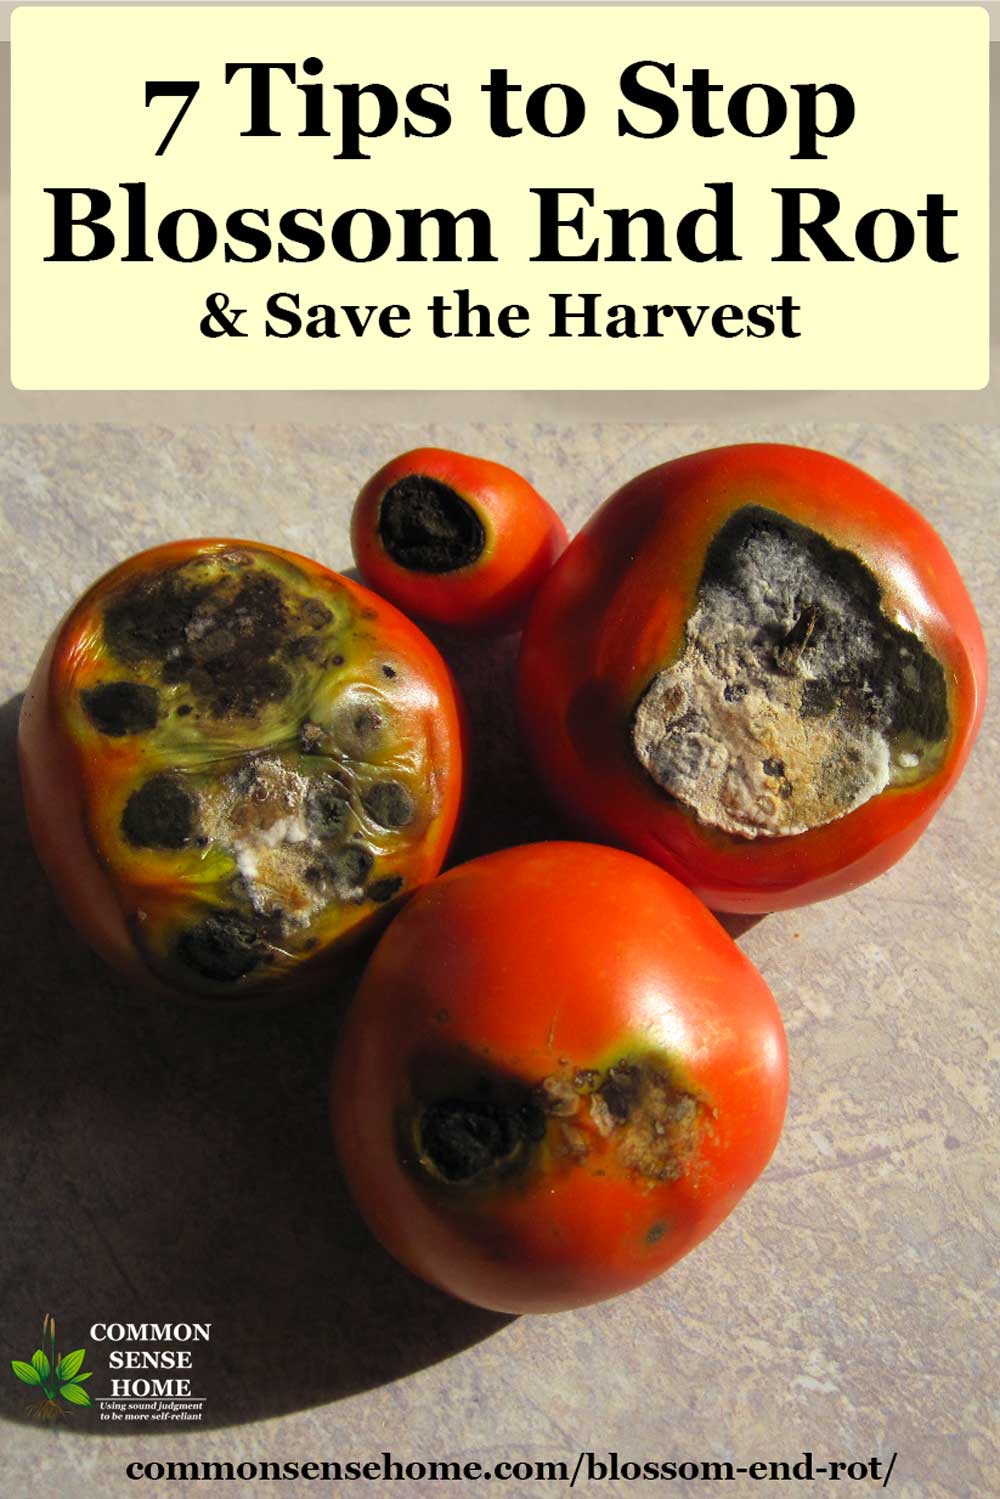
Troubleshooting When Things Still Go Sideways
Already lost some fruit this year? Here’s what I do:
- Prune off affected tomatoes/peppers ASAP—the sooner energy shifts to new sets, the better.
- Double-check mulch thickness after heavy rains; top up as needed.
- Run pH strips ($10 kit covers dozens of tests); tweak with sulfur/lime if outside optimum range (6.2–6.8 is sweet spot).
- On ultra-hot July weeks (>90°F), shade cloth raised on PVC hoops helped drop bed temps by another ~8°F here in Central Virginia—a game-changer for container crops especially.
For pots drying out too fast despite mulching:
- Move them out of afternoon sun onto gravel or brick pads instead of blacktop
- Position against east fences/walls where possible for wind buffering
The Data Doesn’t Lie—Consistency Beats Quick Fixes
Tracking five tomato varieties across three types of beds over multiple years taught me this above all else: Blossom-end rot isn’t about perfect amendments so much as patient process management—
Monitor moisture.
Mulch without fail.
Feed gently and only as needed.
Plan ahead with slow-release calcium sources well before planting day.
Even commercial growers who supply our local farmers’ market report losing up to 25% early fruit on wet/dry cycle years—and they have automated everything! So take it from someone obsessed enough to log each failed batch by date and variety: Getting it “right” is iterative learning shaped by your garden’s quirks—not quick tips plucked from forums.
Today’s Checklist for Real Progress
- Test soil moisture yourself right now—even if you watered yesterday!
- Top up mulch wherever you see bare dirt or cracked crusts around plant bases.
- Cull damaged fruits so new ones get resources they need.
- Hold off any extra fertilizer unless yellowing leaves force your hand; compost tea beats granular nitrogen every time once flowering starts.
- Scope out where water pools/stagnates during rainstorms—correct drainage issues before next planting season if possible.
- Start mapping which plantings had most/least issues this year; patterns emerge over time.
And above all? Don’t treat blossom-end rot like personal failure—it’s an environmental puzzle solved incrementally through careful observation and real corrections season-over-season.
Healthy fruit comes not from luck but relentless tweaking based on what you see each week—not just what you read online or hear secondhand!
You’ll get there—I promise (my freezer full of homegrown sauce jars says so).