Botanical Dye Plants: Your Complete Guide to Vibrant, Natural Colors

Step into the world of botanical dye plants, and you’re entering a living spectrum that’s part science experiment, part art form, and entirely an adventure. I say this as someone who spent her first summer with indigo-stained fingers and failed yellow yarns dangling from every doorknob—because no guide covered half the mayhem I encountered.

This is not just another “how-to” compilation. This is the ultimate troubleshooting pillar: an unflinching look at every oddball scenario you might encounter, with deeply personal strategies built from years of color highs…and plenty of “oh no!” lows. If you want to make natural color work for YOU—no matter where you live, what materials you have, or how wild your dye dreams get—let’s roll up our sleeves.
Where Botanical Dye Plants Begin: Inspiration Meets Reality
Don’t fall for the Instagram-perfect myth! That smooth gradient on linen? It was likely the fifth attempt (I once boiled a batch of weld so hard, it “developed” inky black instead of yellow). Botanical dyes are alive: your climate, soil chemistry, water mineral content—even your choice of harvest time—shift results.
My Must-Know Starting Point
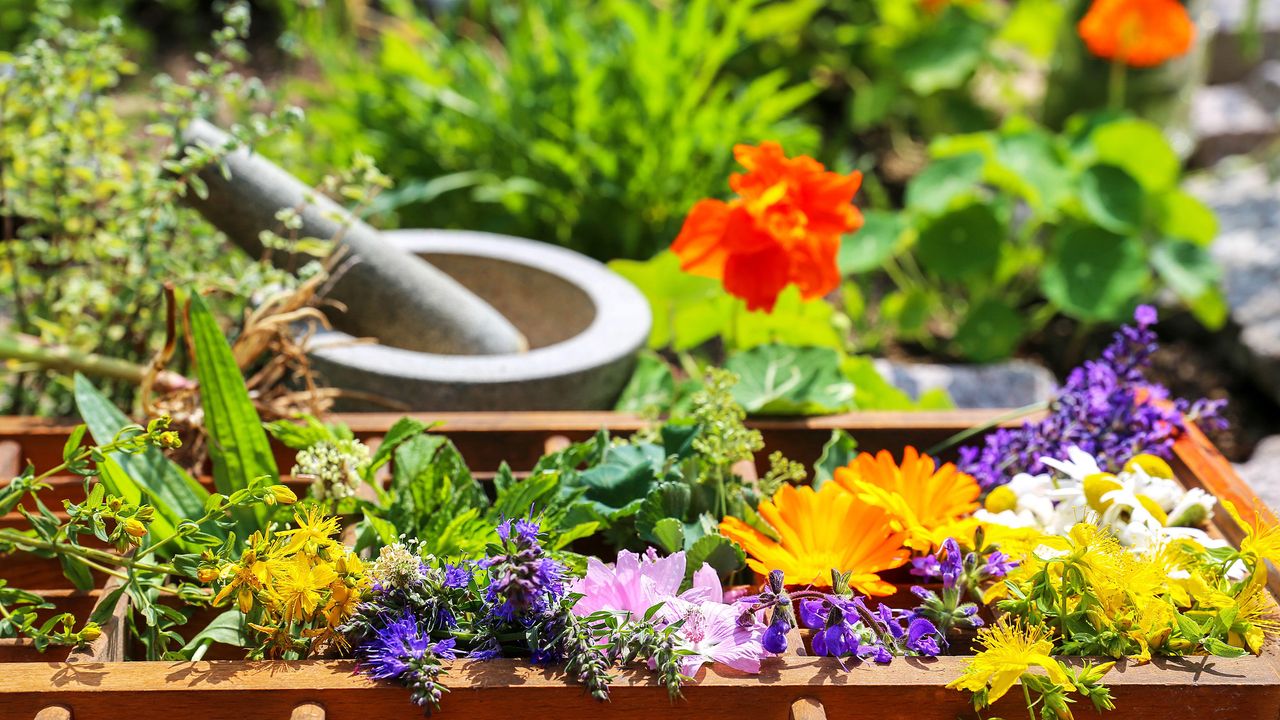
- Indigo (Polygonum tinctorium) – Grows in window boxes; turns from green mush to blue magic only after a mysterious oxygen dance.
- Madder root (Rubia tinctorum) – Needs two YEARS in my clay-heavy Texas garden before roots are ready…but gives brick reds unlike anything synthetic.
- Weld (Reseda luteola) – The color of sunlight itself IF harvested before it seeds out. Wait too long? You’ll get beige.
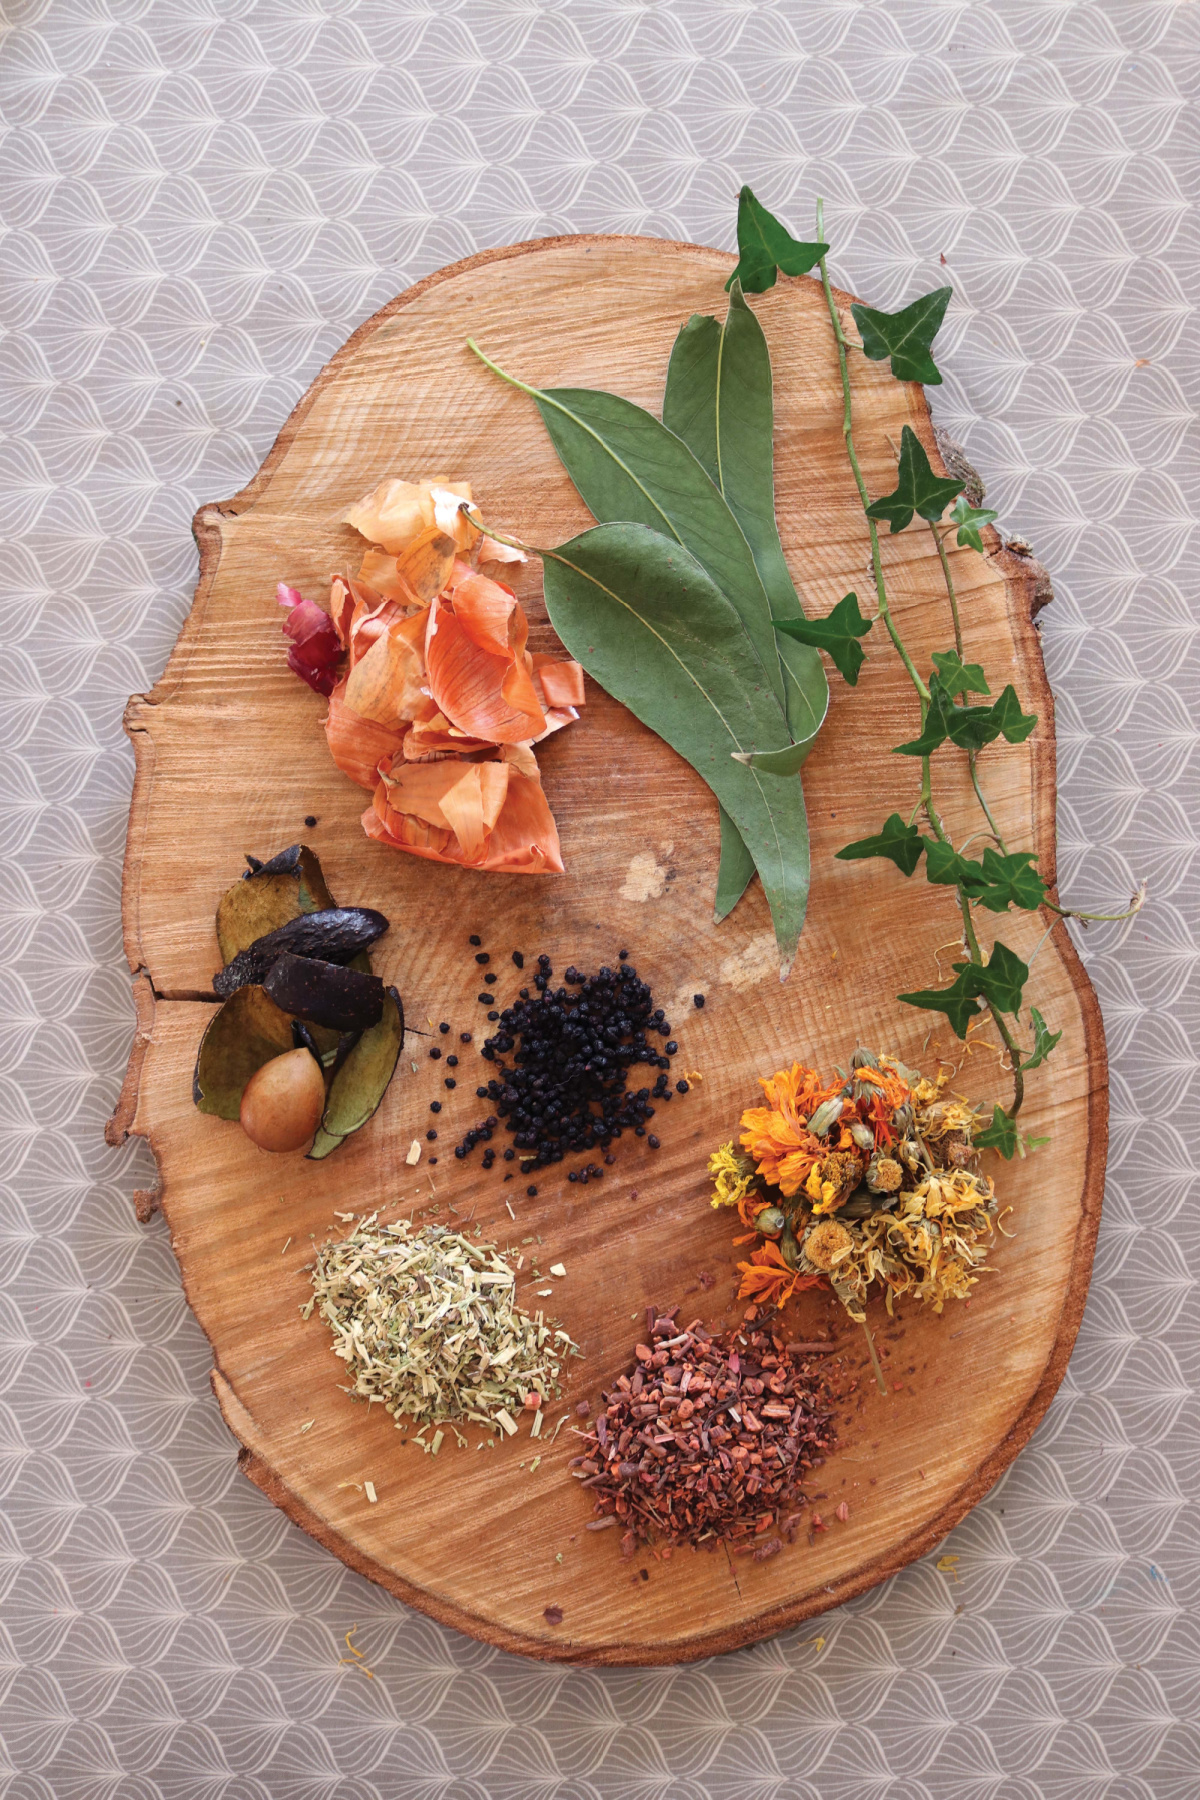
- Plus: Coreopsis (the “beginner’s gold”), black walnut hulls (every October), avocado pits (save every single one).
If you’re asking why bother with all this? Because natural colors glow in a way that synthetics just can’t mimic; because each batch whispers its own story depending on season, method—and accidents.
Can’t-Miss Fundamentals (And My Favorite First-Time Fails)
Before you even fire up the kettle:
PigMENTS Are Fickle Beasts
- Anthocyanins: Give purples/reds—except they fade in direct sun. That violet scarf I made for my mom lasted…two weeks before fading to grey.
- Carotenoids and flavonoids: Yellow/orange brilliance—but prone to dullness if pH isn’t right.
- Indigoids & alizarin: The holy grail for lightfastness—but require patience and precise process.
Mordants—the Secret Sauce
Take it from me: skip mordanting ONCE and pay dearly. I used alum (“potassium aluminum sulfate,” food-safe but powerful), weighed carefully: aim for 12% the weight of your fabric. For richer colors? Try tannic acid pre-bath on cotton; or risk iron post-baths if you love moody tones (but use gloves—the stains last longer than most tattoos).
Fiber Choices Dictate Everything
Wool will soak up madder like spongecake soaks custard; silk is brilliant but sensitive (ask me about my accidentally felted scarf heartbreak); cotton is stubborn but yields to patience and layered techniques.
Assembling Your Toolkit — And Why Half My Gear Is From Garage Sales
Expensive setups are optional—I’ve done bucket-dyeing on fire escapes and kitchen stovetops. Essentials:
- Stainless or enamel pot (NO chipped spots—iron reacts!)
- Digital scale accurate to 1g—consistency breeds success
- Old wooden spoon—you’ll never quite get that walnut tint out
- Cheesecloth for straining
- Candy thermometer ($8 at Walmart)—temp precision transformed my blues!
Test strips for pH experiments are thrilling—you haven’t lived until you see rose petal dye swing from pink to green-gray with just a pinch of soda ash.
Step-by-Step With Built-In Troubleshooting
Let’s dodge every pitfall before it happens:
1) Scouring:
Unwashed fibers block dye absorption! Once I skipped scouring thrift-store linen—the bright weld dyebath left only faint ghost lines tracing former stains.
My process:
Soak cotton in nearly boiling water + tablespoon soda ash per quart for an hour. For wool/silk: warm water + drop mild soap, gentle swishing only.
2) Mordanting:
If color rinses out fast? Likely skipped/mis-measured mordant. Dye molecules need those bonds!
- Alum is kindest for beginners (12% WOF).
- Iron dips AFTER dyeing deepen/dull hues but can damage delicate fibers if overused—a minute goes a LONG way!
Tip: Keep fabric damp between steps; dry cloth resists even application.
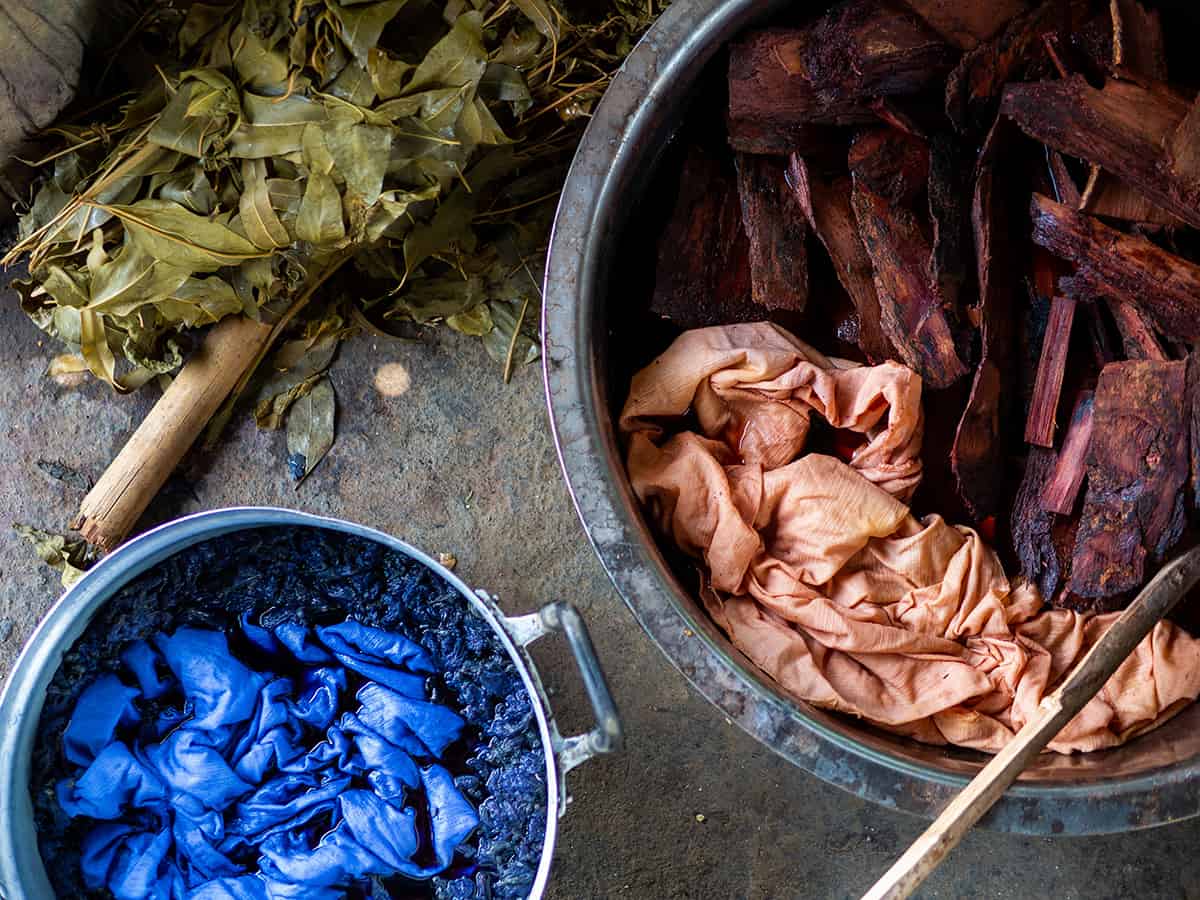
3) Dye Extraction:
Here’s where mistakes become legends:
- Boil onion skins too harshly—they turn brownish instead of golden.
- Use too little plant material? Expect pastels at best.
I follow Jenny Dean’s advice as gospel now—start with equal weight plant:fabric for “true” shades; double plant matter for deep tones.
For indigo? The vat must be oxygen-starved pre-dip—or else your blues will disappoint every time.
4) Dye Bath Soak:
Stirring keeps things even—my first yarn skein had accidental tiger stripes because I let it clump at the bottom!
Keep heat around 160°F/70°C to avoid felting wools—or sad limp silks.
Check shade often—a pale yellow can oversaturate shockingly quickly overnight!
Ultimate Troubleshooting Matrix — If Something Goes Wrong…
| Problem | Suspected Cause | Lived Solution |
|---|---|---|
| Faded color (or white patches!) | Weak or skipped mordant step | Re-mordant & redye; record details next time |
| Blotchy results | Insufficient movement while dyeing OR overcrowding pot | Split into smaller batches; use more water per unit fiber |
| Dull hues/not as expected | Too little/old plant matter OR wrong temperature/pH | Source fresher material OR check pH modifiers |
| Unexpected muddy shades | Hard/mineral-rich tap water OR mixed incompatible plant parts | Test distilled/bottled water next round; separate bark/leaves when extracting |
| Fibers stiff after dye | Excess tannins/prolonged heating | Wash gently post-dye; add mild hair conditioner for wools/silks |
| Bleeding colors on future washes | Incomplete rinse or under-mordanted cellulose fiber | Rinse THOROUGHLY after dyeing until water runs clear; consider extra fixing bath |
Biggest lesson? Document EVERYTHING! The notebook entry titled “Epic Weld Disaster — Used Rusty Pot + Rainwater” still makes me laugh…and reminds me never to repeat that combo.
Advanced Techniques — Pushing Boundaries
This is where things feel like wizardry:
Overdyeing = Infinite Palette
Layer madder red over weld yellow = fiery orange.
Coreopsis over indigo = mossy teal greens.
Each bath tells its own story—even “failures” end up unique blends seen nowhere else.
pH & Modifiers Transmute Color
Adding vinegar turns avocado pink into salmon peach. A dunk in weak iron solution sours sunny yellow into olive green right before your eyes—it never gets old!
Fermentation & Eco-print
That rotted-leaf-smelling indigo vat delivers irreplaceable depth—a proper fermentation vat smells like earthy spinach soup after three days…
Eco-print projects have surprised me again and again—in August heat with fresh eucalyptus leaves bundled tightly against silk scarves, pale tan prints transformed into glowing copper shapes by September sunlight alone!
Real Scenarios—from Urban Trials to Family Traditions
Ask any longtime dyer about success—they’ll share failure stories first:
Urban Balcony Blues: Last year I built a Japanese indigo vat inside a shower stall using balcony-grown leaves. Two attempts yielded nothing but murky sludge—until I borrowed distilled water from my neighbor and reduced the temp by five degrees. Suddenly: dazzling turquoise skeins worthy of envy-filled texts from friends across three states!
Community School Banners: At our local elementary school, we turned cafeteria onion skins + marigolds into happy flag bunting without fancy gear or toxic ingredients—the smell alone brought back grandma’s cooking memories...
Family Heirloom Revival: When my aunt moved here from Kolkata she brought grandmother’s madder notes (“dig roots only after three rains!”). Our joint experiments now yield table runners gifted at every family gathering—a living tapestry connecting continents through colorwork rooted in place and memory.
When All Else Fails…Try These Remedies
After hundreds of batches, here’s what truly works when disaster strikes:
-
Color less intense than expected?
- Double-dip! Re-soak in same extract or overdye with compatible shade.
- Add fresh material + reheat briefly—but beware excess simmering turns leafy greens muddy fast.
-
Fabric feels tacky/stiff post-dye?
- Repeat rinses PLUS one last wash using diluted hair conditioner softens even tannin-laden hemp towels.
- For protein fibers scorched by iron baths…a soak in lanolin solution helps restore some springiness.
-
Persistent bleeding during washes?
- Post-mordant fixative vats work wonders: try dilute alum bath (6% WOF) warmed gently post-rinse → then air dry flat protected from harsh sun until fully cured.
-
Unexpected streaks/splotches?
- Next time, untwist fibers completely before submerging—and agitate regularly during entire bath duration!
- For spot rescue now: overdye whole batch darker tone—it becomes “intentional variegation.”
-
Strange odors after fermentation attempts?
- Slight funk = normal;
rotten egg / sharp ammonia = abort mission! Discard safely; start anew with strict temp/hygiene control next round.
- Slight funk = normal;
Remember: EVERY seasoned natural dyer has their own gallery of surprises hanging behind closed doors—the trick is learning which tweaks save vs which demand starting over!
A Weekend To Transformation—Your Action Blueprint
Dream big…but start small and smart:
Day One Evening: Scour/wash two kitchen towels well while prepping onion skin/weld/marigold dyebath overnight with enough water to cover future project.
Morning: Mordant cloth while sipping coffee.
Midday: Strain plant solids & start gentle simmer with damp fabric inside.
Afternoon: Check frequently—as soon as colors delight you, rinse thoroughly.
Let dry out-of-direct-sunlight—and jot down every step including temperature/time used plus any drama encountered.
Optional Sunday Fun: Slice towel into test strips, overdye ends in vinegar vs baking soda baths—or try eco-print pressed flowers between layers.
Share results somewhere public—for accountability AND communal inspiration!
Cost breakdown:
- Plant materials: $0–$10 if harvested/grocery store sourced
- Mordant alum pack: $6/bag lasts dozens of projects
- Used stainless pot/thrifted gear: $15–25 max
TOTAL ENTRY COST FOR FIRST BATCHES = Under $40…and infinite curiosity rewarded thereafter.
Growing Into Mastery (& How To Stay Wildly Inspired)
You won’t reach a final plateau—botanical dyes keep evolving alongside us! Every year adds new chapters:
- Expand garden plots by adding one species each season—think weld one spring, coreopsis next summer…
- Reach out to elders/artisans locally or globally—you’ll hear stories lost nowhere else online (“Boiling acorn caps this autumn reminded me so much of…”)
- Log everything obsessively—not just formulas but weather notes/personal reactions/photos (“This batch smells oddly floral…”).
- Host swaps/workshops—even virtual ones build camaraderie that fuels creativity.
- Dive deep into traditional techniques like shibori resist patterns or wild bundle-dyed bandanas as gifts/fundraisers/community mementos.
- Most importantly…cherish SERENDIPITY! Fluke storms created my brightest lichen yellows one year when rainfall doubled extraction times unexpectedly—that chaos became legend among friends who saw scarves glowing under autumn moonlight.
Ultimately botanical dyes are about more than pretty cloth—they root us to landscapes/times/people we cherish most fiercely.
Bookmark these lessons—but let your curiosity lead beyond them! Each misstep unlocks new possibility; each triumph splashes joy deeper than words can hold.
So go ahead…dive hands-first into the spectrum nature offers RIGHT WHERE YOU ARE PLANTED.
Your next favorite story starts not with perfection—but with play,
persistence,
and awe that never quite fades,
just like those best-loved naturally dyed treasures themselves.
Happy making—and may your biggest surprises be your brightest wins!


