Boxwood Topiary: Expert Insights and Practical Guide for Precision Shaping

Step into the world of boxwood topiary, and you’re not just shaping shrubs—you’re sculpting living art. This isn’t a weekend project; it’s a journey, equal parts precision and patience, where every snip brings you closer to mastery. I’ve been hooked since my first lopsided “sphere” back in 2011 (it looked suspiciously like a green potato, but I was proud!). Whether you’re dreaming of classic globes or ambitious spirals, let’s unlock the secrets—beginner to expert—in a guide that blends practical know-how with hard-won lessons from real gardens.

1. Boxwood Topiary: The Art and the Attitude
What Makes Boxwood Special?
If you’ve ever run your hand over a perfectly clipped boxwood globe—cool, dense, almost velvety—you know why these plants have reigned in formal gardens for centuries. They forgive mistakes, bounce back from bold pruning, and their slow growth gives you time to correct missteps. But here’s what most guides skip: boxwoods are blank canvases and co-creators. They’ll nudge back against your plans with their own quirks—and that’s half the fun.
Boxwood Superstar Lineup:
- Buxus sempervirens (‘English’): The Michelangelo marble of topiary—dense, forgiving, stately.
- Buxus microphylla (‘Japanese’): Petite leaves for finer detail work; perfect for potted projects.
- ‘Green Velvet’, ‘Winter Gem’, ‘Suffruticosa’: My go-tos for cold climates or low hedges. Each has its own “personality”—try them side by side to see which suits your style.
Pro Insight
Skip fast-growing types if you crave crisp edges—trust me, they’ll outpace your shears and end up fluffy instead of formal.
2. Setting Up for Success: From Seedling Dreams to Solid Foundations
Soil & Sunlight: Underestimated (Until You Get It Wrong)
I once lost five beautiful young plants in a single rainy spring—turned out my new planting bed held water like a bathtub. Lesson learned: well-drained soil isn’t optional. Test yours by digging a hole and pouring in water; if it doesn’t drain within an hour, amend with compost and sharp sand or plant on raised mounds.
Sunlight matters too:
- Partial sun: Ideal (4–6 hours). Too much shade = weak growth; blazing sun in southern zones can scorch.
- Windbreaks: Especially vital in winter-prone regions—boxwoods hate desiccating winds more than frost itself.
Planting Like a Pro
Here’s my personal checklist after years refining—and sometimes regretting—the process:
- Dig twice as wide as the pot but only as deep.
- Tease apart roots gently (use fingers, never knives!).
- Set so the root crown is level with surrounding soil—burying leads to rot.
- Backfill with amended mix; tamp lightly.
- Water deeply until saturated.
- Mulch generously, but keep clear of stems (rot again!).
Cost Note: Expect to pay $30–$60 for decent starter shrubs at reputable nurseries—a worthy investment compared to big-box bargains that often arrive rootbound or stressed.
3. Tools of the Trade: Essentials vs Extras
My tool shed is full of gadgets I never use…but there are four I wouldn’t garden without:
- Felco #2 hand shears: Still razor-sharp after eight years!
- Long-handled loppers: For coarse corrections on older specimens.
- Manual hedge trimmers: Power tools are tempting but risky near detailed shapes.
- Garden twine + bamboo stakes: Indispensable for marking spirals or grid lines.
Sanitize blades between plants—a quick swipe with rubbing alcohol prevents blight from spreading like wildfire (a lesson learned during the infamous New England blight outbreak of 2018).

4. Beginner Moves: Your First Topiary Project
Start Simple: The Perfect Globe
Forget animal shapes or spirals at first—I recommend tackling a sphere because:
- Mistakes blend in better;
- Every clip teaches symmetry and restraint;
- Progress is visible within months.
Step-by-Step
- Visualize your sphere (picture an imaginary soccer ball around your shrub).
- Use bamboo stakes as vertical guides if needed—or tie string around the widest point as a horizontal reference line.
- Snip lightly all around; aim for evenness more than perfection.
- After each session? Circle the plant slowly—it’s shocking how quickly an “even” shape reveals hidden bulges from another angle!
Personal Flop
My first attempt ended up flat on one side because I only pruned from my porch view…always walk around!
Maintenance Rhythm That Works
Set calendar reminders (I use Google Calendar) for two trims per year:
- Late spring: Shape after fresh flush appears
- Mid/late summer: Light tidy-up before autumn slows growth
Water deeply once weekly unless rainfall exceeds one inch; mulch gets refreshed every spring.
5. Next Level Techniques: Intermediate & Advanced Mastery
When your spheres are solid and confidence high? Now comes the creative leap.
Spirals That Stop Traffic
Back in 2019 I spent four weekends untangling my first spiral attempt—it looked more like fusilli pasta than Versailles chic! Here’s what finally worked:
- Tie garden ribbon tightly up from base to tip along desired spiral path;
- Trim along one edge only during each session;
- Stand back every few cuts (use phone camera for perspective);
- Don’t rush—the best definition comes after two or three growing seasons;
Unexpected twist:
If possible, rotate potted specimens monthly so all sides grow evenly toward light—that alone improved my results dramatically!
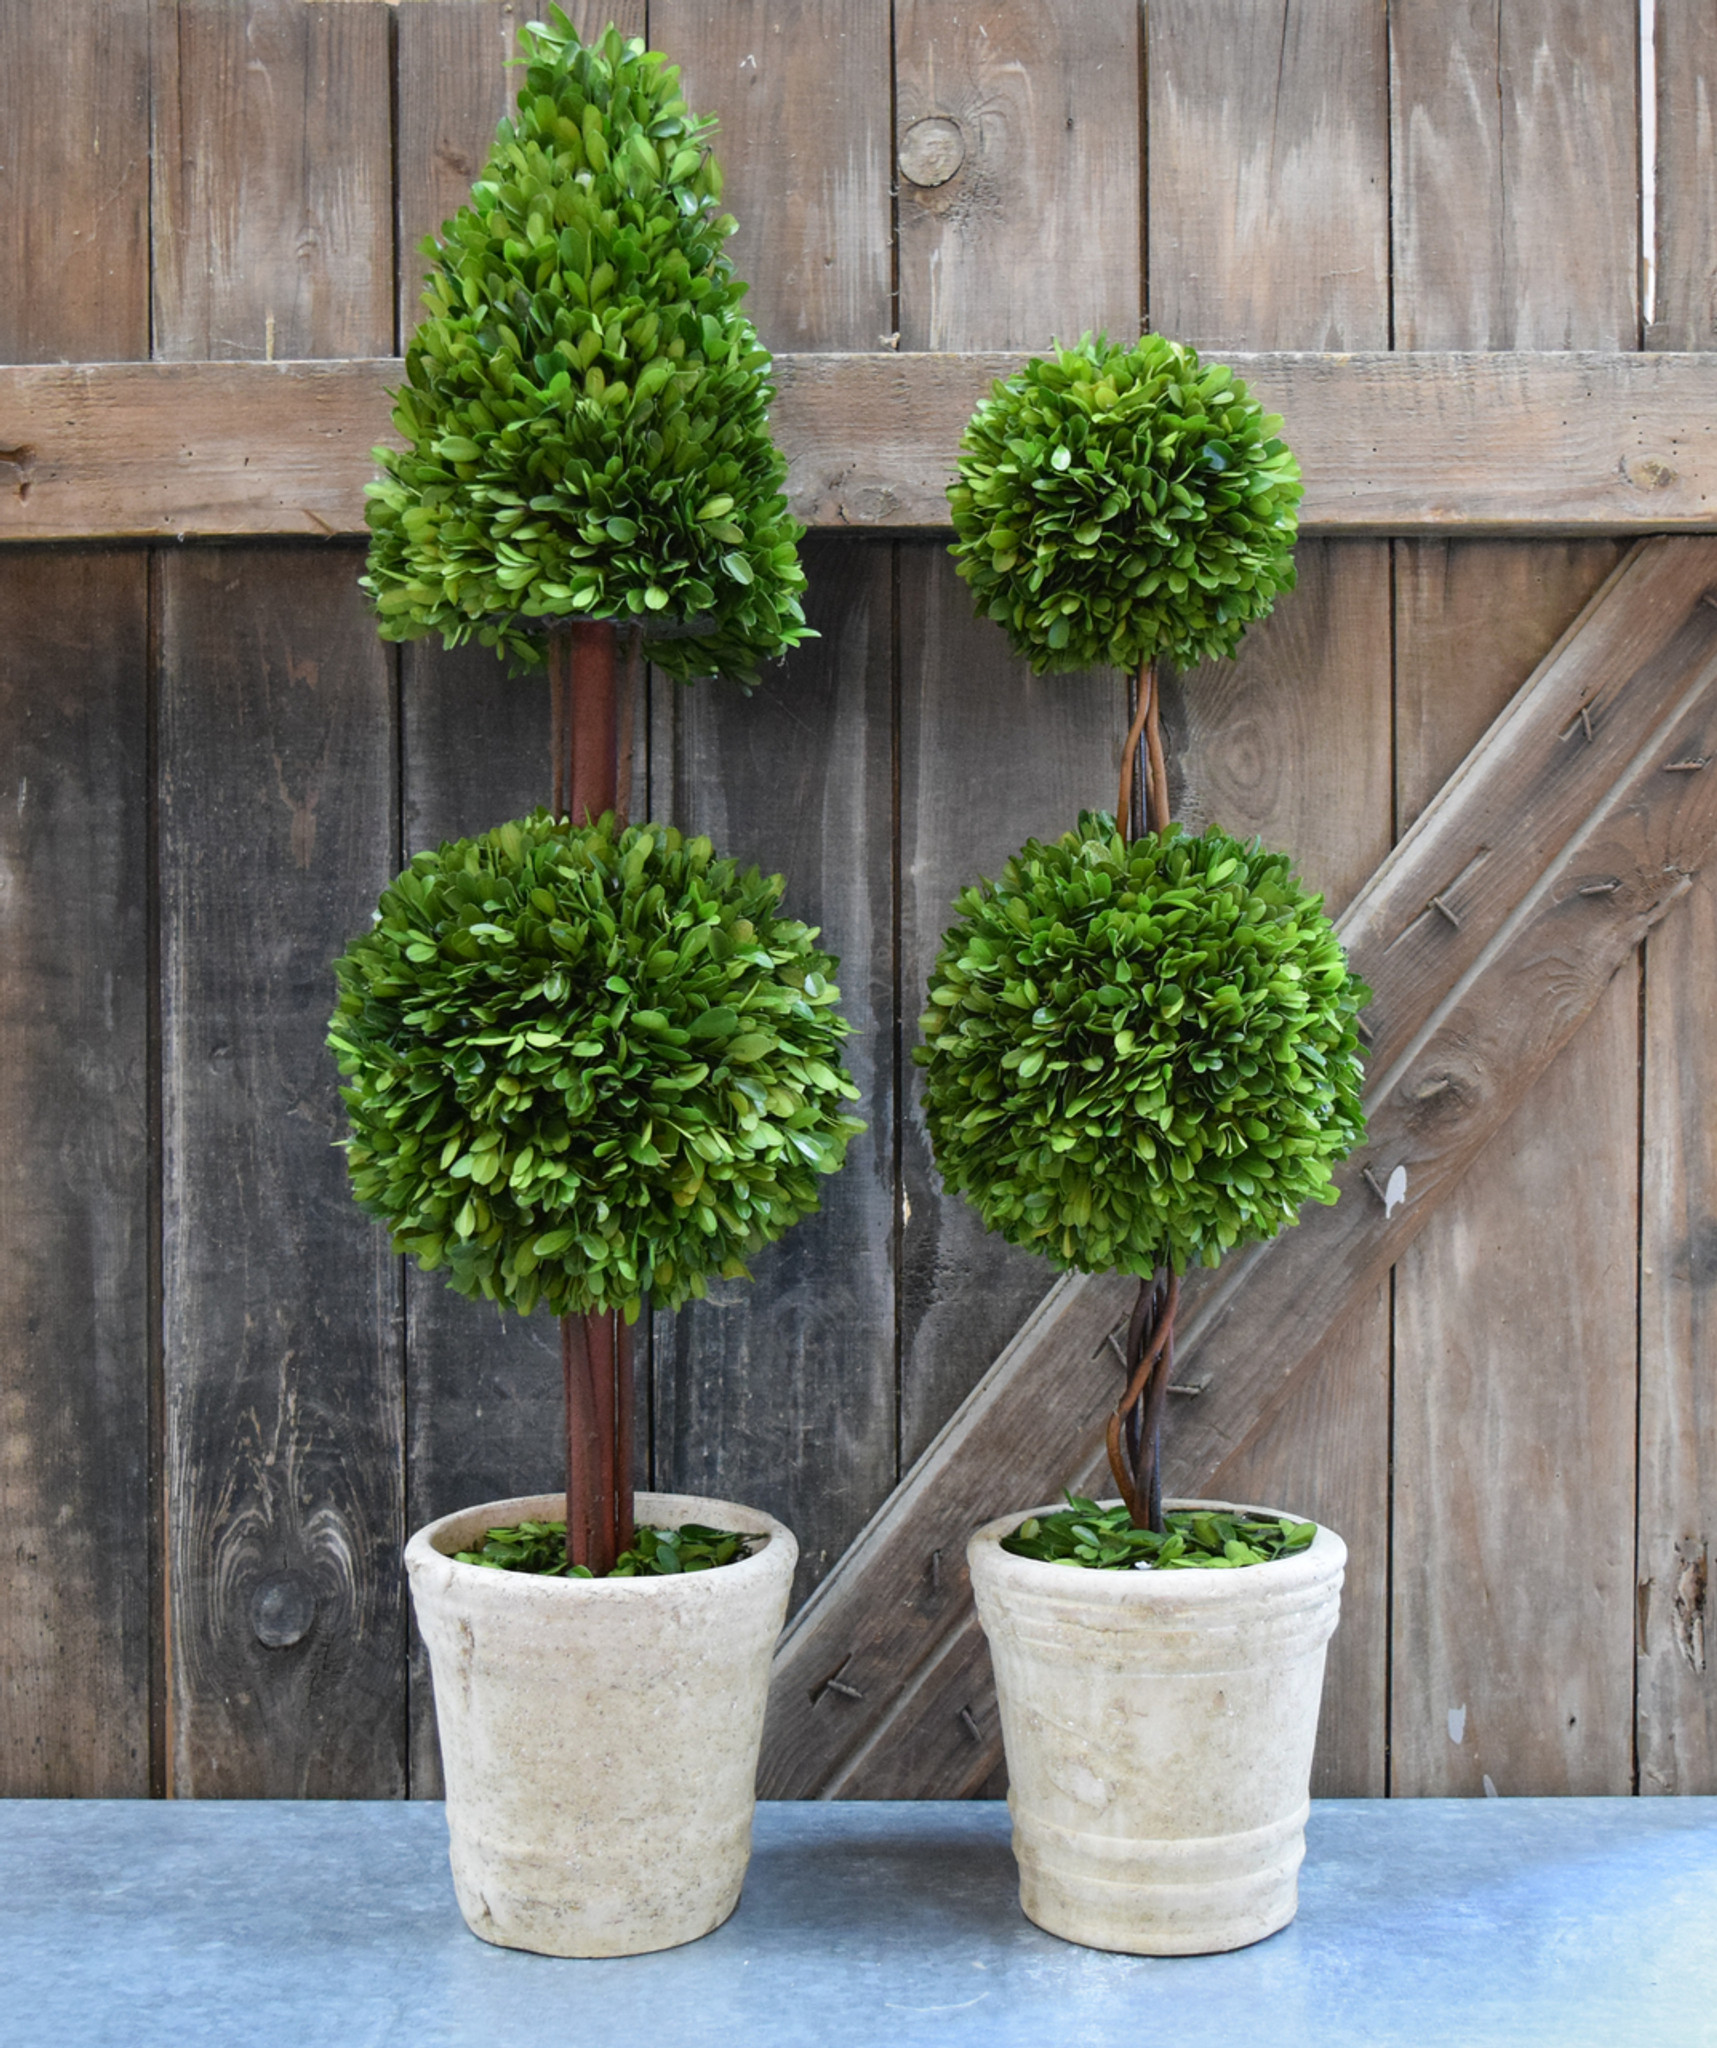
Multi-Ball (“Lollipop”) Forms
Patience is essential here:
- Define lower globe completely before working on upper ball(s);
- Thin interior branches occasionally so light reaches all layers;
- Allow extra height above finished forms before final cut-downs;
Wire frames can be helpful—but don’t become dependent! Freehand skills develop fastest when you learn by eye and feel.
Freeform & Figurative Shapes
For animals/abstracts:
- Use chicken wire forms as scaffolding;
- Shear flush with frame lines each season;
- Be willing to improvise—a floppy ear or wonky tail adds charm!
6. Common Pitfalls—and How Pros Dodge Them
After mentoring dozens through their first seasons—including myself!—these are mistakes nearly everyone makes:
Over-pruning: Never remove more than ⅓ foliage at once; recovery takes ages otherwise.
Ignoring drainage: Root rot sneaks up fast; always check moisture below surface.
“Shell syndrome”: Repeated exterior trimming leads to bald interiors—thin outer layer periodically so light gets inside.
Neglecting sanitation: Dirty tools transmit blight faster than any pest—clean between every plant.
Tip: If disaster strikes? Step back and give it time—boxwoods recover with surprising vigor when left alone after an “oops.”
7. Feeding & Watering Like an Expert
Boxwoods aren’t greedy—but consistent feeding keeps them lush:
1 scoop Espoma Holly-tone per foot of plant diameter every April has served me well across three states.
Deep soakings beat frequent sprinkles—let soil dry slightly between waterings.
In droughts? Misting foliage early morning helps reduce stress dramatically (especially after hard trims).
8. Troubleshooting Table – Quick Fixes From The Field
| Problem | Cause | Solution |
|---|---|---|
| Yellow Leaves | Overwatering OR iron deficiency | Improve drainage OR add chelated iron |
| Browning Tips | Windburn/salt injury | Burlap wrap in winter/flushing soil |
| Sparse Interior Growth | Over-shearing outside only | Thin outer shell/light prune inside |
| Leafminers/mites | Insect attack/blight | Remove affected foliage/neem oil/sanitize |
I keep this table taped inside my shed door—a lifesaver during busy seasons!
9. Real Stories From Real Gardens
Margaret’s front-door spheres were her pride—and secret weapon was buying plants slightly larger than needed (“Paid double—but got triple the head start!”). Her tip? Calendar reminders made maintenance effortless and consistent results inevitable.
Rob’s border disaster taught him drainage trumps price tag every time (“Lost half my row before learning…”). He rebuilt on shallow berms mixed with gravel/compost—the difference was night-and-day.

Jane’s perseverance paid off when her wobbly spiral finally wowed neighbors three years later (“Take photos—even failed attempts show progress!”).
10. Your Action Plan: From Novice To Neighborhood Legend
Ready to get started—or level up? Here’s how I guide new enthusiasts:
1️⃣ Decide where/how many shapes fit your space (measure twice!).
2️⃣ Invest in healthy stock from reputable sources.
3️⃣ Prep soil thoroughly—the extra hour pays off forever.
4️⃣ Gather quality tools now—not later.
5️⃣ Plant carefully/set up mulching routine immediately.
6️⃣ Shape incrementally using guides/templates if needed.
7️⃣ Feed/water predictably based on weather—not habit.
8️⃣ Monitor constantly; act at first sign of trouble—not last minute.
9️⃣ Celebrate small wins…and document progress via photos/journal entries!
Feeling ambitious? Join online forums like /r/Gardening or local horticultural groups—they’ll cheer you through setbacks and share advanced tricks rarely found online.
The Path Forward: Cultivating Mastery & Joy
Topiary is both craft and meditation—each season brings new opportunities to refine technique and enjoy subtle changes others miss entirely.
Expect setbacks—I’ve had boxwoods split under snow load, succumb briefly to pests, even collapse after overzealous pruning—but every mistake deepens understanding and makes future successes sweeter.
The real trick? Keep going! Start today—even if it’s just tracing potential shapes with string on existing bushes—and return regularly with shears AND curiosity in hand.
You’re not just growing shrubs here—you’re shaping beauty,
confidence,
and legacy,
one careful cut at a time.
Shears ready? Let’s create something extraordinary together—the kind of living sculpture that makes passersby stop…and wonder how it’s done.
Further Inspiration
- American Boxwood Society
- RHS Guide
- Topiary Basics by Jenny Hendy
- Reddit /r/Gardening Topiary Thread
Bookmark this page—you’ll want these tips handy each season!
And remember: Every master was once a beginner who dared pick up those shears…


