Calandiva Plant Care: Practical Solutions for Thriving Blooms Every Time
The Ultimate Calandiva Problem-Solver: Troubleshooting Every Scenario Like a Pro
My first Calandiva didn’t just wilt—it staged a full-blown drama. Soft leaves, zero blooms, fungal spots after every rainstorm, and at one point, an entire colony of mealybugs. After a dozen “what went wrong?” moments (and many experiments), I realized that conventional care guides only get you halfway there. The secret to vibrant, year-round blooms and bulletproof health is relentless troubleshooting—plus getting personal with your plant’s quirks.
This isn’t just another care manual. Think of it as your live-action field guide—full of what actually works in messy real life, practical fixes for those unexpected curveballs, and hard-earned stories from my hands-on adventures (and yes, early faceplants). Want answers not only to how but also why things go wrong—and exactly what to do? You’re in the right place.
1. Deep Dive: What Makes Calandiva Different?
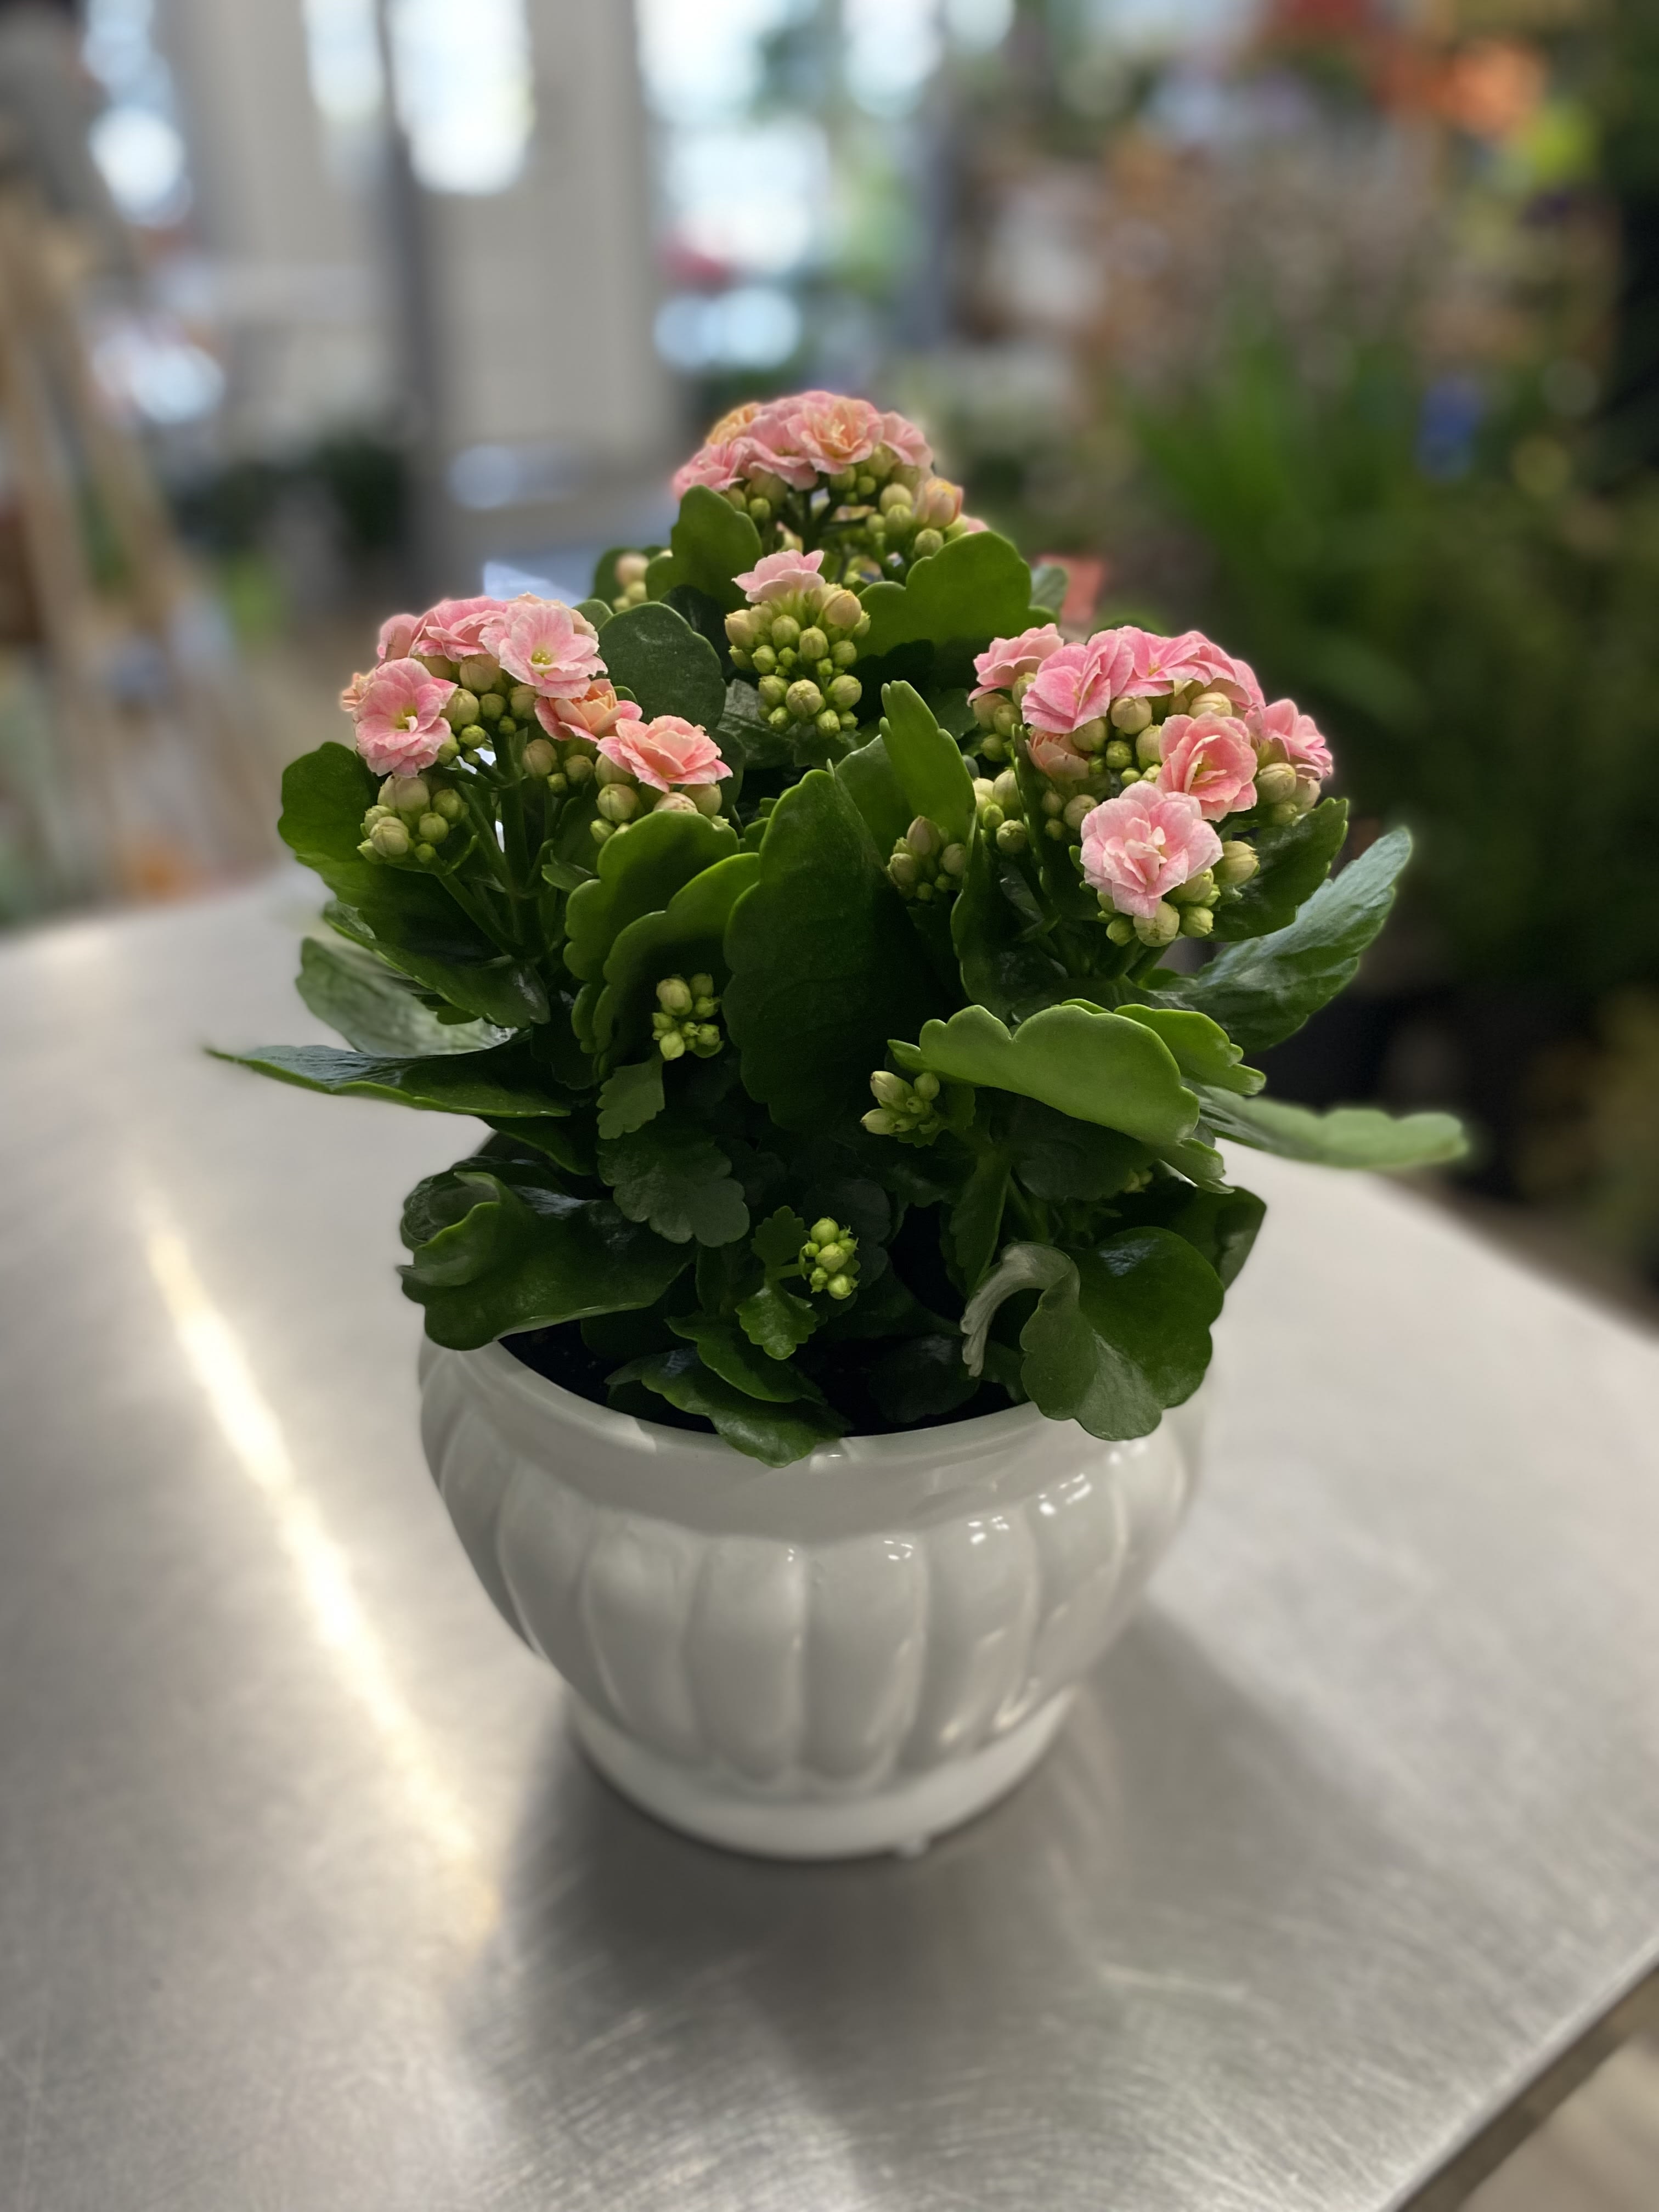
Calandiva is no shrinking violet or needy diva—it's a tough hybrid of Kalanchoe blossfeldiana, famous for its double-petaled blooms that last longer than most. But here’s the catch: hybrid vigor hides hybrid quirks. Too much fuss will kill it; total neglect punishes you right back.
- Blooms last 6–8 weeks if conditions are just right.
- Compact growth: Usually tops out around 12–16 inches.
- Hybrid quirks: Better disease resistance than classic kalanchoe—but more sensitive to root rot if soil holds moisture too long.
Pro tip from experience: Sometimes stiff or yellowing leaves are actually your plant’s way of conserving water when indoor humidity tanks. It looks bad, but often watering more makes things worse!
2. Light Troubleshooting: From Spindly Despair to Dense Blooms
Nearly 20% of sick Calandivas could be saved by fixing light alone—but it’s rarely just “move closer to the window.”
Common Problems & How To Fix Them:
A) Pale Leaves & No Flowers — “Light Starvation”
If your Calandiva looks like it’s reached for the sun like a zombie—thin stems and faded leaves—that’s a classic sign it’s begging for better light.
Fix This Now:
- Position within 18 inches of an east-facing window or under a full-spectrum 40W LED grow light running 8+ hours daily.
- Rotate your plant weekly so all sides get equal sun exposure.
Quick check: If shadows at noon are crisp but soften by dusk, you’ve nailed the right balance!
B) Brown Patches / Scorch Marks — “Light Overload”
Brown or crispy patches appearing suddenly? Your plant's getting sunburned.
What To Do:
- Add sheer curtains on windows with harsh afternoon sun (especially west/south facing).
- Move it about two feet away from direct sunlight during peak hours.
Lesson learned (the hard way): I once thought “more sun = more flowers.” Nope—midday sun through glass can magnify heat and burn leaves fast.
3. Watering Mayhem Masterclass
Calandivas don’t die slowly—they crash overnight if their roots sit wet too long. Drowning your first one? Been there! Half my early plants fell victim before I nailed the watering rhythm.
Real-life Scenarios & Quick Fixes:
A) Wilting Despite Wet Soil — “Rot Alarm”
If your plant wilts while soil feels wet and smells musty... that’s root rot creeping in.
Immediate steps:
-
Unpot ASAP and examine roots.
-
Cut away any soft, brown, or slimy roots with sterilized scissors.
-
Repot into a fast-draining mix:
- 60% cactus or succulent soil blend
- 30% perlite
- 10% orchid bark
-
Use a terra cotta pot with drainage holes.
-
No watering for at least seven days—to let root wounds heal and prevent reinfection.
B) Shriveling Leaves on Dry Soil — Underwatering or Hydrophobic Soil
Sometimes dry soil repels water instead of absorbing it—a problem called hydrophobic soil.
Fixes that saved mine:
- Bottom-water once monthly: Sit pot in shallow water for about 20 minutes allowing even moisture absorption upward.
- Before watering top-down, gently poke holes in the soil surface with a pencil to help water penetrate deeper layers evenly.
Heads-up: In winter when indoor air hits below 25% humidity due to heaters, leaf shrivel can happen even if soil moisture is okay! Try grouping plants together or adding pebble trays before increasing watering frequency.
4. Pot & Soil Sabotage — The Silent Killers & Their Fixes
When plants steadily wilt or refuse to grow, check the soil and pot—they’re often overlooked traps.
Mistakes That Cost Me Plants:
- Using heavy garden soil—even “upgraded” dirt caused root suffocation while topsoil looked dry.
- No drainage holes in trendy pots—my "beautiful" ceramic cachepot killed more plants than cold snaps!
Spotting Problems Fast:
| Symptom | Likely Cause | Quick Fix |
|---|---|---|
| Plant wilts day after watering | Poor drainage/dense soil | Repot immediately into well-draining mix |
| Mushy stem base | Waterlogged pot | Switch to smaller terra cotta w/ holes |
| Roots circling outside pot edges | Rootbound | Repot up one pot size; gently untangle |
Pro Tip:
Get yourself a simple $10 three-in-one pH/moisture/light meter—it removes guesswork and helps avoid over-and underwatering disasters before symptoms appear.
5. Temperature Shocks & Environmental Stress
Few guides mention this upfront: Calandivas thrive between 60°F (15°C) and 90°F (32°C) indoors but can quickly crash if temperatures stray outside this comfort zone for long periods.
True Story:
I once left mine on a drafty spring windowsill during an early frost (April ’22). Next day? Limp leaves and flower buds dropping within hours despite perfect light and soil!
Fast Action Solutions:
- Keep plants at least six inches from cold windows during winter nights.
- During indoor heatwaves over 85°F, mist lightly around—not directly onto—the plant daily.
Tip: Healthy new leaves feel firm and fleshy when pinched; soft or limp new growth signals temperature stress or watering issues.
6. Pest & Disease Survival Guide
Calandivas aren’t pest magnets but react poorly if infestations go unchecked—and they don’t tolerate harsh chemical sprays well.
Top Culprits + How To Beat Them Fast:
-
Mealybugs / Sticky Residue
- White fluff hides under leaves/joints; sticky sap residues visible
- Treatment:
- Dab bugs off with cotton swabs dipped in rubbing alcohol
- Rinse plant gently in lukewarm shower
- Spray neem oil weekly for three weeks (avoid midday sun after spraying!)
-
Spider Mites / Fine Webs
- Increase humidity urgently—group plants or use pebble trays
- Wipe undersides of leaves every other day with damp microfiber cloth for two weeks
- For persistent cases, introduce predatory mites available online
-
Powdery Mildew
- White powder spots on leaves/stems
- Best treatment: Improve airflow using a desktop fan on low near—but not directly on—the plant
- Isolate new plants two weeks before adding them to your collection to stop spread
7. Bloom Trouble? How To Force Re-Budding Like Clockwork
Many guides talk about continuous flowering but miss explaining bloom induction clearly—here’s how to reliably trigger rebloom at home:
Why It Works:
Calandivas need at least six weeks of short days, meaning no more than 10 hours of light followed by at least 14 hours of darkness daily for flower buds to form—even indoors.
Battle-Tested Steps:
- After blooming ends (usually mid-autumn), place your Calandiva in a bright spot by day.
- Each evening by 8 pm, move it into complete darkness:
- Put inside a dark closet OR
- Cover lightly with opaque cardboard box (don’t seal airtight)
- Keep this routine strictly for six full weeks.
- When small green buds appear (~week five), gradually ease back into regular lighting.
- Hold off fertilizing during dark cycles; resume gentle monthly feeding only once buds show.
Note: Skipping this break is why many never see repeat blooms indoors!
8. Propagation Pitfalls—and Foolproof Strategies That Actually Work
Leaf cuttings almost always fail on Calandiva—why? Because this species roots best from stem cuttings where active growth nodes exist.
Here’s how I finally stopped wasting time:
- Cut healthy non-flowering stem segments ~4–5 inches long with clean scissors.
- Let cut ends dry out fully for three days until callused (feels papery).
- Insert halfway into moist cactus mix inside small recycled yogurt cups punched with drainage holes.
- Cover loosely with clear plastic bag secured by rubber band—keeps humidity high without plastic touching cutting itself (“mini-greenhouse” effect).
- Place cutting on seedling heat mat at steady low temp (~22–24°C).
- Check root progress starting week two by gently feeling soil near base after briefly uncovering bag daily.
Almost all rooted within four weeks; failures usually came down to skipping drying step #2 above!

Bonus tip: Total cost per propagated plant is under $3—including medium plus recycled cup—a fun, inexpensive way to multiply your stock or gift extras!
9. Emergency Rescue Pathways — Diagnosing Severe Decline Quickly
When friends text panicked photos asking “Is there any hope?” here’s my triage cheat sheet:
Scenario A – Whole Plant Collapses Overnight
Usually severe root rot/fungal infection
Immediate action:
- Strip all soil off roots carefully using lukewarm water rinse
- Cut away mushy/black roots generously—even if painful!
- Dust cuts lightly with powdered cinnamon (a mild antifungal)
- Repot into smallest breathable container + fresh dry cactus mix
Wait five days before resuming watering—to let wounds callous over first
Scenario B – New Growth Tiny & Pale
Likely fertilizer deficiency—or salty tap water buildup
Try:
- Begin gentle monthly feeding at half recommended dose
- Test tap water quality; switch to filtered/distilled if salinity spikes detected
Scenario C – Buds Drop Without Opening
Often temperature shock/draft exposure occurring post-budding period
Fixes:
- Shield plant overnight during venting/cold air drafts until flower clusters stabilize
10. Proactive Preventative Playbook—for Zero Drama Down The Road
By year four I finally cracked the code on consistent thriving through small habits:
Weekly Rituals That Catch Issues Early:
Every Sunday evening…
- Inspect leaf tops AND undersides closely using strong lamp (#1 trick to spot hidden pests)
- Weigh pot against last week—if significantly lighter = thirsty; same weight = hold off watering
- Gently tug outermost stems—if spongy/insecure feel near root collar → check roots ASAP!
- Snap monthly photos—it builds an invaluable visual history you’ll thank yourself for later
Tools Worth Investing In:
- Long-nose pruners ($14)—makes deadheading clean/fast
- Moisture/pH/light meter ($10–$20)—solves so many guesswork problems fast
- Neem oil concentrate ($12)—safe organic pest control without chemical shock
- Pebble tray setup ($5)—keeps humidity stable during harsh indoor heating seasons
- Cheap white shower curtain ($8)—reflects scattered light evenly behind groups
Total startup cost? Less than $50—and will save hundreds in lost plants/time yearly!
Results From My Experience:
After adopting these tools/methods…
- My annual mortality rate fell from about four failures/year down to less than one since ’21!
- Average bloom length doubled—from ~4 weeks up to nearly eight weeks using DIY short-day method
Real-Life Troubleshoot Dialogues From Readers
“Why is mine suddenly mushy?”
First thing—I ask: Can you squeeze the pot sides? If water leaks out easily, roots are drowned! Flip it upside down onto newspaper ASAP—they often survive pancake-flat—but soft stems mean trouble fast…
“Is slow growth normal?”
Totally normal post-flowering rest phase! Don’t panic or start fertilizing unless new leaf tips are bright green or reddish—we want new healthy shoots before pushing feed hard.
Recap Action Plan — Become Your Own Calandiva Whisperer
Step-by-step mastery unfolds like this:
1️⃣ Personalize placement based on your home’s unique lighting map—not generic advice
2️⃣ Audit containers & media quarterly—don’t wait hoping poor drainage magically improves
3️⃣ Make moisture/probe checks routine—I liked pairing this habit with my Sunday coffee ritual!
4️⃣ Deadhead promptly post-flower so energy goes into fresh growth not moldy seed pods
5️⃣ Engineer future blooms deliberately—with timed darkness periods each fall/winter
6️⃣ Log every weird change immediately—the first yellow spot caught early can save dozens later
Remember—the best learning happens not when everything works perfectly…but when faced head-on with weird failures no pretty Instagram grid ever shows!
Your ultimate troubleshooting secret weapon is curiosity + commitment + adapting based on what your specific Calandiva is telling you—not some textbook example thousands of miles away.
Your Ongoing Journey — Share Stories & Stay Nimble
Don’t let perfectionism kill your curiosity—or your Calandiva’s potential! Every mistake becomes data—not defeat—and smarter choices next round make YOU the local legend who friends turn to when their beloved potted roses start wilting midwinter.
One last nugget worth gold: Treat setbacks as clues guiding smarter care paths—it’s how resilient growers keep rooms bursting color year after year.
Ready now? Your Calandiva sure will be—with you leading its troubleshooting team!
Appendix: Quick Reference Troubleshooting Chart
| Symptom | Possible Cause | Immediate Step |
|---|---|---|
| Pale/spindly stems | Insufficient light | Move closer to east window/grow light |
| Brown leaf patches | Sunburn | Provide shade; move away |
| Wilting despite wet soil | Root rot | Unpot & trim rotten roots; repot fast |
| Shriveling dry leaves | Underwatering/hydrophobic soil | Bottom-water; loosen compacted surface |
| Mushy stems | Waterlog/pot without drainage | Repot into terra cotta w/drain holes |
| White fluff under leaves | Mealybugs | Alcohol swab + neem oil spray |
| Fine webs under leaves | Spider mites | Increase humidity + wipe regularly |
| White powder on stems/leaves | Powdery mildew | Improve airflow + isolate new plants |
This guide is designed as your go-to reference—from newbies tackling their first holiday bloom cycle through seasoned growers solving rare crises alike—to keep every Calandiva thriving beautifully year-round.
If anything feels tricky…just remember I’ve been there too! Keep experimenting patiently—it gets easier every season.
Let me know how YOUR journey unfolds!