Cultivating Canna Lily Gardens: Your Complete Guide to Vibrant Blooms
Canna Lily Gardens: The Insider’s Playbook from the Trenches
Here’s the truth most glossy gardening articles won’t admit: making Canna lilies the centerpiece of your landscape takes more than a sunny spot and wishful thinking. I’ve scorched, drowned, and cajoled these tropical showstoppers in backyards, municipal beds, even odd rooftop containers—enough to know what truly works, and what’ll leave your pride (and plants) flattened by midsummer.
If you want a living fireworks display—towering stalks bristling with hummingbird magnets, leaves that rival Monet’s brushstrokes—and you want it reliably season after season, this is your field manual. Expect candor, battle-tested techniques, confessions from my failed first attempts, and the small hacks that separate ho-hum patches from jaw-dropping spectacles.
Table of Contents
- Why Canna Lilies? A Seasoned Gardener’s Perspective
- Getting Real: What They Need (and What They Don’t)
- Start Strong: Laying the Foundation for Success
- The Rookie Mistakes I Made So You Don’t Have To
- Next-Level Approaches: Tricks Nobody Taught Me
- Tools and Resources That Actually Matter
- Stories from the Field: Real Results & Designs
- Problem-Solving on the Fly (The Quick-Reference Table)
- Your Stepwise Implementation Plan (With Nuance!)
- Evolving Your Garden Over Time
1. Why Canna Lilies? Hard-Won Lessons from Years in the Dirt
I used to chase whatever plant was trending on Instagram—a parade of fussy roses, touchy camellias—but nothing rewired my attitude toward garden impact like Cannas. One summer in 2014 stands out: I transformed a bland 30-foot south-facing strip beside my garage into a riot of ‘Pretoria’ cannas and bold coleus—with not a single flower lost to pests or heatwaves.
Here’s why they’re worth your focus:
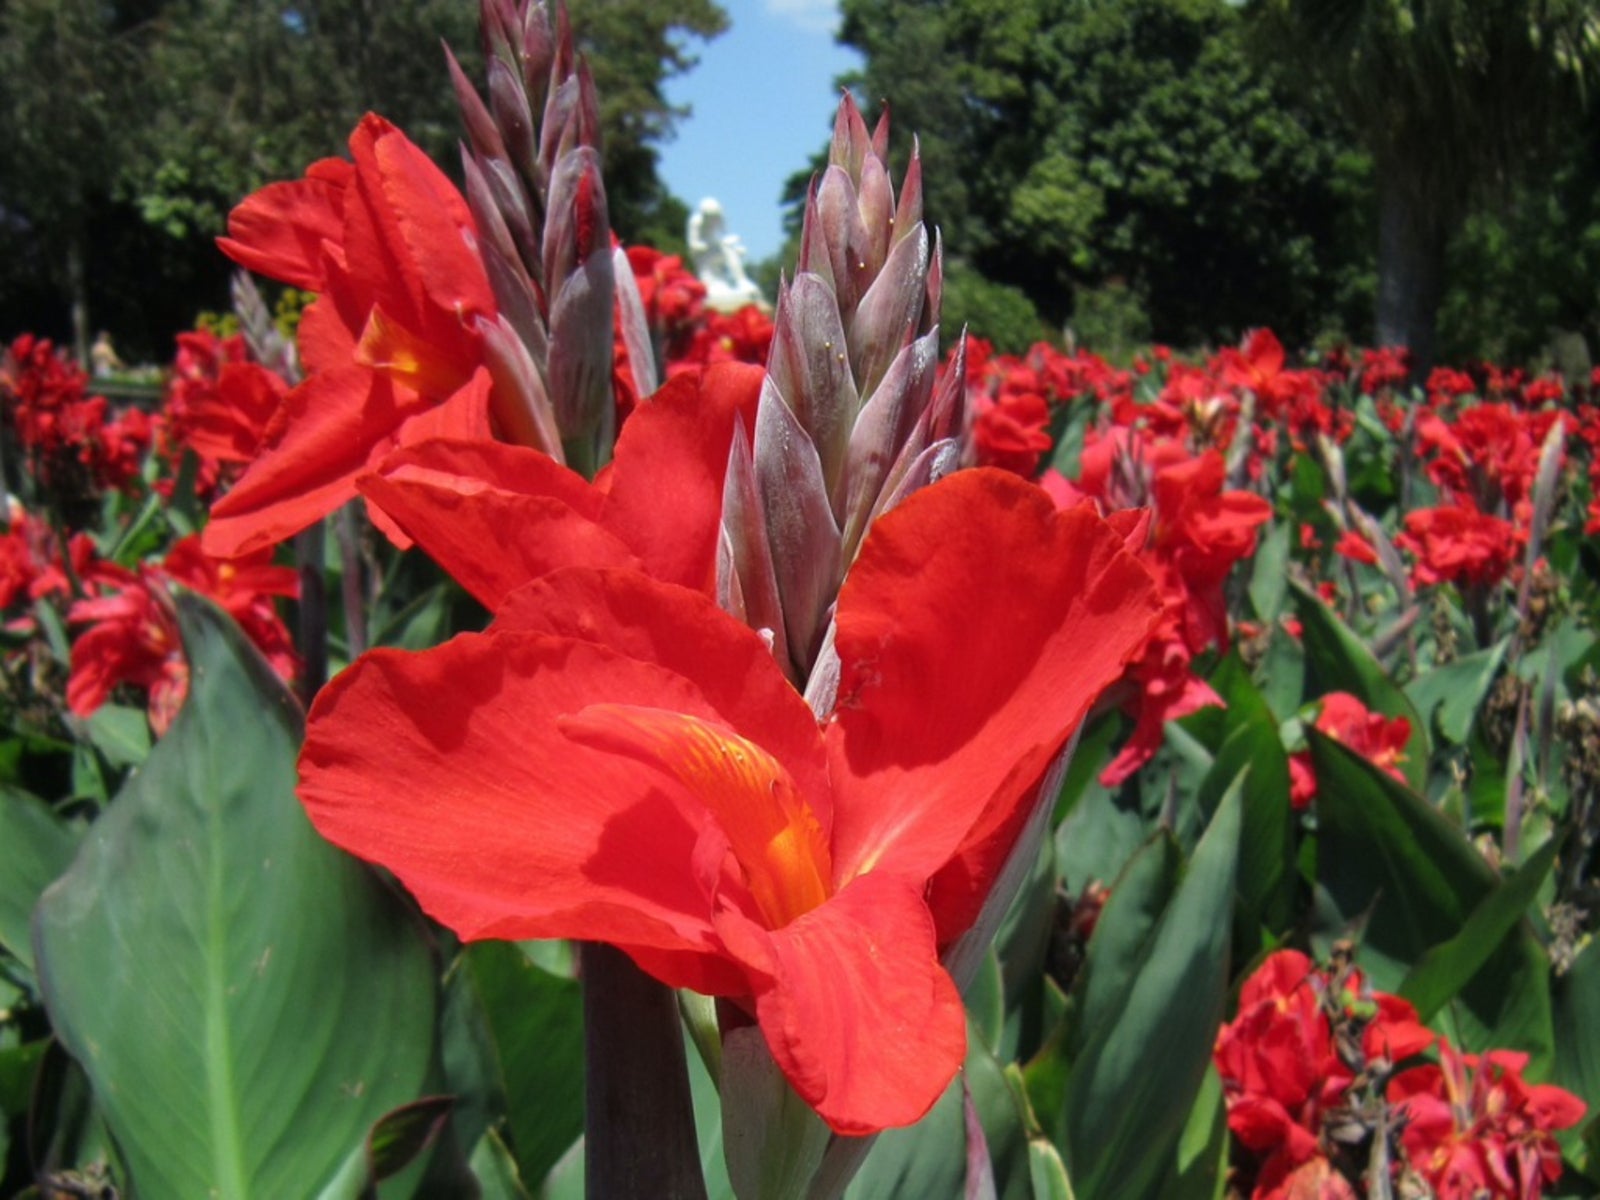
- Unrivaled drama. Even single rhizomes explode into mammoth clumps by August.
- Urban grit. Pollution, erratic rain—Cannas shrug it all off if you set them up right.
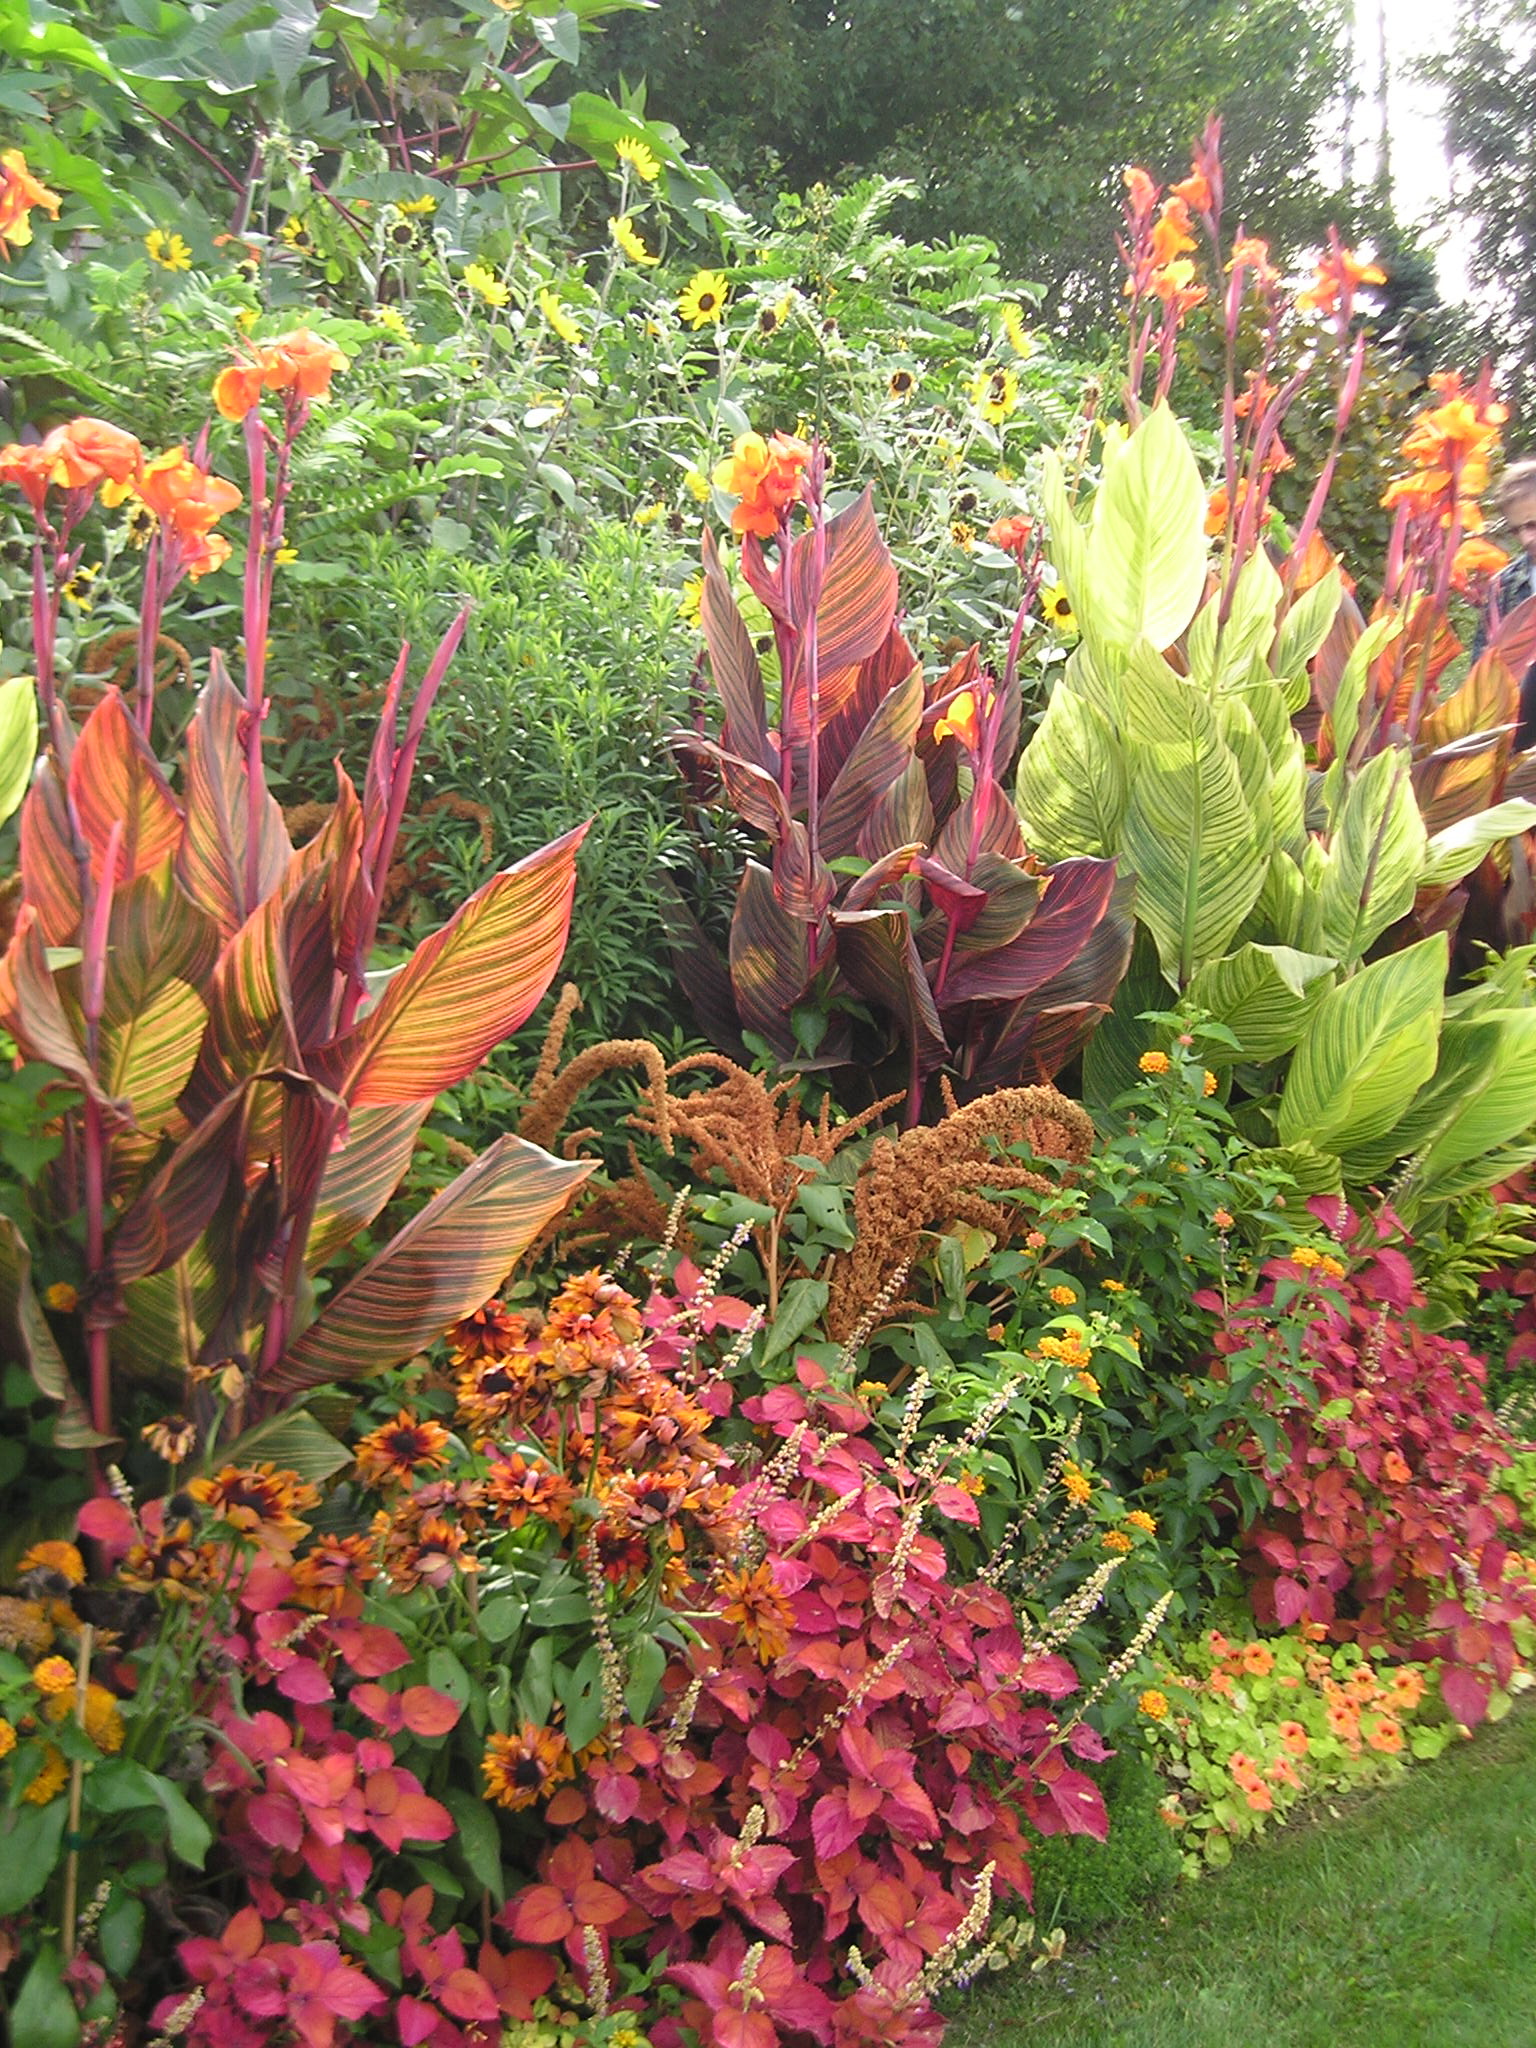
- Endless combinations. Bronze leaves behind chartreuse sweet potato vine? Peach blooms through black mondo grass? Your taste is the only limit.
- Resilience you can trust. Forget to deadhead? Miss a watering during vacation? Most Cannas forgive—and come back stronger next year when you learn.
Insider secret: Every “Canna convert” I know started with one skeptical planting…then got hooked after witnessing a passing stranger stop in awe at their display.
2. Getting Real: Non-Negotiables for Canna Success
If someone tells you “just plant in sun and water,” run! These are tropical perennials with some strong preferences—ignore at your peril:
Soil:
Skip bagged “garden soils.” Dig out native dirt to at least 14 inches; amend with a 60/40 blend of well-rotted leaf mold and composted cow manure (not just peat!). For heavy clay: mix in pine fines or sharp sand by the bucketful until drainage is brisk—not soupy after rain.
Fertilizer:
Ditch chemical-only feedings—I once stunted an entire bed with triple-20 pellets that burned tender roots mid-June! Rotate every third month between balanced granular organic fertilizer (Espoma Garden-Tone works wonders) and liquid seaweed emulsion for trace minerals.
Watering:
Are your cannas languishing mid-summer—even when soil feels damp? My early error was shallow watering; now I deep soak weekly until puddles form, ensuring moisture down where rhizomes feed furiously.
Spacing:
Tempted to crowd them for instant lushness? My overcrowded “test patch” in 2017 yielded dozens of scrawny stems—instead of gorgeous fans—crippled by mutual shade-out.
| Best Practice | Rookie Mistake |
|---|---|
| Space rhizomes at least 18" | Cramming every foot for ‘full’ look |
| Use slow-release organic | Splash synthetic granules near roots |
| Deep weekly soaks | Daily light sprinkles |
Tip: If your heel sinks an inch without effort after rain—the drainage isn’t there yet!
3. Start Strong: From Blank Plot To First Fireworks
Picking Your Fighters
It matters which types you select:
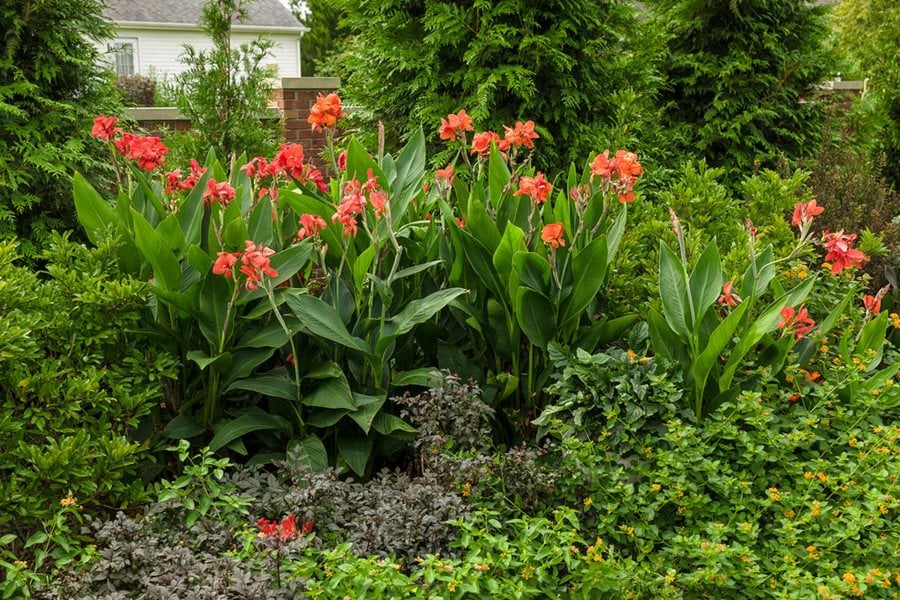
- Tall screeners: ‘Bengal Tiger’, ‘Wyoming’—give privacy fast
- Short border varieties: ‘Lucifer’, ‘Red Futurity’
- Leaf showstoppers: Anything marked “Tropicanna”—the foliage is half the thrill
Source locally if possible; mail-order works if you stick with pros like Brent & Becky’s Bulbs or Horn Canna Farm (never big-box leftovers—they ship too late or dry).
Planting That Sets You Up For Glory
- Mark out beds once night temps settle above 50°F—NO exceptions unless you love replanting mushy bulbs.
- Dig wide holes; add two generous handfuls of compost + bone meal under each rhizome.
- Lay rhizome horizontally eyes-up at 5” depth; don’t press down hard.
- Water deeply immediately—think spring thunderstorm.
Fast Track Option for Cold Climates
In Michigan last year, I started cannas indoors under shop lights in March—in deep trays filled with moistened coir/perlite mix (avoid peat moss alone). Result? Leafy transplants ready weeks ahead of neighbors who waited for warm soil outside!
Early Care Reality Check
Monitor daily those first three weeks:
- If shoots don’t emerge after three weeks but soil is warm/moist…gently dig to check for rot.
- Mulch sparingly until stems hit six inches (excess mulch = slug buffet).
- Stake tall types before storms hit—a lesson learned after losing two beds to August gales that snapped everything flat while I was on vacation!
4. The Rookie Mistakes That Cost Me Time (And How To Dodge Them)
I keep a list taped inside my potting shed labeled “Never Again.” Here are my top five canna lessons earned the hard way:
Planting Too Soon
Spring fever struck—I ignored lingering cold snaps one April and lost $80 worth of fresh rhizomes overnight to root rot (“but it felt warm yesterday!”).
Fix: Soil thermometer check every day—not air temp—is non-negotiable before planting outdoors.
Neglecting Airflow
My first urban patch fell prey to rust fungus because I ringed cannas closely with water-hungry impatiens—resulting in stagnant air…and brown-spotted foliage by July.
Fix: Always provide elbow room around each canna cluster; let breezes flow uninterrupted across leaves.
Using Bargain Bin Rhizomes
Clearance racks are tempting but treacherous—the soft spots nearly always spell heartbreak later as plants collapse mid-season no matter how much care you lavish on them later.
Overfertilizing With Nitrogen
That one summer I wanted record-sized leaves…and induced weeks of lush growth but not a single flower spike until September!
Lesson: Prioritize balanced nutrients over brute force green-up if bloom color—and not just bulk—is your goal.
Skipping Pest Inspections
Japanese beetles swarm almost overnight here; they once skeletonized half my collection before breakfast while I was busy elsewhere (“they’ll never find these…”). Pick off beetles religiously mornings/evenings—or cover prize plants temporarily at peak times.
5. Next-Level Approaches: Veteran Moves For Standout Results
Here’s where a little extra attention pays compound dividends:
Relentless Deadheading = Maximum Blooms
Deadhead spent blooms every time you pass—don’t wait until weekends! Besides extending bloom life markedly (I’ve literally doubled flower cycles some years), this habit keeps plants focused on more buds versus seed production exhaustion.
Foliar Feeding Has an Edge
Most skip this—but twice-monthly foliar applications using diluted fish/kelp emulsion deliver micronutrients directly where new growth forms fastest (leaves will deepen in color within days).
Side Shoots and Clump Control
After two seasons most mature clumps send up side shoots along outer edges—the secret is lifting/dividing every third spring with a sharp spade…discarding weak central cores while replanting juicy outer segments only!
This tidbit came from an old friend who ran public park displays for years—her best cannas were always “second-generation divisions,” never original plantings left undisturbed indefinitely.
Color Combos That Fool The Eye
Want megawatt vibrancy? Pair dark-leaved (‘Australia’) or orange-blossomed (‘Wyoming’) cannas against silver Artemisia or trailing Dichondra ‘Silver Falls’. The contrast is electric—and makes colors pop visibly even in midday sun glare.
6. Tools & Resources That Earn Their Keep
Don’t be seduced by gimmicks—you need versatility over gadgetry:
Must-Have Tools
| Tool | Real Use | Hard-Earned Tip |
|---|---|---|
| Pro-grade digging fork | Dividing old clumps w/o shredding roots | Cheap ones bend fast |
| Bypass pruners | Deadheading + clean stalk removal | Sanitize blades w/ rubbing alcohol between uses if disease is spotted |
| Heavy-duty gloves | Handling coarse mulch + compost | Cannas themselves aren’t prickly but debris often is |
| Hose with multi-pattern nozzle | Gentle deep soaking | Blast mode bruises emerging shoots |
| Wheelbarrow | Hauling compost/bulky mulch | Save your spine—rhizomes look light but add up fast |
Go-To Reference Sources:
- Cannas by Ian Cooke — hands-down best encyclopedic resource for history, breeding background, cultivar info.
- HornCanna.com — family-run mail order supplier since before WWII!
- University extension fact sheets (search “[your state] canna lily extension”) — gold mine for climate-specific insight rarely found elsewhere online.
- Connect locally via Facebook groups or Nextdoor app—you’d be shocked how many people are happy to swap divisions come spring!
7. Stories From Real Gardens: Three Designs Tested & Perfected In The Wild
The Driveway Comeback
When Beth inherited her parents’ barren driveway border, she dreaded another round of marigolds fried brown by July sun reflecting off concrete—and called me desperate for alternatives circa May 2018.
Our solution:
- Forked up compact clay; worked in shredded bark plus gypsum.
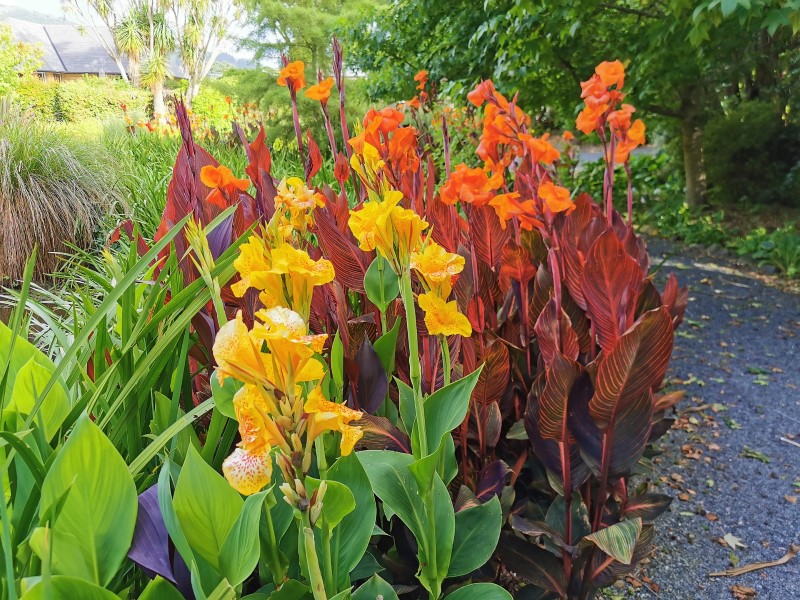
- Planted alternating clusters of ‘Yellow King Humbert’ cannas behind purple basil for height/playfulness.
- Mulched thickly each June post-thunderstorm—the bark held moisture far better than wood chips alone without encouraging slugs.
- By August her border looked like something straight out of Rio Carnival—dozens stopped daily just for selfies among her flowers!
Rooftop Tropicalia
Dan faced relentless wind and blazing heat atop his condo roof deck downtown—a notorious graveyard for most annuals/lilies he tried prior years.
His pivot:
- Whiskey barrels drilled amply underneath + filled halfway with compost-heavy mix blended w/ coconut coir chunks—to hold precious moisture against city breezes.
- Dwarf ‘Puck’ cannas ringed by spiderwort plus sweet potato vine spilling over edges = layers everywhere he looked!
- Installed drip irrigation timer set to run pre-dawn only—it cut his hand-watering runs from daily to once/week tweaked as needed during hot spells.
Now his rooftop buzzes all summer—even jealous neighbors ask his advice every June…
Rain Garden Win
Linda’s backyard sloped into marshy runoff every spring thunderstorm—a muddy mess that stunted standard perennials nearly every year she tried (“it looks great until Memorial Day…”).
Our fix:
- Dug shallow swale lined generously w/ gravel below loam raised above surrounding grade;
- Interplanted rows of vivid orange canna amidst irises/hardy hibiscus;
- Used sandbags along lowest edge her first year as insurance—until roots stabilized slope naturally!
Now butterflies throng swamp milkweed + canna blossoms alike each summer—and lawn flooding became history instead of horror story folk tales among neighbors…
8. Problem-Solving On The Fly – Rapid Solutions Table
No garden escapes trouble forever—but here’s how veterans pivot quickly when issues strike unannounced:
| Issue | Tell-Tale Sign | Rapid Response |
|---|---|---|
| Mushy rhizomes | Foul smell / brown ooze | Excise infected bits IMMEDIATELY; replant only firm sections into drier soil |
| No flowers | Loads leaves but zero blooms | Move plant(s) into direct sun, reduce extra nitrogen boost next feeding |
| Yellow lower leaves | Fading bottom-up | Step up watering schedule – drought stress commonest culprit during hot spells |
| Ragged chewed leaves | Holes appear overnight | Handpick beetles AM/PM; try floating row covers on small groupings during July-August peaks |
| Streaks/spots | Brown patches edge-in | Remove spotted leaves ASAP; thin nearby beds slightly so air/wind get through |
My hands-down favorite hack: photographing problems over several days lets me see progress/regression much clearer than memory alone ever could under changing light/weather conditions!
9. Action Plan – Bringing It All Together Year After Year
There’s no substitute for momentum built through habit—the following timeline reflects exactly what’s worked across gardens large/small alike since my earliest attempts:
Early Spring
- Scout sunniest locations right after snow melt/rain stops pooling;
- Place online bulb orders before rush hits late March;
- Sharpen tools/check fertilizer stocks;
Mid-Late Spring Plant-Out
- Amend soil deeply;
- Lay out design clusters based on final heights/colors desired;
- Water immediately after planting;
First Month Monitoring
- Keep eyes peeled daily until green shoots appear strong;
- Mulch judiciously when seedlings reach hand height;
Prime Season Maintenance
- Deadhead faded spikes each pass-by;
- Fertilize monthly w/ alternating organic granules/liquid kelp;
- Stake wind-exposed stands early rather than gamble post-storm;
Fall Transition/Early Winter Prep
Zones above USDA Zone 7:
- Cut stalks back post-frost/stem wilt (~6” tall);
- Excavate gently using fork not shovel;
- Dry overnight somewhere shady/breezy—not direct sun!
- Store undamaged tubers layered apart within cardboard boxes filled lightly w/ vermiculite/sawdust inside basement/cool pantry at ~50°F–never freezing!
Zones USDA Zone 7+:
- Cut back spent foliage only,
- Layer double-thick mulch (~6” loose straw/leaves/mineral-wool);
- Walk away except brief periodic winter checks!
Side note: Each autumn split/division yields bonus stock–perfect barter currency among fellow gardeners come early spring market meets/exchanges!
10. Evolving Into Mastery – Beyond Just Keeping Cannas Alive
Every setback sharpens intuition—you’ll pick up subtle signs faster every year (“that dull leaf edge means magnesium shortfall…”). Push yourself further each season:
1. Rotate new cultivars annually; track which thrive best under YOUR microclimate quirks—not just catalog claims;
2. Trial wild combinations—from blue lobelia edging beneath pink ‘Phasion’ foliage spikes…to unexpected texture duets alongside ornamental grasses/zinnias;
3. Host informal open-garden afternoons—nothing refines technique faster than visitors scrutinizing design details close-up! Plus trade surplus divisions/seeds liberally;
4. Maintain records–snap photos monthly/scribble notes about wins/failures/outliers—it becomes gold later deciding what changes truly moved results forward vs just seemed cool midseason…
Above all else:
"Perfection isn’t show ribbons—it’s learning why one patch explodes while another falters…and knowing next season you’ll nail BOTH."
So grab those gloves—or garden fork dusted with stubborn red clay—and jump headlong into this very real world where mistakes still teach more than catalogs ever will…and where fireworks await atop emerald towers come midsummer daydreams made real again…and again…and again.
See you among the blooms.


