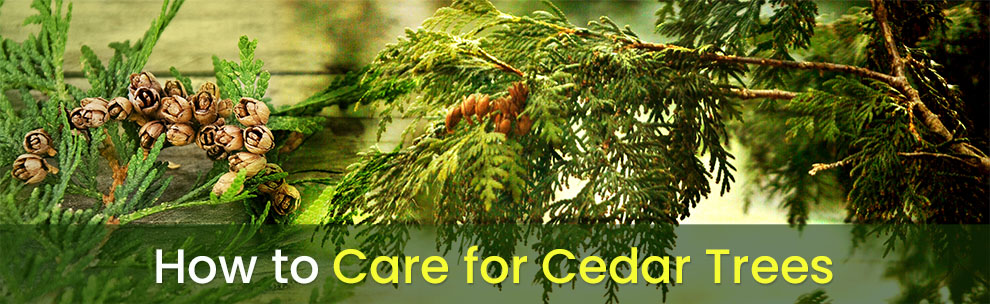
Cedar Tree Care Made Easy: Your Simple Guide to Healthy Trees
Forget everything you thought you knew about cedar tree care—this is the real deal: a hands-on, “every question answered, every problem solved” manual. Crafted from countless hours in the dirt, battling pests, wrestling with soil issues, and yes, learning from my share of screw-ups. If your goal is to have cedars that flourish instead of flounder, stick with me—we’re covering every step from planting seedlings properly to emergency CPR for your sagging hedge. Gloves on? Notepad ready? Let’s dive in.
The Ultimate Cedar Tree Care & Troubleshooting Guide: Every Scenario Solved
Why Most Cedar Trees Fail (And How You Can Be Different)
You’ve heard “cedars are easy,” right? Then why do so many folks call me panicked when their once-lush privacy screen looks like a pile of crispy sticks after just a few years? Here’s the blunt truth: cedars are tough—but only if you stay ahead of their quirks. Miss subtle cues or mess up early care, and you’re signing them up for slow decline or sudden disaster.
Here’s what kills cedars fast:
- Planting too deep – invites root rot and quick death.
- Standing water after rains – suffocates roots within days.
- Mulch piled against the trunk (aka mulch volcanoes) – kills bark by inviting decay fungi.
- Sticky patches or creepy bags on limbs – bad news: pests like scale insects or bagworms have taken over.
This guide won’t bore you with vague advice; instead, it arms you with concrete steps, sensory clues (“if needles snap crisp instead of bend…”), tools you’ll want on hand, and honest stories when things went sideways—and how I fixed them.
Step 1: Know Your Cedar—or Risk Losing It Fast
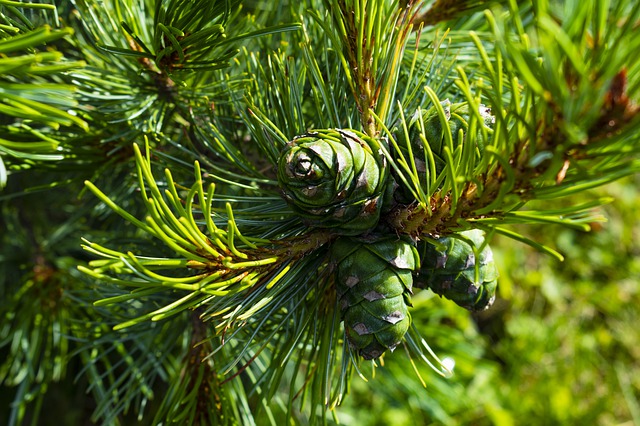
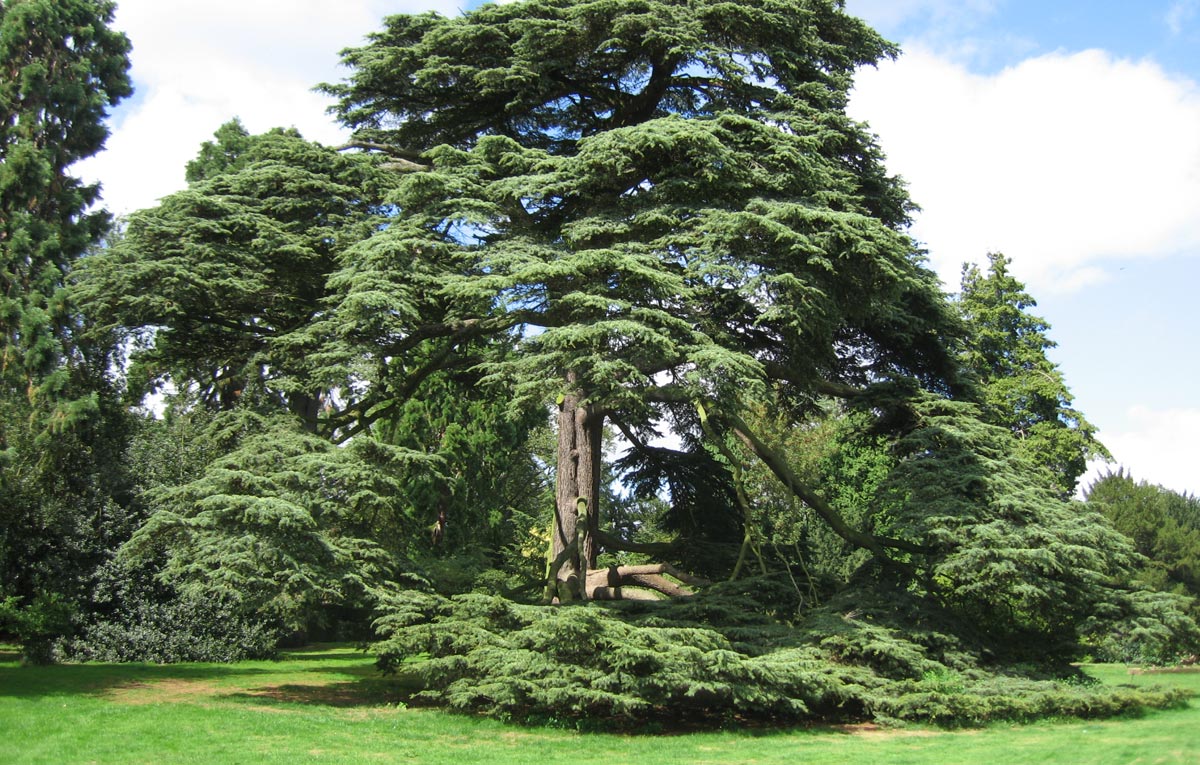
True Cedars vs North American Lookalikes
Quick story: back in 2019 I almost wiped out a row of Eastern Red Cedars (Juniperus virginiana) by treating them identically to true Cedrus deodara. Spoiler: they have totally different needs. Before you do anything else, learn who you’re dealing with.
| Botanical Name | Common Name | Native Habitat | Key Need |
|---|---|---|---|
| Cedrus libani | Cedar of Lebanon | Mediterranean Mountains | Dry soil & air |
| Cedrus deodara | Deodar Cedar | Himalayas | Mild winters |
| Juniperus virginiana | Eastern Red Cedar | US Central/East Prairies | Drought tolerant |
| Thuja plicata | Western Red Cedar | Pacific NW Forests | Moist soils |
Do not underestimate this step. Bark texture alone sets these apart—true cedars usually have rough gray bark; eastern reds are flaky or fibrous; thujas smell citrusy when crushed—and needle clusters vary wildly.
Your next move: Go outside today and identify your trees right down to species level before planting or treatment.
Step 2: Plant Like Your Cedar’s Life Depends On It — Because it Does
Pre-Planting Quick Test That Saves Years of Heartache
Before dropping that root ball into the ground:
- Drainage test: Dig a hole ~12" deep where you plan to plant. Fill with water and time how long it takes to drain:
- Under 2 hours = good drainage.
- Over 4 hours = potential root rot disaster waiting.
- Space planning: Mark mature canopy spread + at least 6 ft clearance for small cedars; giants need even more room (up to 20 ft). Crowding suffocates airflow.
- Soil texture: Rub soil in your fingers—if it feels sticky like gum, add coarse sand or bark fines later. Gritty = gold.
Planting Method That Works—for Real
Many early mistakes come from planting too deep or smothering roots in peat moss or compost:
- Make your hole only as deep as the root ball but twice as wide.
- If drainage is slow, build a slight mound so the root flare sits at least 1 inch above ground level—you want roots getting oxygen, not drowned.
- Carefully loosen circling roots by trimming with sharp pruners (“haircut”) so they grow outward.
- Backfill halfway using mostly native soil mixed with coarse bark fines rather than peat moss or compost—you want fast-draining earth!
- Slowly add remaining soil while watering heavily to settle everything without stomping (which compacts).
- Mulch in a donut shape—leave 3 inches clear around burl—the mulch shouldn’t touch trunks!
Quick admission: I once tried “helpful” compost backfill for nutrients—and six weeks later my cedar was yellowing badly from nitrogen overload and soggy soil retention.
Step 3: Watering Wisdom—Forget Generic Timetables
Cedar roots rage against excess water but keel over fast if dried out young.
- Year one: Water deeply once a week with about 10 gallons per tree (think soaking showers over sprinklers). Avoid shallow misting—it won’t penetrate root zone.
- Use a moisture probe near roots for feedback; aim for moisture like “moist cake,” never soggy batter or dusty flour texture.
- After year two: Let nature take over unless there’s an extended drought (>3 weeks no rain).
Needles can tell you everything here:
- Dull gray-green needles appearing before browning = creeping dehydration warning.
- Snap needles between fingers; crunchy means dry; rubbery means something else is wrong.
Your next move: Get yourself an inexpensive moisture meter (~$20); start testing weekly during dry spells so drought stress does not sneak up on you.
Step 4: Mulching Mastery — No More Trunk Volcanoes
Ever seen huge mulch mounds stacked against cedar trunks at malls? Don’t imitate that—it’s basically suicide for bark health.
Tips I stand by:
- Always keep mulch pulled back at least three inches from tree base/trunk flare.
- Refresh mulch yearly—but break up old compacted layers first! Dense felt underfoot means airflow and water penetration are blocked; time to thin out and aerate lightly.
- Hardwood chips work better than bark nuggets here—they suppress weeds well AND regulate moisture through summer heat spikes and winter chills.
Little trick I learned after losing three saplings in as many years: Hardwood chips also foster beneficial microbes critical for cedar root health more than pine straw does…and they cut down fungus gnats massively without chemical treatments.
Step 5: Pruning Protocols Without Regrets
Pruning improperly turns healthy branches into open wounds that invite infection—or worse, permanent deformity.
Rules worth sticking to:
- Prune only late winter/early spring before sap runs or right after storm damage occurrences—not mid-summer scorch season.
- Sterilize blades between cuts using 70% rubbing alcohol—your weapon against disease spread.
- Never “top” cedars! They don’t respond well—expect ugly stubs that refuse to grow back properly.
- Remove dead/diseased wood ASAP—even if mid-season—but save major shaping jobs until recommended windows unless branches threaten safety.
Real talk moment: Once I thought aggressive summer pruning was fine…big mistake! Lost half canopy that fall—sunscald plus fungal infections hit hard under heat-stressed conditions.
Step 6: Pest & Disease Showdown — Catch Problems Before They Destroy
Recognizing trouble early is the difference between saving your hedge …or losing it overnight.
Symptom Decoder Table
| Symptom | Likely Cause | Immediate Action |
|---|---|---|
| Yellow needle tips (esp upper) | Drought stress OR spider mites | Deep watering + inspect leaf undersides closely |
| Brown patches mid/lower canopy | Bagworms/caterpillars | Hand-pick prompt removal + spray Bacillus thuringiensis (Bt) |
| Sticky residue/drip | Aphids/scales | Hose off thoroughly + insecticidal soap application |
| Blackened needles/soft bark | Root rot/fungal infections | Improve drainage + remove infected soil/surroundings |
| White powdery leaf coating | Powdery mildew fungus | Prune interior twigs + increase airflow around crown |
Heads-up: Sometimes poor watering creates damage that mimics pests—it can get confusing! Always check soil condition and foliage before rushing into chemical treatments.
Organic Rescue Arsenal
For those who hate harsh chemicals:
- Beneficial nematodes (Steinernema carpocapsae) crush bagworm larvae naturally—as soil drench near dripline
- Neem oil spray applied every two weeks during outbreaks disrupts pest life cycles
- Ladybugs released during aphid spikes can help hugely if timed correctly
- Copper fungicide reserved as last resort against stubborn fungal blights following label instructions strictly
One final sensory tip: Healthy cedar foliage gives off a fresh resinous sharp scent; if yours ever smells musty or sour—that’s an immediate red flag begging investigation!
Step 7: Diagnose Decline Before Crisis Hits
Sometimes decline sneaks up slowly—a thinning canopy here, slowed new growth there until suddenly half your hedge looks dead by August without warning.
Here’s your field checklist when alarms ring:
1. Scratch branch lower sides gently—is inner tissue bright green (healthy) or brown/dark (dead)?
2. Probe surface soil gently near base—is it compacted, soggy, bone dry?
3. Look carefully at trunk bases for mushrooms/conks indicating internal rot
4. Use magnifying glass on needle undersides looking for spider webs/pests
5. Snap photos weekly—side-by-side shots reveal progression subtle day-to-day observation misses
Value note: Hiring an ISA-certified arborist visit can run $150–$350 but often saves $2000+ tree replacement costs by catching treatable disorders early!
Secret confession—I skipped monthly walkarounds one year…missed early scale infestation signs…lost half my hedge that September forever regretted those lazy months!
Step 8: Soil Health & Recovery — Amp Up Ground-Level Care
Even perfect watering sometimes isn’t enough if soil beats roots senselessly beneath ground:
Pro-Level Soil Testing & Amendments
1. Invest $25–40 digital pH meter; test yearly aiming for slightly acidic-neutral range pH of ~6–7
2. For heavy clay soils add coarse sand or fine bark chips into top foot gradually each fall—not peat moss which traps water
3. Spot treat chlorosis symptoms (yellow leaves without browning) with chelated iron granules—not blanket fertilizer applications which worsen imbalance
4. Rotate mulch types biennially—diversify what decomposes beneath canopy supporting varied microbial life promoting resilience
Hard learned insight: Switching from pine straw to hardwood chips reduced fungus gnat outbreaks by over 75% at my urban site and boosted insulation through harsh winters noticeably!
Step 9: Disaster Response Playbook — Fast Fixes When Nature Hits Hard
Every seasoned cedar grower has faced these moments—here’s how to jump into action fast:
Scenario A – Flooded Roots After Heavy Storm
1. Strip mulch off temporarily near affected trees
2. Aerate surrounding soil gently every six inches using garden fork—not shards please!
3. Dig shallow trenches angling away from trunk(s) letting water escape faster
4. Once dry again apply rooting hormone powder sprinkled evenly around drip line encouraging recovery
Scenario B – Severe Ice/Snow Load Breaks Branches
1. Carefully brush snow off branches using broom handle softly
2. Make clean pruning cuts just outside branch collars asap while wounds are fresh
3. Spray pruning cuts lightly with diluted copper fungicide ONLY IF temperatures stay warm enough next week
Scenario C – Sudden Whole Hedge Browning
Common culprits include herbicide drift or road salt runoff causing toxic shock:
1. Rinse needles thoroughly asap with plenty of water washing off contaminants
2. Saturate root zones repeatedly over next several days flushing toxins downward
3. Lightly rake away any mulch/leaf debris absorbing chemicals preventing reuse
How to feel whether tissue is alive? Dead branches will snap crisp instead of bending double before breaking—a simple physical test anyone can trust immediately!
Step 10: The Annual Master Checklist — Print It Out And Tape Inside Your Shed
SPRING
[ ] Check all new growth tips show bright fresh green buds—no delayed leaf-out? Investigate early frost damage if yes
[ ] Prune dead/damaged wood before sap rises preventing needless bleeding wounds
[ ] Top-up mulch layer away from trunks after cleaning winter debris ensuring proper thickness (~2 inches) remains
[ ] Start monthly pest inspections now getting ahead on outbreaks
SUMMER
[ ] Only deep soak after prolonged drought spells (<1" rain/week)—too much triggers fungal woes
[ ] Post storms/pollen drops examine undersides foliage carefully spotting tiny webs/bags early stages pest infestation
[ ] Thin surrounding shrubs/grasses pushing into airflow blocking ventilation around tree crown
FALL
[ ] Renew mulch ring outward—not piling closer upward helping avoid trunk rot problems following winter freeze-thaw cycles
[ ] Remove all bagworm cases/suspicious cocoons manually eliminating overwinter populations
[ ] Conduct pre-freeze soil test adjusting nutrient deficiencies proactively
WINTER
[ ] Brush off heavy snow/ice accumulations promptly reducing limb break injuries
[ ] Burlap wrap young trunks loosely only if severe wind chill forecast avoids cold cracks
[ ] Record any odd symptoms/photos prepping spring troubleshooting review
Side note—I still use this exact list more faithfully than most gardening apps…and honestly it works better because it’s tactile and visible daily reminder!
Real Stories From The Trenches
The Midwestern Hedge That Dodged Construction Chaos
Neighbor’s construction rerouted groundwater toward his cedar screen…two trees drowned quickly once puddles lingered days long before we realized not disease but suffocation caused dieback! Solution? Rented trench digger (just $75/day), installed French drain filled with gravel diverting runoff permanently over one weekend sprint—not fancy but effective.
Rescuing an Old Atlas Cedar Spiral Into Death
Client called frantic August needle drop despite normal weather—a classic mix of undiagnosed scales insect invasion combined with compacted root zone crushed repeatedly by lawn mower wheels left tree gasping for life! Intensive weekly neem oil sprays plus careful core aeration ring installed…tree rebounded greener than ever following spring flush proving persistence pays dividends beyond expectation.
Schoolyard Saved From Bagworm Siege
Local elementary nearly lost rows of cedars due to unchecked bagworms one summer…it took ten dedicated volunteers most of Saturday picking hundreds bags manually combined with scheduled Bt sprays each May thereafter…since then zero re-infestations reported protecting kids’ shade trees year after year!
Don’t Just React – Stay One Step Ahead And Win Every Time
Final advice after seasons spent watching cedars die then thrive again:
- Track everything: Log watering dates, pruning sessions, symptoms noticed in phone notes app or old-fashioned notebook—you’ll uncover patterns no gut feeling catches otherwise.
- Join local gardening groups: Online forums can be noisy…nothing beats face-to-face wisdom sharing tailored precisely to your region’s toughest insects/weather quirks.
- Never delay action: Early intervention beats miracle cures every single time especially fungus or borer infestations!
- Know when pros must step in: Mature specimens near buildings/utilities demand certified arborist input—a DIY mistake here costs thousands instantly!
- Celebrate progress: Every burst of fresh green growth past trouble feels like winning a mini-battle—and sharing photos inspires others struggling quietly too!
Remember—the best caretakers aren’t flawless—they just notice faster than their mistakes multiply…
If tomorrow morning your cedar looks funny... come back here again armed confidently knowing exactly what steps rescue requires next time nature throws curveballs your way!
Happy growing—and may all your cedars stand proud and tall through every season yet to come!
If you'd like printable quick-reference sheets summarizing Symptoms+Actions and Seasonal Checks—or need help identifying tricky pests visually—I’m happy to create those as companion downloads next!