Mastering Cherry Hot Pepper Plants: An In-Depth Guide for Success
The No-Nonsense Guide to Cherry Hot Pepper Plants: From Rookie Mistakes to Pro Yields
Cherry hot pepper plants look like cheerful garden ornaments—right up until you taste one and realize they pack more punch than their playful appearance suggests. I've grown them in everything from cracked five-gallon buckets on city fire escapes to backyard beds next to the family tomatoes, and every season uncovers new tricks, pitfalls, and oddball discoveries. This isn't another copy-paste garden how-to; it's a deep dive into the realities of cherry peppers with time-tested strategies, unexpected solutions, and a few lessons learned the hard way.
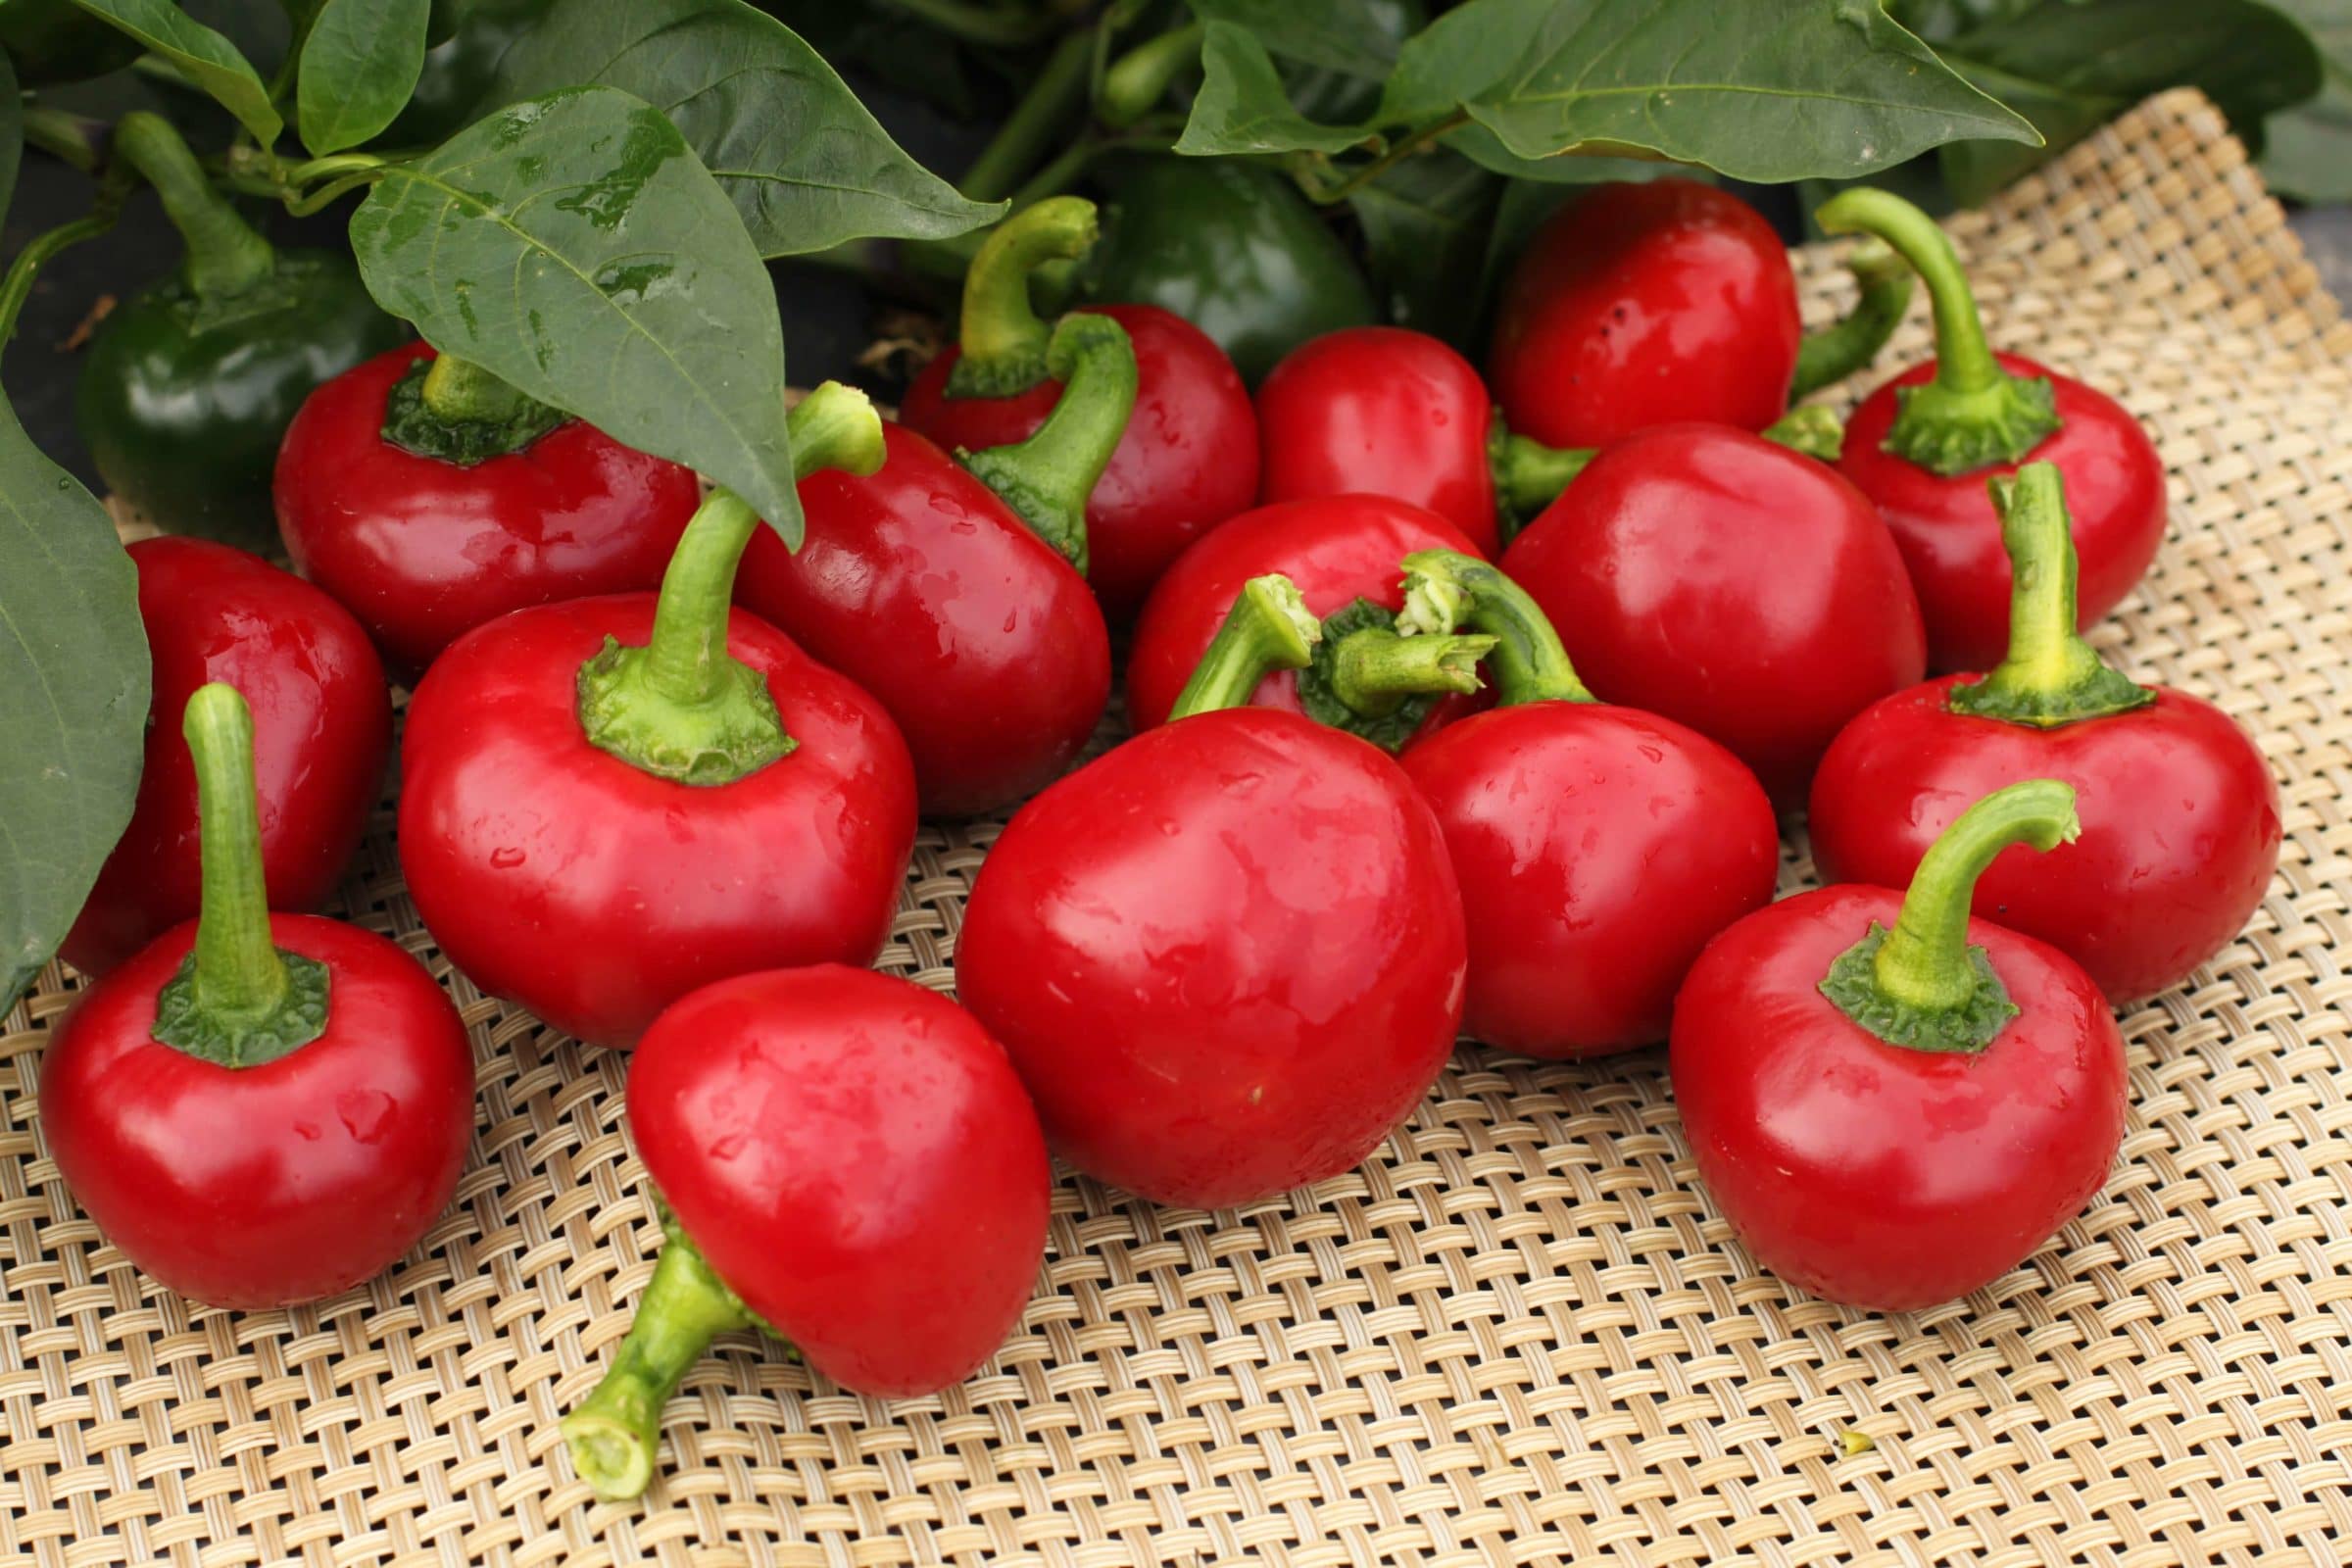
Table of Contents
- What Makes Cherry Hot Peppers Tick?
- Fundamentals: Soil, Light & Microclimate—The Triple Threat
- Step-by-Step: From Seed Packet to Harvest Basket
- Classic Pitfalls & How I’ve Solved Them
- Leveling Up: Advanced Tactics for Outrageous Yields
- My Must-Have Tools & Sourcing Secrets
- Field Notes: Real Failures, Fixes & Surprises
- Troubleshooting — Diagnosing Problems Before They Escalate
- The Ultimate Action Checklist
- Beyond Basics: Experimenting Your Way to Expert
1. What Makes Cherry Hot Peppers Tick?
First things first—a quick primer you actually need:
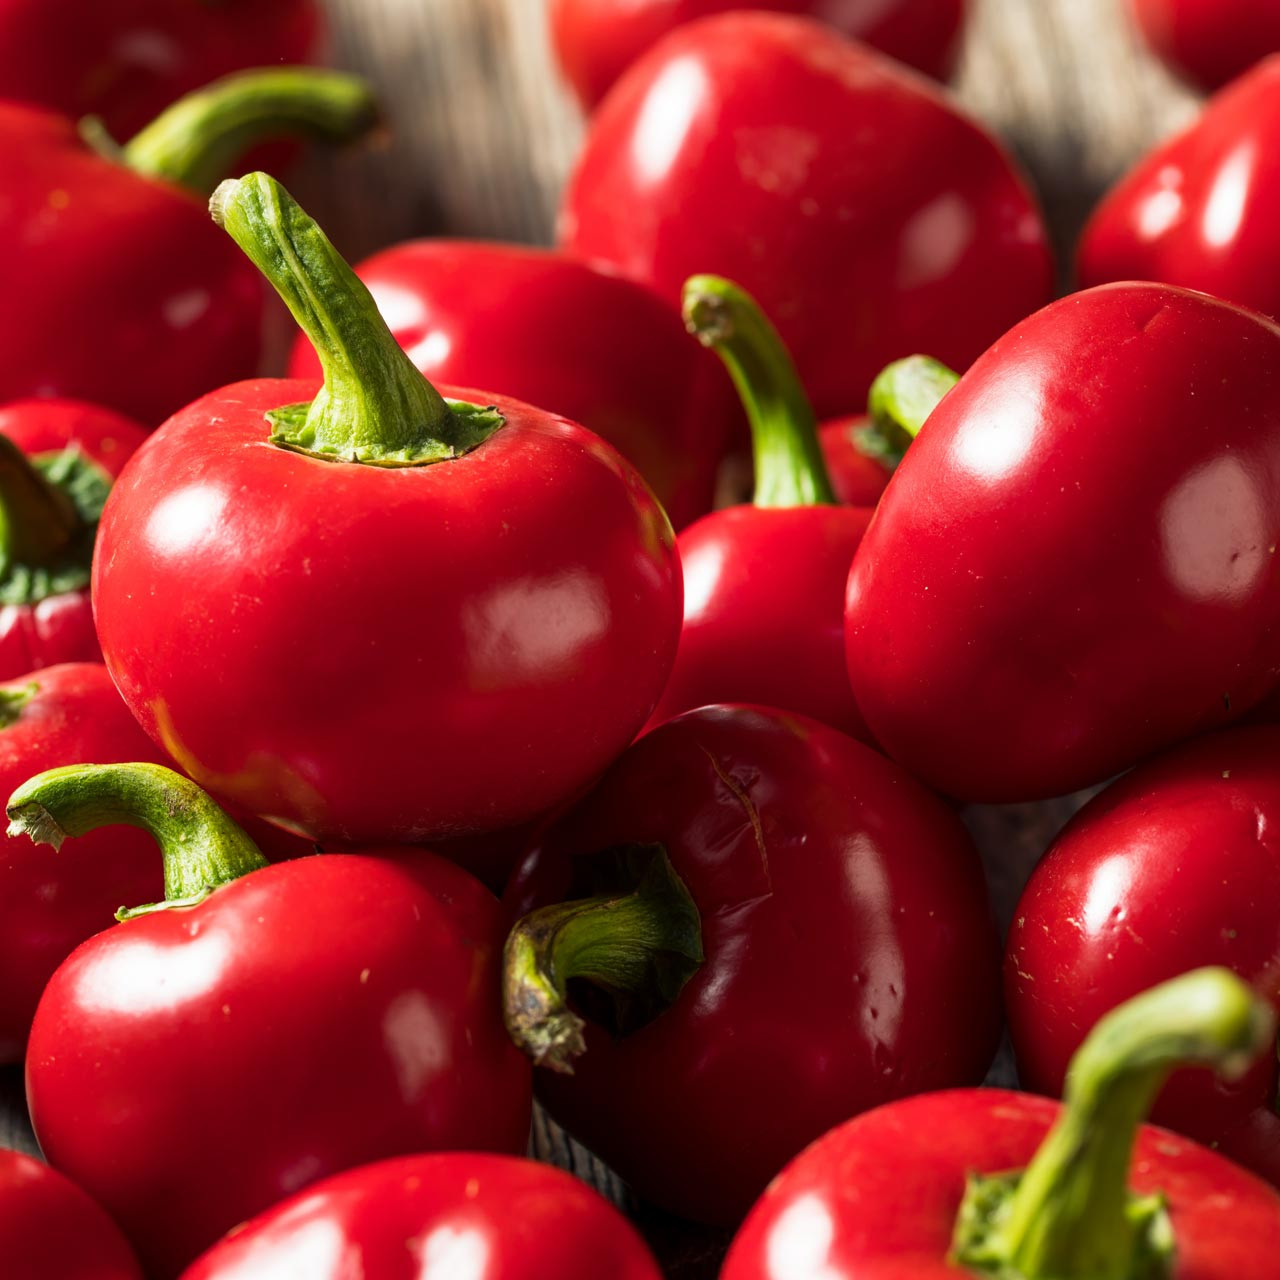
Cherry hot peppers (Capsicum annuum) are compact, bushy plants producing round, glossy fruits that turn fire-engine red or golden-orange upon ripening (think ping pong ball with attitude). Their Scoville Heat Unit range sits between 2,500–5,000—not ghost pepper territory but definitely noticeable. Unlike some novelty-hot varieties, these balance spice with a juicy sweetness that makes them culinary chameleons.
What’s often missed: Their structure is heavy for their size, leading to stem splits if unsupported during bumper harvests; their foliage is dense enough to hide aphid armies or fungal spots until it's almost too late.
Expert Insights:
- Flavor peaks when fruit fully colors on the plant. Green-stage picking is possible but results in a grassy bitterness.
- Hybrid varieties (“Cherry Bomb”) are generally thicker-walled than heirlooms (“Hungarian Hot Cherry”), which changes both texture and aftertaste in pickling.
2. Fundamentals: Soil, Light & Microclimate—The Triple Threat
Back in 2019, I lost an entire row of cherry hots during an unusually damp July—root rot crept in nearly overnight because I ignored drainage after amending with composted manure (which held more water than clay soil alone).
Here’s what actually matters:
Sunlight:
You want at least 8 hours of unfiltered sunlight daily; "bright shade" just won’t cut it for heavy yields or thick-fleshed fruit.
Soil:
Loose texture is non-negotiable—a scoop should crumble apart even when squeezed tight in your palm. Good drainage trumps fertility if forced to choose; aim for pH 6–6.8.
Water:
Erratic watering will trigger blossom end rot faster than anything else—cherry peppers hate swings from drought-dry to boggy wetness.
Microclimate Adjustments:
Urban patios run hotter and drier than ground plots—a reflective wall two feet away can spike leaf temps by +10°F by noon! In ground-level beds near tree lines? Early morning sun may be filtered; expect slower ripening unless you trim branches or relocate pots each week.
Counterintuitive Tip:
If your only space has unreliable light (e.g., north-facing balcony), grow cherry hots vertically using heavy-duty wire cages—they'll stretch toward available sun while maximizing productivity per square foot.
3. Step-by-Step: From Seed Packet to Harvest Basket
Let me walk you through a process honed over repeated failures—and occasional triumphs.
A) Start Indoors or Jump-Start With Local Transplants?
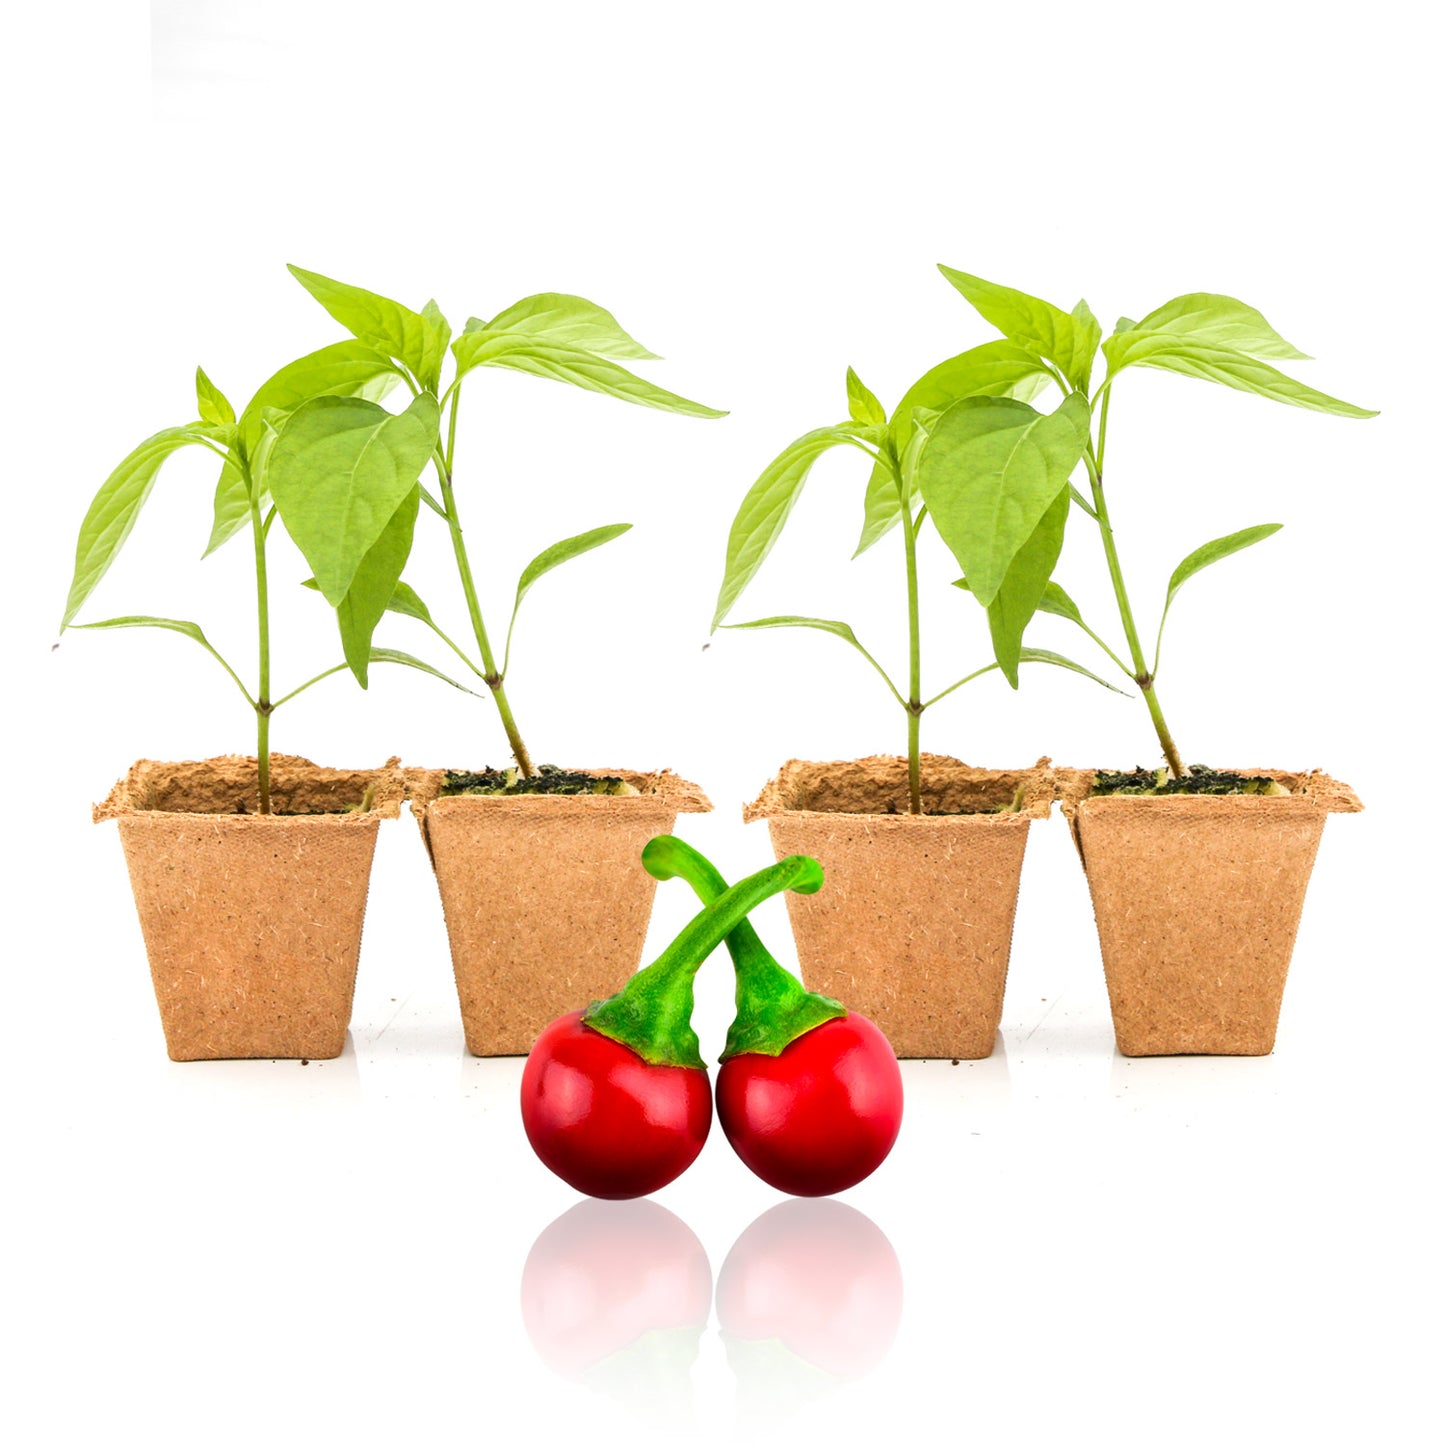
Seeds:
Starting from seed indoors gives maximum choice but demands real patience (and honestly involves as much failure as success your first couple attempts). Germination rates average ~75% under ideal conditions (Johnny's Seeds routinely hits above this), but direct-sown seeds outdoors rarely succeed unless you have long southern summers.
- Start indoors about 9 weeks before last frost.
- Sow shallowly (~¼ inch deep); cover trays with humidity domes.
- Place under strong LED grow lights set on timers for 16 hours/day.
- Bottom warmth (70–80°F) speeds germination—the difference here can be days vs weeks!
Failed attempt: My first batch died from fungal "damping off" due to reused trays that weren't sterilized; since then I've invested $15/year on new ones—or bleach out old sets religiously each spring._
Transplants:
If you're behind schedule or want insurance against seed failure: local nurseries offer robust starts from about $3–$5/plant by mid-April in most zones.
B) Prepping Beds or Containers
Digging through heavy soil? Mix one part coarse sand or perlite for every three parts native earth plus compost for structure and nutrition.
Container growing? Use commercial potting mix labeled "vegetable"—don’t try making your own unless you've dealt with drainage tests before (I once ruined an entire season's crop using pure black topsoil...the roots never stood a chance).
Cost breakdown: Expect about $12–$30/season for premium potting mix per four large containers; skimping leads straight back to sickly yellow leaves later._
C) Hardening Off Before Transplant
This step gets skipped way too often—resulting in wilted seedlings shocked by wind/sun fluctuations.
Over seven days:
- Move transplants outdoors into partial shade for an hour the first day.
- Increase exposure incrementally until they're outside full-time before planting out.
- Never transplant when soil is cold (<60°F); wait it out even if you're itching to get started!
D) Planting Technique
Space plants at least 18 inches apart or one per deep container (minimum depth = 12", volume = 3+ gallons).
- Bury up to first set of true leaves for added stability.
- Water deeply immediately after transplanting; mulch lightly around stems—but don’t smother the root crown itself.
E) Ongoing Care Routine
Water:
Drip irrigation systems ($15 starter kits exist online now) outperform hand-watering by providing slow consistent moisture at root level—even two missed days during summer heat waves can stress young plants beyond quick recovery!
Feeding Schedule:
Feed with fish emulsion or balanced organic fertilizer every four weeks until flowering begins; then switch over to higher potassium blends ("Tomato Tone" works wonders here).
Support System:
Even though most cherry peppers stand upright naturally, crop-heavy stems snap easily after rainstorms—I now cage every plant regardless of initial vigor.
4. Classic Pitfalls & How I’ve Solved Them
Pitfall #1: Overzealous Watering
It's tempting during heat spells, but too much moisture suffocates roots fast.
- Solution: Water only when top inch feels dry; install cheap moisture meters ($9 at hardware stores)—they pay for themselves within a single season by preventing rot deaths.
Pitfall #2: Fertilizer Burn
One year I doubled the label dose on synthetic fertilizer…result was fried leaf edges and zero flowers for weeks afterward.
- Solution: Always err on less rather than more! Organic slow-release products give gentler feeding curves—and reduce risk of mistakes if distracted mid-season.
Pitfall #3: Aphid Infestations
Aphids love hiding under dense cherry pepper leaves where sprays rarely reach.
- Solution: Introduce ladybugs early OR blast undersides weekly with hose spray before colonies get established—homemade garlic/chili oil spray also deters without chemical residues.
Pitfall #4: Blossom End Rot
Calcium deficiency due mainly to erratic watering shows up as dark soft spots at fruit base—not just an eyesore but ruins whole crops fast!
- Solution: Add crushed eggshells around base at planting OR use liquid calcium supplements monthly during fruit set.
Pitfall #5: Chilly Nights After Transplant
Plants stunted despite looking healthy day-of-transplant likely experienced sub-55°F shock overnight—it literally pauses growth for days!
- Fix: Keep row covers handy into late spring—or bring patio pots inside overnight if forecast dips below safe zone.
5. Leveling Up: Advanced Tactics for Outrageous Yields
Once basic routines feel second-nature, try pushing limits:
Season Extension Moves:
- Simple “low tunnel” hoops draped with floating row cover fabric ($20 investment saves entire early crops from freak frosts).
- Black landscape fabric warms bed soils by +5°F compared to bare dirt—ideal north of zone 6B where cool springs persist into June.
High-Density Container Gardens:
Plant “cascading” setups using double-stacked pots—a central large container surrounded by half-pots tilted outward grants easy access AND doubles harvest area per square foot without overcrowding roots.
Hand-Pollination Hack:
On windless mornings or rainy stretches where bees aren’t flying? Use a soft watercolor brush (or electric toothbrush buzzing lightly on stem near open blossoms) to shake pollen off anther onto multiple stigmas—increases pod set dramatically indoors/greenhouse setups!
Saving Your Best Seeds—for Next Year’s “Super Crop”
Pick ONLY fruits from your healthiest-performing plant(s), allow pods to dry fully ON THE PLANT before shelling seeds out carefully onto parchment paper—store air-tight inside glass jar with silica packet in fridge door till next April.
6. My Must-Have Tools & Sourcing Secrets
Here’s my tight list after years of gear upgrades—and budget mishaps:
| Tool | Why It Matters | My Top Pick | Insider Pro-Tip |
|---|---|---|---|
| Grow Lights | Robust indoor seedlings | Barrina T5 LEDs | Raise/lower daily as plants stretch |
| Seedling Heat Mat | Faster/more uniform germination | VIVOSUN Mat (~$18) | Unplug once all have emerged |
| Drip Irrigation Kit | Even watering at scale | Rain Bird Patio Kit | Pair w/ timer ($12 plug-in model lasts years!) |
| Bypass Pruners | Clean harvesting/pruning | Fiskars Softgrip | Wipe blades w/ rubbing alcohol post-use |
| Floating Row Cover | Frost/insect protection | Agfabric Lightweight Roll | Reuse across seasons |
For cherry pepper seeds—the best true-to-type experiences came from Johnny’s Selected Seeds ("Cherry Bomb") and Baker Creek Heirloom Seeds (“Hungarian Hot Cherry”). Cheap generic packs sometimes produced off-type pods ranging from bland bell shapes (!) to nearly Thai-level heat unpredictably.

7. Field Notes: Real Failures, Fixes & Surprises
The Bucket That Wouldn’t Quit
In one drought year on my apartment balcony (2020), a single five-gallon bucket yielded dozens of glossy red spheres simply because I mulched thickly with shredded newspaper beneath straw mulch—the evaporative layer kept roots cool even when surface temps hit triple digits by late July afternoon.
My neighbor’s identical variety baked itself crisp because he watered midday without any mulch covering his exposed soil…
The Family Salsa Bed
We once interplanted cherry hots directly alongside basil and marigolds—that combo not only kept pests unsure where they wanted to land but resulted in salsa ingredients ready within arm’s reach of each other come August pickings.
8. Troubleshooting — Diagnosing Problems Before They Escalate
Most issues can be traced back quickly IF you walk your patch regularly:
Pale Yellow Leaves/Missed Growth Spurts? Usually means nitrogen shortfall or persistent sogginess at root level.
Quick Fix: Scratch granular organic feed into surface + ease up watering schedule immediately; recovery should show within one week if damage isn’t severe yet.
Loads Of Flowers But Zero Fruits? Could be night chills (<60°F inhibiting pollination), low bee traffic indoors OR excess nitrogen driving green growth instead of blooms.
Quick Fix: Move containers somewhere warmer overnight + hand-pollinate + ease up high-nitrogen foods post-flowering start.
Misshapen/Brown-Spotted Pods? Most likely blossom end rot caused by irregular water/calcium intake swings during peak fruit-fill periods.
Quick Fix: Amend soil w/ bone meal pre-season + maintain strict watering rhythm through longest/hottest days.
9. The Ultimate Action Checklist — Print This Out!
- Pick proven variety via reputable supplier (NOT anonymous Amazon sellers!)
- Start seeds indoors ~9 weeks pre-frost OR buy robust transplants locally
- Prep rich well-drained plot/container—test drainage before planting anything else
- Harden seedlings gradually outdoors over seven days pre-transplant
- Set spacing correctly—don’t crowd even smallish bushes
- Mulch heavily IMMEDIATELY following transplant/watering-in stage
- Install simple stake/cage support ASAP so stems harden off properly
8.comWater via drip/soaker line rather than overhead hoses whenever possible
9.comSwitch feeds once blooms appear—from “green” food toward “fruit” formulas
10.comScout/pick weekly minimum—frequent harvest = maximum ongoing yield
10.Beyond Basics: Experimenting Your Way To Expert
Where most guides stop at "standard practice," true mastery comes from personal adaptation:
Try hydroponic desktop kits next winter—or overwinter cuttings INSIDE as living houseplants that explode into bloom as soon as daylight returns each March...
Join focused groups like r/hotpeppers on Reddit—in April ‘23 someone there saved my outdoor crop via advice about anti-ant barriers I'd never heard before!
Save seeds ONLY from prize-winning specimens each fall—you’ll slowly select stock perfectly adapted not just regionally…but right down to how your unique microclimate fluctuates year-on-year.
If there’s only one piece of advice that sticks after reading this pillar guide—it’s this:
Every failed attempt offers insight if you’re attentive enough…and no store-bought jar truly matches jars filled from homegrown harvests picked at perfect ripeness beneath midsummer sun!
So roll up those sleeves—and expect surprises at every turn as you make cherry hot peppers YOUR signature homegrown success!


