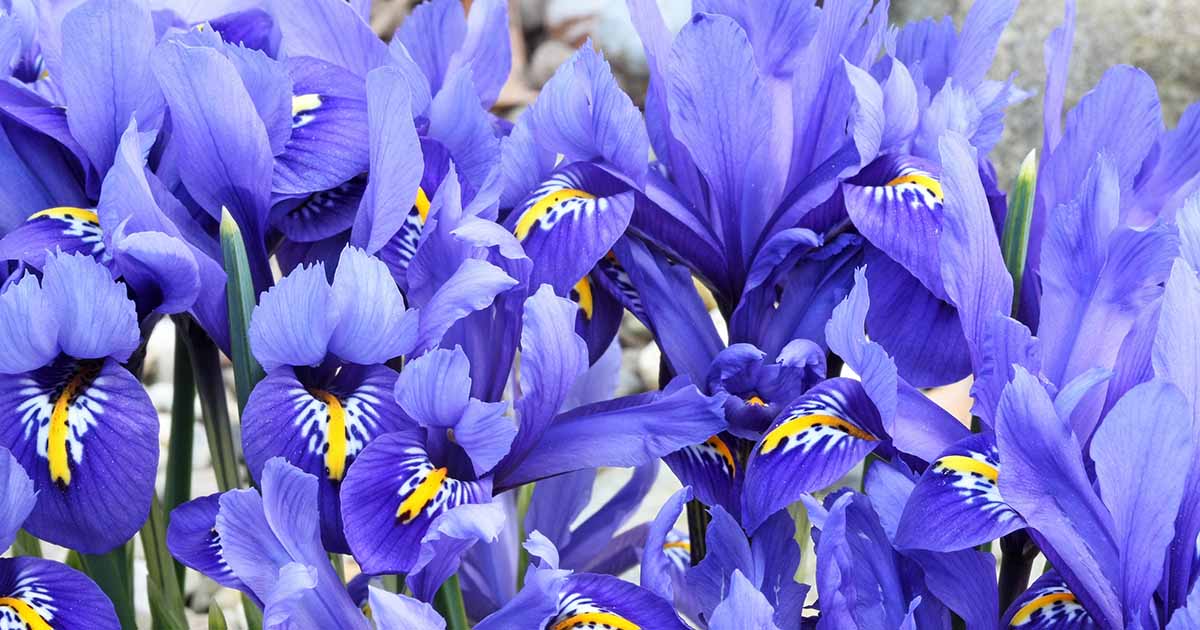
Choosing the Best Soil for Growing Healthy Iris Flowers: An Evidence-Based Guide

The first time I tried to grow irises, I was convinced the beautiful photos in catalogues would be my reality with minimal effort. Spoiler: my “Iris Hill” turned into “Rotting Rhizome Ridge.” Most gardening guides talk about soil types and pH, but they rarely mention the little errors that quietly sabotage your plants—often before you even spot a problem.
Let’s cut through the generic tips and get real about the pitfalls nobody warns you about when prepping soil for iris flowers.
The Silent Soil Mistakes Gardeners Keep Repeating
1. Ignoring Microclimates—Even in Small Yards
You might test your garden soil out back, but plant irises in the front—assuming one test fits all. I did this myself, only to learn (the hard way) that my backyard had perfect drainage while a section near the driveway stayed soggy after every thunderstorm. Irises planted there never stood a chance. Take ten minutes to dig small test holes where you actually plan to put them, especially if your property slopes or has shade.

2. Trusting That Compost Fixes Everything
Compost is garden gold, right? Well… not always. My rookie mistake: dumping wheelbarrows of rich compost into heavy clay beds, expecting instant transformation. The result? The organic matter compacted with the clay like wet cement during rains—worse than before. If your soil clumps like modeling clay when squeezed, add coarse sand (I use sharp builder’s sand at a ratio of 2 parts compost to 1 part sand per square yard), then work in compost for structure and nutrients.
3. Forgetting That Iris Rhizomes Hate Mulch Blankets
Every spring I’d religiously mulch flower beds—including over iris rhizomes—because that’s what everyone does for “healthy plants.” It turns out irises suffocate under mulch; their rhizomes need sunlight and air exposure to stay disease-free. Now, I leave a two-inch bare zone around each rhizome so they can “sunbathe.” Night and day difference in rot prevention.
4. Overlooking Hidden Alkalinity from Concrete Nearby
Here’s an odd one: irises along my patio always looked yellowish, no matter how much compost I added or how often I watered. A simple pH test revealed those beds were creeping up past 7.5—all because rainwater ran off concrete edging and leached lime into the soil! If you’re planting near walkways or retaining walls, check pH twice a year (spring and fall), especially after heavy storms.
5. Believing You Can Fix Bad Drainage After Planting
A confession: I’ve been guilty of adding gravel or sand just under newly-planted rhizomes thinking it would solve soggy spots on the fly. Truth is, drainage needs fixing at bed level, not just beneath roots—or water simply pools elsewhere and finds its way back. If water sits anywhere longer than two hours after rain (set a timer; don’t guess), bite the bullet and build up with raised beds or berms instead of trying shortcuts.
What Healthy Iris Soil Looks—and Feels—Like
Imagine plunging your hand into freshly baked cake: light resistance, crumbly texture, faint earthy aroma—that’s ideal iris soil texture after amending properly.
- Drainage Test Reality Check: Dig an 8–12 inch hole where you’ll plant; fill with water until saturated; refill it immediately and time how long it takes to drain completely.
- Under 2 hours? Perfect.
- More than 3 hours? You’re officially on Team Raised Bed—or Team Sand-and-Compost Mixer.
- pH Sweet Spot: Aim for 6.0–7.0 using an inexpensive probe meter or color-change kit (I use Luster Leaf’s Rapitest). Getting this right can mean double the blooms next season compared to neighbors who skip testing altogether.
- Structure: Use your shovel as a judge: if it slides easily into earth without hitting solid clumps or sticky mud pockets, you’ve nailed it.
My Failed First Attempts (So You Don’t Have To Repeat Them)
Back in 2019, I spent $60 on specialty reblooming irises—a splurge justified by visions of continuous color—only for half to rot by June because I underestimated just how poorly my north fence drained after late spring showers.
What finally worked:
- Ripped out all existing plants.
- Built up an eight-inch-high bed using untreated pine boards ($35 for lumber).
- Filled with store-bought garden loam mixed with equal parts coarse sand and shredded leaf mold—roughly $25 per cubic yard.
- Planted new rhizomes barely covered with soil; left their tops exposed like turtle shells at low tide.
- No mulch directly over them—instead, weeded by hand every other week.
That summer? Not only did all plants survive—they bloomed twice before August heat set in.

Troubleshooting Checklist Nobody Prints on Plant Tags
- Leaves Yellowing & Flopping Early: Double-check drainage and look for accidental mulch coverage or compacted patches near main roots.
- No Blooms Despite Healthy Leaves: Test pH first; then look for crowding—irises need space (at least six inches apart) or they sulk instead of bloom.
- Rhizomes Mushy/Soft: Stop watering immediately! Dig up affected areas, trim away any rot with sterilized shears (isopropyl alcohol wipe-down works), dust cuts with powdered sulfur if available before replanting elsewhere.
Tools & Resources That Actually Help
- Soil Probe Meter: Tells you moisture levels and pH instantly ($15–20 online).
- Builder’s Sand vs Playground Sand: Always go coarse—not powdery—for loosening clay soils effectively.
- Raised Bed Calculator: Use free online tools like Gardener’s Supply Company’s calculator to figure out exactly how many bags/yard you need before buying supplies.
Why This All Matters: The Long Game
Most people give up on irises after a single bad year because they think “they just don’t work here.” In reality? Nine times out of ten it comes down to silent mistakes nobody warns you about—the wrong amendments mixed in haste; overlooked standing water after big storms; mulch applied as an act of habit rather than purpose.
But when you take those first fifteen minutes seriously—testing actual planting spots separately, amending deep enough that clods disappear underfoot—you’re setting yourself up for years of armfuls of flowers…and avoiding those quiet failures most people chalk up to fate instead of fixable mistakes.
If nothing else this season: skip mulching over those fat rhizomes…your future self will thank you come next bloom!
And remember: Every “oops” moment is one step closer to being that neighbor whose irises stop traffic come May—with zero luck required once your soil is finally dialed in right where they want it!


