Citrus Bonsai Made Simple: Practical Tips for Thriving Healthy Trees

Citrus Bonsai Mastery: A Problem-Solver’s Insider Blueprint for Living Art and Lasting Fruit
Citrus bonsai sits at a crossroads between horticultural science and creative obsession—and after more than a decade experimenting with both, I can assure you: the journey is worth every pitfall and breakthrough. Anyone can regurgitate care tips, but genuine mastery comes from persistent troubleshooting, unusual fixes, and learning what not to do after your “perfect” lemon tree drops every leaf overnight.
What follows isn’t just a step-by-step—it’s a field guide born of countless trial runs, lost trees, minor victories (first blossom in 2014!), and those occasional flashes of citrus perfume that make all the hard lessons stick. If you want not only to keep your bonsai alive but to unlock its potential—lush foliage, intoxicating blossoms, real fruit year after year—this guide delivers practical strategies, cautionary tales, and tools that actually work.
1. The Unique Allure (and Demands) of Citrus Bonsai
Picture this: You walk into the spare room in February and are hit with sharp white floral notes—your calamondin is blooming again while snow piles up outside. You brush a finger over waxy leaves; they’re cool and taut. A marble-sized orange fruit glows near the base. This isn’t just decoration; it’s interactive living art.
Yet citrus demands what most “classic” bonsai don’t:
- Constant vigilance: Unlike temperate maples or pines that rest easy in winter dormancy, citrus keeps growing (and demanding attention).
- Nutrient hunger: It takes real resources to push out new leaves and set fruit without flagging.
- Humidity management: My first Meyer lemon nearly defoliated when our winter heat kicked on—I’ll never underestimate indoor dryness again.
- Pest magnetism: Citrus attracts scale and spider mites like open jam jars attract wasps.
The tradeoff? When you get it right, you’re rewarded with sensory fireworks: glossy evergreen foliage year-round, fragrant blooms potent enough to scent a whole apartment, edible fruits that truly surprise visitors (“Wait…that lemon really grew here?”).
2. Species Selection: The Make-or-Break Decision
Back in 2013, I started my collection with a nursery orange meant for patios—not realizing grafted dwarf varieties were engineered precisely for container culture (and for surviving rookie mistakes). That experiment ended quickly—a spindly trunk collapsed under its own weight by spring.
My hard-won short list for newcomers:
| Variety | Why It Works (or Not) | Pro-Level Tip |
|---|---|---|
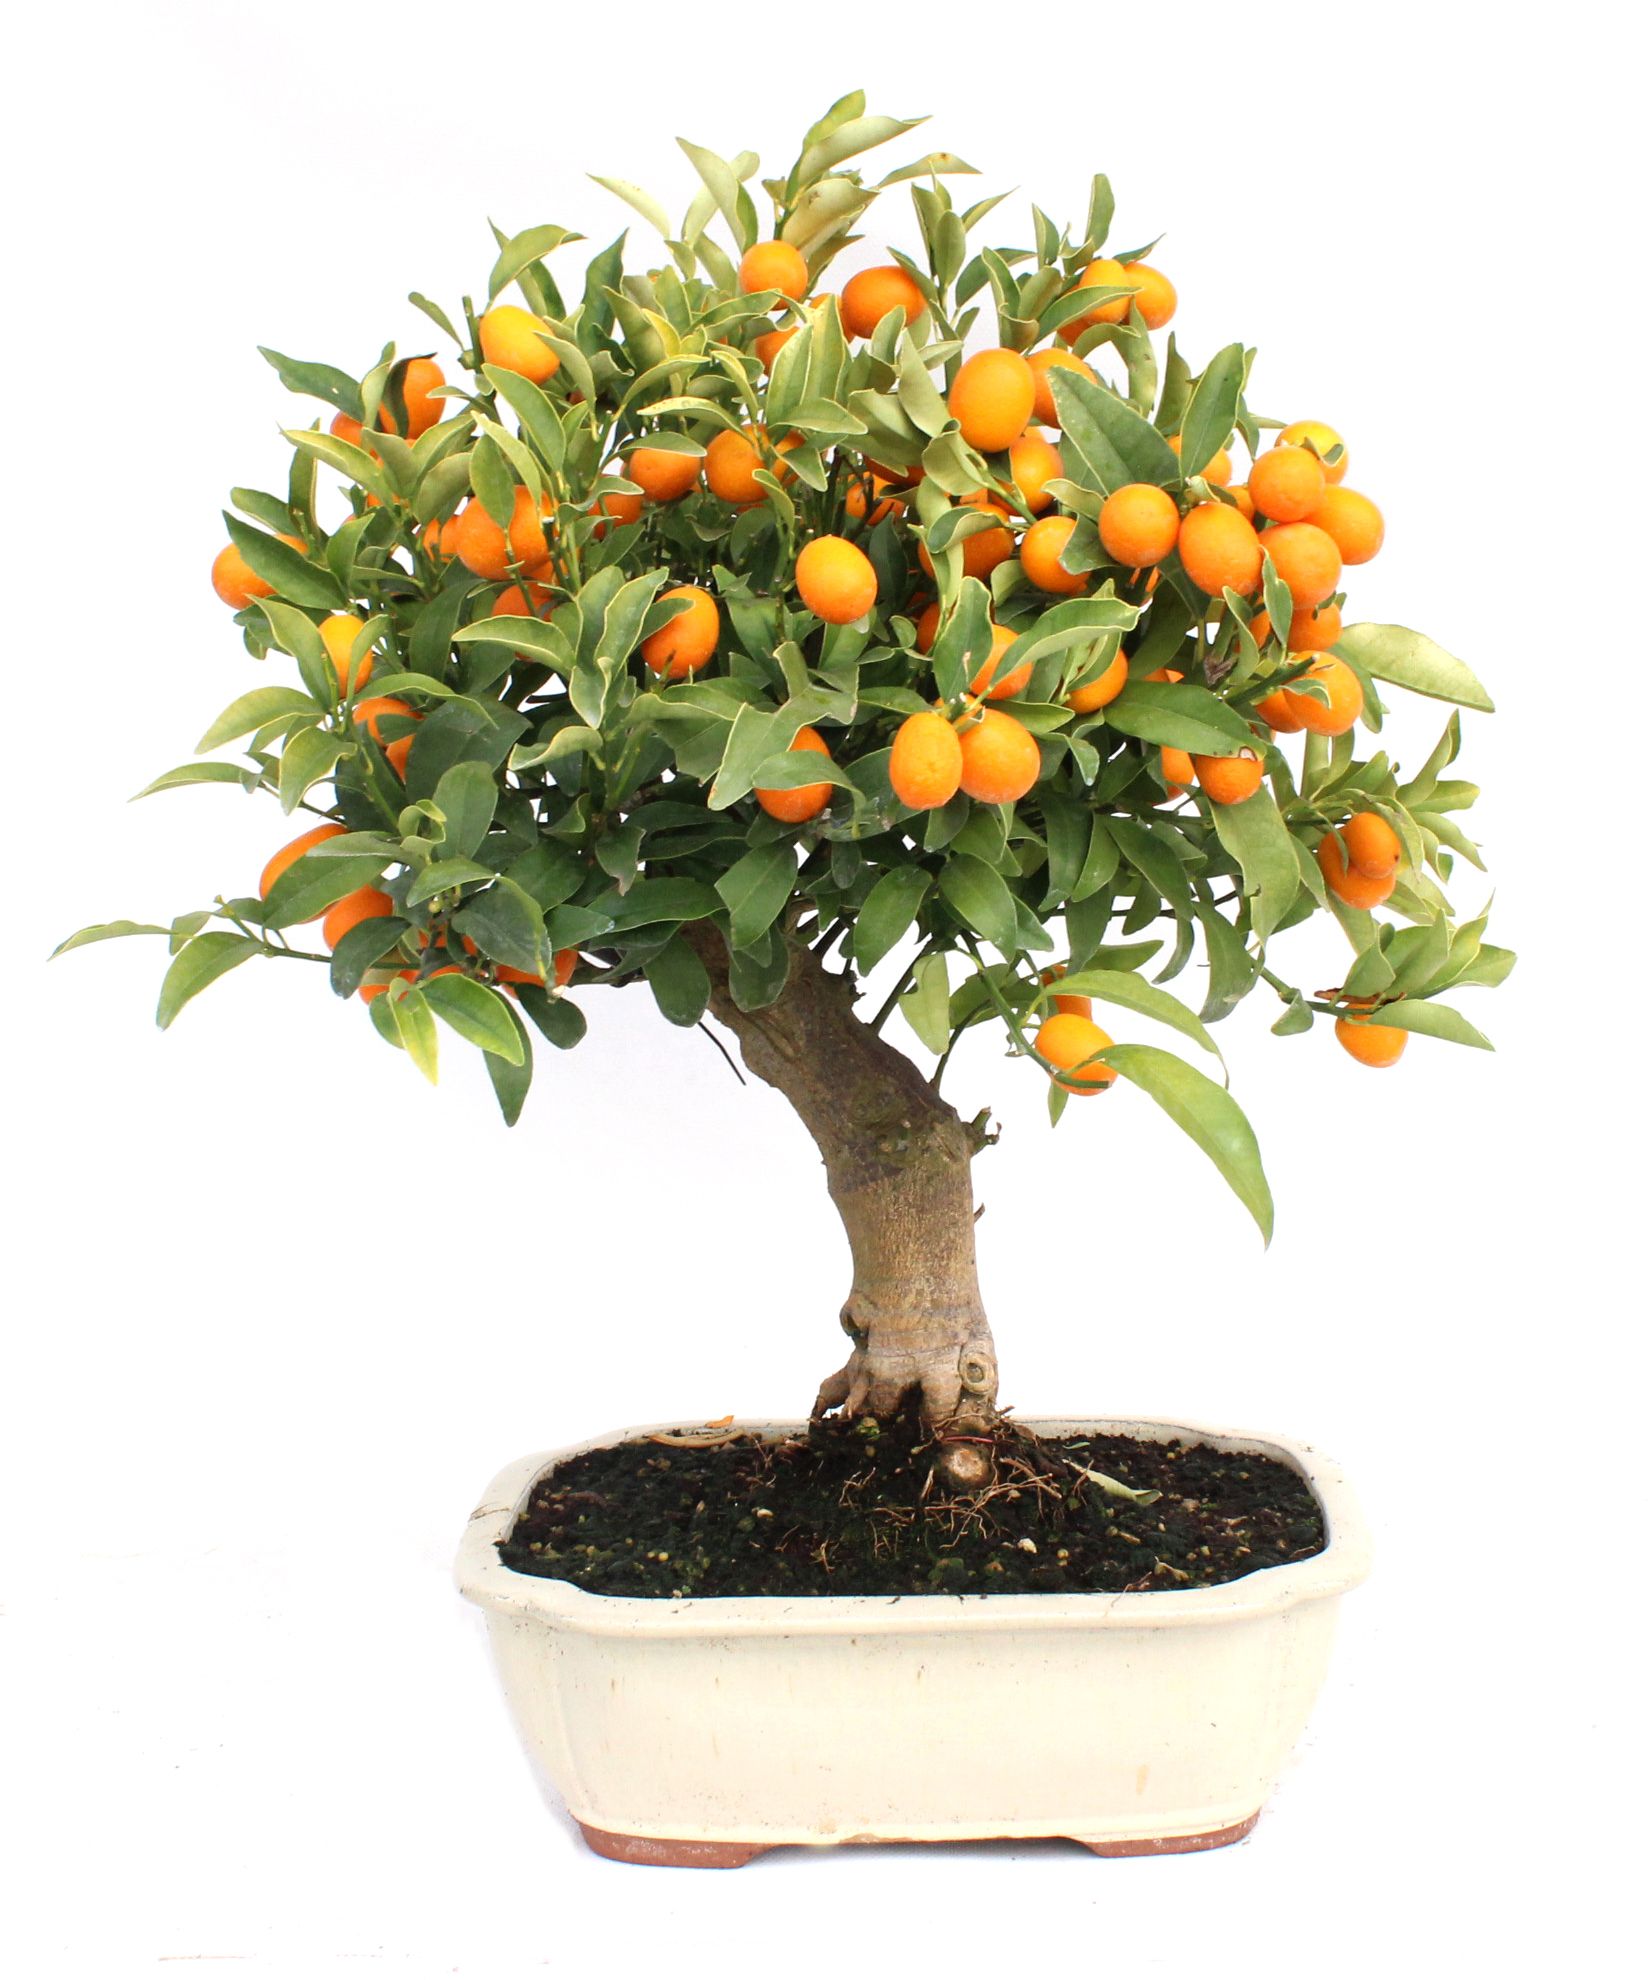
| Calamondin Orange | Bounces back from neglect; reliable bloom/fruit cycle | Use for “showpiece” styling—pads up fast |
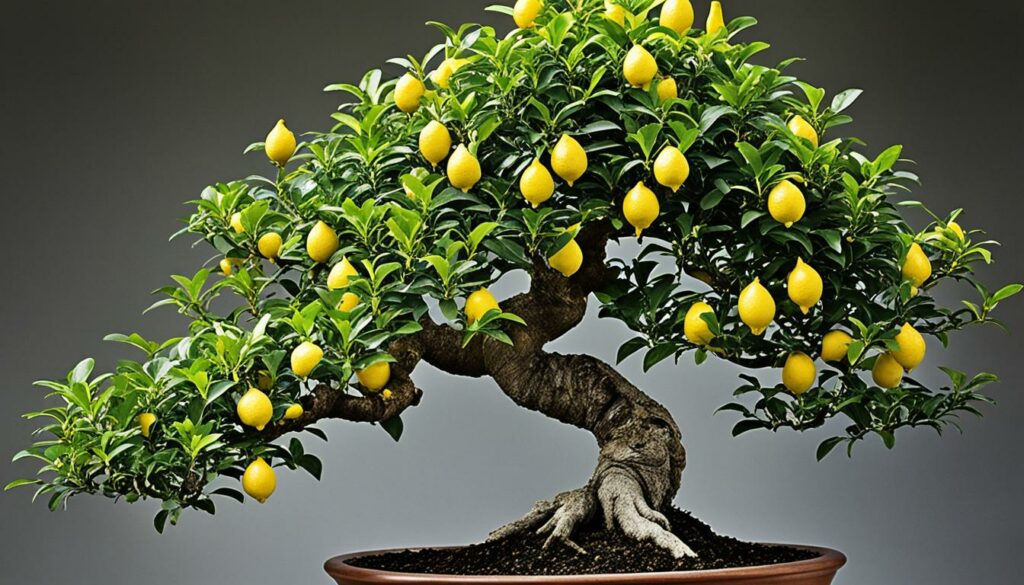
| Meyer Lemon | Fragrant blooms; compact nature | Watch like a hawk for spider mites indoors |
| Kumquat | Tiny sweet-tart fruit; slow but steady growth | Needs patience: prioritize root health first two years |
| Satsuma Mandarin | Sweet flavor; forgiving growth | Fewer thorns = easier wiring/pruning |
Avoid large-leafed limes or grapefruit—they look awkward when dwarfed.
3. Setting Up Right: Tools, Soil & Potting Wisdom Most Guides Miss
Pot Choice Isn’t Just About Looks
My early mistake? Using shallow showy pots immediately—roots stalled out. Start deep then transition shallow as roots mature.
- For saplings: Use 6–8" nursery pots (plastic is fine) with drainage holes.
- Later: Shift to unglazed ceramic bonsai pot + mesh covers on drainage holes ($2 at most garden centers).
The Only Soil Mix That’s Never Failed Me
Ignore cheap “bonsai” soils packed with peat moss—they suffocate roots. My current mix:
- 50% pumice or turface
- 25% pine bark fines
- 25% coarse perlite or horticultural sand
If in doubt—or short on time—buy commercial cactus mix and spike it with extra perlite and bark.
Pro-Tip: Every few months stick a chopstick vertically into the soil overnight—if it comes out damp below while surface is dry? Time to tweak your watering routine; you’re skating close to root rot territory.
Tools That Save Trees (And Your Sanity)
I spent years using kitchen scissors… until I ruined three branches trying to make tight cuts near buds.
Essential investments:
- Bypass pruners (<$30) for clean branch removal
- Soft anodized aluminum wire sets (~$15)
- Concave cutters if aesthetics matter (flush wounds heal fastest)
- A $10 moisture meter is invaluable during winter when touch misleads
4. Light & Location Realities – Where Most Get It Wrong
Most advice reads “give your tree six hours of sun.” Reality check: even my sunniest north-facing window provided less than half what my lemons demanded during December gloom.
Indoors:
South-facing window is ideal but rarely enough Nov–March above latitude ~35°. Supplementing with an LED grow light (~2000+ lumens output) made all the difference—I use clamp-on lamps aimed at canopy height and set them on electronic timers (14 hours/day midwinter).
Outdoors:
Start slow! After overwintering inside, move pots outside only once nightly lows stay above 50°F/10°C—and always acclimate over several days or risk scorched leaves (“sunburn” looks like crispy brown blotches).
Insider fix: On especially hot weeks (>90°F/32°C), line black plastic pots inside ceramic ones—roots roast otherwise!
5. Watering & Feeding – The Precision Required for Consistent Results
Water stress kills more indoor citrus than anything else I've witnessed—even among careful growers.
Watering Protocols Tried-And-Tested:
- Wait until top inch of substrate feels dry before watering—but do not let root ball dry out entirely.
- During active summer growth outside? Expect every day or two; indoors in winter may stretch to every week.
- Always dump excess from saucers immediately—a stagnant layer spells doom over time.
- Once a month (especially if using tap water), flush soil thoroughly until water runs clear—prevents salt buildup which causes leaf edges to brown.
Fertilizer Timeline:
Citrus refuses to thrive on meager feedings!
- In growing season: Apply balanced liquid fertilizer at half-strength every four weeks (never full strength, which can burn roots).
- Out of season/slower periods: Every six weeks—or skip altogether if tree isn’t pushing new growth.
Critical micronutrients:
- Iron deficiency shows as yellowing between veins;
- Magnesium shortage yellows lower/older leaves first;
Chelated supplements like Dyna-Gro Foliage-Pro ($15/bottle lasts ages) correct these admirably.
6. Shape With Purpose – Pruning & Wiring Without Regret
Heavy-handed pruning kills momentum—and often future flowering sites too.
Lessons learned through bitter experience:
Prune only young wood for major shaping
If you must cut older branches, do so incrementally over multiple seasons rather than hacking all at once.
For style:
- Pinch newest tips between fingers regularly during spring/summer flushes—this encourages side branching without halting flower production.
- Use soft wire gently; check weekly as bark scars easily—I’ve seen gouges appear within days if left unchecked during peak growth!
- Defoliate selectively post-bloom only—full stripping stunts recovery unless needed for pest reset.
When wiring main trunks or thicker boughs? Guy-wire methods anchored off-pot protect delicate bark better than wrapping thick coils around thin trunks.
7. Troubleshooting Insiders’ Issues — Real Solutions Beyond Google Answers
Yellow Leaves Spreading Rapidly?
First suspect root rot from overwatering or poor drainage—not underfeeding! Unpot gently; healthy roots should be creamy-beige not mushy brown or blackened.
Sudden Leaf Drop Indoors?
95% chance it’s rapid environment change OR humidity crash from central heating kicking on overnight.
Quick fix: Set tree atop pebble tray filled with water—not touching pot base—to boost local humidity by ~10–20%. Misting helps only briefly compared to this passive method.
No Blooms Indoors After Year One?
Almost always insufficient light—bump up exposure time/intensity dramatically before adjusting nutrient regimen.
Hand-pollinate flowers using an artist’s brush if pollinators are absent—the technique saved my kumquat crop last March!
Sticky Leaves / Tiny Translucent Bugs?
Aphids/mealybugs love citrus sap flow in spring/summer flushes—wipe affected areas with cotton swab dipped in diluted rubbing alcohol then treat whole canopy twice weekly with neem oil spray until pests vanish entirely.
8. Case Files From The Field — True Stories That Changed My Approach
The Apartment Meyer Lemon Comeback (2019)
After two failed attempts starting trees from seed (“fun,” yes—but they take years before flowering!), I sprung for a $40 grafted Meyer at the city farmer’s market plus a $12 bag of premium cactus mix fortified with extra perlite/pumice chips.
By autumn blossoms scented my home office thanks to daily checks under full-spectrum LEDs ($24 investment); two tiny lemons ripened by January—the best proof of concept I’ve ever tasted.
Outdoor Kumquat Rescue (2020)
When an outdoor pot froze solid despite mild forecasts—the foliage wilted almost overnight—I repotted immediately into dry substrate indoors after trimming soggy roots away (“if it smells swampy underneath—it’s too late”). Within four weeks new buds emerged along all major branches—a testament to quick triage AND patient restraint.
Learning To Wait For Structure
An overeager early attempt had me wiring every branch on my first calamondin—all at once—in late summer heat…by October unsightly wire marks scarred the trunk permanently despite lush top-growth above them.
Lesson etched forever since: style slowly over several seasons after strong root establishment—the best forms emerge gradually when you resist shortcuts.

Pest Outbreak Game-Changer
When scale insects infested one prized Satsuma two winters ago nothing store-bought worked until I discovered Safer Brand Insecticidal Soap triggered by weekly reminders set in my phone calendar—a system that finally kept outbreaks minimal instead of recurring each year.
9. Action Plan — From First Tree To Confident Collector
Here’s my streamlined approach distilled from hundreds of care logs:
Week One
- Purchase quality grafted dwarf citrus—not seeds/cuttings as first experiments
- Assemble fast-draining base mix—inorganic aggregate + pine bark + coarse perlite
- Select starter pot w/drainage mesh even if plastic temporarily
Weeks Two–Four
- Pot-up carefully after inspecting/trimming any circling/damaged roots
- Place where maximum sunlight hits canopy each day OR install grow lights/timer
Months One–Three
- Water only when topsoil dries—but never bone-dry overall
7 . Begin monthly liquid feeding schedule appropriate for active phase
Months Four–Twelve
8 . Practice pinching soft tips vs heavy pruning as structure develops
9 . Monitor closely—with daily glance checks for pests/yellow leaves/droop
Year Two+
10 . Repot every other spring just before growth resumes
11 . Move outdoors seasonally if possible OR dial up indoor lighting/humidity during colder months
Remember: Document everything! Photos help identify subtle improvements AND pinpoint what caused setbacks later on.
Next-Level Moves — Growing With Your Experience
1. Experiment With New Varieties Or Grafting Techniques
Try pairing contrasting leaf shapes/fragrance profiles side-by-side—you’ll learn subtleties no book can teach just by observing how each responds differently through changing seasons.
2. Join Local Or Virtual Bonsai Groups
Feedback accelerates learning curve tenfold! Attend hands-on workshops whenever possible—you’ll see how other enthusiasts solve familiar problems differently.
3. Mentor Newcomers And Share Failures/Public Progress
Nothing cements knowledge like guiding someone else through their inevitable crises—including those “why won’t mine bloom?” moments we ALL struggle through initially!

4. Upgrade Lighting And Fertilizing Setups Over Time
As your skills sharpen invest incrementally—a second high-output LED turns one display into mini-orchard status come winter.
5. Embrace Setbacks As Data Points
Every lost leaf/tree/insect outbreak tells you something unique about microclimate/watering rhythm/nutrient balance worth jotting down—the best growers become expert troubleshooters precisely because they’ve failed forward repeatedly.
Final Word – Citrus Bonsai As Living Partnership
If there’s one secret I’d wish I’d understood sooner it’s this:
Citrus bonsai don’t reward rigid schedules—they respond best to thoughtful observation tailored over time, season by season, year after year.
Master growers aren’t those who avoid mistakes—they’re the ones who adapt fastest each time things go wrong…and who relish tiny milestones as much as big showpiece reveals.
So take pride whether coaxing your first perfume-laden blossom across chilly windowsill air—OR harvesting clusters of perfect golden mandarins five years down the road.
Bookmark this page as your ongoing reference—and remember:
Real mastery comes not from following instructions blindly…but from solving problems creatively, learning each tree’s quirks firsthand—and letting patience shape living art beyond anything packaged guides predict.
This comprehensive blueprint isn’t just about keeping trees alive—it’s about discovering how much satisfaction grows alongside them if you treat your citrus bonsai like evolving companions rather than static showpieces.
Here’s hoping your next blossom is even sweeter—and that whatever goes wrong along the way becomes tomorrow's wisdom shared forward.
Ready to dig in deeper? Your questions—or troubleshooting challenges—are welcome anytime…I’ve probably faced them myself already!


