Cold Stratification Seeds: A Clear Guide to Successful Germination

Cold Stratification Seeds Master Class: From Rookie Mistakes to Seed-Germination Black Belt
Growing plants from seed seems easy—until you’re left with tray after stubbornly dormant soil, no matter how perfect your watering or light. Here’s the truth: If you’re after perennial wildflowers, native grasses, or certain trees and shrubs, skipping cold stratification is the #1 reason those seeds won’t wake up.

When I started propagating tough natives for restoration work a decade ago, my first round was humbling: entire trays of milkweed and liatris stared blankly back at me in spring. That’s when I realized just following generic instructions wasn’t enough—I needed to understand not only what cold stratification is, but why specific methods make such a dramatic difference.
If you’re serious about success—whether filling your own wildflower meadow or helping restore lost habitats—this guide is built on real-world successes (and failures). It distills years of trial, error, and record-keeping into a practical master plan for every level. By the end, you’ll have the mindset (and toolbox) of a professional plant propagator.
Section 1: The Fundamentals—Why Cold Stratify?
What Actually Happens Inside the Seed?
Imagine a tiny milkweed or oak acorn. Hidden inside are chemical “brakes”—abscisic acid and similar compounds—that slam germination to a halt unless two triggers are present: cold and moisture. In nature, that means seeds wait out winter locked underground before waking to early spring warmth.
It’s anti-false-spring insurance, honed by evolution. Miss this step as a grower and seeds might sleep for months—or years—with no sign of life.
Seasoned professionals often say: “If I had a dollar for every time someone gave up on wildflowers that just needed chill…”
Do All Seeds Need It? (Nope—but…)
Easy veg (tomatoes/beans) hail from climates without hard winters—no dormancy brakes required. The critical zone includes:
- Temperate perennials (echinacea, lupines)
- Trees/shrubs from northern latitudes (oaks, dogwoods)
- Meadow wildflowers
- Native grasses
Quick litmus test: Did the parent plant drop seed in autumn? If yes—and it grows somewhere that frosts—you probably need stratification.
University databases like USDA Plants list specifics by species; commercial suppliers like Prairie Moon flag requirements per packet.
Section 2: Get Started Right—Your Foolproof First Run
I’ve seen so many failed germination attempts come down to two things: excess water or skipped labeling. Before we get fancy:
Supplies Checklist
- Fresh seed (Note: viability drops fast past 2 years for most wildflowers)
- Moisture medium (vermiculate hands-down beats paper towels for mold resistance; sand works if well-rinsed)
- 1-quart zip bags & labels
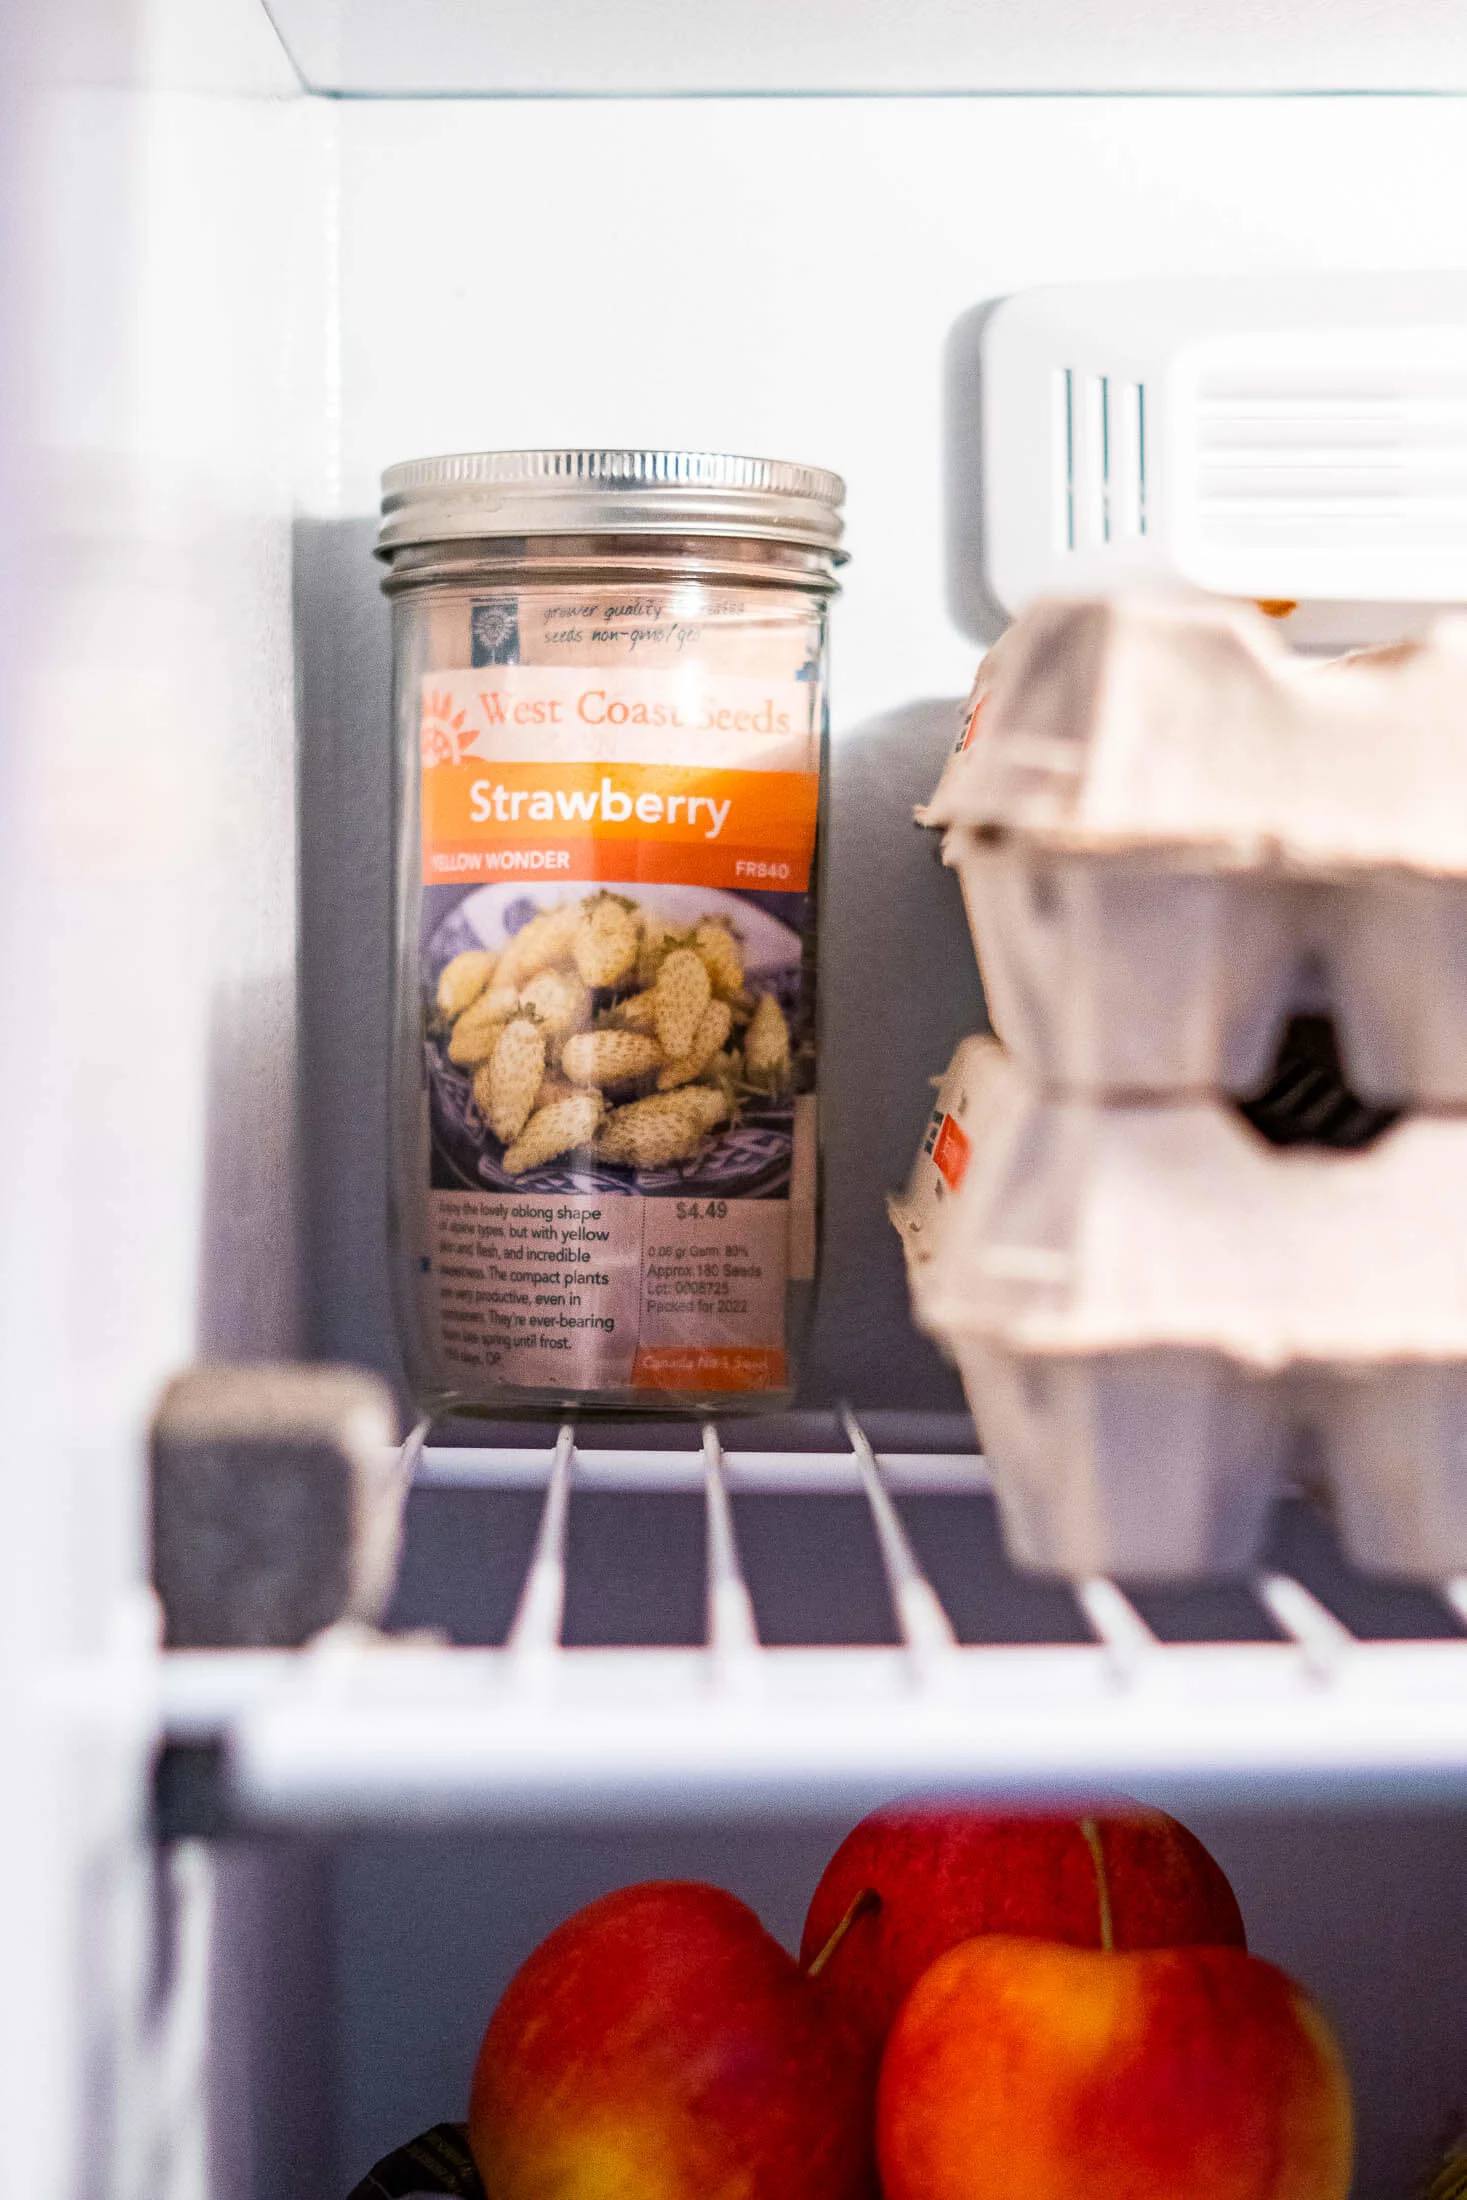
- Refrigerator space you can promise won't freeze
- A sharpie
- Notepad or digital tracker
Optional but pro-level: - Mini hygrometer thermometer (<$20)—saves guesswork in inconsistent fridges
Step-by-Step Walkthrough
1. Prep Seeds
Use only enough water so media feels like a wrung-out sponge—no pooling at the bottom! For large seeds (acorns/hickory), wrap individually in damp paper towel; small/fine seed mix into vermiculite/sand directly.
Failed attempt #1: My 2014 batch drowned in good intentions (“wetter = better!”). Every bag went fuzzy with mold week two—not one survived.
2. Bag & Label Meticulously
Species. Date started AND “plant by” date—even veteran growers screw this up after six batches pile up in January.
3. Chill Out
Slip sealed bags DEEP into fridge—not door shelf—and mark start on calendar AND phone reminder.
Target window:
Most native perennials = 30–60 days
Some woodlanders (bloodroot/trillium/paeonia) = up to 120 days and possibly warm-chill cycling (see Advanced below).
If uncertain: Give your batch six weeks as baseline—it’s correct for most North American hardy species.
Monitor biweekly: Look but don’t poke! Briefly open if condensation pools inside bag; swap any fuzzy media promptly.
4. Sow Immediately After Stratifying
Never let chilled seeds dry out between fridge & soil—timing matters more than people think!
Trays under lights for small-scale; direct outdoor bed sowing if prepping dozens/hundreds at once.
Section 3: Most Common Pitfalls And Expert Fixes
Over ten seasons of clinics with everyone from backyard enthusiasts to prairie scientists, five problems keep cropping up:
| Mistake | Symptom | Pro Solution |
|---|---|---|
| Soaked/waterlogged media | Mold blooms everywhere | Use barely-damp media |
| Fridge too warm/inconsistent | Zero sprouting | Digital thermometer; use wine fridge if necessary |
| Label confusion | Lost/mixed-up batches | Color code + record digitally |
| Insufficient duration | Spotty germination | Minimum viable times (+ test extension weeks on second half if results disappoint) |
| Ignoring double dormancy cues | No action post-stratify | Research genus-specific needs |
Dialogue from an actual call with restoration crew:
“...but we did exactly as the packet said.”
“Did you check internal fridge temp?”
“Uh… not exactly? Does that matter?”
End result: Additional digital sensor dropped batch failure rates from ~45% to nearly zero next season!
Section 4: Advanced Tactics & Pro-Level Experimentation
Here’s where expertise separates casual gardeners from consistent successes:
A) Outdoor/Natural Stratification (“Let Nature Work”)
For thousands-of-seed projects—or when fridge space runs low—the pro move is sowing right outdoors:
- Use deep trays/pots October through December
- Sow thick and cover lightly with soil/grit mulch (~0.25”)
- Haus hardware cloth firmly against squirrels/rodents—they can wipe out overnight!
- Set trays against north fence or shaded spot
Biggest influencing factor? Winter consistency and protection against critters—a crumb of peanut butter left nearby lured shrews away from my beds last year!
B) Double Dormancy/“Warm–Cool” Shuffle
For tricky woodlanders like peonies or trilliums:
- Mix fresh seed into moist vermiculite at room temp (65–70°F) for ~8–12 weeks.
- THEN shift to cold phase ~40°F another ~8–12 weeks.
- Keep tabs on timeline carefully—a lost label derailed one fraculosa experiment in ‘19 until I finally stuck everything onto Google Sheets!
C) Wild Sowing For Restoration Sites
Professionals often claim direct broadcast wins scale but yields variable results:
- Prep soil fall/early winter
- Scatter heavily and pray for regular snow/ice cycles (skip in zones where winters are unreliable)
Our land trust saw up to ~70% emergence vs <30% immediately sown in early-spring across two counties—but expect heavy attrition to weather/wildlife regardless!

Section 5: Tools That Actually Make Life Easier
Having tried almost every hack over the years:
Best Media For Scalability:
Vermiculite mixes easily/reduces rot risk big-time; costs ~$10/bag good for several hundred batches versus $25+ mini commercial kits offering minimal improvement.
Must-have data tools:
Accurate digital thermometer (<$20): Reveals daily temp swings—even standard home fridges can drift above ideal by afternoon!
Custom logging spreadsheet or free apps like Gardenize hold batch notes/pics/results so nothing falls through cracks year-to-year.
Recommended go-to resource cheat sheet:
- Prairie Moon Nursery Germinator Chart
- Your state’s department of natural resources has local lists almost always more precise than generic internet advice.
Section 6: Fixing Problems Fast—Rescue Protocols You’ll Actually Use
Mold In Bags: Dump affected portion ASAP; rinse survivors gently with diluted hydrogen peroxide mix if precious species involved; re-bag with new media and check sooner next round.
Seeds Swell But Don’t Sprout Afterward: Could be incomplete chill OR species needs alternating warm/cool cycles (“double dormancy”). Add another two weeks chilling OR retry warm-moist first phase depending on type—the distinction tripped me up countless times before charting by species became second nature!
Total Flop Across Whole Batch: Old/dead seed stock possible—next time run cut-test (slightly nick edge with scalpel) OR try float test prior to investing all effort/time into stratifying duds.
Section 7: True Stories From The Trenches
Nothing teaches like real cases:
Milkweed Turnaround Story
My own first Asclepias project tanked (“I’m missing something basic…”). Rereading multiple university guides revealed quick four-week vermiculite stratification as gold standard vs failed towel method earlier used... Next round turned >90% sprout rate—all it took was medium swap plus religious moisture control check-ins!
Restoration Scale Success
Partnered with state preserve staff targeting thousands of Echinacea starts using mesh-covered flats outdoors November-February—with triple-layer hardware cloth over top edge kept voles out where others lost entire efforts overnight.
Peony Double-Dormancy Headache
In one workshop session our group forgot staggered labeling between phases—everyone ended up mixing warm/cold cycles lengthwise…well worth creating template tracking forms now distributed every training since!
Section 8: Your Personal Game Plan For Mastery
To consistently get top-tier results:
- Always research exact dormancy cues per genus/species—not all temps/timelines are equal!
- Choose scalable medium/method balancing risk vs labor/fridge space.
- Label everything in triplicate until repeat success carves memory neural pathways.
- Maintain obsessive records—even partial failures teach more than generic blog walkthroughs ever will.
- Double-method backup batches each run whenever possible—you’ll thank yourself come spring.
- Share findings locally via classes/socials—it reinforces skill AND grows community knowledge base exponentially.
Real talk—from hundreds of learners helped over ten years, those who commit notebook pages or shared Google Sheets see compounded success each year and fix problems faster after flops.
Consistency Through Iteration = True Expertise
Every single experienced grower loses trays occasionally—to weather spikes, power outages knocking fridges offline unnoticed for three days(!), surprise mold epidemics, even mislabeled dates during busy transplant season…
The difference between frustrated beginner and confident master isn’t fewer failures—it’s systematic iteration + unbreakable habit tracking what worked…and just as important, what bombed spectacularly along the way.
Final Word
Cold stratification isn't just about chilling seeds—it’s about building a deep-rooted system tailored precisely to your goals/climate/equipment/year-to-year anomalies instead of hoping universal directions fit your world perfectly.
Next autumn when new packets arrive—or those precious locally collected pods beckon—you’ll approach them not as cryptic mysteries but as solvable challenges backed by battle-tested solutions.
Tape this workflow above your potting bench—and remember that mastery here isn’t about luck…it’s deliberate troubleshooting plus reflective tweaks each season.
Bookmark this guide—and when questions hit midwinter (“Wait…did I start these liatris too late?”), know you’re working alongside decades’ worth of collective trial-and-error turned reliable process!
Got your own twist? Questions on rare double-dormant natives? Drop a note—I log experiments year-round and troubleshooting together always pushes everyone further!
Here’s to waking even the sleepiest seeds—for restorations grand or humble backyard beds alike!


