Master the Art of Growing Dipladenia: Your Ultimate Success Guide!
Dipladenia Demystified: The Problem-Solver’s Insider Guide After a Decade of Hands-On Experience
Some plants just settle for getting by. Dipladenia, when you crack its code, turns into the star of any space—overflowing with blooms while barely breaking a sweat. I’ve spent over ten years wrangling these tropical powerhouses through heatwaves, cold snaps, and every pest in the book—and learned (sometimes the hard way) what truly moves the needle.
This isn’t another regurgitated summary or “copy-paste” care sheet. Instead, consider this your no-nonsense field manual—packed with lived-in strategies, real-world fixes, and hard-won lessons so you can skip years of trial and error.
Table of Contents
- Dipladenia Exposed: What Garden Center Labels Don’t Tell You
- The Non-Negotiables: Setting Yourself Up for Success
- First-Timer’s Blueprint (What I Wish I Knew Starting Out)
- Dipladenia “Failure Files”: Mistakes Made & Lessons Learned
- Power Moves: Secrets for Showstopping Blooms
- Tools That Actually Make a Difference
- Real-Life Stories From My Own Balcony & Clients’ Gardens
- Rapid Response: The Troubleshooting Playbook
- Your 8-Step Action Plan for Dipladenia Mastery
- Next-Level Moves: Continuous Improvement & Community Wisdom
1. Dipladenia Exposed: What Garden Center Labels Don’t Tell You
Here’s what stumped me on day one: Dipladenia isn’t some watered-down Mandevilla cousin—it’s a breed apart in attitude and performance.
Essential Truths:
- Name confusion? Absolutely justified.
- Most “Dipladenias” are now technically Mandevilla sanderi hybrids.
- In practice: treat them as bushier, less grabby siblings to true Mandevillas.
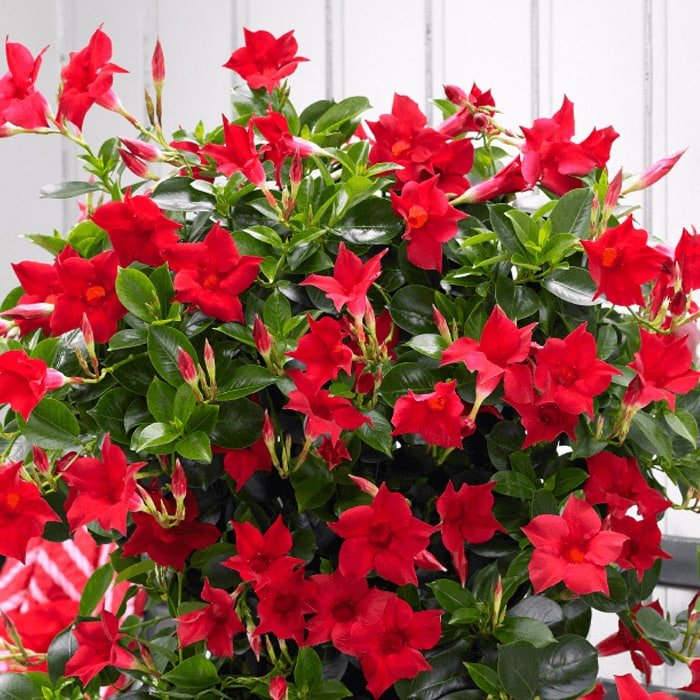
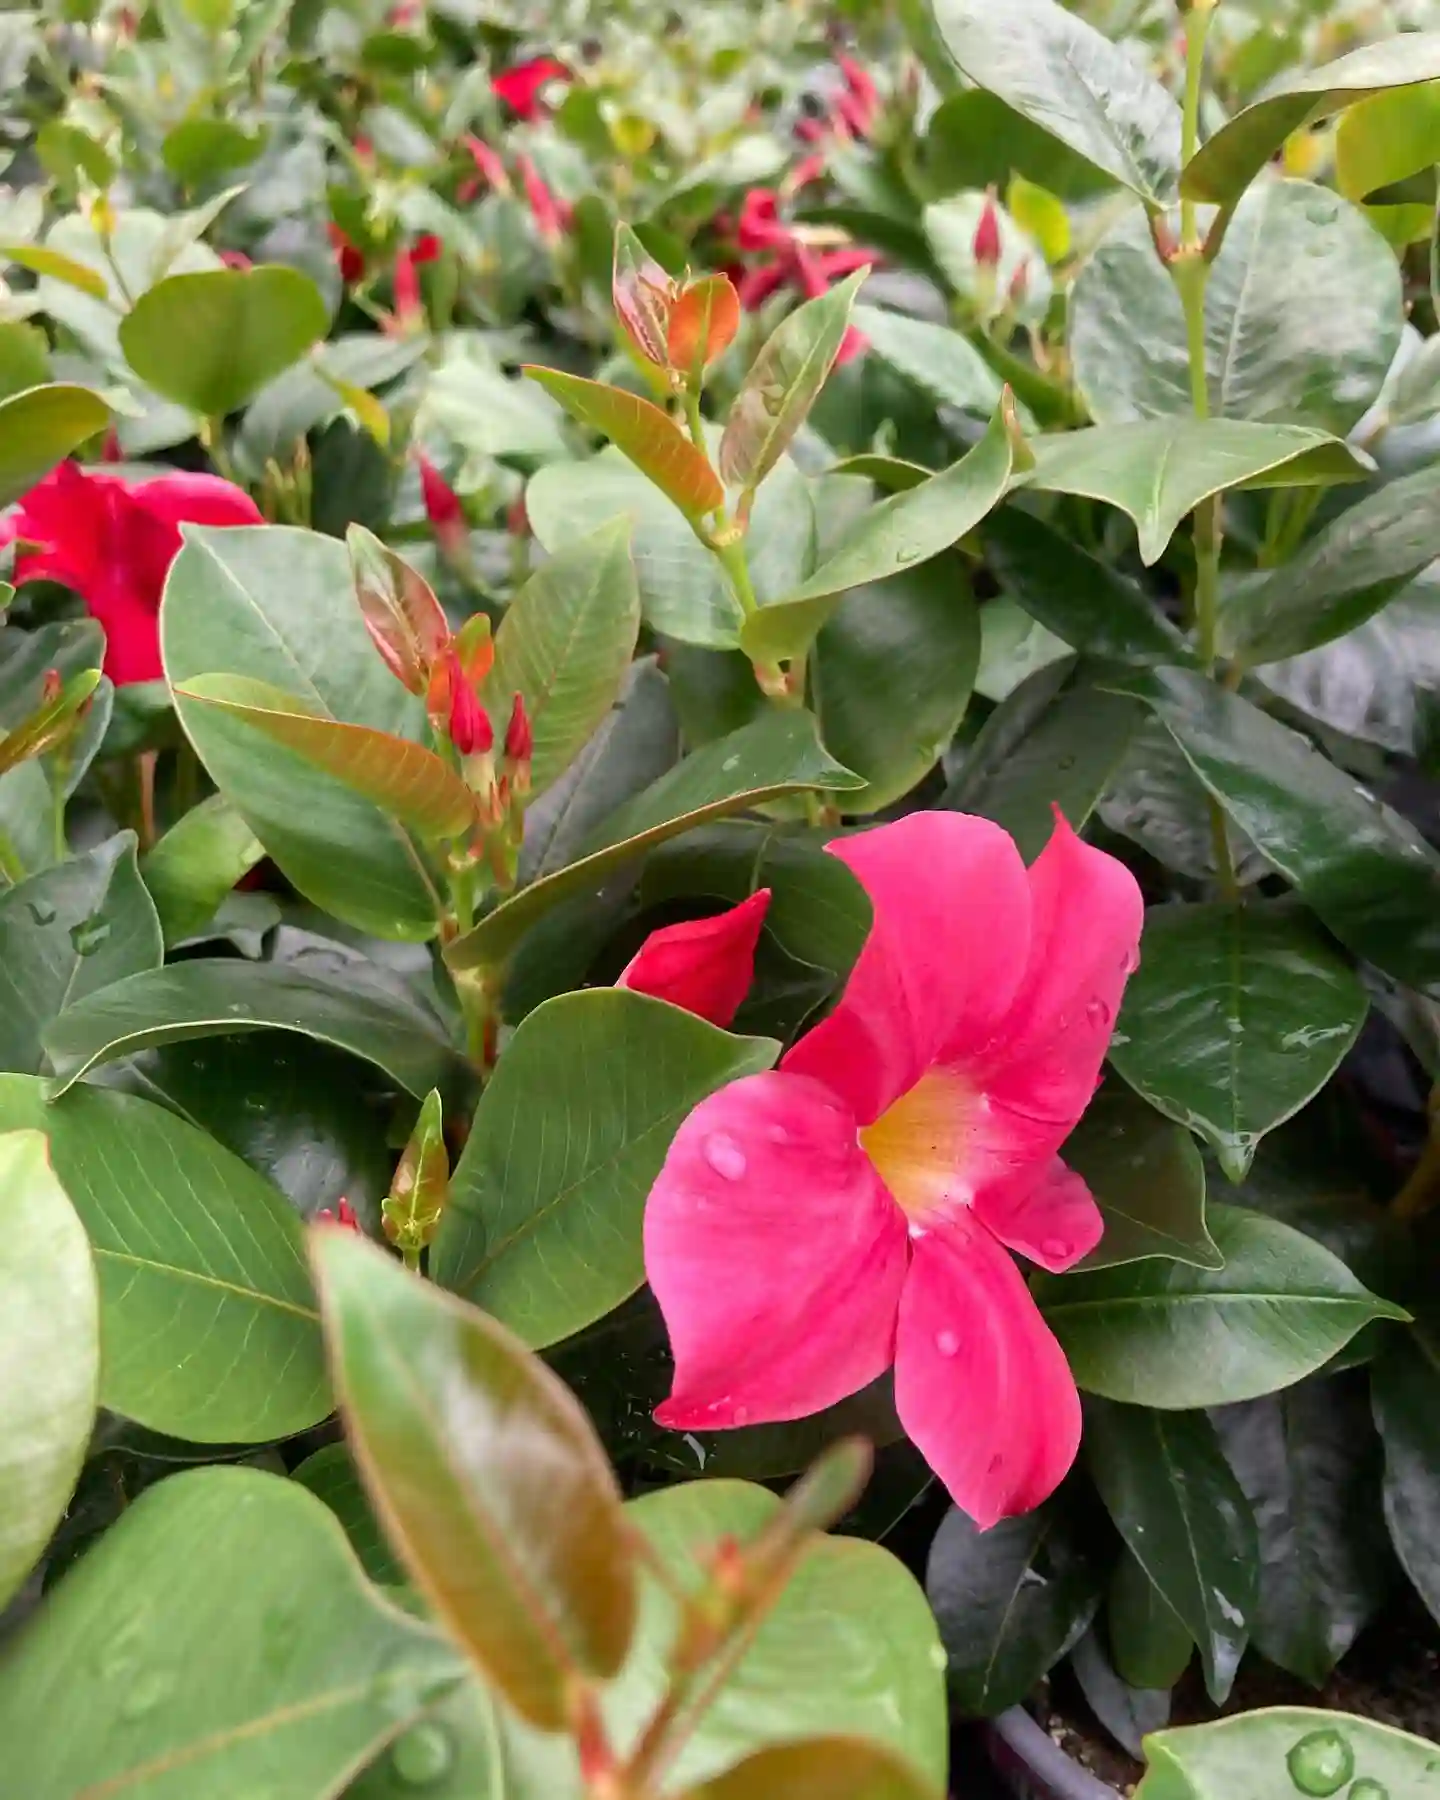
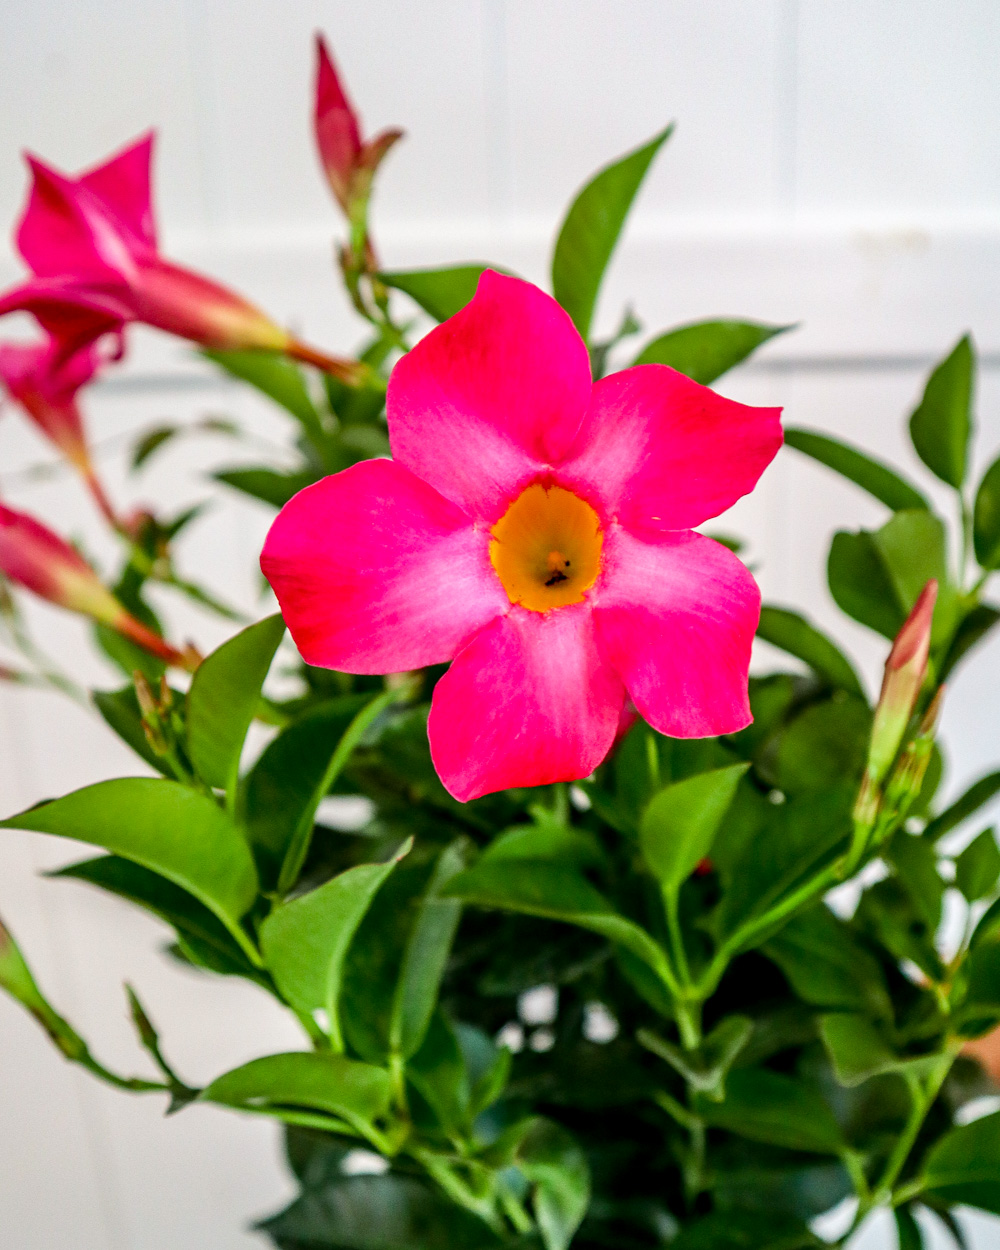
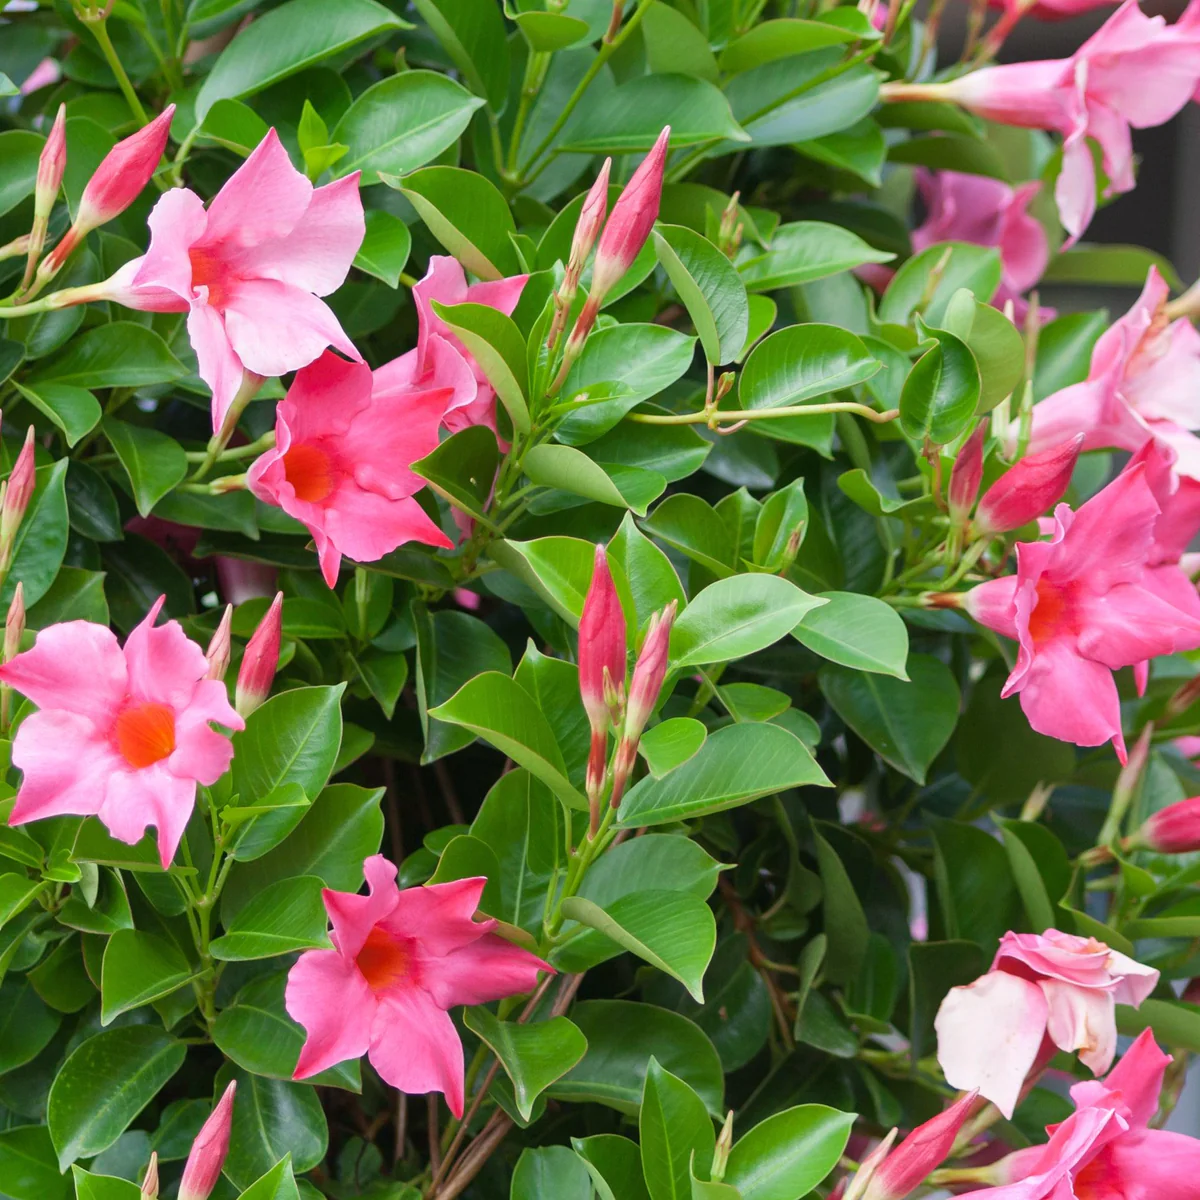
- Visual test: Glossy, pointed leaves that almost squeak if you rub them between your fingers; flowers shaped like trumpets from a New Orleans jazz parade.
- Growth style: Unlike their vine-crazed relatives, they mound up gracefully and spill, rather than smother trellises.
Insider note: If you want a wall-covering vine—go Mandevilla; for containers/balcony boxes or controlled accents—pick Dipladenia.
2. The Non-Negotiables: Setting Yourself Up for Success
After dozens of failed starts (including one memorable summer where my balcony looked like it had been hit by yellow leaf confetti), these are the rules I never break:
Light
If you’re aiming for maximum flowers? Treat sun as non-negotiable currency.
- Absolute minimum is 5–6 hours direct; anything less and you’ll get leggy stems and sparse blooms.
- Indoors: southern exposure only ever worked if I supplemented with LED grow lights (I use Sansi daylight bulbs).
Soil
Skip “garden dirt”—it cakes up fast in pots.
- My best results always came from mixing equal parts Miracle-Gro potting mix + coarse perlite + a handful of pine bark chips.
- pH sweet spot? Between 6–7 (test kits cost $10 at hardware stores).
- Drainage trumps fertility—roots rot before they starve.
Watering
This is where most people fail—even experienced gardeners!
- Dial it in: Only water when top inch feels dry to your touch (poke with finger).
- In July heat waves? Sometimes every other day outdoors.
- Winter dormancy indoors? Once every 7–10 days max; my first winter nearly killed mine by sticking to summer habits.
Feeding
Monthly is good—but biweekly bloom booster feedings during heavy flowering made all the difference in side-by-side tests on my own plants last year.
- Best results here came from Jack’s Classic Blossom Booster (10–30–20) diluted at half strength every two weeks once buds started showing.
Temperature/Humidity
My plants would limp along at 60°F but never thrive below 65°F—even near drafty windows inside.
- Humidity hack: Place the container atop a pebble-filled tray with water just under pot base during winter heating season (cost me $3 to set up).
Pruning
After losing half my plant to an overly ambitious April haircut in year two, I now only prune lightly after each flush of flowers—never before those first spring buds appear!
| Must-Have Condition | Why It Matters | My Hard-learned Lesson |
|---|---|---|
| Full sun | Directly drives blooming | Plants sulked in part shade |
| Fast drainage | Prevents root rot | Clay-heavy soil ruined roots |
| Careful watering | Avoids yellow leaves/root death | Overwatering = instant regret |
| Regular feeding | Sustains energy for repeat flowering | Monthly = okay; biweekly = wow |
| No cold drafts | Prevents leaf drop/stress | Single frost wiped out plant |
3. First-Timer’s Blueprint (What I Wish I Knew Starting Out)
I still remember my rookie mistake—a $40 Dipladenia left baking on concrete without checking drainage holes (“It loves sun!” said the label). Within days it was wilting from cooked roots.
Let’s skip that learning curve:
Step One: Pick Your Spot Wisely
Outdoors: Sheltered area facing south or west gets best results; east-facing gave me fewer blooms but longer flower lifespan during brutal heatwaves.
Indoors: South-facing window plus supplemental light if winter sun dips below four hours/day.
Step Two: Prep Your Pot/Bed
Choose containers at least 12" deep—shallow pots dry out too fast and stunt growth.
- Drill extra holes if needed (I do this on all plastic pots now).
- Layer bottom inch with chunky bark or pebbles—not gravel!—for airflow.
Step Three: Plant With Finesse
Gently tease roots loose before planting—don’t leave them circling like spaghetti coils!
Add fertilizer granules before backfilling only if using slow-release formula; otherwise wait three weeks after transplanting to start liquid feeds.
Step Four: Early Routine
Check soil moisture daily but resist urge to water on schedule—inconsistent drying is healthier than constant dampness.
Deadhead faded flowers weekly without yanking entire stems (pinch just behind bloom).
Bonus Move: Add a small obelisk/trellis even if not strictly needed—the option helps train stray shoots and ups visual impact instantly!
4. Dipladenia “Failure Files”: Mistakes Made & Lessons Learned
Overwatering was my nemesis for years until I finally invested $12 in a basic moisture meter—a gamechanger for those “does it feel dry?” debates with myself each morning.
Here are classic pitfalls from both my garden and clients’ landscapes:
Yellow Leaves Galore
Usually traced back to soggy roots or clogged drainage holes hidden beneath saucers filled after rainstorms or heavy watering sprees.
Fix: Elevate pots on feet or bricks so excess water escapes freely!
No Blooms Despite Lush Growth
Every time this happened it was light-related—or because I skimped on feedings mid-summer thinking early-season fertilizer would last forever (it won’t). Moving containers even three feet closer to full sun triggered new buds within two weeks!
Winter Survival Gone Wrong
My first attempt leaving pots outside under fleece blankets was disastrous—they don’t tolerate even mild frosts! Now all containers come indoors by late September regardless of forecasts; better safe than sorry at $35+ per plant investment.
Pest Invasions After Moving Indoors
Spider mites thrive in dry indoor air—I lost two plants before realizing weekly shower sprays + neem oil misting stopped outbreaks cold.
Tip: Wipe leaves top/bottom after moving inside/outside each fall/spring season change as insurance against hitchhikers!
5. Power Moves: Secrets for Showstopping Blooms
If you want results beyond average, layer these advanced tactics:
Double Down On Feeding Cycles
Switch to high-phosphorus formulas mid-June through August and alternate between liquid feedings and slow-release pellets tucked into soil surface—that combo fed both roots and immediate needs better than either alone.
Pinch To Multiply Flower Sites
Start pinching back stem tips as soon as growth kicks off in early spring—not just post-bloom pruning! Every pinch triggers branching…and more branches mean more blooms later.
Root Cuttings Like A Pro
My highest success rate (~85%) came from softwood cuttings taken around June:
- Dip cut end in Clonex rooting gel,
- Insert into moist sand-perlite mix,
- Cover loosely with clear ziplock bag propped by chopsticks,
- Open daily for ten minutes’ fresh air,
- Transplant once roots visibly poke out after about three weeks.
Note: Skipping rooting hormone dropped success rates below 50%.
Coffee Grounds As Secret Weapon
Sprinkling used coffee grounds lightly onto soil twice monthly improved foliage color—but too much turned mixes sludgy fast (limit to one tablespoon per pot).
6. Tools That Actually Make a Difference
Forget gadget overload—you only need tools that pay back immediately:
- Moisture Meter: Prevents guesswork ($10–$15 Amazon/garden store).
- Precision Snips: Felco #6 pruners have lasted me five seasons ($30 investment worth every penny).
- Long-Spout Watering Can: Allows precise soil-level watering under dense foliage ($12 Home Depot special).
- Neem Oil Concentrate: Lasts ages vs pre-mixed sprays ($15 quart does dozens of applications).
- Jack’s Classic Bloom Booster Fertilizer: High-phosphorus formula reliably triggers repeat blooms ($18/lb lasts several seasons).
Skip: Cheap tiny trowels that bend under pressure… buy once, cry once!
Where To Source Quality Plants Online:
I’ve had flawless deliveries from Logee's Greenhouse and White Flower Farm—but always ask about current stock conditions before ordering during shoulder seasons when shipping delays can harm tropicals.
Go-to Visual Inspiration:
The Houzz container gardening forum has saved more than one project mid-season thanks to crowdsourced photos/advice.
Further Reading For Deep Dives:
Royal Horticultural Society’s Mandevilla care guides filter botanical myth from fact like nowhere else online.
7. Real-Life Stories From My Own Balcony & Clients’ Gardens
Nothing beats learning straight from lived experience:
Brooklyn Balcony Rescue
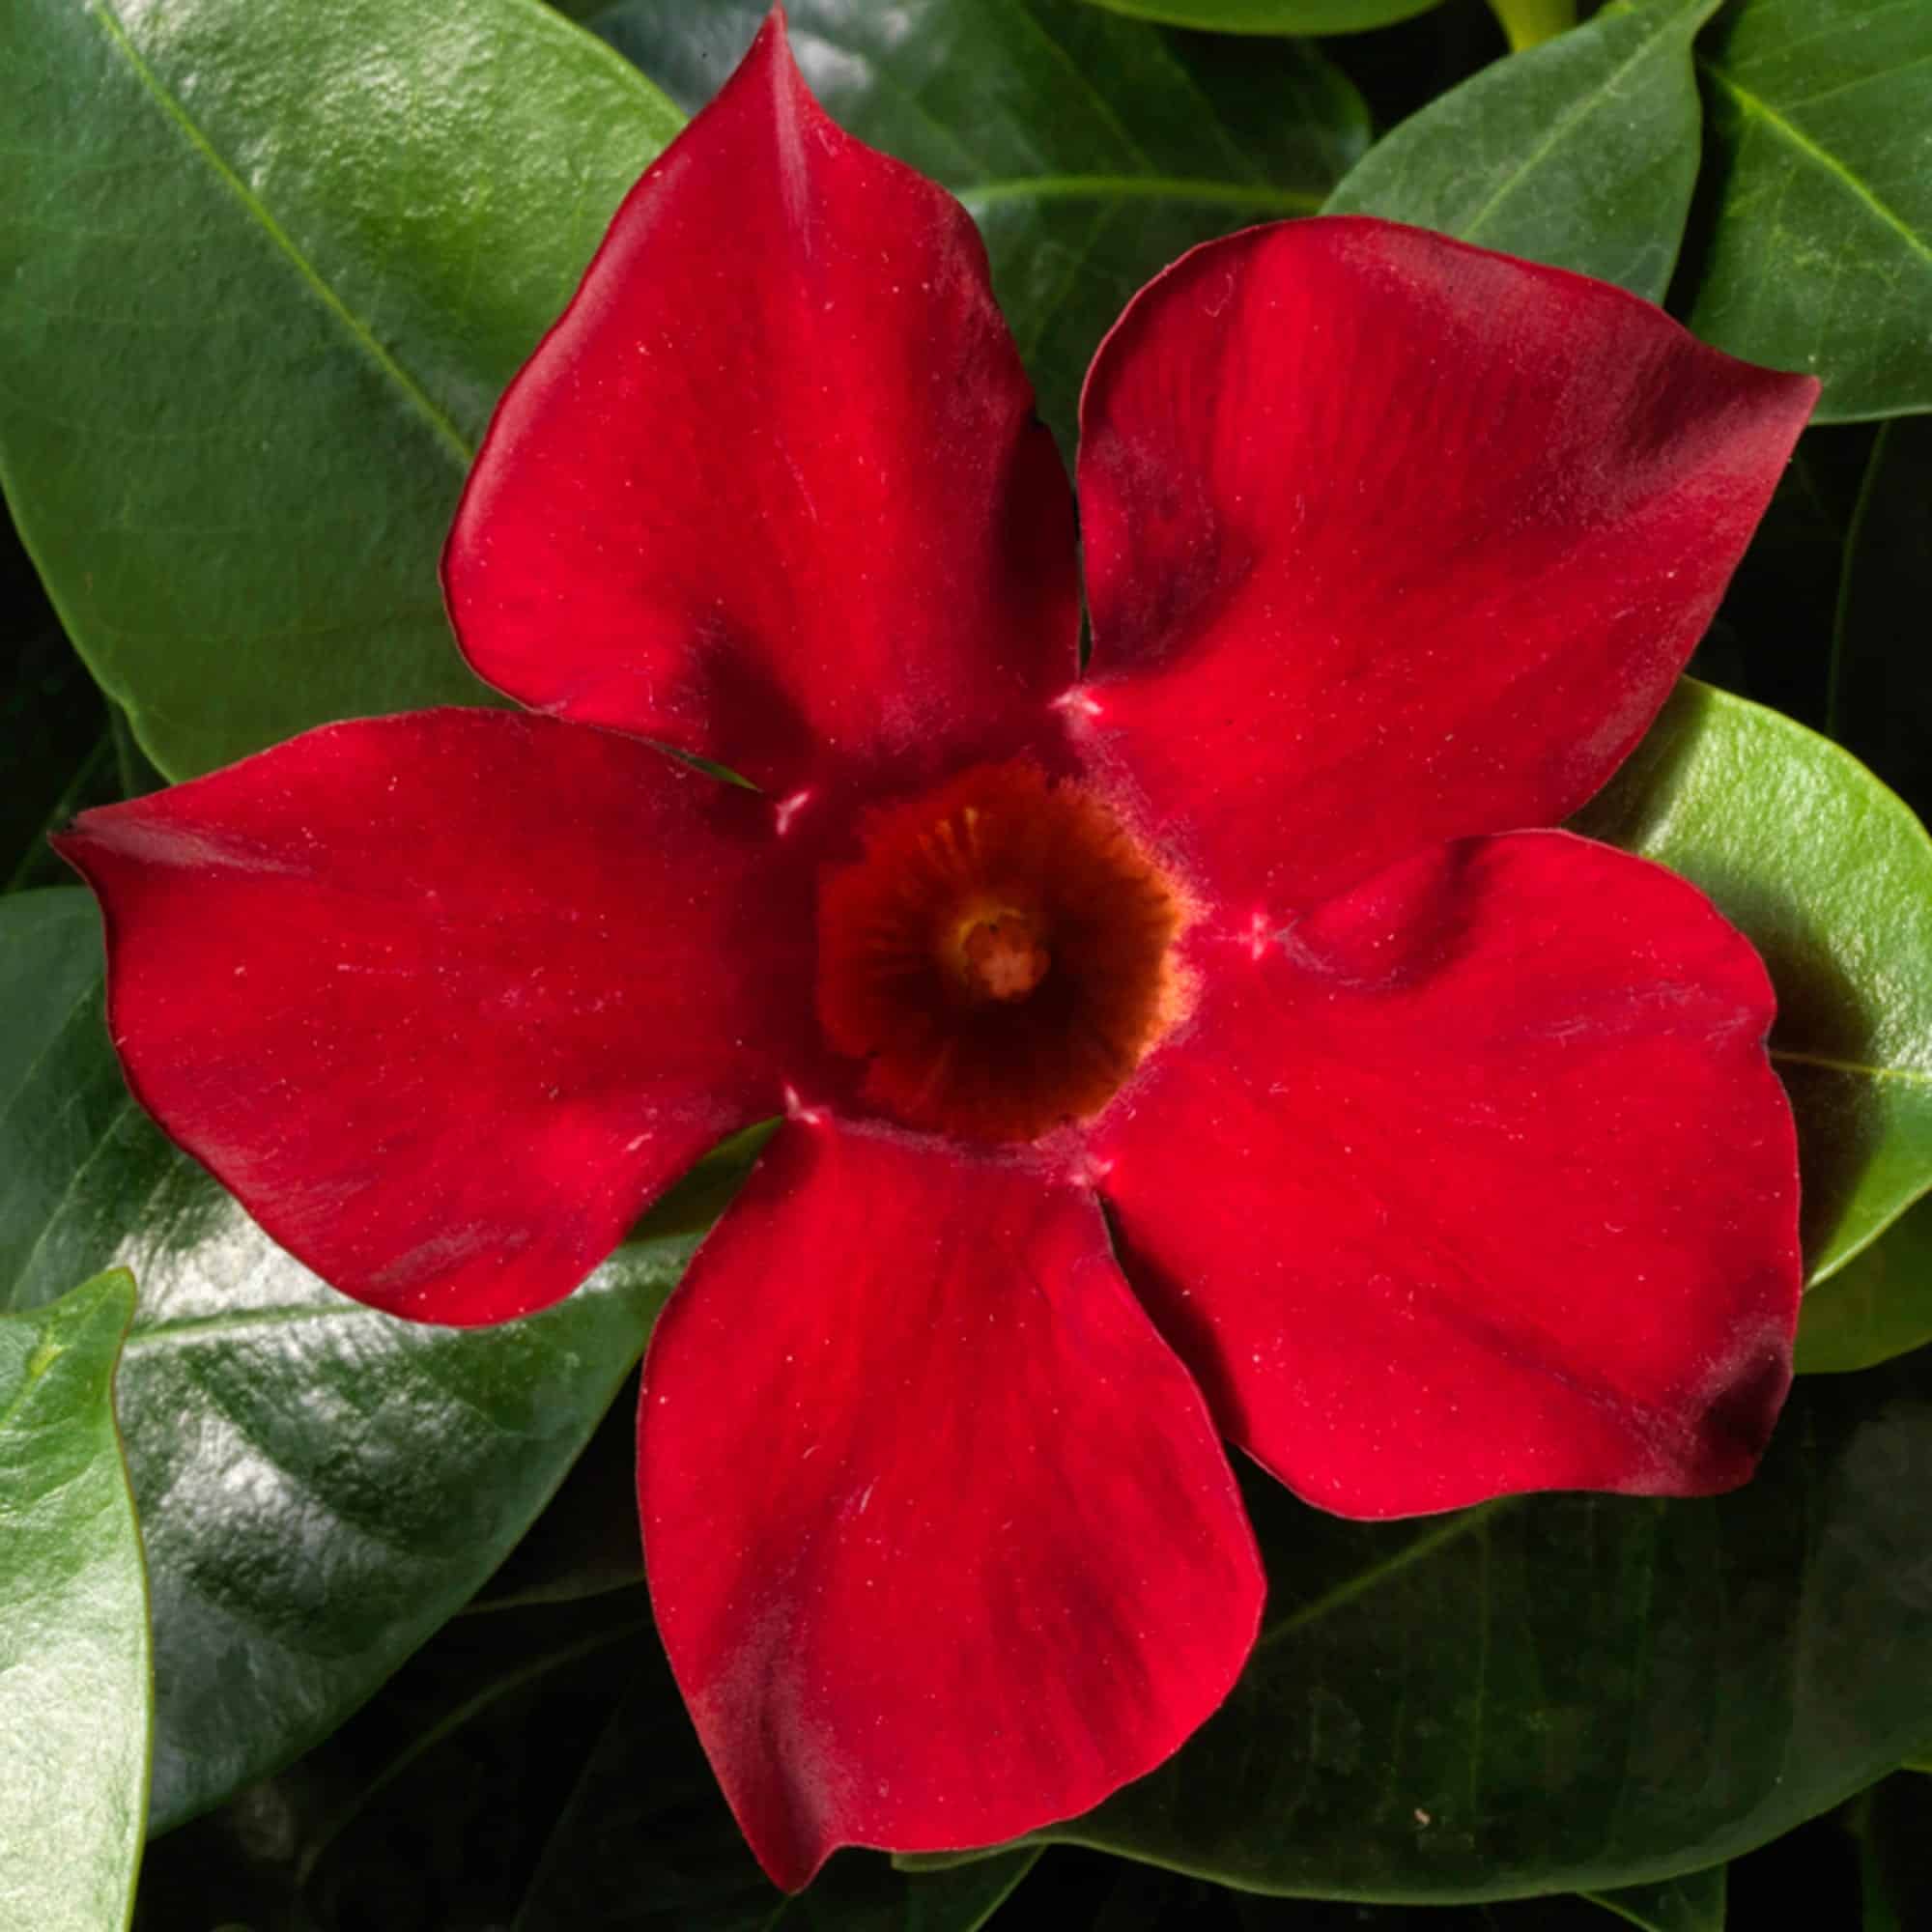
One client left her ‘Rio Deep Red’ dipladenias unprotected when city scaffolding blocked direct sun—the result was months without a single flower despite healthy leaves!
Solution: We moved planters six feet across wooden decking into pure afternoon sunlight—and within three weeks saw dozens of new blooms form almost overnight thanks to increased exposure plus an extra shot of Jack’s Blossom Booster mixed at half-strength every ten days through August heat spells.
Chicago Winter Comeback
In December ‘21, I inherited three frostbitten dipladenias abandoned by neighbors moving out mid-blizzard—leaves wilted black overnight!
Key recovery steps:
- Immediate trim-back of all mushy/frozen stems;
- Shift next to radiator-proximate window shielded by sheer curtain;
- Weekly spritzes with warm tap water kept humidity up;
- By March they sent out healthy green shoots ready for May replant outdoors.
Suburban Espalier Experiment
A client wanted lush color along her backyard fence but hated aggressive climbers taking over lawn edges each summer…
We set up horizontal wires spaced eight inches apart against south-facing brick wall;
Pinched new shoots weekly starting late May;
Result? Dense wall-hugging tapestry effect without rampant tangles—and neighbors asking what magical plant delivered such steady color through fall!
8. Rapid Response: The Troubleshooting Playbook
When disaster strikes—or signals start appearing—here are my go-to moves based on pattern recognition over hundreds of plants:
| Symptom | Likely Cause | Fix-It Solution |
|---|---|---|
| Dropping/yellow leaves | Overwatering/poor drainage | Let dry thoroughly; check pot holes |
| Bud drop/no flowers | Not enough light OR erratic water | Relocate/Maintain steady moisture |
| Sticky residue | Aphids/mealybugs | Wipe leaves + apply neem oil spray |
| Wilting/crispy tips | Low humidity/underwatering | Increase air moisture/add pebble tray |
| Fungal leaf spots | Stagnant air/crowding | Thin stems/prune dead wood promptly |
Root rot tip-off: Unpleasant odor at base during repotting means it’s time to trim away ALL dark/mushy material ASAP then repot using fresh dry mix—don’t delay hoping things will turn around!
9. Your 8-Step Action Plan for Dipladenia Mastery
Let’s make this actionable—from Day One:
- Audit your current light situation today — move containers or beds if needed!
- Repot if rootbound or poor-draining, using perlite-rich mix and larger container as needed.
- Set calendar reminders every two weeks during growing season (“Fertilize!”).
- Pinch/prune regularly, focusing on shaping after each major flush rather than annual hack-backs.
- Install pebble trays/humidifiers indoors November-March, especially near radiators or forced-air vents.
- Check under leaves weekly April–October, wiping down whenever pests show up—not just spraying reactively!
7 . Try propagation at least once next June, keeping notes on which methods yield highest take rates for you personally.
8 . Photograph progress monthly, building your own reference library so future years go smoother still.
10. Next-Level Moves: Continuous Improvement & Community Wisdom
Every season brings new surprises—from record-breaking rains drenching patios (in which case add extra perlite) to sudden pest invasions (move affected plants far apart immediately!). Tracking what works and sharing insights makes everyone better—including me!
Here’s how pros stay ahead:
- Keep short garden journal entries (“Fed on July 5th / moved to sunnier spot July 14th / best blooms ever late August”).
- Lean into local gardening groups online—the regional nuance often trumps generic advice found elsewhere.
- Embrace mistakes—each failed attempt tightens your playbook for future seasons.
Above all else: enjoy the ride! When friends marvel at your overflowing pots next year, you’ll know firsthand that spectacular results don’t come down to luck—they’re built step-by-step using wisdom earned from weathering both wins and flops.
Bookmark this guide—you’ll find something new each season as conditions change, pests evolve, and your own skillset grows.
Welcome aboard Team Dipladenia—you’re equipped not just to keep yours alive…but make it unforgettable.


