How a Floating Plant Shelf Solved My Space Woes and Boosted Greenery
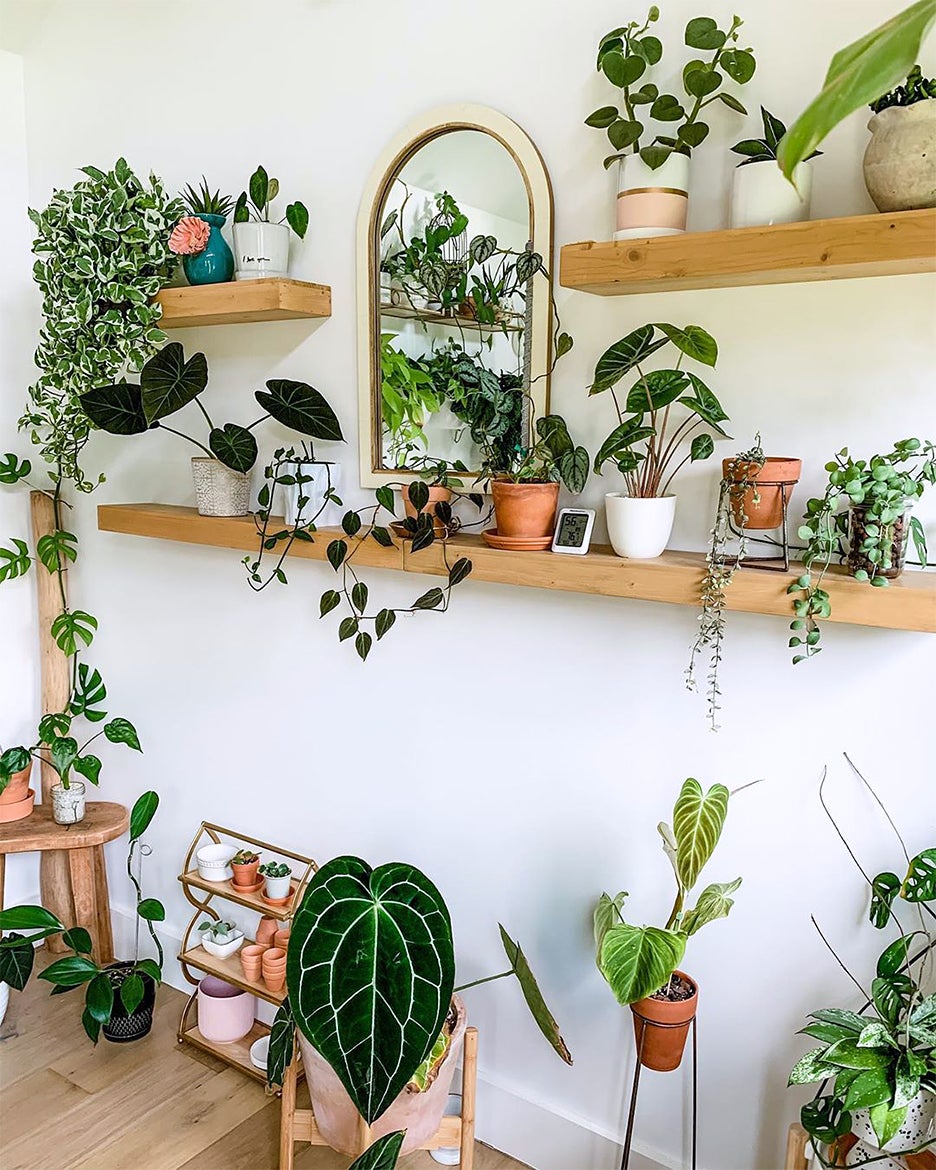
Let me tell you about the first time I tried to put up a floating plant shelf. It was a Saturday in late April—rain pattering the window, a half-finished cup of coffee cooling on the table—and I had visions of lush pothos trailing from above my reading chair. Instagram-worthy style, but on a shoestring budget and with my two left thumbs.

I made the mistake of following one of those elaborate DIY guides written by a self-proclaimed “interior architecture specialist.” Twenty steps in and four trips to the hardware store later, my wall looked like it had been hit by buckshot, and my shelf tilted like the Leaning Tower of Pisa under a single spider plant.
Eventually, I threw out all that expert overcomplication and asked myself: what’s actually essential here? The answer turned out to be surprisingly simple—and much kinder to both my walls and my nerves.
Skip the Tricks—Just Choose Sturdy & Simple
Forget highfalutin terminology or specialty mounting systems that cost more than your plants. Here’s what matters:
- Material: I once used an MDF shelf because it was cheap—big mistake! Even one spilled watering can warped it beyond repair. Now, I stick with solid pine or oak (pre-cut at big box stores for $12–20) or metal if I want something truly indestructible.
- Shelf Depth: Don’t overthink measurements. Most standard nursery pots fit beautifully on anything 7–8 inches deep; any less and you’ll have plant pots teetering dangerously close to disaster.
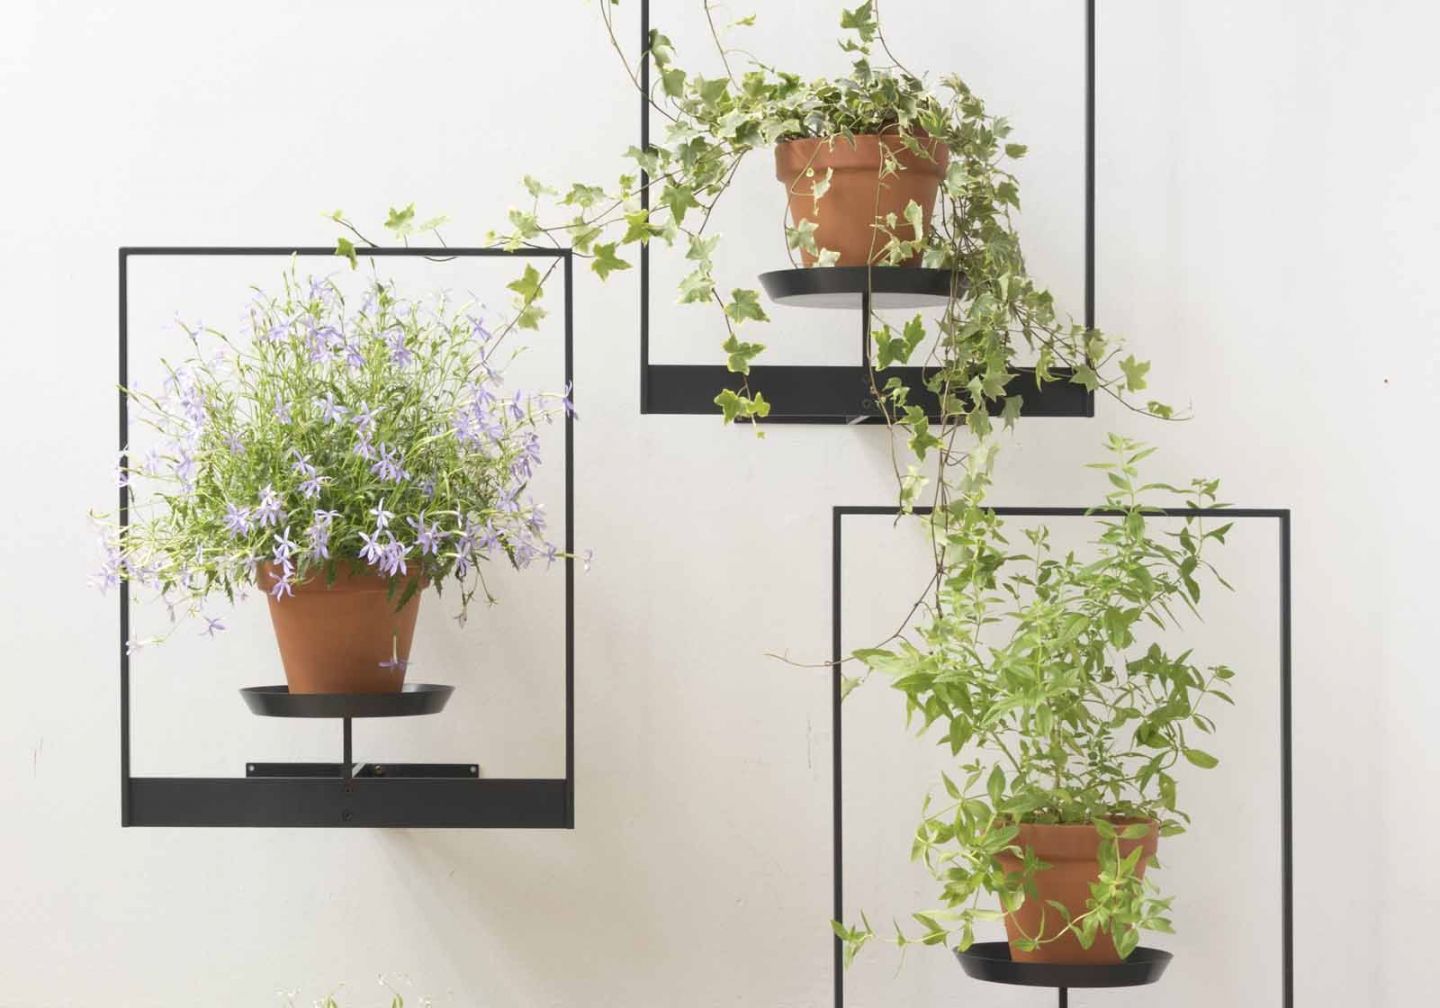
- Brackets: The “floating” part just means brackets are hidden inside. Heavy-duty steel rods (look for kits rated 25 lbs each) work wonders for peace of mind.
- Finish: Polyurethane is your friend. Two coats before you hang anything makes wood nearly spill-proof.
That’s literally it. Your shelf doesn’t need an engineering degree—it just needs not to bow when your cat jumps up there.
Make Friends With Studs (and Wall Anchors)
Here’s where most people trip up—and where every expert seems to get lost in jargon about shear force and torque ratios.
Let me put it plainly: Use a $15 stud finder from any hardware store and anchor at least one bracket into solid wood behind your drywall. No studs nearby? Toggle bolts are cheap insurance (about $5 for four). Just make sure they’re rated above your total load—my lesson came after that first crash landing when I underestimated the weight of wet soil (it gets heavy fast!).
My trick: Weigh each potted plant with a bathroom scale before deciding how many supports you really need.
Moisture Is Sneakier Than You Think
Water damage is so common that, years ago, I started keeping spare stain markers next to my watering can—not kidding! Want to skip headaches?
- Brush on clear polyurethane—even under the shelf.
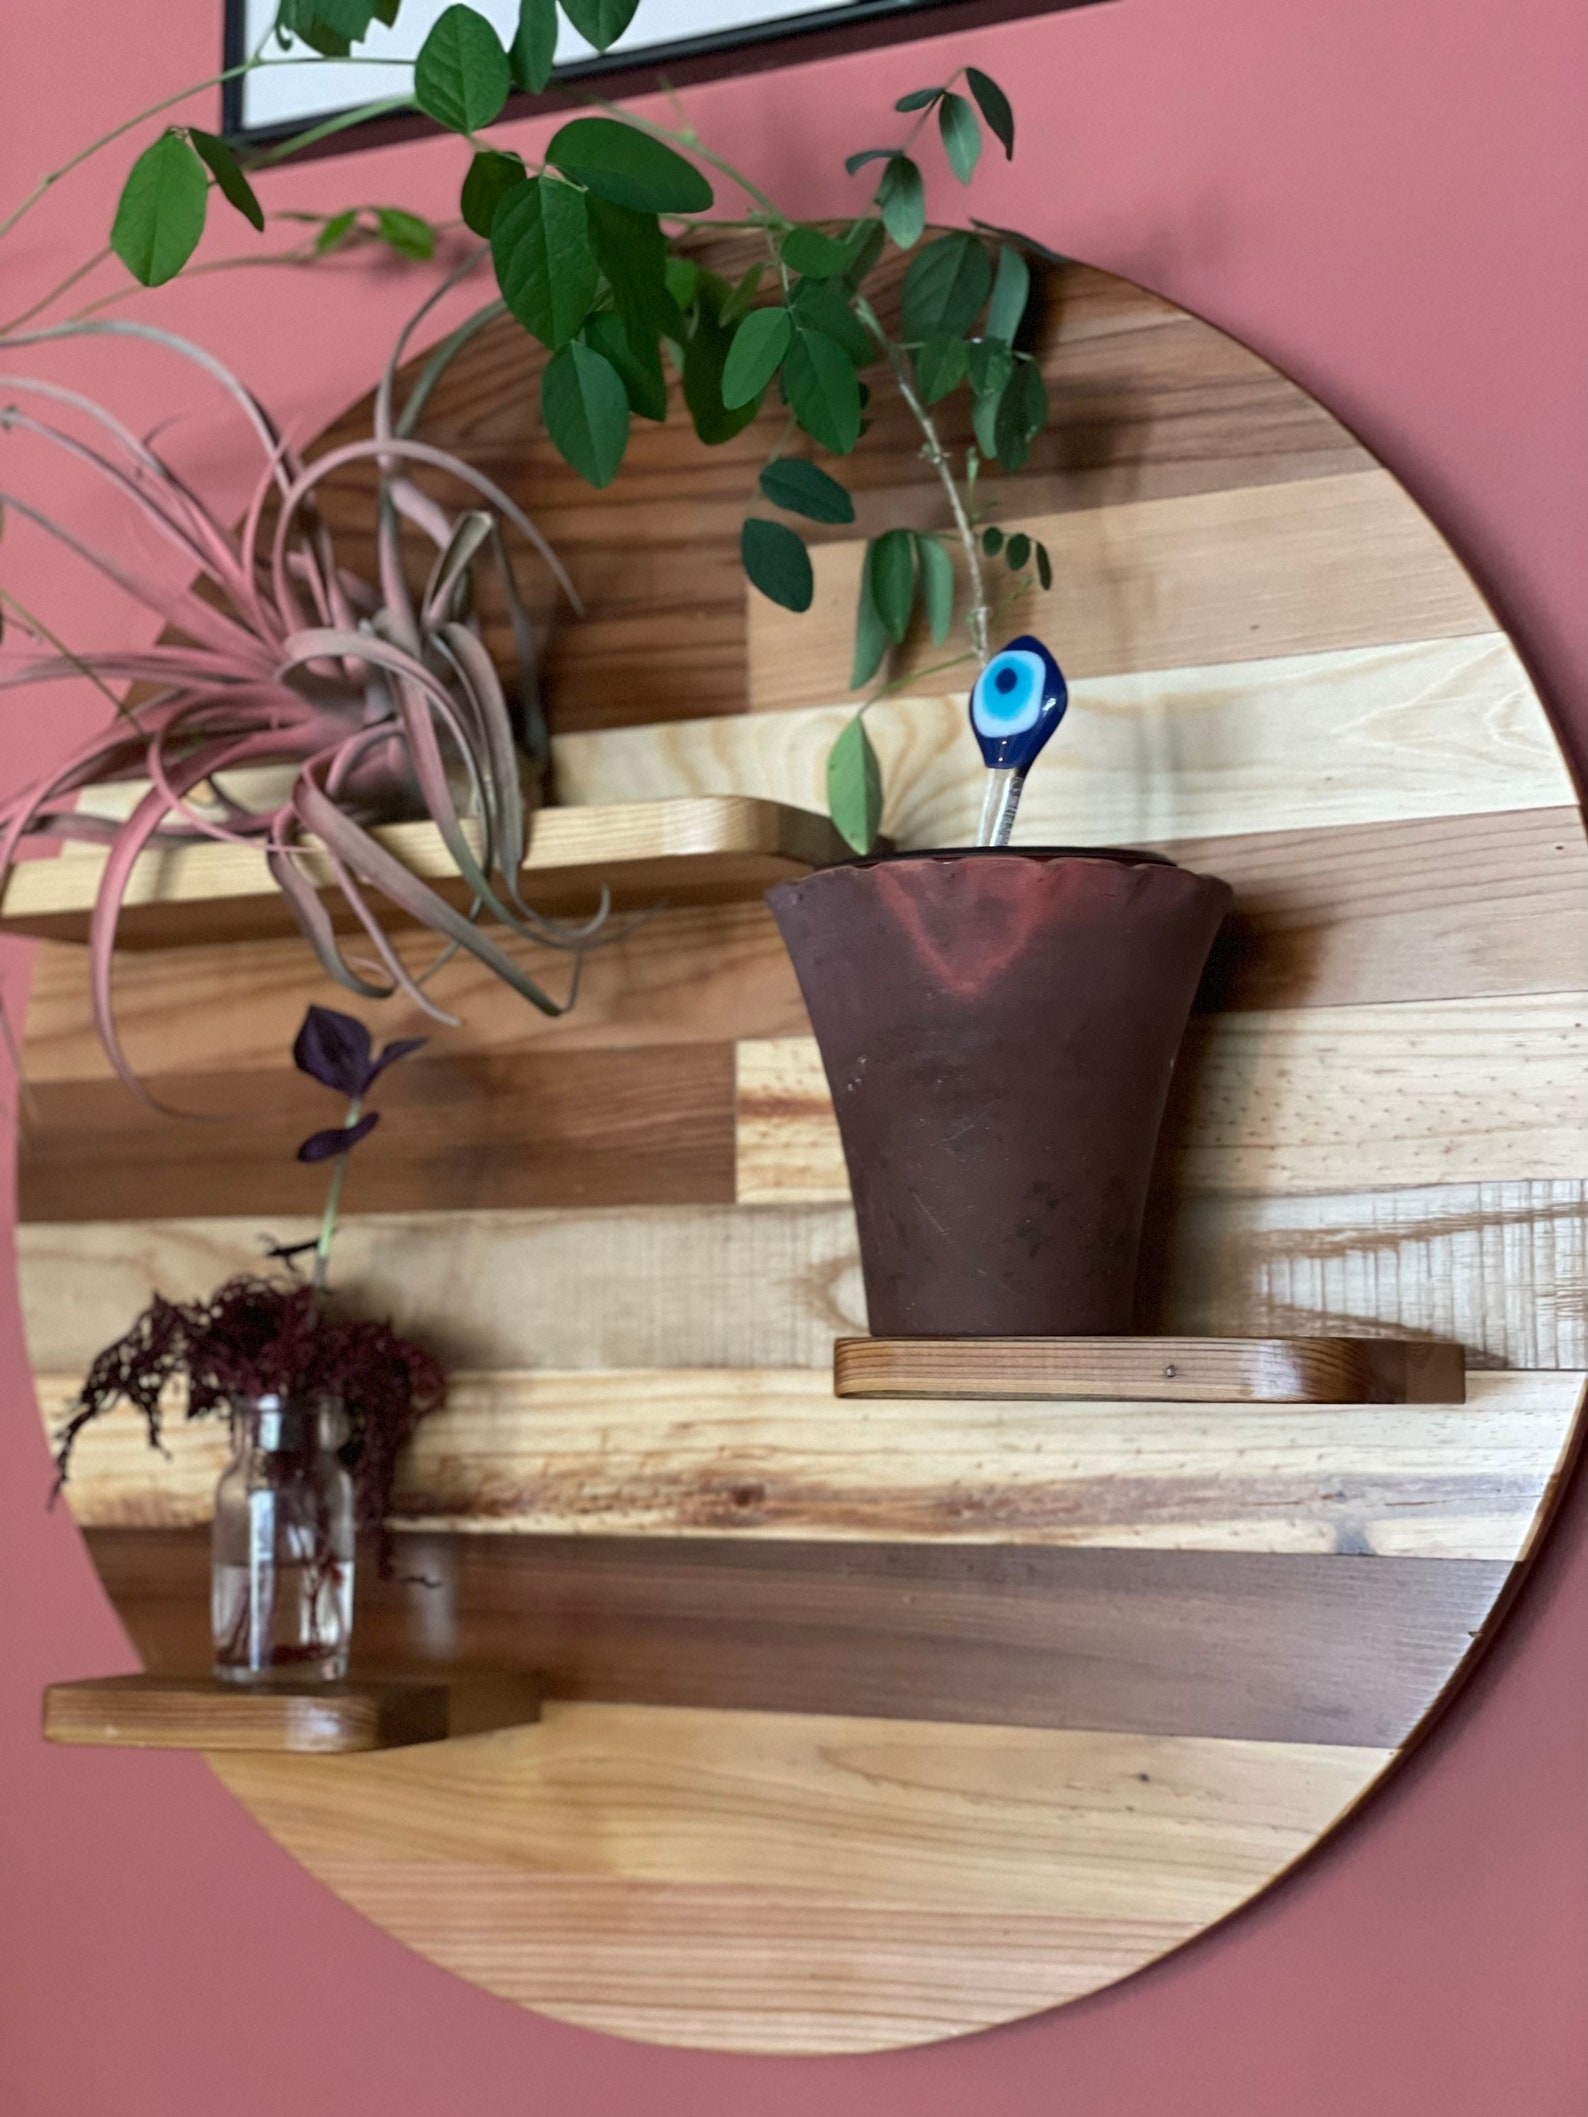
- Put every pot on a saucer or tray (I swear by IKEA bamboo ones; they’re $2 apiece).
- For shelves directly over electronics or precious art? Mix in some high-quality faux vines for drama with zero risk.
One client swore by clear adhesive shelf liner as backup protection—ugly up close but invisible from below.
Light Up Top Isn’t Always Enough
After hanging my first shelf above a north window, every plant slowly wilted no matter how lovingly I misted them. Lesson learned: Height changes light dramatically!
If you don’t get strong daylight nearby, don’t bother with fussy species like string-of-pearls—they’ll sulk within weeks. Hardy pothos and snake plants forgive almost anything, especially if you supplement with a slim LED grow bar (the Barrina T5 is my go-to; $15 online).
An artist friend staggered her shelves diagonally beside her brightest window—her golden pothos cascaded into sunlight while shade-loving ferns cozied up higher in dimmer corners.

Style Without Overthinking
Experts will tell you about visual triangles and negative space until your eyes glaze over. My secret? Lay everything out on the floor first—plants, books, little knickknacks—and shuffle them around until something feels right. Take a quick photo; sometimes your phone sees clutter better than your eyes do!
Layer tall snake plants at one end, let vines trail off another edge, tuck in framed postcards between pots so nothing looks too uniform or staged.
Once when styling for a gallery wall makeover, we added battery-powered fairy lights snaked through trailing vines—a soft glow transformed a plain corner into everyone’s favorite lounge spot for under $10 extra.
Renting? Or Just Commitment-Shy?
I’ve moved five times in seven years—hard-earned wisdom here! Drill-free options abound:
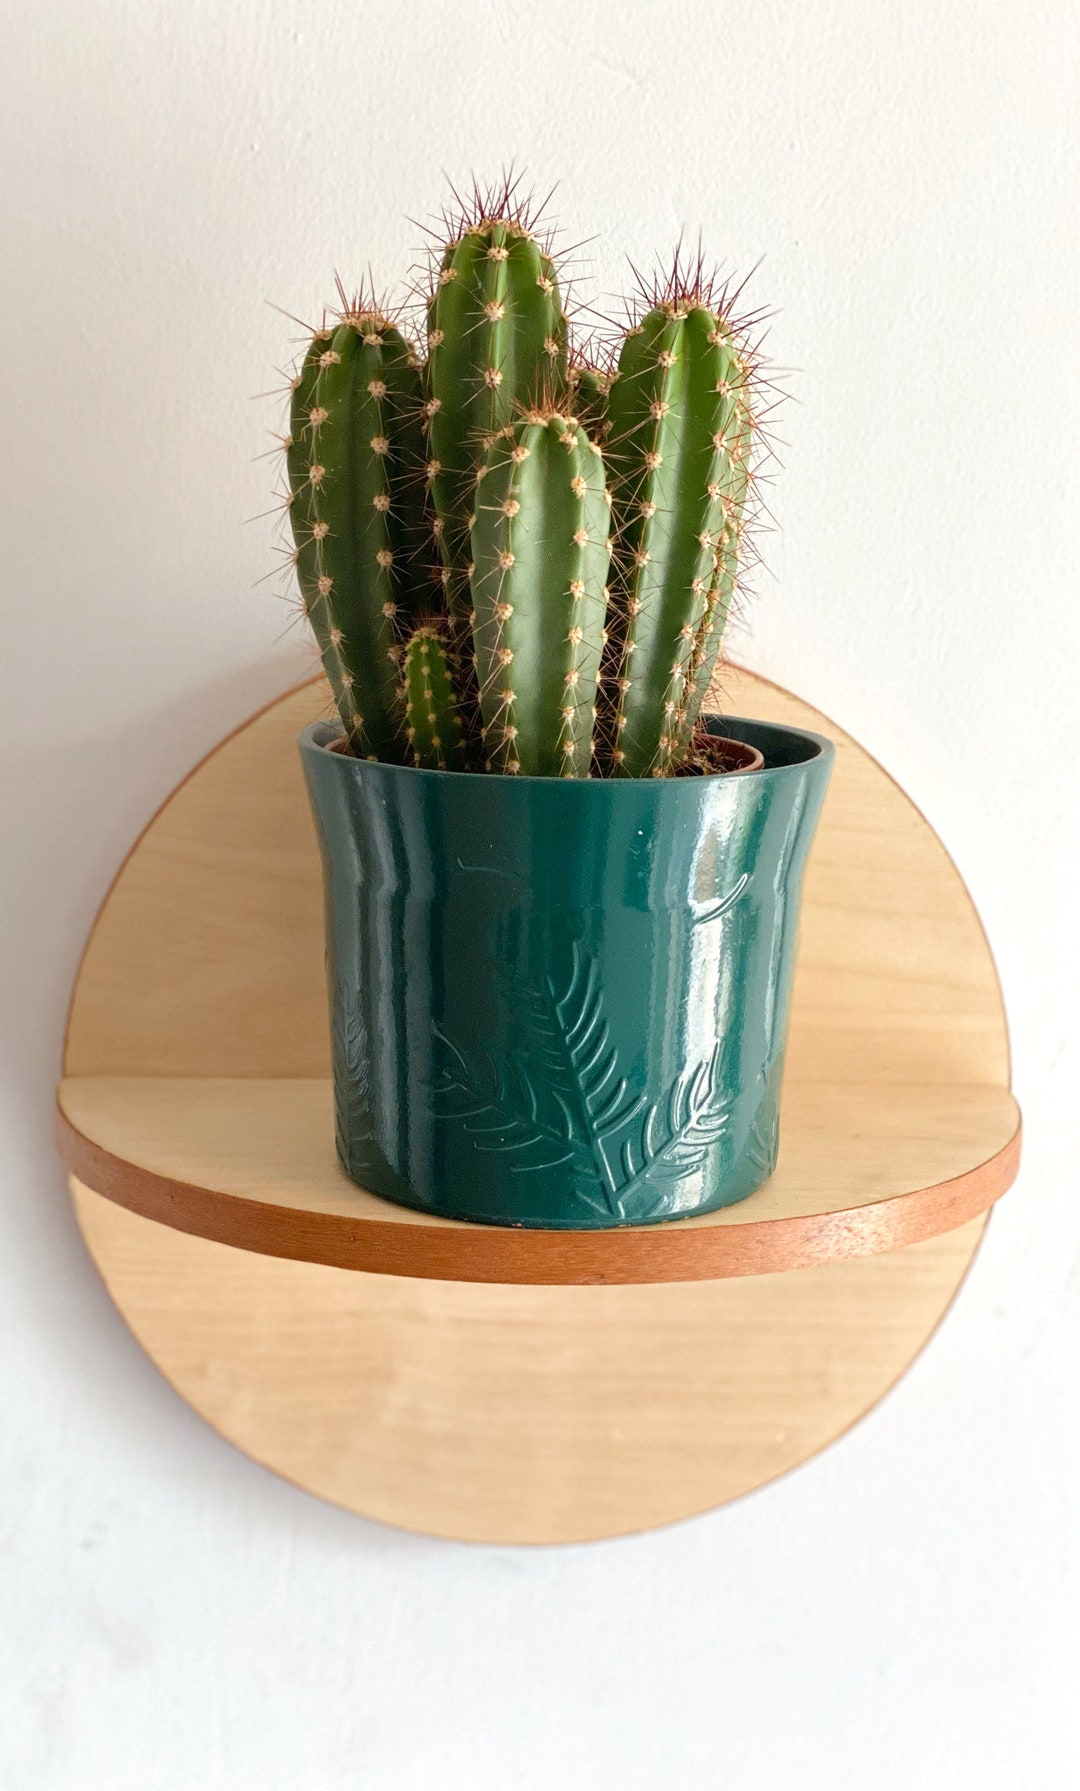
- Command strip mini-shelves hold tiny succulents surprisingly well (just check their ratings).
- Leaning ladder shelves can be propped anywhere—no holes needed.
- Even small rolling carts double as mobile vertical gardens if floor space allows.
A friend once attached lightweight macrame pockets directly onto her curtain rod for instant greenery without even touching the wall!
The Real Secret Sauce: Keep It Fun & Forgiving
Here’s what experts rarely admit—it’s okay if this isn’t perfect! Shelves can be rehung straighter later; brackets swapped out for beefier ones down the road; layouts tweaked as your collection grows or shrinks.
My favorite moments are when friends come over and ask why my plants look so happy—even though half are rescues from clearance racks or cuttings grown in old yogurt tubs.
So here’s your honest game plan:
- Pick your spot—anywhere you want more green life.
- Grab sturdy materials—a solid plank + strong hidden brackets + proper anchors.
- Pre-seal against water before hanging anything.
- Space things out on the floor until it feels right.
- Install slowly—with level and patience—but don’t stress if it isn’t gallery-perfect.
- Style with joy; mix live/faux plants as needed, add trays under every pot just in case.
- Step back and enjoy—a lush new view built by hand beats any influencer flatlay.
The only thing more satisfying than watching those trailing stems unfurl week after week? Knowing you did it yourself—with far less fuss than “the experts” would ever let on.
Happy hanging—and may your shelves forever stay straight!