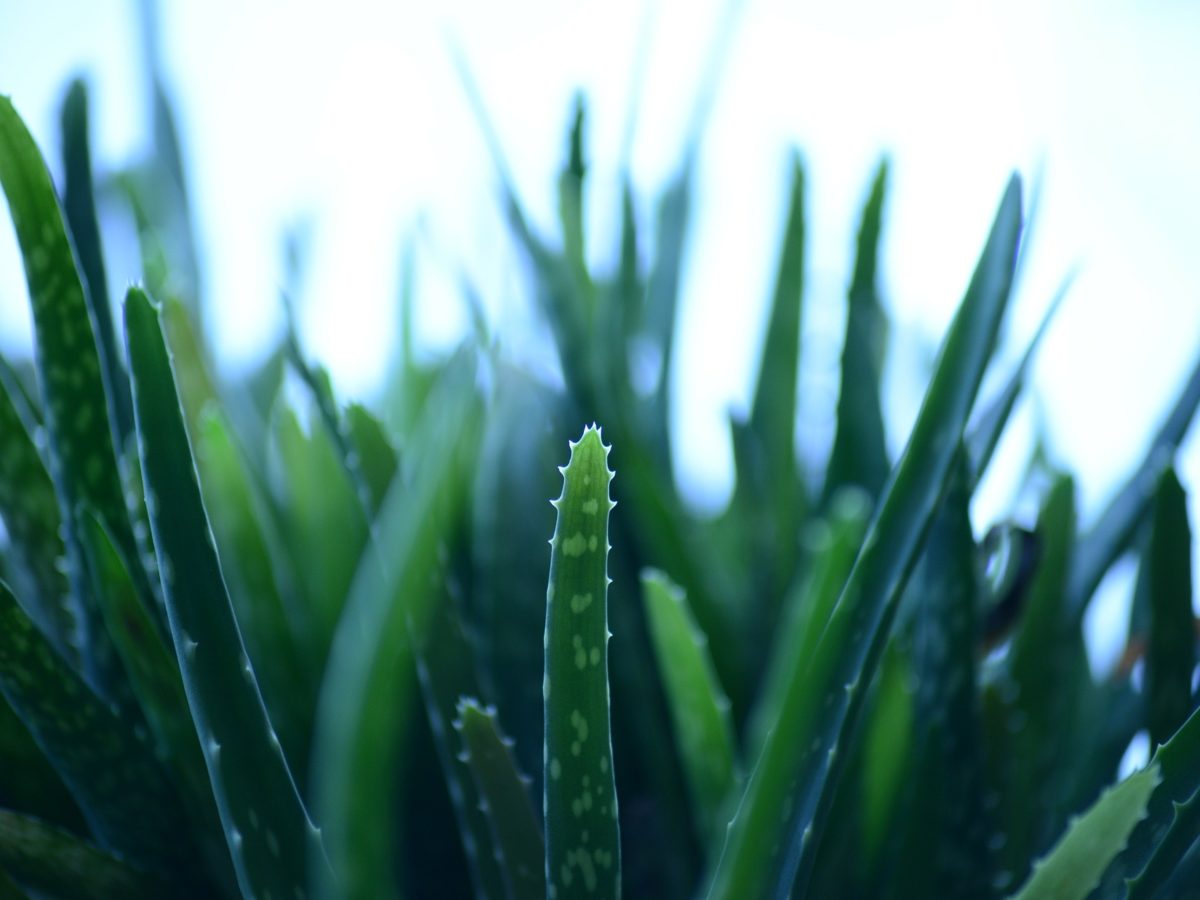
How to Grow Aloe Vera Indoors: Simple Steps for Success

When I first tried growing aloe vera indoors, I was convinced I had it all nailed—a bright window, a succulent soil mix, and weekly watering. But a few weeks later? The poor plant looked like it had lost the will to live: limp leaves, brown tips, no new growth. I was baffled until I realized that aloe isn’t just any houseplant—it’s a desert survivor with its own stubborn rules. Once I stopped blindly following generic advice and started paying attention to what my aloe really needed, things finally turned around.
Let me share what actually works, with the kind of honest trial-and-error you don’t always find in those cookie-cutter how-tos.
Myth #1: “Aloe Needs Direct Sunlight—No Exceptions”
Here’s where almost everyone stumbles. Because aloe is a desert plant, the assumption is it wants full sun indoors too. Nope. The first time I plopped mine on my south-facing window sill, it got scorched within days—crispy edges and faded green leaves that looked more sunburn than thriving plant.
What’s going on? Glass windows can intensify UV light unevenly, frying your aloe instead of helping it. What your aloe really craves is bright but indirect light. For me, an east-facing window about 2 feet back behind a sheer curtain hits that sweet spot—not too harsh but plenty of glow to keep leaves plump and green.
If your place lacks natural light (hello, north-facing apartments or gloomy winters), try a full-spectrum LED grow light. I use the Spider Farmer SF-1000 on about 10 hours a day—just enough to keep my aloe happy without overdoing it.
Myth #2: “Water Aloe More Often Indoors Because It’s Not Outside”
This one nearly killed my first plant. Watering every week because “succulents need moisture” sounds logical. Except aloe stores water in its thick leaves and really hates soggy soil. Overwatering is by far the top killer indoors.
I worked with someone who watered twice a week in a humid apartment—and their aloe yellowed and went mushy within two months.
The trick? Water deeply but rarely—about every 3 weeks is usually perfect; stretch it to 4-5 weeks if it’s cold or humid in your home. When you water, soak thoroughly until water runs out of drainage holes (don’t just sprinkle or mist). Then let the top 2-3 inches of soil dry out completely before watering again.
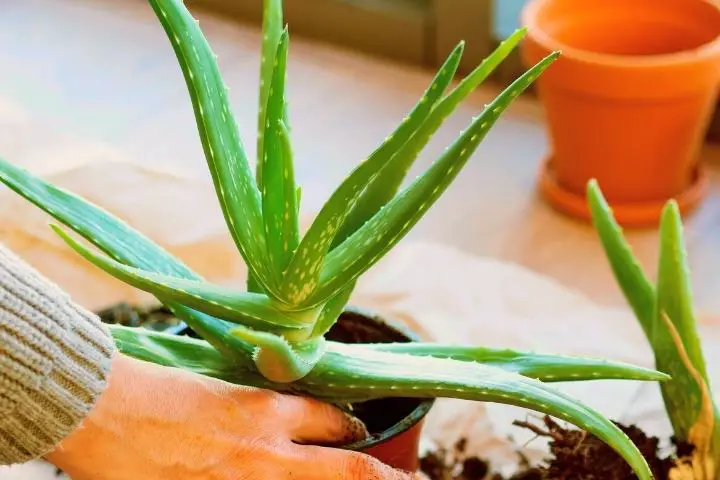
Myth #3: “Any Pot Will Do as Long as It Looks Nice”
Confession: I once bought a beautiful ceramic pot without drainage holes because it matched my décor perfectly—and lost that aloe within weeks to root rot.
Drainage holes are non-negotiable for aloe vera. Always.
I recommend unglazed terracotta pots—they “breathe” moisture out naturally, which helps prevent soggy roots. If you want to use fancy outer pots without holes for style reasons, keep your aloe in a smaller plastic or clay pot inside them—and take it out now and then to check soil moisture.
Myth #4: “You’ll See Fast Growth Indoors If You Care Properly”
If you expect your indoor aloe to shoot out new leaves overnight, prepare for disappointment. Aloe grows slowly indoors compared to the wild or commercial farms. New leaf growth might take months to be noticeable.
Early on, I made the mistake of watering more or fertilizing monthly trying to speed things up—only stressing my plant further.
Instead, focus on leaf health: firm texture, vibrant green color with no yellowing or brown spots. Also, rotate your plant about 90° weekly so it doesn’t lean toward light unevenly (that stretchiness is called etiolation—that means not enough good light).
Troubleshooting Quick Guide
- Yellow & mushy leaves? Likely overwatering or poor drainage.
- Brown leaf edges? Could be sunburn from too much direct light or underwatering stress.
- Plant leaning drastically toward one side? Move it to better light and rotate more often.
- No visible growth after months? Check room temperature—it should stay between 55°F–80°F for healthy metabolism.
A Real Rescue Story
A family I helped had their aloe stuck in a deep ceramic pot by their south-facing window and watered religiously every week. Their poor plant was fading fast: thin crispy leaves on one side but soggy near the base.
We moved it to an east-facing window about 1.5 feet away behind sheer curtains; repotted into a terracotta pot with proper drainage using Miracle-Gro cactus mix (coarser than regular potting soil); and cut watering back to every 3 weeks after checking soil dryness with an XLUX T10 moisture meter.
Within just 8 weeks—their aloe visibly plumped up with fresh new leaves pushing through! That turnaround proved these aren’t just theoretical tweaks—they’re practical fixes anyone can do.
What I Learned (The Hard Way)
Aloe isn’t high-maintenance; it’s low-maintenance if you get its conditions right. Trying to rush growth by overwatering or fertilizing indoors only overrides its natural survival strategy designed for arid deserts where water is scarce.
The real secret? Respect its slow pace and desert roots instead of forcing lush houseplant habits on it.
Your Simple Next Steps
- Check your pot: Does it have drainage holes? If not, repot into terracotta or another breathable pot with holes.
- Light check: Bright but indirect light is best — east-facing windows behind sheer curtains work wonders.
- Test soil dryness: Stick your finger 2 inches deep; if damp, hold off watering.
- Water deeply but infrequently: About every 3 weeks; soak until water drains out.
- Rotate weekly: Turn your plant roughly 90° each time for even growth.
- Trim damaged leaves: Use sterilized scissors; cut at base of brown/mushy spots.
- Be patient: Track leaf firmness and color rather than size—growth is slow but steady when conditions are right.
If you follow these steps—and slow down your expectations—you’ll watch those firm green leaves quietly unfurl without stress or scorch marks.
Ready to let your aloe thrive at last?
Once healthy, remember aloe vera isn’t just pretty—it’s also handy! You can snip off fresh leaves for soothing sunburn relief or moisturizing skin care at home (just slice carefully). It feels great knowing you’ve grown something both beautiful and useful.
So go ahead—give your indoor aloe the space and respect it deserves. It might be slow at showing off, but when it does thrive? It’s truly worth the wait.
Got questions or funny stories about struggling aloes? Share them—I’ve been there too! Growing these desert survivors indoors isn’t always easy—but with patience and care tailored just right, your green gem will surprise you yet.


