How to Harvest and Store Aloe Vera Gel for Lasting Freshness
Harvesting and storing aloe vera gel might look like a quick snip-and-scoop job, but trust me—there’s a little more to it if you want to avoid irritation and get the purest gel possible. For those new to this, you might find it helpful to check out our comprehensive guide to aloe plants to understand how to grow and care for your aloe before harvesting. The first time I tried, I ended up with itchy red spots and sticky fingers for days. What I didn’t realize was that aloe leaves have a bitter yellow sap called latex just under the skin, which can cause allergic reactions or skin irritation if you’re not careful. For ideas on how to use the gel once harvested, see our aloe vera skin care recipes you can make at home.
Heads up: If you have sensitive skin or are prone to allergies, always do a small patch test before slathering aloe all over your body. Dab a tiny bit of fresh gel on your inner wrist or elbow and wait 24 hours. If you notice any redness, itching, or swelling, skip using aloe or talk to your doctor before trying again.
How to Harvest Aloe Vera Gel Without the Drama
Let me walk you through what worked for me after some trial and error:
-
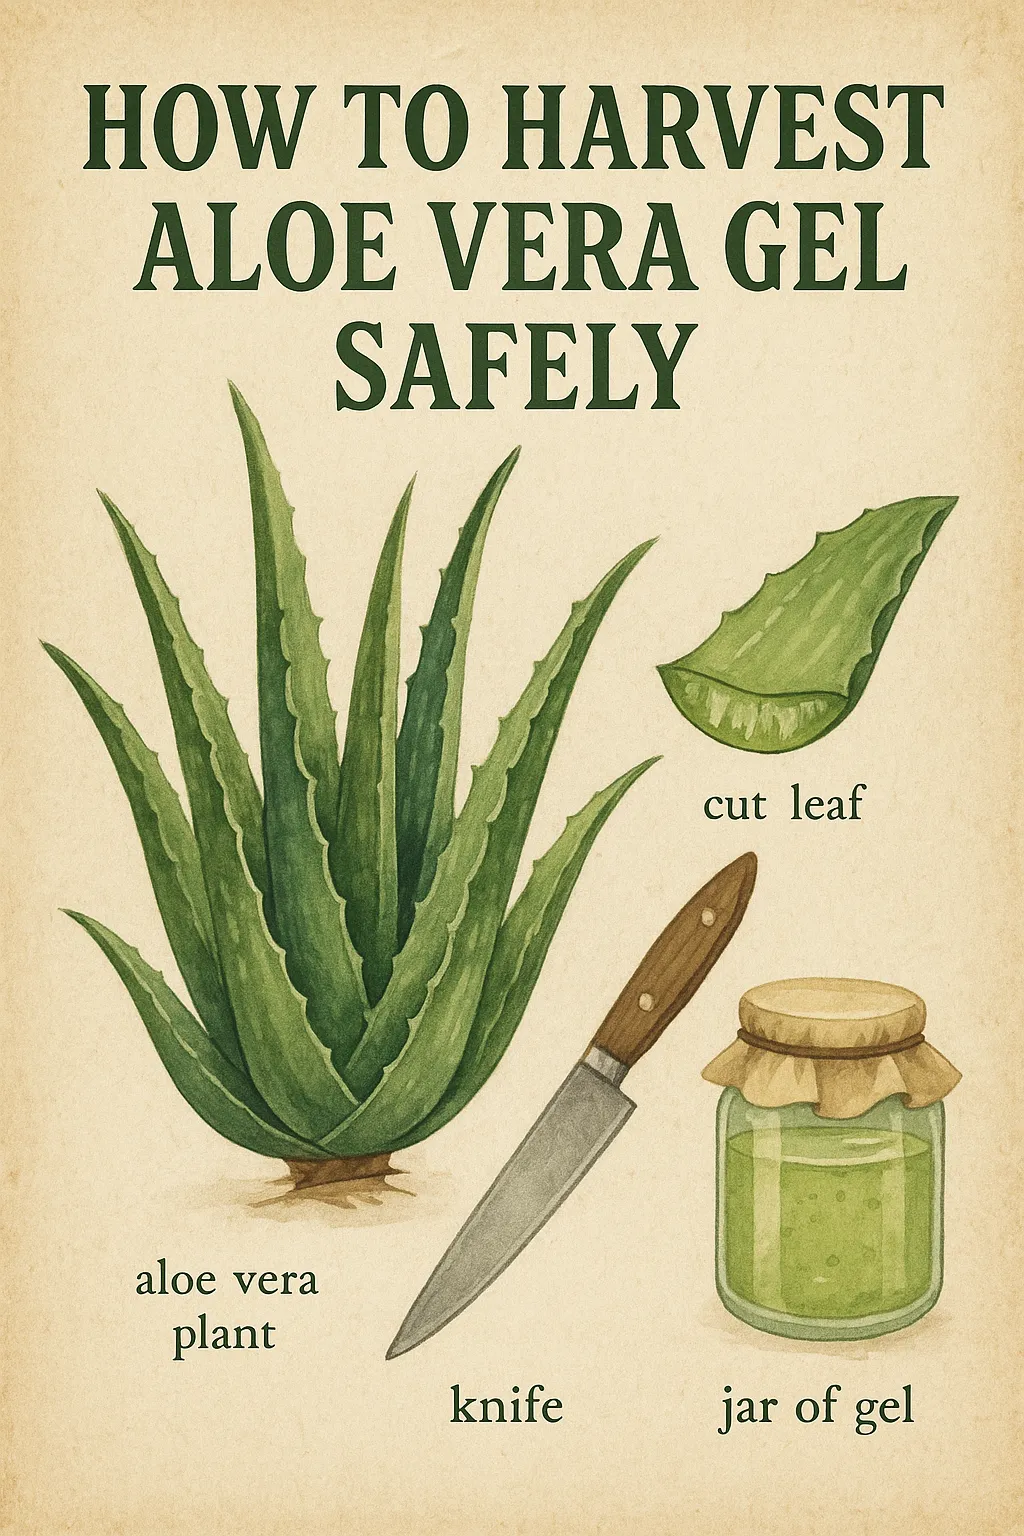
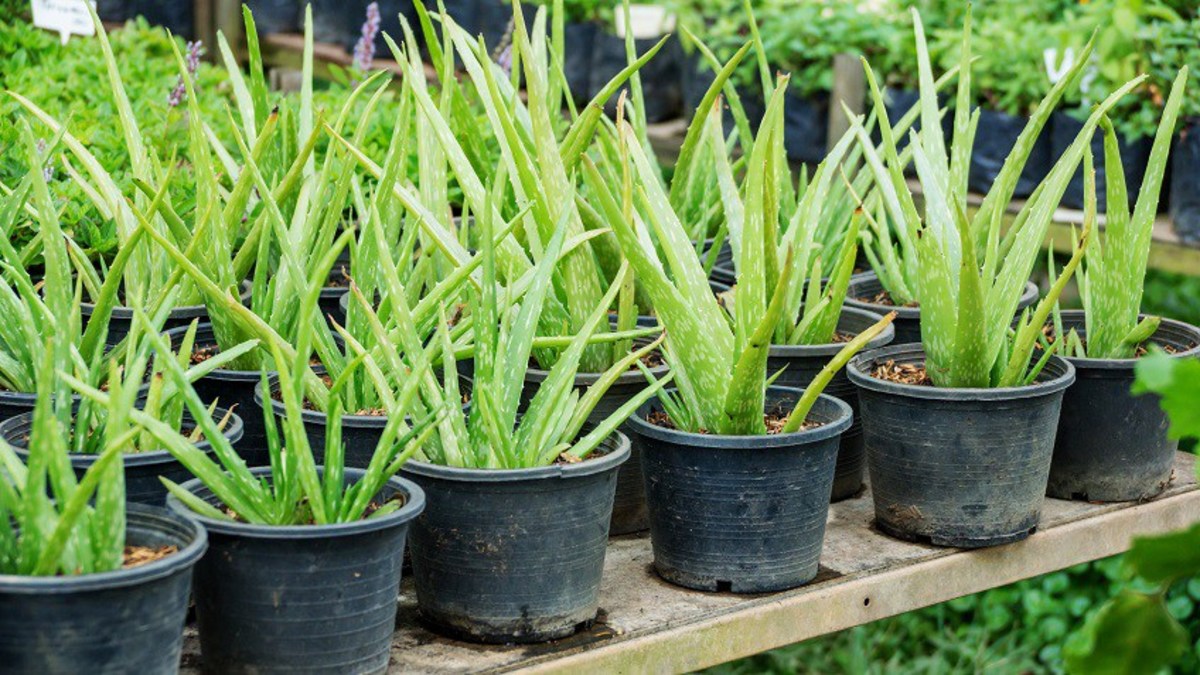
Pick the right leaf. Choose a thick, healthy outer leaf about 8-12 inches long—from the bottom half of your plant if possible. These leaves pack more gel and are mature enough to handle harvesting.
-
Sanitize your tools! I always wipe my sharp kitchen knife with rubbing alcohol before cutting. A dull knife bruises the leaf and can introduce bacteria.
-
Cut close to the base. Slice near the stem at the leaf’s base—steady hand here!
-
Stand it upright and wait 10-15 minutes. This is crucial—place the cut leaf in a bowl or lean it against something so yellow latex drains out slowly (you’ll see drops form). Rushing this step is how I got that awful rash the first time.
-
Trim the spikes carefully. Those jagged edges aren’t just sharp; they also have latex on them too, so watch your fingers.
-
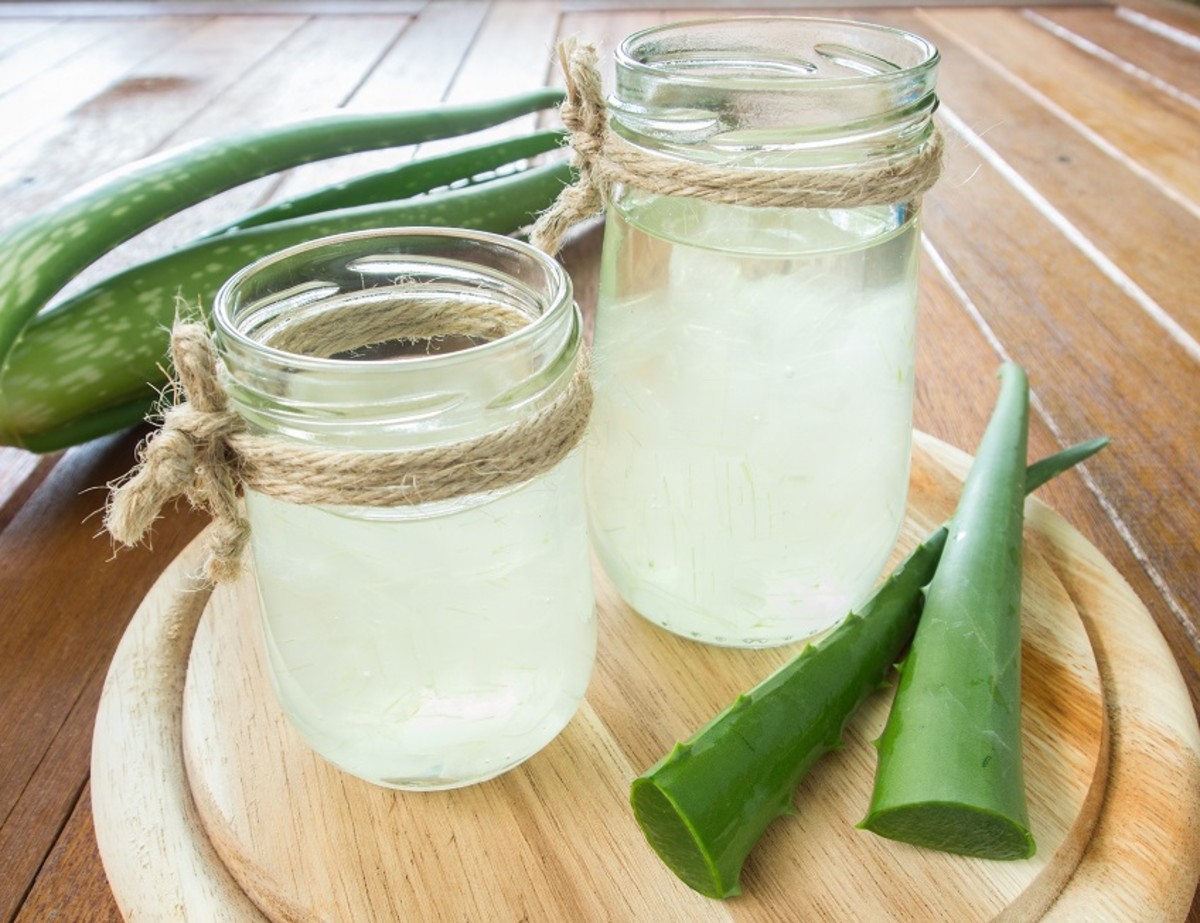
Peel back one side of green skin slowly. Don’t rush! Revealing bright clear gel underneath feels oddly satisfying—it’s cool and smells faintly grassy, fresh like crushed herbs.
-
Scoop out only clear gel with a clean spoon or knife. Avoid scraping green parts because they taste bitter and can irritate your skin.
Storing Aloe Gel So It Stays Fresh
Here’s where most beginners slip up: leaving gel in plastic tubs at room temperature (been there, ruined that). Aloe is mostly water, so it spoils fast without proper care.
- Use airtight glass containers in the fridge, ideally kept around 4°C (39°F). Your gel will stay fresh for about 7 days this way.
- For longer storage, freeze it! Pour fresh gel into ice cube trays—one-ounce cubes work great—and freeze overnight.
- Once frozen solid, pop cubes into labeled freezer bags so you can grab just what you need without thawing everything.
- Frozen aloe lasts up to 6 months and keeps its soothing properties perfectly.
Extra tip from my herbalist friend: freezing keeps things simple and chemical-free—no weird preservatives needed!
Taking Care of Your Aloe Plant After Harvesting
I’ve learned not to be greedy with my plant. Snipping off too many leaves at once stressed it out badly—it drooped like it was sulking (and frankly looked pitiful). Now I limit myself to two mature leaves per month per plant and space out harvests by several weeks. For more tips on nurturing your aloe, see our complete overview of aloe plant care.
Your aloe needs TLC too—think of it like a slow-growing pet that rewards patience with fresh leaves year-round.
Quick Recap: My Easy Aloe Gel Routine
- Pick a thick outer leaf (8–12 inches).
- Sanitize your knife well.
- Cut close to the base near the stem.
- Stand leaf upright for 10–15 minutes to drain latex.
- Carefully trim spiky edges.
- Peel back one side of skin gently.
- Scoop out clear gel only with clean tools.
- Store gel in airtight glass jars in fridge (up to 7 days).
- Freeze extra gel in ice cube trays for up to 6 months.
- Always patch test new batches on skin before wide use!
A Final Word: Patience is Your Best Friend
Harvesting aloe isn’t a race—it’s more like slow cooking than microwaving dinner (and way more rewarding). That little pause while letting sap drip makes all the difference between painful rashes and having silky, cooling gel ready whenever you need natural relief.
Don’t be discouraged if your first few tries feel messy or awkward—that sticky mess I mentioned? Yep, been there more times than I care to admit! But once you get into this rhythm, it’s surprisingly easy—and kind of magical—to have fresh aloe on hand without buying anything fancy or chemical-laden.
Give yourself permission to take it slow, listen to your plant’s signals, and enjoy this simple ritual that connects you directly with nature’s soothing power.
You’ve got this!


