Taming Bracken Fern: Your Guide to a Thriving, Fern-Free Garden
Every seasoned gardener has a nemesis, and for me, bracken fern was the one that nearly broke my spirit—and my back! If you’ve ever stared down those feathery fronds popping up yet again where you swore you cleared them last month, trust me: I have stood exactly where you are. But after three years of hands-in-the-dirt battles, a few embarrassing failures, and finally some hard-won victories, I can confidently say: you can outlast bracken if you swap brute force for smart persistence.

Why Does Bracken Keep Winning the First Rounds?
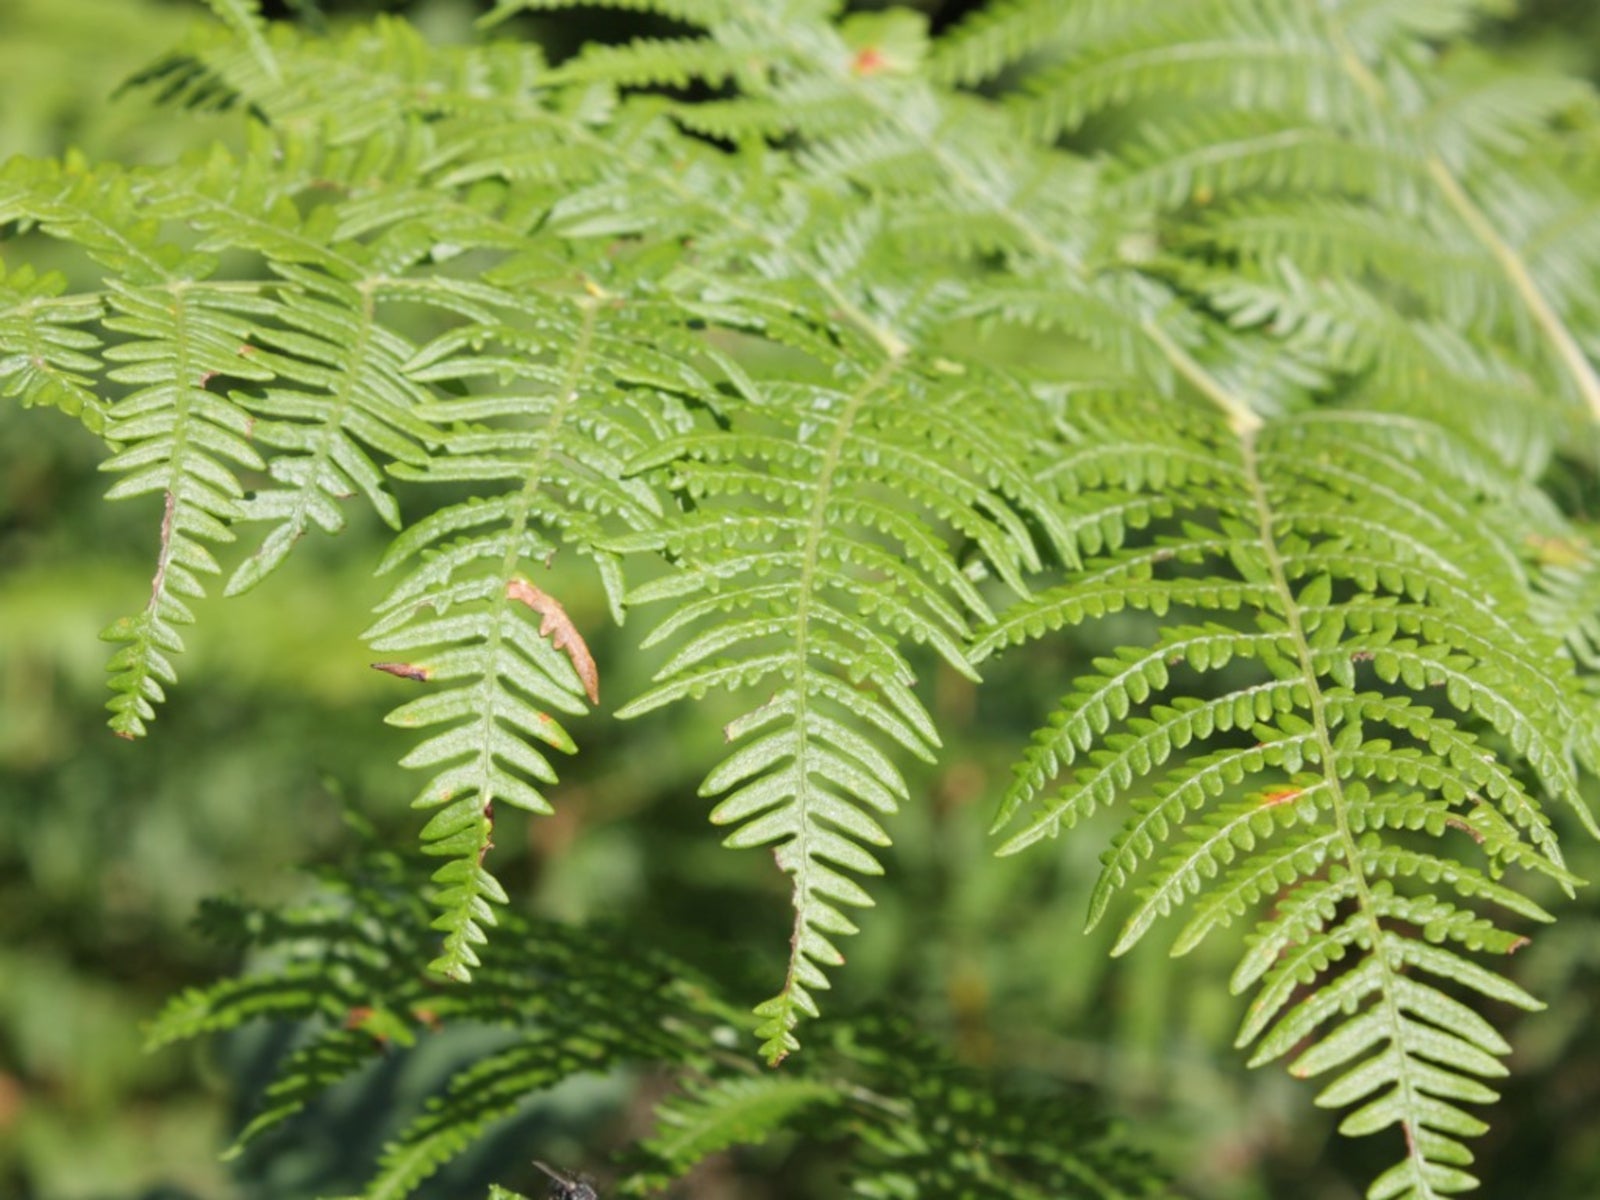
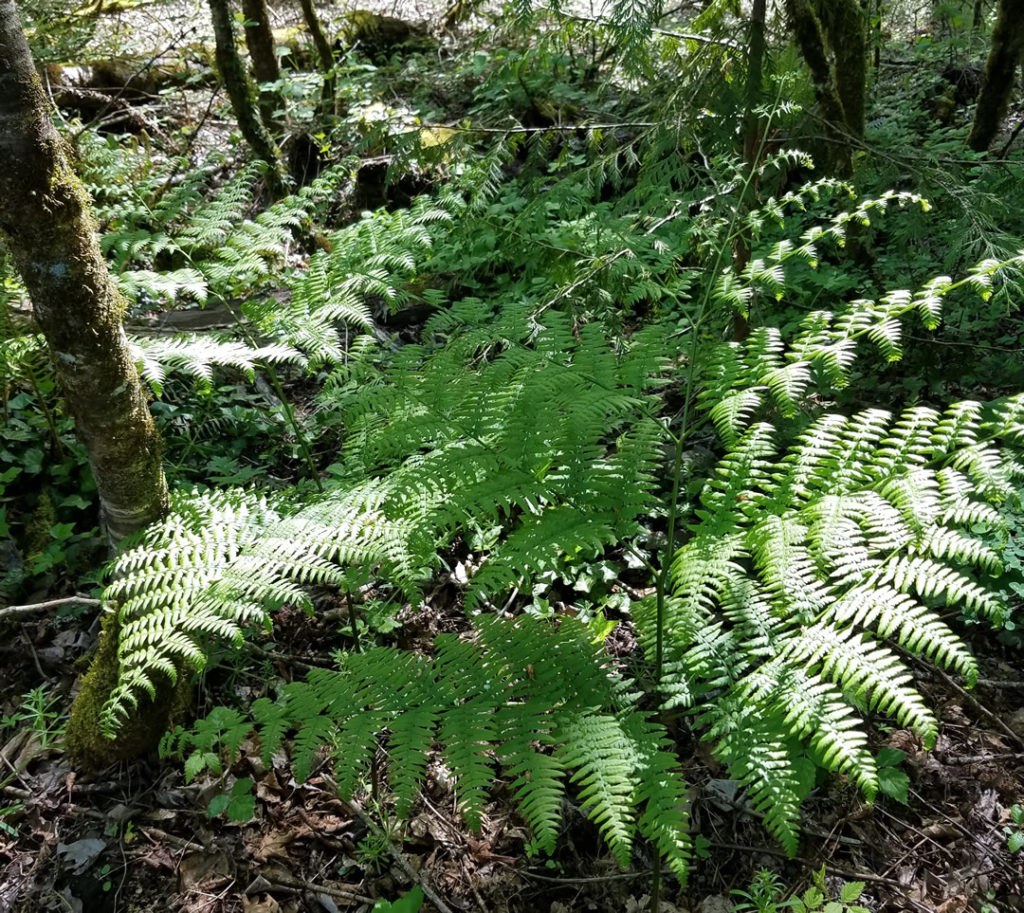
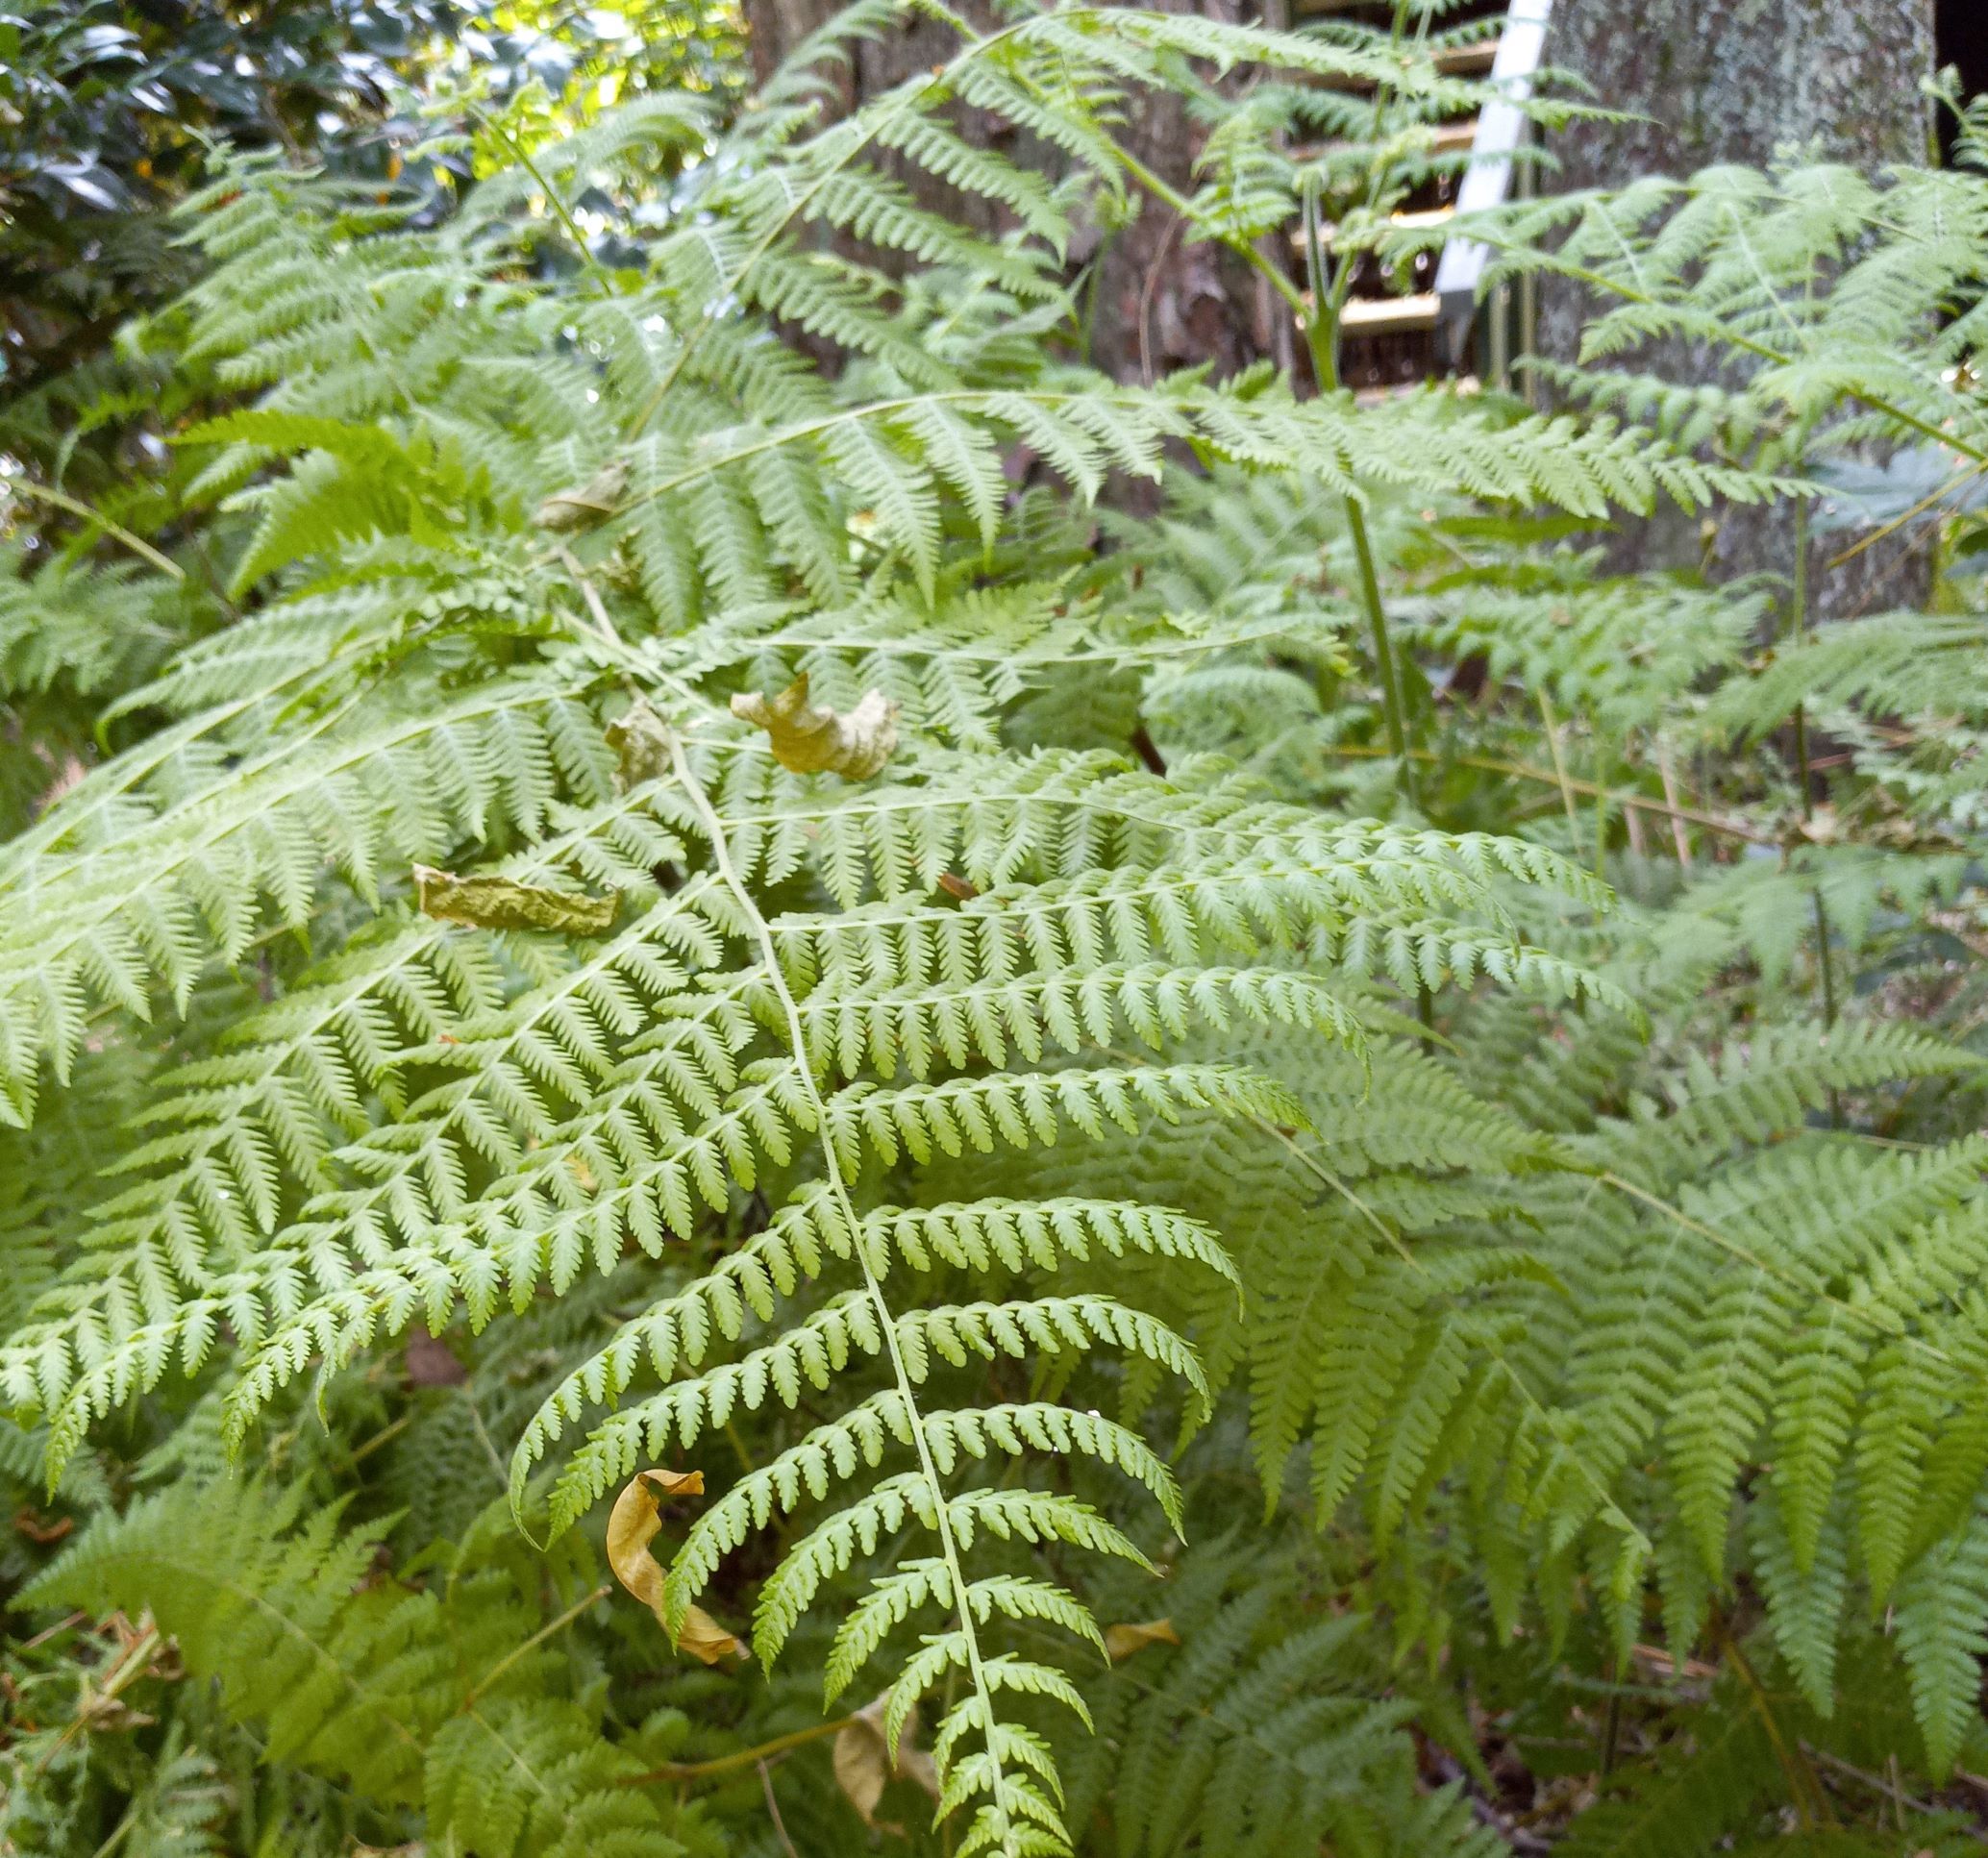
Let’s cut through the mystery: bracken isn’t just stubborn—it’s built like an underground fortress. The nightmare starts with its rhizomes (those thick horizontal stems) sometimes snaking more than three feet deep. My first attempt was pure muscle—yank, dig, repeat—but by midsummer? Twice as much bracken as before. Turns out, every fragment left in the soil is like a secret agent ready to launch a new offensive.
What Actually Works? Lessons from My Own Overgrown Plot
After two failed “scorched earth” attempts (including an ill-advised rototiller experiment that led to a bracken explosion), here’s what turned the tide:
1. Cutting: Precision Over Power
Forget mowing willy-nilly or hacking at random times. The breakthrough came when I used sharp bypass pruners right at ground level just as the new crosiers unfurled in late April—before they hardened off and sent energy back underground.
- Pro tip: Bag everything instantly! One year I got lazy and left piles—guess what? Tiny ferns sprouted straight from them.
2. Targeted Herbicide—But Only at the Right Moment
I resisted chemicals for ages, but after talking with our local extension officer (shoutout to Tom in Chester County!), I tried painting glyphosate directly onto just-opened fronds using an old foam brush. No spraying clouds drifting into my dahlias; no collateral damage.
- Best days: Warm and dry, ideally no rain forecast for 24 hours.
- Gloves on, sleeves down; I even wore swimming goggles after one splash incident!
3. Consistency Is Everything
Here’s where most people (including past-me) drop the ball: it takes relentless follow-up. Every three weeks from May through September became “bracken patrol.” Set calendar alerts—I use Google Calendar because it nags me until I actually do it.
4. Mulch As a Finisher
By season two of this regime, dead patches started appearing (a sight that genuinely made me want to dance). That’s when I laid down flattened shipping boxes plus five inches of arborist wood chips over any spot where sunlight hit bare soil.
- The smell of fresh wood chips after rain is now my “victory scent.”
5. Crowd Control With Shady All-Stars
Inspired by a neighbor who turned his bracken mess into a lush hosta bed, I planted hostas and Japanese painted ferns in the worst area. Within two seasons they formed such dense shade that new bracken barely stood a chance.
What Not to Do—I Learned These Lessons Hard
- Burning piles (tried it once): The smoke reeks, spores survive heat, and neighbors will hate you.
- Rototilling: Like inviting rabbits to multiply—each chopped rhizome grew into several new ferns.
- Composting fresh fronds without drying: Did this in Year One; had baby brackens everywhere next spring.
- Ignoring little regrowths: They get big fast!
Safety Notes From Someone Who Has Messed Up More Than Once
When using herbicides:
- Always shield nearby plants—I use cardboard sheets propped up on paint stirrers.
- Dogs inside until dry! Mine loves rolling in newly cut areas otherwise.
- Don’t go overboard with chemical dose; more is not better and only risks run-off.
How Long Until You See Results? Real Numbers From My Experience
The first visible change happened late summer of Year One—a third fewer fronds came up than before. By mid-year two, about 80% gone in treated areas (I counted!) but stray shoots still popped up near fence lines or under shrubs where I missed treatment cycles.
Total time investment per session? About 40 minutes per 100 square feet (including cutting and careful herbicide application). Cost-wise: one $30 bottle lasted me two full seasons across roughly 500 square feet.
Can You Ever Really Win?
Absolutely—and your garden will look so much better for it! My biggest mistake was thinking I could win with one big push; turns out small regular efforts beat any single blitz attack. Three years later, my “bracken zone” is now awash with Solomon’s seal and bluebells—with only the occasional rogue shoot reminding me why vigilance matters.
If You Start Today…
- Grab your sharpest pruners or scissors and head outside.
- Cut every visible frond flush with soil—don’t leave stubs!
- Bag all debris immediately (black trash bags work best).
- Watch daily for new growth; paint emerging crosiers with diluted glyphosate or vinegar solution if avoiding chemicals entirely.
- Mark your calendar for another round in three weeks—no exceptions!
- Plan mulch or shade plantings for fall once dieback starts appearing.
Stay stubborn—the only way to beat bracken is to be more persistent than it is sneaky! And remember: every patch reclaimed feels like winning gold at Chelsea Flower Show…even if only your dog appreciates it at first.
You’ve got this—the battle scars will soon be replaced by blooms!


