Nurture Your Clivia: How to Properly Water for Lush, Vibrant Growth
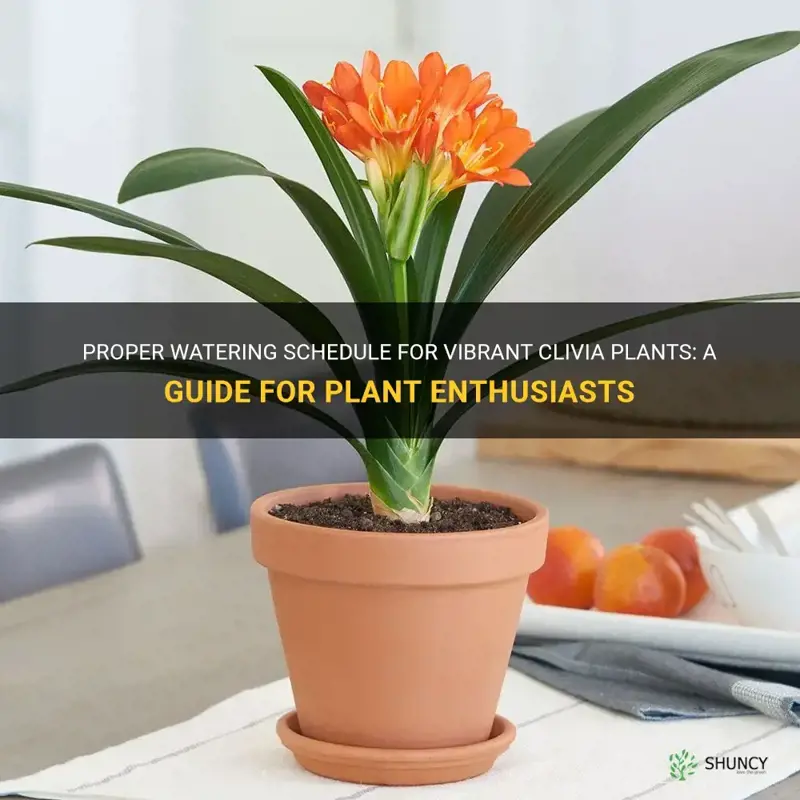
If you’ve ever hovered over your Clivia, watering can in hand, wondering “Am I about to doom this beauty?”—I’ve been right there with you. Years ago, my first Clivia sat on my desk like a silent judge, its leaves alternately drooping and crisping up no matter how closely I followed those bland “once a week” guides. It took real-world trial (and quite a few errors) to crack the code on proper Clivia watering.
Here’s what actually works—straight from someone who’s nursed more than one sad, yellow-leaved Clivia back to show-off health.
How Often Should You Water? The Knuckle Test Never Lies
Forget watering by calendar. Seriously—I once lost half a root system trusting an app reminder instead of my own senses. Instead, do the “knuckle test”: jab your (clean!) finger into the soil up to your first knuckle. If it’s dry at that depth, water. If not? Wait.
In my city apartment—moderate humidity, temps hovering around 68°F—Clivias need water about every 7–10 days during spring and summer. When winter arrives and daylight drops off, I shift gears: sometimes I go three weeks or longer between waterings. One winter, I pushed it to four weeks as an experiment when the radiators stayed off; not only did the plant survive, but it rewarded me with two bloom stalks come March.
The takeaway: Your home is its own microclimate! Trust your fingers over any universal schedule.
What Does ‘Thorough Watering’ Actually Look Like?
I used to think a light top-up was enough—until my Clivia started throwing tantrums (yellow leaf tips; stunted growth). Now I fill a small pitcher and pour slowly until water runs freely from the pot’s drainage holes. Here’s where most folks mess up: they let the pot sit in runoff for hours after watering.
Don’t do that! After 10–15 minutes, tip out any excess from the saucer. Imagine standing in cold puddles for days—you’d hate it too.
For bigger pots too heavy to move? Try using a turkey baster or large syringe to suck up extra water from saucers—a trick I picked up after one disastrous root rot episode with a 14-inch ceramic monster.
Winter Watering: Less Is More (Even If It Feels Wrong)
This is where things get counterintuitive—and where most hopeful bloomers go wrong. Clivias need their winter nap! From late October through February:
- Hold back on watering until the rootball feels barely moist.
- No fertilizer whatsoever.
- Cooler temps (if possible) help trigger blooms.
I learned this lesson the hard way after babying my plant all winter with regular drinks…only to watch it skip flowering entirely that spring. The next year? I basically ignored it for three months except for one deep soak each month—and boom: flowers galore!
Spotting Trouble Early: What Real Symptoms Look Like
Overwatering sneaks up fast—yellow leaves at the base are your first red flag, especially if they feel mushy near the soil line or you catch a whiff of mildew. Underwatering is sneakier: leaves lose their plumpness and start folding like tired paper fans; edges turn crispy brown instead of yellow.
Here’s how these issues played out for me:
- The Overwatered Fiasco: My friend Lisa watered her office Clivia twice weekly all winter because “plants need hydration!” By January, she had droopy yellow leaves and fungus gnats galore—the smell alone made us gag when we finally unpotted it.
- The Parched Plant: My own mistake last year—a holiday trip left my Clivia bone-dry for nearly five weeks under a heating vent. When I returned, every leaf looked limp and wrinkled but still greenish; two thorough soakings spaced five days apart perked it back up within ten days.
Humidity & Misting: Don’t Sweat It
Unlike high-maintenance houseplants (looking at you, ferns), Clivias don’t demand rainforest conditions. Mine have happily survived both steamy summers and forced-air winters without daily spritzes—even when humidity dropped below 30%. If you notice brown tips despite perfect soil moisture, try moving your plant away from hot air vents or drafty windows before reaching for humidifiers.
Tap Water Tips & Temperature Tricks

Most tap water is fine—but if yours leaves mineral stains behind or smells like a pool party, use filtered or distilled water instead (especially long-term). Cold tap water straight from the faucet can shock roots; let it stand an hour so it warms up naturally before using it.
This tiny habit made a noticeable difference in avoiding random stress spots on new roots after switching apartments with icier plumbing!
Potting Mix & Container Know-How
After ruining more than one expensive ceramic pot with soggy soil disasters, here’s my winning mix:
- 2 parts peat-based potting mix
- 1 part perlite
- 1 part pine bark chips
Mix thoroughly—it should feel loose and gritty in your hands—not dense like garden dirt! And never use pots without drainage holes; trust me on this one… root rot is brutal and stinks (literally).
Ceramic pots are sturdy (less likely to tip), but plastic works fine as long as drainage is solid. For oversized floor pots that are tough to lift? Place them on rolling plant caddies so you can maneuver them easily come watering day.
Bloom Troubleshooting: Could Watering Be Why?
Absolutely—getting this cycle wrong can mean zero blooms even if everything else looks perfect above ground! Overwater during dormancy = sleepy plant that skips flowering; underwater in spring = stressed plant too busy surviving to flower at all.
Stick with:
- Growing season: Soak when top inch dries out
- Rest period: Cut way back
And don’t forget bright indirect light—my sunniest window always produces double the flower stalks versus shadier corners!
Common Pitfalls—and Fast Fixes
Top mistakes I see again and again:
- Letting pots sit endlessly in full saucers (“root rot city”—seen it happen).
- Using dark plastic nursery pots inside decorative cachepots with no drainage holes—that hidden standing water will get you!
- Sticking rigidly to calendar reminders instead of feeling for dryness.
- Ignoring fungus gnats—they’re telling you something’s too wet!
If salt crusts appear atop your potting soil (white flaky stuff)—scrape them off gently; they’re leftover minerals from municipal tap or fertilizer buildup.
Rescuing Over/Underwatered Plants—Yes, You Can!
Caught early enough:
- Remove overwatered plants gently from their pot; snip away any black/mushy roots with disinfected scissors; repot into fresh dry mix.
- For underwatered plants: Give them a deep soak until water runs through freely; repeat every few days until leaves regain firmness—but don’t drown them trying to compensate overnight!
Patience pays off—the revival can take weeks but seeing new glossy green shoots emerge feels like magic every time.
Still Nervous? That Means You Care!
Look—I’ve killed more houseplants than some people have owned (“plant parent guilt” is real!). But once you stop treating care instructions like gospel and start tuning into what your home environment does—the temperature swings near windowsills…the way radiators dry things out…how quickly sunlight shifts across seasons—you’ll find yourself relaxing into success more often than not.
Confidence grows alongside those lush green fans—and nothing beats watching fat buds open each spring knowing you nailed their care through real-world trial-and-error!
Quick Start Checklist:
- Check now: Finger-test soil moisture an inch down!
- If dry—slow soak at sink; drain fully after 15 minutes.
- No pooling allowed—in saucers or decorative cachepots.
- Mark your calendar now: Drastically reduce watering November–February.
- Watch leaf signals weekly—they’ll teach you more than any generic guide ever could!
- Something goes sideways? Deep breath—you’ve got this page bookmarked for backup!
With these hands-on strategies—tested by years of personal flubs and triumphs—you’ll transform even hesitant “brown thumb” moments into lush growth…and soon enough those dazzling orange blooms will be proof positive of your new confidence as a true Clivia whisperer!


