Master the Art of Pruning Variegated Plants to Keep Vibrant Color & Shape

The first time I butchered a variegated pothos, I did it by the book: snip above the prettiest node, toss anything plain green, hold my breath, and wait for magic. Spoiler—it didn’t work. Instead of bushy stripes, I got an awkward haircut and even more green-overrun shoots. That’s when I realized: standard pruning advice for variegated plants isn’t just bland—it’s sometimes downright wrong.

Let me tell you why going “by the rules” might actually be holding your plants back. Most guides fixate on surgical precision—always clip here-on-this-node or ruthlessly purge every single green leaf at first sight—but plants, just like people, have personalities (and stubbornness) no manual can predict.
Why Plants Want to Revert—and When Fighting It Backfires
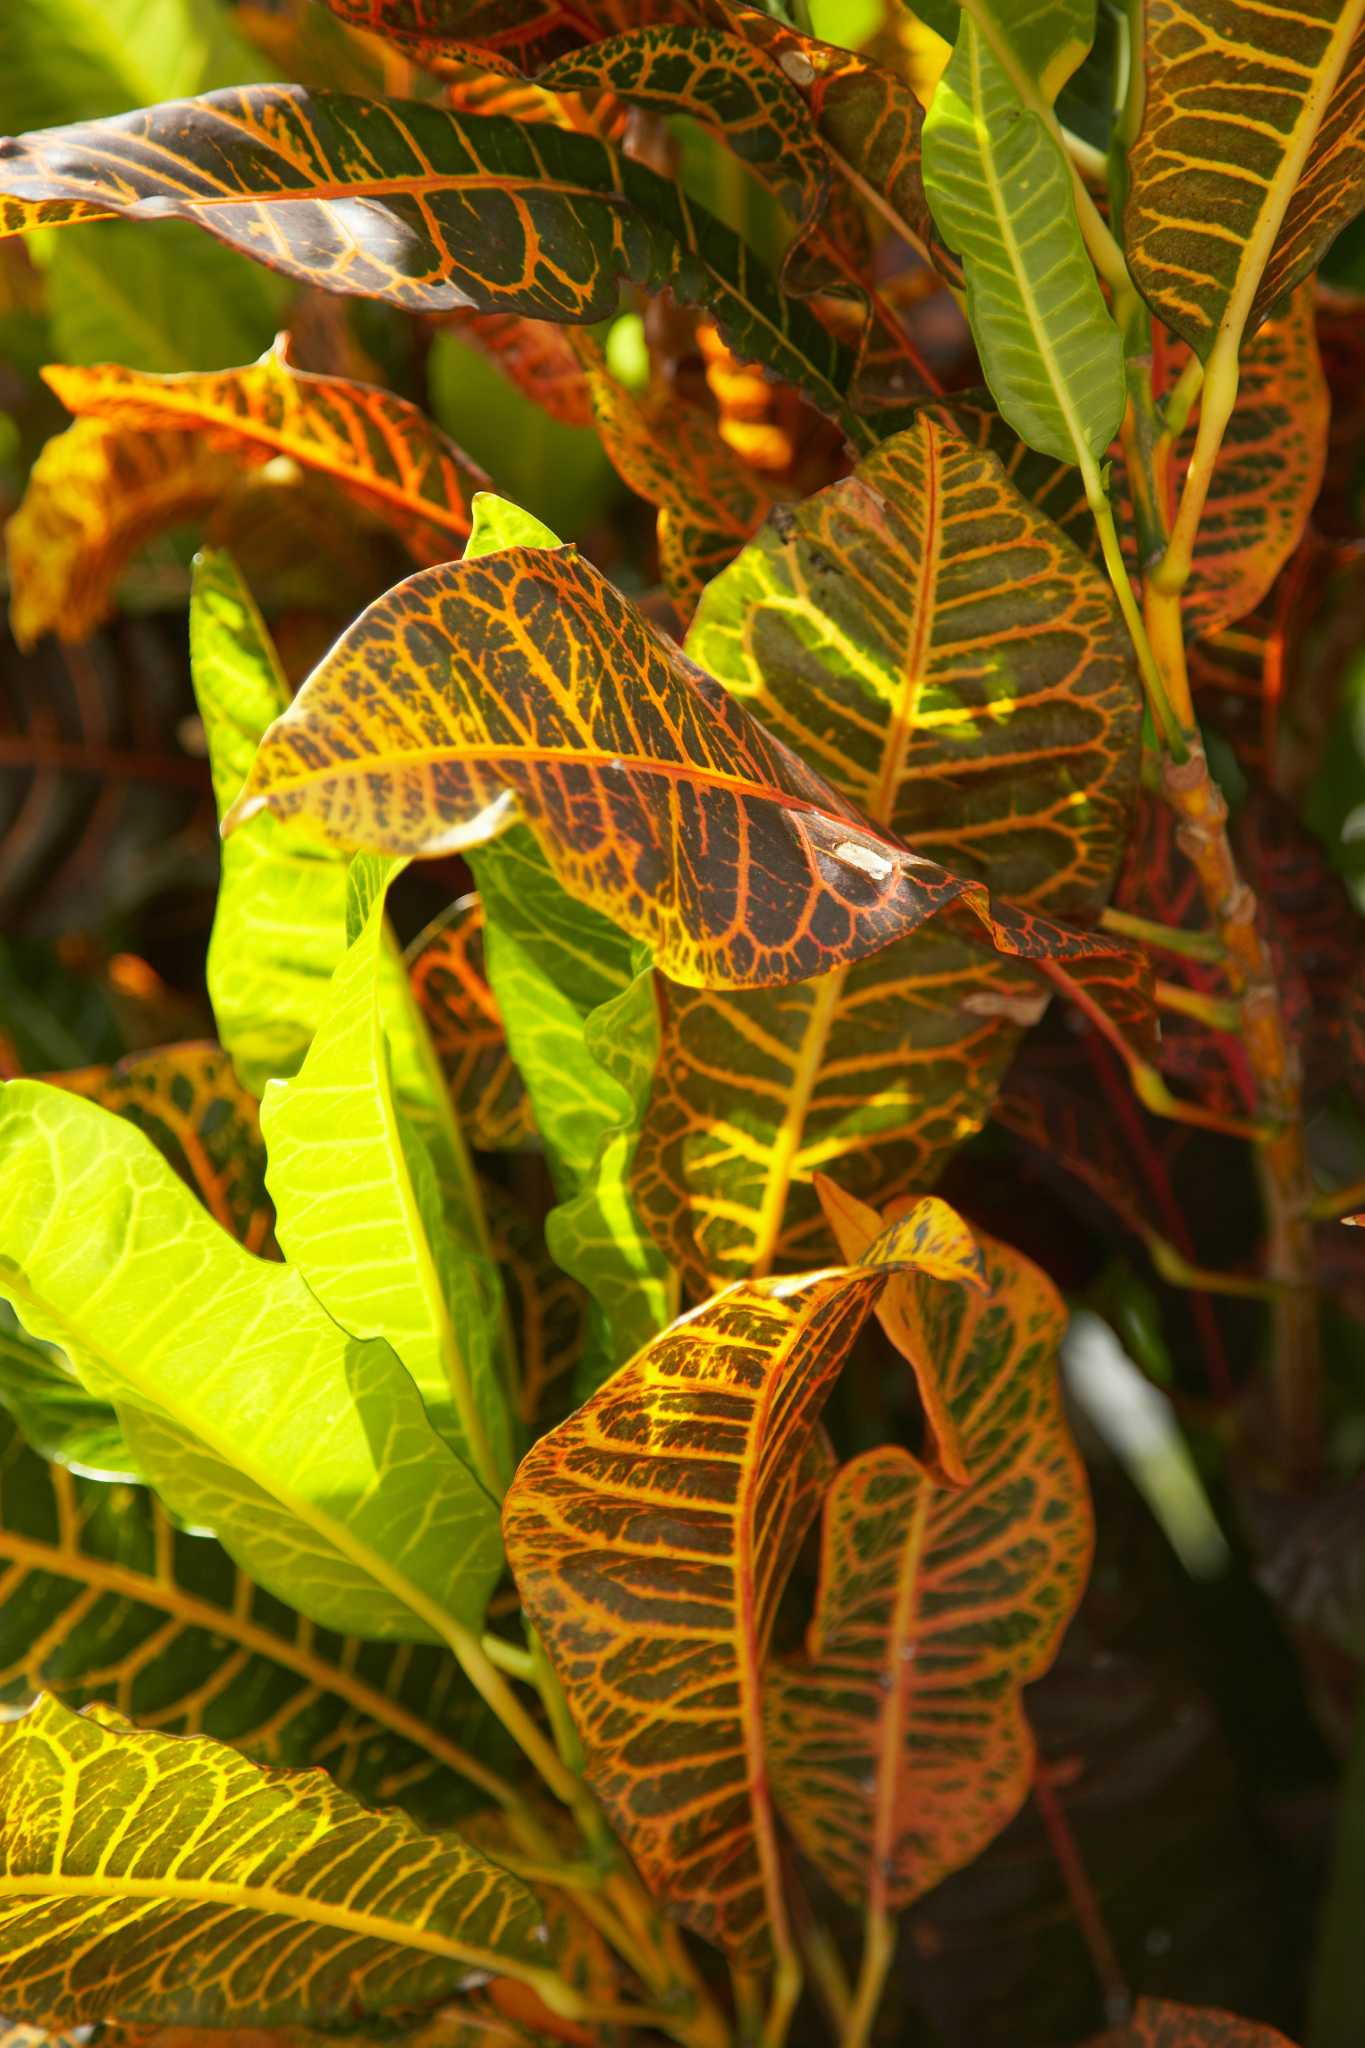
We’re told those lush green reversions are “bad” because they’ll outcompete the dreamy cream-flecked foliage. True—sometimes. But after a failed round in 2021 on a Marble Queen pothos (I chased every emerald shoot), I had a breakthrough: aggressive removal triggered shock. The plant sulked for months, barely growing at all.
By winter I’d stopped policing every rogue shoot and let a couple intertwine with the white-splashed ones instead. Growth returned—and surprisingly, so did some of that lost variegation! Here’s what many won’t mention: occasional green shoots can support overall health and help stressed roots recover energy. Every now and then, you’re better off tolerating some reversal—at least until your plant is robust again.
Forget Clean Cuts: Experiment Like a Sculptor
Ditch diagram-perfect cuts for intuitive shaping. One late spring afternoon in 2022, after sipping too much coffee and admiring an Instagram post of wild variegated monstera fenestrations (the ones everyone overpays for), it hit me—plants aren’t static. My best results came from making staggered cuts: some deep at the base when stems looked tired, others just above busy nodes if they had lively color.
Sometimes you’ll hear snipping 1/3 of growth at a time is goldilocks; yet on slow-growing hoyas or aging ficus trees, less often really is more—I once waited six months between trims before the next creamy flush appeared. Break convention! Tune into how your own plant responds; keep notes by date and detail what worked best.
Sensory tip: Use fingertips—not just eyes—to find which stems seem most alive before choosing where to cut; healthy active shoots almost hum with firmness compared to limp reversions.
The Dialogue Nobody Tells You To Have With Your Plant
My gran used to mutter to her dieffenbachia as she pruned (“You dare send up green again? Not today!”). Ridiculous? Maybe—or maybe not. Standing back mid-prune to ask yourself aloud “What do YOU need from me right now?” nudges you into gentler hands, slower decisions—and more original shapes.

Last summer my friend Jenny called me frantic about her Ficus elastica Tineke dropping leaves after trimming all the solid-green out in one go (“Google said to be relentless!”). Weeks later—the remaining stems weren’t thriving either. On guided inspection via video chat we agreed: next time she’d let one or two sturdy greens stay until new variegated shoots unfurled—a splash of patience paid off with fuller regrowth (and less drama).
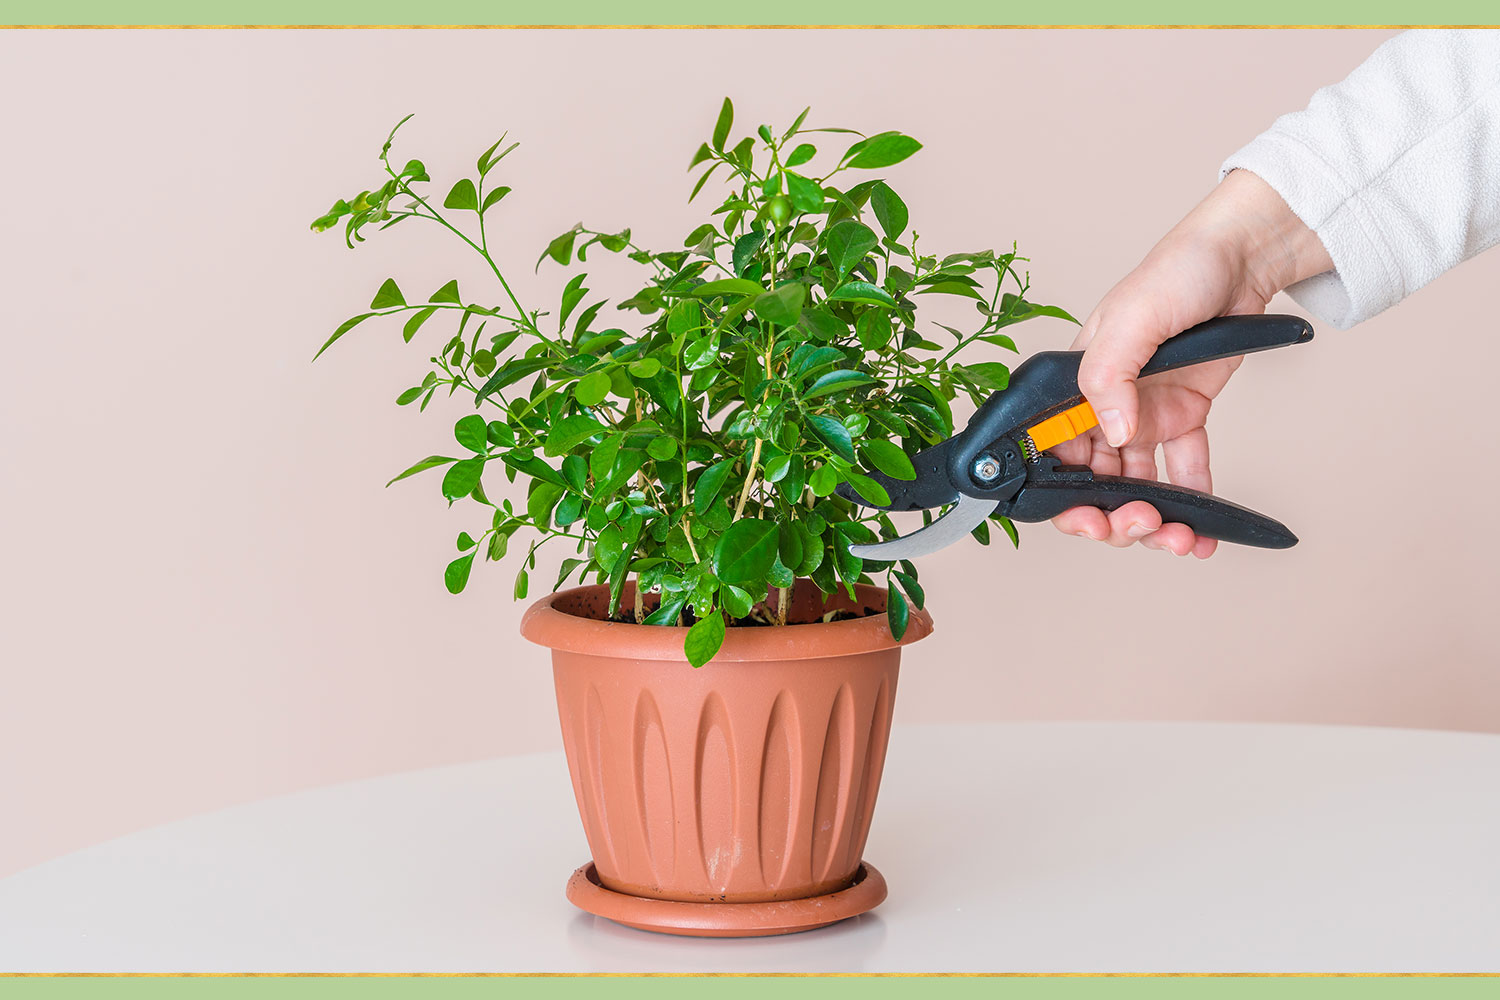
Tools Matter More Than Techniques
Generic tips say “use sharp pruners.” Let’s get real: Sterilize everything religiously! Unsterilized blades gave my calathea tiny brown splotches last April (bleach-soaked wipes fix this). And forget those rusty kitchen scissors—upgrade to ARS HS-KR1000 mini snips ($14) if possible; they slice clean without crushing delicate tissue so new buds don’t rot out after wet weather or misting.
Cost breakdown from last year:
- Bleach or isopropyl alcohol wipes: under $5/box
- Quality compact shears: $10–$25
That $30 investment has saved dozens of leaves from unnecessary scarring and disease since 2020.

Aftercare Is Less About Water…More About Light Positioning
Conventional wisdom shouts “bright indirect light.” Sure—but few mention that slight movements in positioning matter way more than fertilizer after pruning. Check every few days for subtle differences in shading; variegated edges sunburn fast but also fade if tucked behind other pots for too long.
Post-prune Pro Move (stolen from a local nursery owner): Rotate pots weekly by quarter turns after pruning sessions—that simple ritual produced truer colors than any store-bought supplement ever did last year during my run with caladium Pink Symphony cutbacks.
Risk-Taking = Results
Here’s what nobody tells you (but should): embrace controlled chaos.
- Let that all-white shoot go unchecked for one season. If it fades away? Lesson learned.
- Test leaving one longish reversion then chopping only half at once. See which branch rebounds faster.
- Take obsessive before-and-after photos—not only do they remind you how far your efforts have come (especially when growth seems glacial), but they become roadmaps for future experiments.
Not every plant recovers like textbook promises—but those surprises are where personal legend forms!
Instead of timidly clipping by formula alone, treat each pruning round as open-ended play—with enough skepticism to challenge social media perfectionism but enough intuition that your plant has space to surprise you back.
A garden full of real stories (and mistakes!) beats bland uniformity every time.
So whether you’re staring down a Monstera Albo with three rebel green leaves or plotting your next rubber tree topiary adventure—trust your hands as much as the science, talk back to your plants every now and then…and document everything fiercely.
That’s how truly legendary colors stick around—not by mimicking someone else’s checklist but by letting curiosity guide each cut.
(And if disaster strikes? There’s always next season…and more stories worth telling.)


