How to Safely Identify and Harvest Edible Flowers for Your Kitchen Garden

The first time I set out to harvest edible flowers, I thought my years as a forager and gardener would spare me any rookie mistakes. Spoiler alert: I was wrong. My hands trembled as I held up two nearly identical blossoms—one calendula, one marigold—and realized how thin the line is between a delicious garnish and a recipe for regret.

If you’re ready to bring edible flowers from garden to table without worry (and maybe with a little wonder), let’s skip the generic tips. Instead, here’s what decades of trial, error, and conversations with botanists and chefs have taught me about identifying and harvesting edible blooms safely—secrets you won’t find in every foraging guide.
How the Pros Really Identify Edible Flowers
You can’t shortcut experience, but you can lean on reliable systems. My rule after that calendula/marigold conundrum? Triple-confirm before tasting anything new.
Here’s my field-tested method:
- Start with two authoritative sources: I keep both “Edible Wild Plants” by Steve Brill and the “PictureThis” app handy. But always double-check crowdsourced apps—once, iNaturalist misidentified foxglove for borage in my own photo uploads.
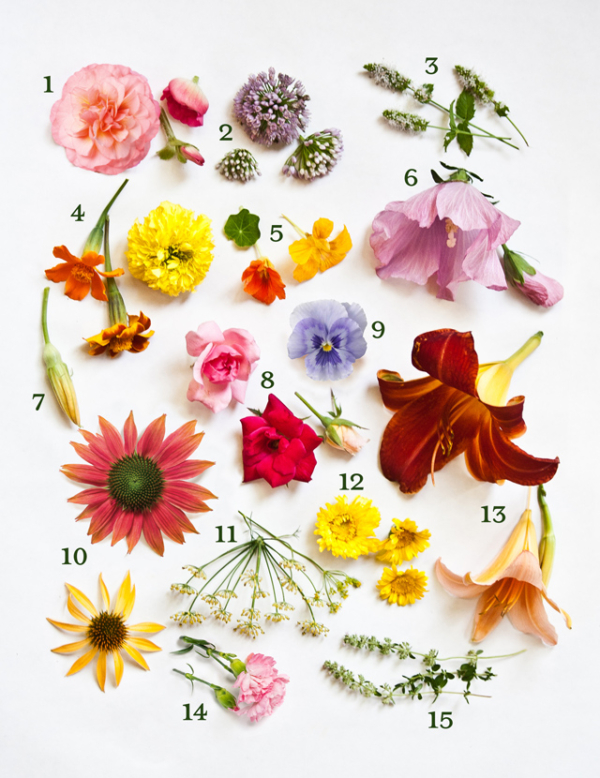
- Note the whole plant: Petal color is never enough! Study leaf shape (even touch it—borage leaves are famously prickly), growth pattern, scent (does it remind you of cucumber or muddy earth?), even location (wild violets favor shady spots).
- Ask an expert: When stuck, snap detailed photos and ask your local botanical garden or county extension office—I once saved myself from sampling toxic monkshood after emailing a plant walk leader.
Pro insight: If a flower has a poisonous lookalike—like larkspur masquerading as delphinium—I skip it until I’ve absolutely mastered ID in person.
The Unsung Danger Zones Most Foragers Ignore
Everyone says “avoid pesticides.” Here’s what they don’t say: even gardens labeled organic might be risky if neighboring yards spray chemicals—the wind doesn’t care about property lines.
After years of city foraging, here’s where I never harvest:
- Within 50 feet of busy roads or railroad tracks (lead dust lingers in soil for decades; believe me, I’ve tested those soils myself).
- Municipal parks before confirming their spraying schedule—a lesson learned after picking nasturtiums covered in chemical residue mid-summer.
- Anywhere dogs might frequent; trust me, nothing ruins your appetite like discovering the “extra fertilizer” on your haul at home.
My personal gold standard? Home gardens where I control everything—or small farms that invite you to inspect growing practices up close.
The Only Time That Matters: Dawn’s Secret
While many guides suggest “morning,” let me get specific: set your alarm 45 minutes after sunrise. This is when dew has evaporated but flowers haven’t started closing up shop against heat.
You’ll notice petals are plumper and colors vibrant—nasturtium leaves almost sparkle early on—and flavors are most intense then. I’ve compared blooms picked at different times side-by-side with chefs; morning-picked always win taste tests.

And please: use sharp kitchen scissors sterilized in boiling water—my first attempt with rusty shears left micro-tears that hastened wilting and invited bacteria.
Prep Like a Pro (and Avoid Rookie Regrets)
Here’s my five-step prep ritual honed over years:
- Give each bloom a gentle shake over white paper—you’ll spot tiny aphids this way.
- Soak briefly (~30 seconds) in ice-cold water; it revives wilted petals and removes pollen/dust more effectively than rinsing.
- Spin dry only with mesh salad spinners lined in paper towels (plastic blades bruise delicate petals).
- Taste-test methodically: Even now, whenever exploring something new—like agastache or pineapple sage—I chew half a petal first and wait four hours.
- Keep petals layered between moist paper towels inside sealed glass containers; they last twice as long versus plastic alone (up to three days at 38°F).
Once, eager to impress guests with stuffed squash blossoms straight from the vine, I skipped step one…and nearly served up an extra dose of ants alongside dinner!
The Allergy Lesson No One Warns You About
I learned this one from watching renowned chef Alice Waters at Chez Panisse sniff—not just sample—a single violet before using it on her plates. She explained that olfactory sensitivity often signals full-blown allergies lurking beneath the surface.

Since then, if anything tingles or irritates my lips during tasting—even slightly—I pass entirely. Clients prone to hay fever get only thoroughly washed petals from hypoallergenic varieties (calendula rarely causes issues).
Personal story time: In 2018, an ambitious friend blended dozens of rose petals into ice cream for her pop-up event…only to realize too late her own mild seasonal allergies went wild when concentrated! Ever since, we both micro-dose new flowers—and recommend anyone with known sensitivities do likewise.
The Fastest Way To Build Confidence
Nothing beats hands-on learning with someone who knows their stuff—which is why every spring I lead neighborhood walks through our community garden beds (“Show Me Edibles by Sight & Scent” is our unofficial motto).
If you’re solo? Start by planting edible flowers yourself using reputable seed packets labeled specifically for culinary use—Johnny’s Selected Seeds never lets me down—and labeling each plant all season long prevents mix-ups when everything starts blooming at once.

Make notes as you go: which flowers attract bees (borage inevitably does), which stay firm post-harvest (violas), which wilt no matter what you try (looking at you, tulip petals).
Harvesting Ethically: What Most Forget
Sustainable harvesting isn’t just ecological—it keeps your patch producing longer! Never take more than 30% from any stand; leave odd-shaped or insect-nibbled blooms behind so pollinators don’t starve.
In one drought year (2021), locals noticed our favorite patch of wild violets nearly vanished; only those who left most blooms saw strong regrowth next spring—a lesson etched into every future harvest trip since then.
I also avoid rare native species altogether unless cultivating them myself; some wildflowers take seven years just to bloom once from seed!
Your Personal Flower Field Guide Plan
Ready to start? Here’s how seasoned pickers keep things safe and joyful:
- Create your own two-source verification system for each unfamiliar flower.
- Make a “no-pick” map marking risky zones around your home/neighborhood.
- Set aside dawn-time harvest windows twice weekly—you’ll be amazed how much fresher those bouquets taste!
- Streamline prepping routine as above; invest $12 in a fine-mesh spinner—it pays off immediately.
- Track reactions meticulously in a tiny notebook (“Tried chive blossoms June 10th – no issue!”).
- Join local workshops—or better yet, host one yourself when ready!
Ultimately, every cautious step adds up to confidence—and soon enough you'll be teaching others these same hard-won lessons under sunlit arches of nasturtium vines or beside fragrant chamomile beds.
The real secret? It isn’t about knowing every Latin name—it’s about combining careful habit with curiosity…and never being afraid to say “not today” when doubt whispers among the daisies.
Now get out there—the world is blooming right outside your door!


