Hoya Rope Plant Care: Easy Tips to Keep Your Vining Beauty Thriving

In the houseplant world, the Hoya rope plant—scientifically known as Hoya carnosa ‘Compacta’—has earned a reputation for being both stubborn and rewarding. It looks like a tangled mess of curly vines that might test your patience, but if you crack its code, it thrives on a kind of “calculated neglect” rather than constant fussing. Most care guides will hit the basics: filtered light, airy soil, letting it dry out between waterings. But after ten years of trial, error, and occasional frustration with Hoyas scattered across my cluttered apartment and drafty office spaces, I’ve learned some subtleties nobody mentions on Instagram or at the nursery.

Let’s talk about those lesser-known truths that make all the difference—so you can enjoy this quirky plant without second-guessing yourself every step of the way.
The “Easy Care” Myth: Why Most Advice Falls Short
If you just skim product tags or quick blog posts, you'd think rope Hoyas are foolproof. They’re not. My first attempt was textbook classic: cheap plastic pot, generic potting soil, tucked away on a dim kitchen shelf—and guess what? Zero blooms after three years. Just sad vines nursing mealybugs like it was their job.
Here’s what actually matters:
Light — Quality Over Quantity
Forget broad advice about “indirect bright light.” What really counts are intense bursts of light—not just steady shade. For example, my healthiest Hoya sat two feet from a southeast-facing window, filtered through sheer curtains. On dull days, I’d turn on a simple LED grow bar (I use a Sansi 15W clip-on from Amazon for about $30). This combo doubled leaf density compared to plants in evenly lit but less intense spots.
Root Health — The Hidden Key
I once lost a prized variegated Hoya by amending potting soil with perlite alone—turned out roots suffocated anyway. Now my go-to mix is roughly:
- 40% orchid bark (fir or pine; available at garden centers)
- 20% chunky perlite
- 20% high-quality peat-based potting mix (brands like SunGro work well)
- 20% LECA balls (lightweight clay pebbles that improve drainage and air flow)
This blend costs about $12 for two gallons if you buy in small bags—you could make enough for several pots at once. Yes, it takes more effort than dumping soil into a pot, but trust me: roots breathe better and stay rot-free.
(Quick heads-up: LECA stands for Lightweight Expanded Clay Aggregate—it’s basically tiny clay balls that create air pockets.)
Watering Wisdom: Ditch The Schedule and Use Your Senses
Almost every Hoya I’ve lost died because of watering mistakes—too much or too little. Here’s how to avoid that:
-
Weight Test: Before watering, pick up your pot—feels heavy? Wait longer. Feels surprisingly light? Time to water. This method beats relying on moisture meters or set schedules.
-
Two-Step Watering: Pour water slowly until it just starts draining. Pause five minutes (lets water soak in), then add more until fully saturated but not drowning roots.
-
Post-Vacation Care: If you come back after a long trip and your Hoya’s thirsty (and possibly shriveled), don’t drench all at once! Instead, hydrate gradually over several hours using small amounts; sudden soaking shocks sensitive roots.
I learned this the hard way after losing three mature vines during one summer binge session of Netflix while forgetting my plants entirely.

Troubleshooting Tips From Real Experience
Yellow Leaves & Pesky Pests:
If older leaves near the base yellow after repotting or moving—don’t panic; it's normal stress shedding and new growth will replace them. But if newer leaves turn yellow and have sticky residue? Grab a flashlight or headlamp and inspect deep inside leaf curls for mealybugs—their cottony clusters hide in tight spots.
What’s With Leaf Curl?:
Curling leaves can mean drought stress—or salt buildup from tap water or fertilizer residues trapped in soil over time. Every March and September (season changes), flush pots thoroughly under running tap water until runoff is crystal clear—not just a quick rinse like many guides say.
No Blooms After Years?:
If your vine looks healthy but refuses to flower after two years indoors, try dropping winter night temps to around 55°F for several months—that cooler period triggers buds better than light alone.
Pro Tips You Won’t Hear Often
Vine Training for More Blooms
Don’t just let stems flop anywhere! Gently looping or staking vines around wire hoops exposes more bud sites to light evenly. One spring I staked a vine vertically using floral wire clipped softly to bamboo stakes—and it bloomed twice as fast compared to siblings left hanging loosely.
Feeding Focused For Flower Power
Skip cheap all-purpose fertilizers. Instead, use Dyna-Gro “Bloom” fertilizer at half strength every third watering during late spring and summer ($18 per quart). For eye-catching leaves faster, occasional early-morning foliar feeding with diluted solution helps too—tip picked up from an old greenhouse manager who swore by it.
(Foliar feeding means spraying nutrients directly onto leaves.)
Numbers & Practical Costs To Expect
- Time from small starter plant (~8” cuttings) to full blooming tangle: usually 3–5 years indoors unless supplemented with strong artificial light year-round
- Initial setup cost (pots + substrate + lighting): approximately $40–70 if starting from scratch—but you'll save money by avoiding repeated replacements
- Maintenance time once settled: under 10 minutes per week for pruning, dusting leaves, pest checks
Why Embracing Imperfection Pays Off
I won’t sugarcoat it—every Hoya lover has gotten frustrated when their rope plant drops leaves unexpectedly or seems stuck in limbo without flowers. It’s part of learning its unique rhythms instead of following cookie-cutter care lists blindly.
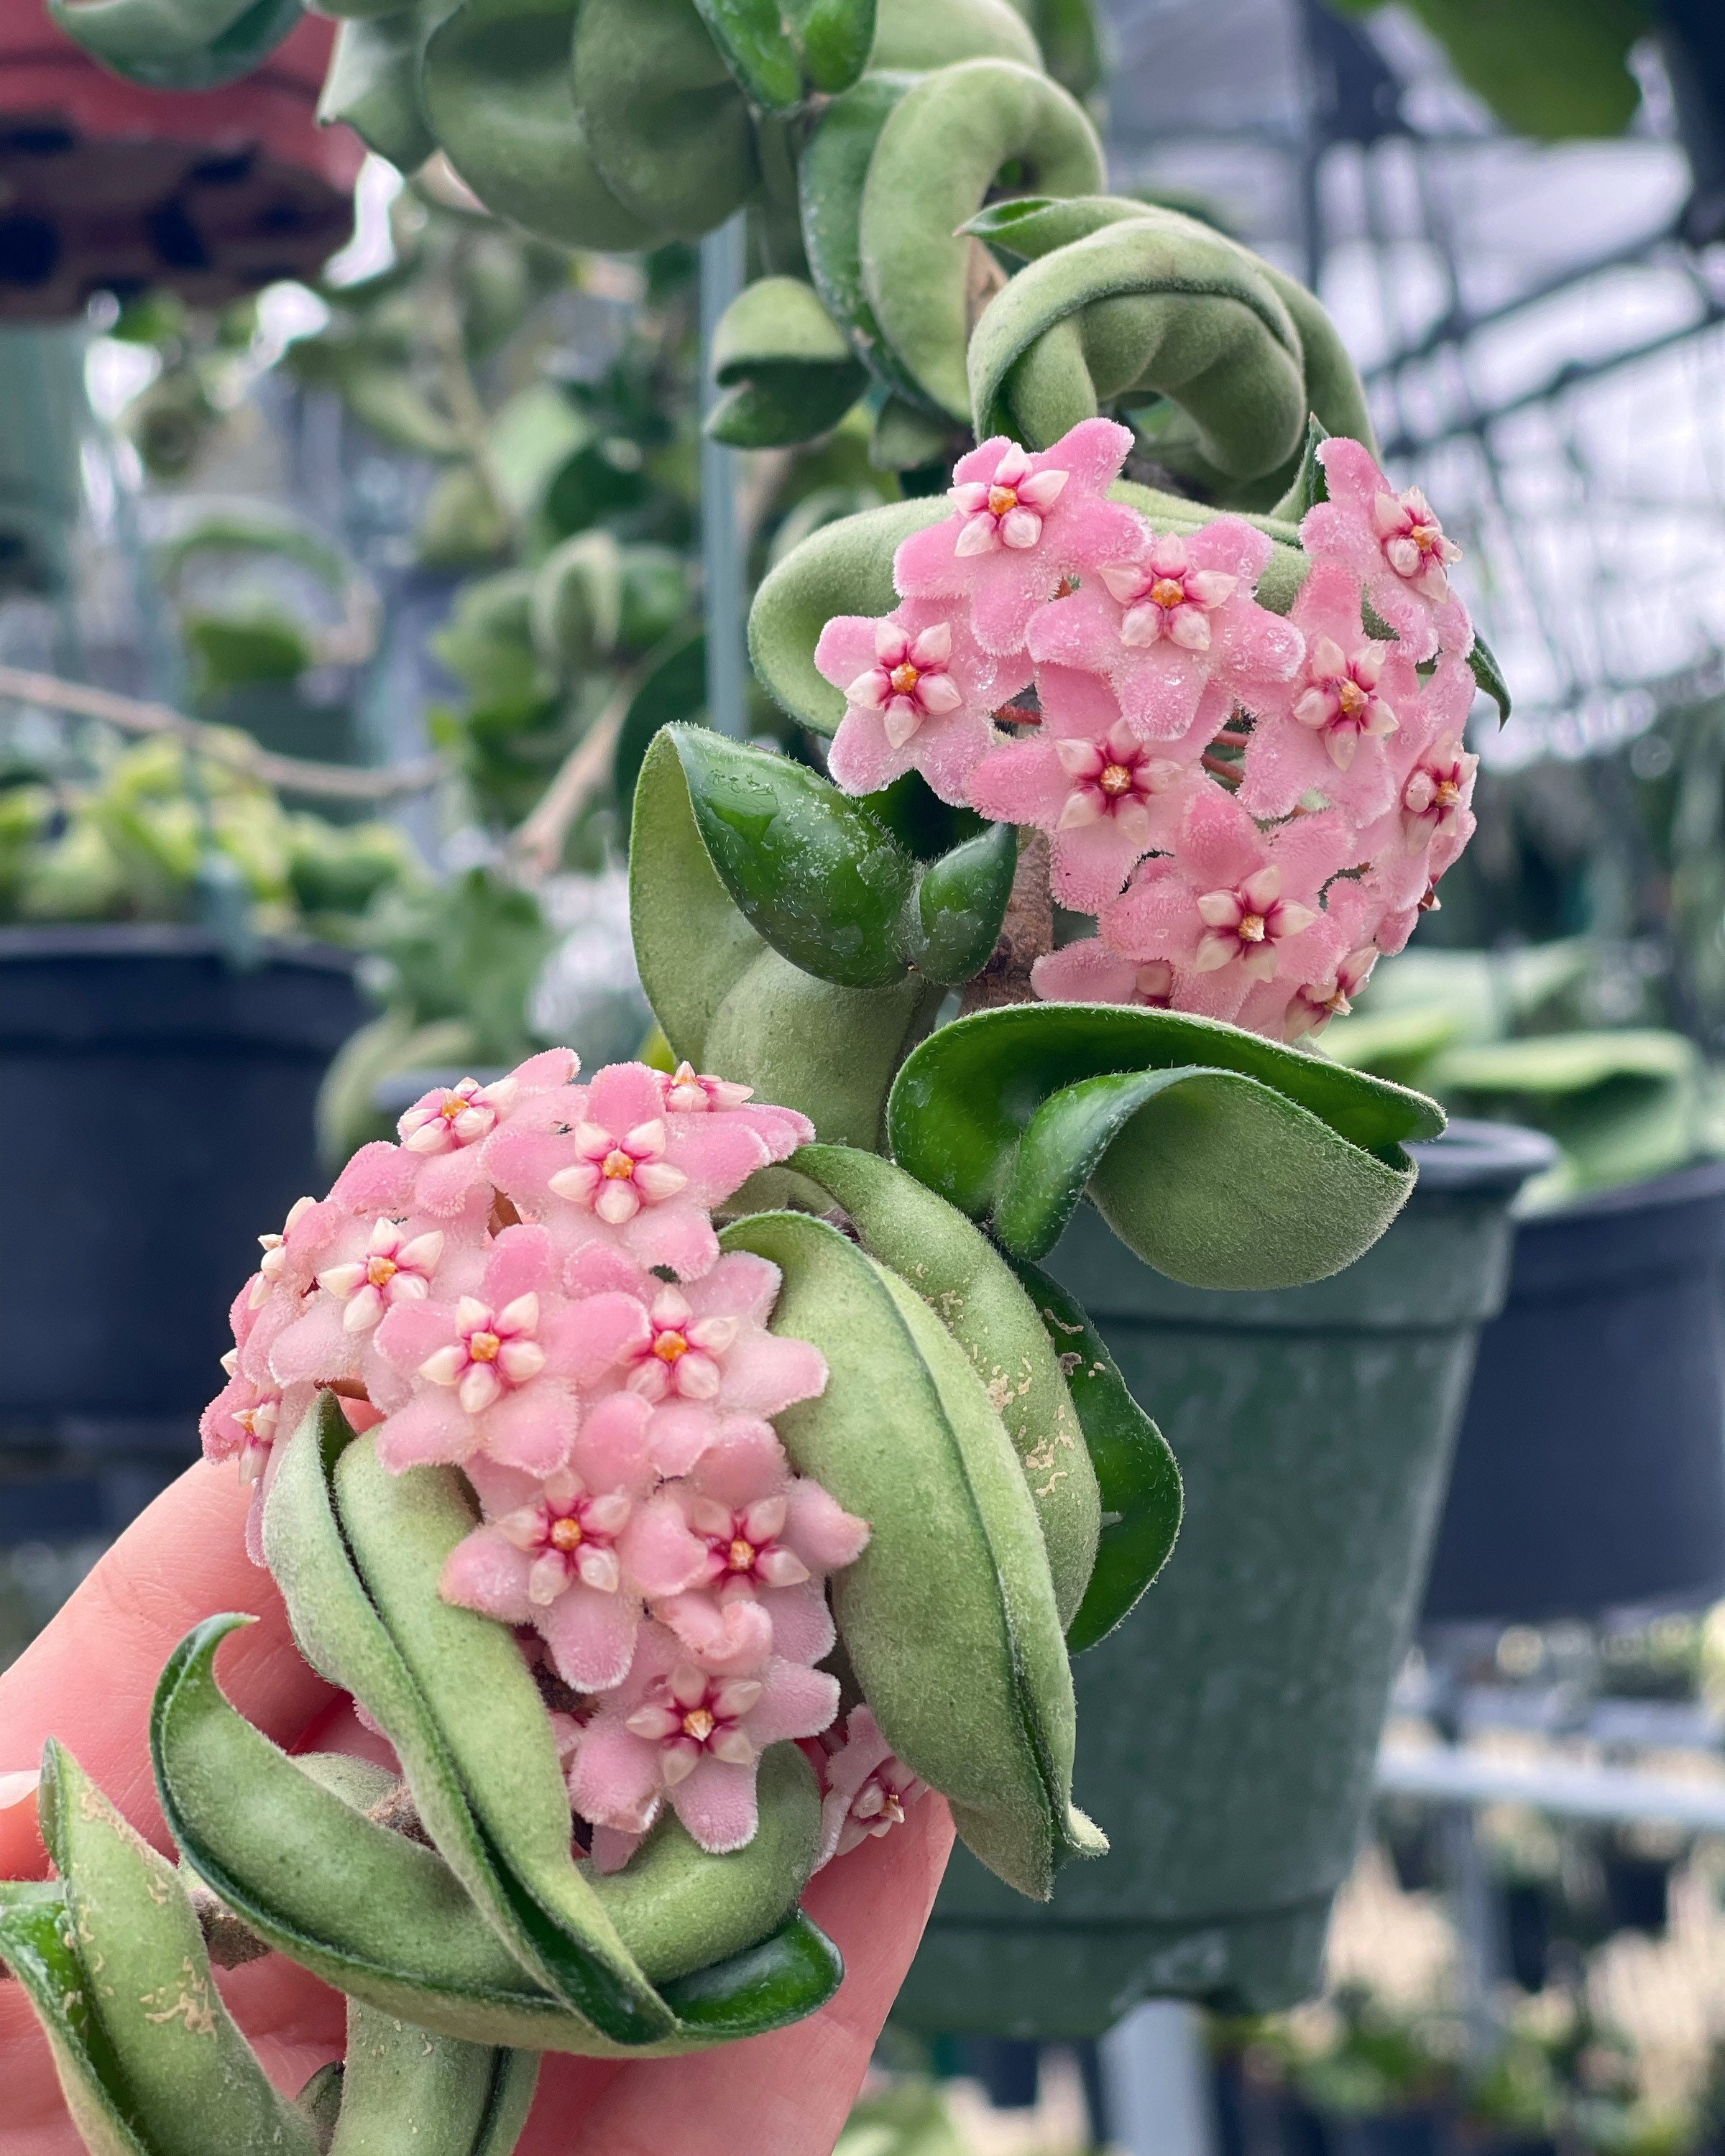
Sometimes they’ll surprise you with porcelain-pink flower clusters smelling faintly like chocolate pudding right as dusk falls—and other times they’ll sulk without warning.
The real secret? Pay attention to subtle signals—a curl here; slow yellowing there—and adjust gently instead of panicking or doubling down on care routines rigidly.
So yeah—allow yourself some mistakes along the way! That’s how true mastery grows alongside these twisting emerald noodles.
Straightforward Next Steps (No Fluff)
- Pick up your pot daily—you’ll start recognizing what “needs watering” truly feels like by weight alone.
- Before your next repot season, gather ingredients for chunky substrate mix and prep ahead—it really pays off long term.
- Spend five minutes experimenting with looping vines around supports; notice which nodes face brightest spots—they'll bloom first!
- Keep an alcohol wipe handy for quick pest cleanup during desk days—it prevents problems before they spiral out of control.
- Most importantly: Don’t just measure success by flowers alone; focus on how much less you worry each month and trust your intuition over any guide—even this one!
Welcome to the inside track—the view among these curling emerald noodles only gets richer over time!
If you ever feel stuck or discouraged remember: every twist and turn is part of learning this wonderfully weird plant’s personality—and that journey is half the joy here.


