Master Humidity Tray Setup: Boost Your Plant’s Health with Ease!

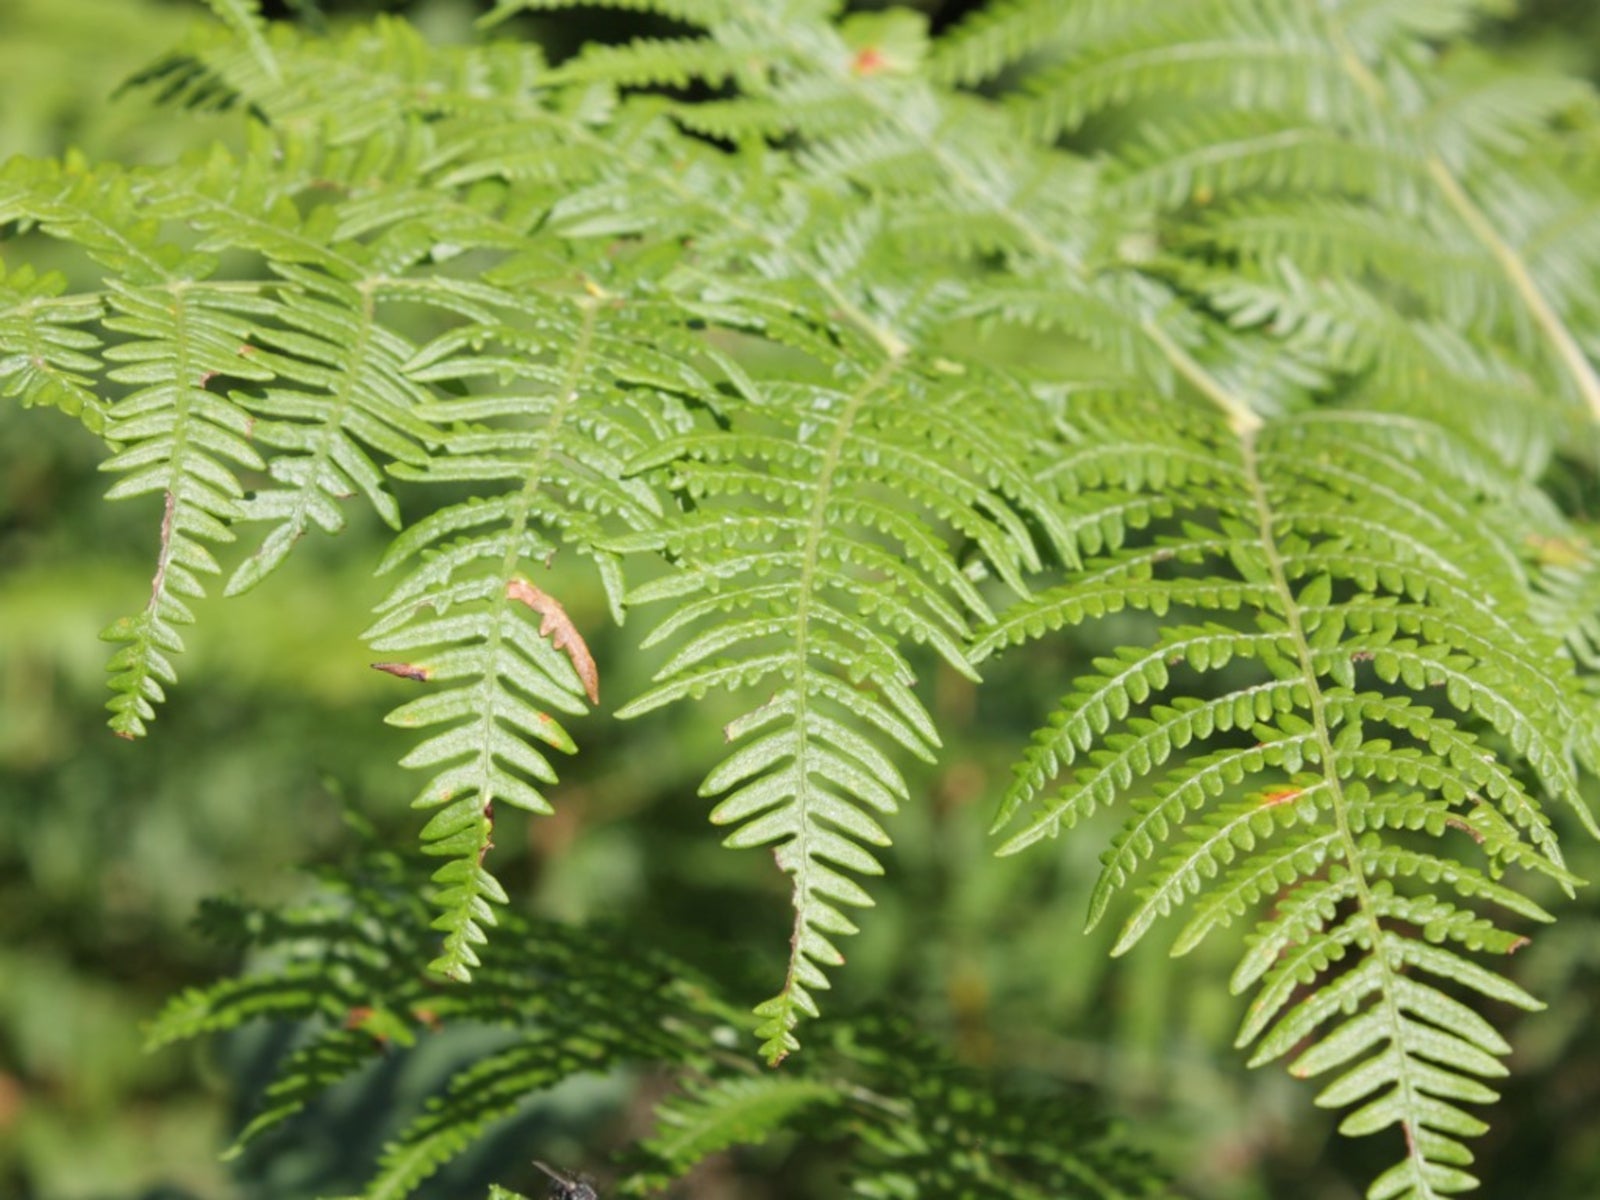
Humidity trays. The darling of houseplant blogs and reptile forums, right? I’ll confess: I used to parrot the same advice—fill a tray, scatter some stones, add water, and voilà! Your plants would supposedly bask in lush rainforest conditions. But after burning through three humidity tray “failures,” mopping up more water than I ever intended, and nearly rotting the roots on my prized staghorn fern, I started questioning whether this trick was as foolproof as everyone claims.
Let me take you back to February 2019—a winter so dry that even my sourdough starter shriveled. My living room was littered with mismatched trays: one an old Pyrex dish, another a chipped ceramic pie plate, and a third a cheap plastic saucer from the dollar store. Each held a different experiment: marbles here, river rocks there, even glass beads for my orchid shelf. Yet every morning when I checked the hygrometer next to my plants? Humidity barely budged.
That’s when it hit me: what if humidity trays are less about science and more about hope?
Humidity Trays: Not Magic Bullets
Here’s where conventional advice goes astray—people expect these trays to transform their entire room into Amazonia. In reality? A humidity tray increases moisture only immediately above its surface—about two inches max. Hold your hand above one; you’ll feel it dampen your palm only if you’re close enough for a slug to hitchhike!
When I finally invested $12 in a digital hygrometer (a game-changer—skip guessing!), I discovered my ferns were sitting in air no more humid than the hallway outside. The only difference? Sometimes puddles formed under the trays because condensation escaped sideways instead of up.
The Contrarian Setup
So why use a humidity tray at all? Here’s what most people miss:
- Trays are best for microclimates, not whole rooms. If you want real results, zero in on plants or creatures that are directly above the tray—and don’t expect miracles for anything further away.
- Don’t bother if your plant likes it dry. Succulents or snake plants will outright sulk with extra moisture hanging around their leaves.
- Bigger isn’t better. Oversized trays just mean more surface area for dust and mold—my “deluxe” baking pan version turned into an algae swamp by week two.
Instead, here’s how I finally got it right:
1. Skip The Tray For Dry-Loving Plants
My biggest mistake was plopping every plant onto a pebble tray out of guilt—especially those that hate wet feet or high humidity (hello spider plants!). Now? Only my ferns and orchids get the royal treatment.
2. Elevate…But Not Too High
I once stacked pebbles three inches deep thinking it’d boost evaporation; all it did was tip over pots during watering frenzies (and turn watering day into Jenga). These days, half an inch is plenty—just enough to keep pot bottoms bone-dry while letting vapor rise gently.
3. Use Distilled Water Or Nothing
After scraping chalky crusts off glass shelves for weeks (hard tap water is relentless), I switched to distilled water—about $1 per gallon at big box stores—and never looked back. Bonus: fewer weird smells and gnats.
4. Clean Like You Mean It
Algae is inevitable unless you make weekly cleaning non-negotiable. Sunday mornings now start with hot water rinses—I dump old stones into a colander, blast them under the faucet (no soap needed), then let everything air-dry before resetting.
When It Worked (And When It Flopped)
Remember Mina—the woman who lined her bookshelf with glass dishes? She called me last year after discovering black stains on her favorite mid-century teak shelf… Turns out even pretty setups can hold hidden dangers if overflow happens unnoticed during refill rushes.
Contrast that with Alex’s leopard gecko tank: He put his humidity tray beside the enclosure—not underneath—to avoid accidental spills near electrical heat mats. His gecko shed perfectly; his nerves stayed equally intact.
Why Even Bother?
With all these caveats, why do I still swear by humidity trays—for certain situations?
Because when they’re used purposefully (not universally), they solve micro-humidity problems beautifully—with minimal fuss or cost:
- My Boston fern sits perkily above aquarium gravel in a thrifted glass pie plate ($2 total investment).
- Orchids thrive on narrow window ledges where small trays fit perfectly between pots.
- My moss terrarium gets its own “cloud” from a tiny ramekin filled with jade pebbles beneath mesh lids—but only after measuring humidity spikes firsthand.
Final Words From A Former Skeptic
If there’s one thing years of trial-and-error taught me: ignore blanket advice about humidity trays being essential for all indoor greenery or critters—they aren’t magic wands! Instead:
- Use them strategically—for tropical species or pets needing local moisture.
- Keep setups simple (shallow stones + distilled water).
- Monitor actual results with something better than guesswork—a basic digital hygrometer costs less than lunch.
- Clean regularly; treat algae like an old rival.
- Don’t be afraid to skip them entirely if your space is already humid or your plant doesn’t care!
Every time someone tells me “humidity trays saved my orchid,” I ask which part—cleaning up spills or winning against root rot? There’s always laughter…and usually relief at having found what works for them, not just what blogs prescribe.
So try it—but trust your own observations over any expert’s gospel (even mine). Sometimes real growth comes from breaking the rules…and maybe getting your hands wet along the way!

.jpg)

