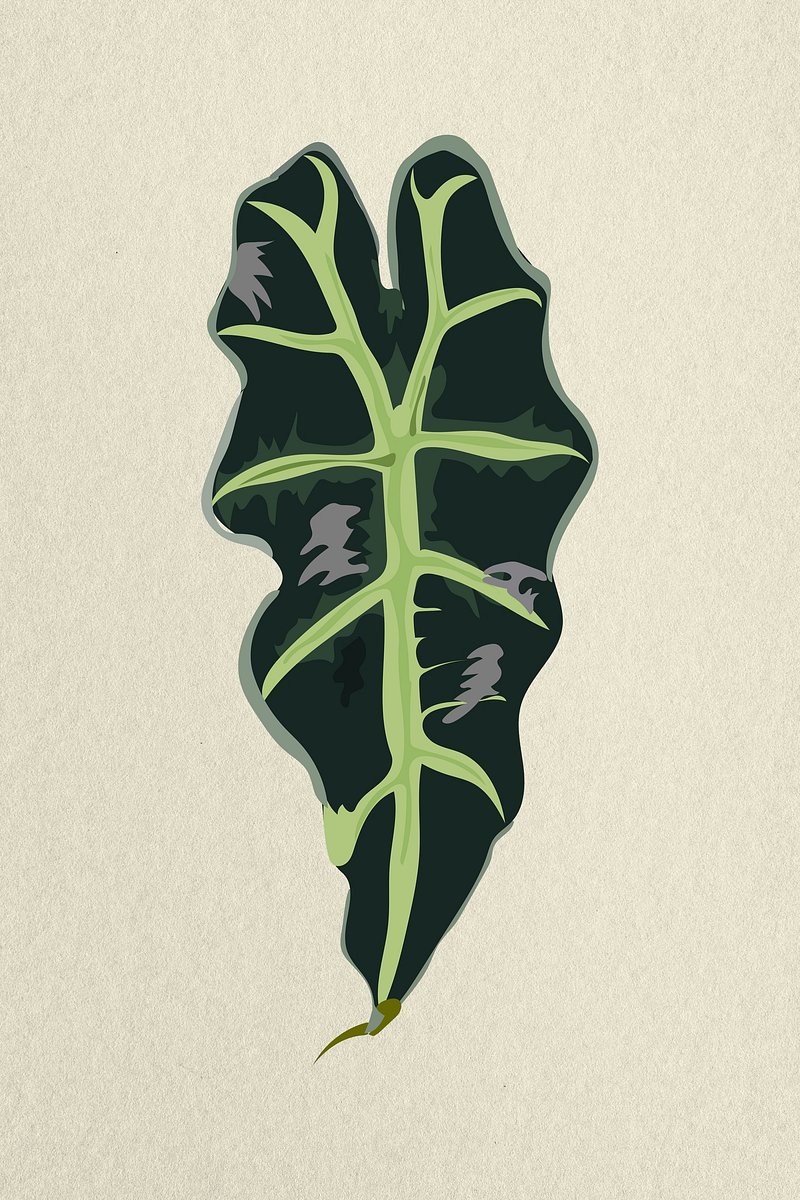
Ideal Lighting and Soil Tips for Healthy African Mask Plants

When I got my first African Mask Plant—a stunning monstera with those wild, perforated leaves—I thought I’d cracked the code. Everyone says “bright, indirect light” and “well-draining soil,” right? So, I picked a standard peat-based mix and plopped it near my south-facing window. Within a week, those gorgeous leaves started curling and yellowing. Not because I forgot to water or anything obvious—but because the usual advice, while directionally right, missed the fine print that really makes or breaks this plant’s health. For a more detailed understanding, check out this comprehensive guide to African Mask Plant care.
Here’s what I’ve learned the hard way—through trial, error, and more dead leaves than I care to admit: “Bright, indirect light” isn’t nearly specific enough. And that peat-based soil everyone swears by? It can actually suffocate your roots if you don’t balance it just right.
Lighting Reality Check: What “Bright Indirect Light” Really Means
Most guides say African Mask Plants want bright, indirect light. But here’s the thing—not all indirect light is created equal. My plant thrived on an east-facing window at first but started sulking when I moved it to a north-facing spot that technically still got “indirect light.” Why? Because the quality and consistency of that light matter way more than just brightness.
These plants evolved beneath tropical canopies where sunlight filters steadily through layers of leaves—not harsh beams or patchy shadows. Indoor lighting is messy: morning might be perfect, but afternoons bring creeping shadows or sudden bursts of direct sun that fry leaves without warning.
What helped me? I bought a handheld lux meter (yes, an extra gadget) and tracked how much light my plant got throughout the day. Aim for a steady 10,000 to 15,000 lux—not wild spikes over 25,000 or dips below 5,000. If your home can’t deliver that naturally (especially in winter), a full-spectrum LED grow light like the Spider Farmer SF-1000 on a 12-hour timer made all the difference for me.
No lux meter? No problem! You can approximate by placing your plant near an east or north-facing window with sheer curtains to soften any harsh sun. The goal is steady filtered brightness—think comfortable reading light—not direct rays blasting for hours.
Soil Mix Truth: Why Peat Alone Can Be Your Plant’s Worst Enemy
The classic advice is “peat-based soil with some perlite or orchid bark.” Sounds straightforward until your plant’s roots start rotting despite following this “formula.”
My mistake was leaning too hard on peat moss thinking its moisture retention was gold. But peat compacts fast if you don’t balance it well—like trying to breathe through a wet sponge. When I repotted using a commercial “tropical blend” with about 40% peat and only 10% perlite plus bark, the soil stayed soggy for days—and my plant looked worse than before.
What finally worked was switching to a chunkier recipe:
- 50% coco coir (less acidic and less compacting than peat)
- 35% perlite (big air pockets so roots can breathe)
- 15% orchid bark (adds chunky structure and helps water drain quickly)
This mix mimics the airy forest floor these plants call home—moist but never swampy.
Watering Woes: It’s Not Just How Much You Water
I thought cutting back watering would fix leaf wilting—nope. After repotting into that chunkier soil and watering once a week like clockwork, my plant still drooped sometimes.
The key insight? It’s about how quickly excess water drains AND how much oxygen reaches the roots—not just watering less or more.
If soil stays soaked over 24 hours, roots suffocate and rot sets in; if it dries out in under 24 hours consistently, roots shrivel—even if you’re watering regularly.
Here’s what finally saved me: after watering thoroughly (water pouring freely from drainage holes), I started checking soil moisture daily with a moisture meter instead of guessing by touch—which can be tricky! When soil hit around 30% volumetric water content (usually about day three after watering), I watered again.
No moisture meter? Try sticking your finger about an inch deep—the soil should feel damp but not muddy or bone dry.
Early Warning Signs You Can’t Ignore
-
Yellow lower leaves + mushy stems? Usually root rot from compacted soil holding too much water. I remember freaking out when my once-vibrant leaves turned limp overnight—that’s your red flag. For more on common issues, see common pests and diseases affecting African Mask Plants.
-
Leggy growth + tiny new leaves? Light is fluctuating or too low. Your plant is stretching like crazy trying to find better light.
-
Brown leaf tips creeping in slowly? Probably too much sneaky direct sunlight or uneven watering routines causing stress.
These aren’t minor quirks—they’re your plant waving big red flags before things get ugly.
What Care Guides Don’t Tell You: Stability Beats Perfect Conditions Every Time
Most tutorials obsess over perfect conditions but forget one thing: your home environment moves around—light shifts with seasons; humidity rises and falls; life happens.
The secret is stability over perfection. Find one spot where lighting stays fairly consistent day-to-day—even if it’s not blazing bright—and use that chunky soil recipe above. That combo lowers stress far more than chasing every little detail like lighting extremes or watering schedules every few days.
The One Thing I Wish Someone Told Me Before Killing My First Plant
Resist the urge to move your African Mask Plant chasing every sunbeam or testing every new potting mix online.
Instead:
Pick one stable spot with consistent filtered light AND commit to that chunky soil mix with great drainage—then leave it alone for at least three weeks before touching anything else.
Patience here is underrated. Once I stopped micromanaging every leaf curl or color change and trusted those two factors consistently… my plant exploded with new growth within just one month.
For a complete overview of how to care for your African Mask Plant, be sure to explore the detailed tips and tricks in the complete overview of African Mask Plant care. If you’re interested in multiplying your plant, check out effective propagation techniques for African Mask Plant.
Quick Action Plan You Can Actually Use Today
- If you have one, measure lighting with a lux meter aiming for steady 10k–15k lux daily.
- No meter? Place your plant near an east/north window behind sheer curtains—avoid direct afternoon sun.
- Use this airy soil mix: roughly 50% coco coir + 35% perlite + 15% orchid bark.
- Water deeply but only when top 1–2 inches of soil feel dry (~30% moisture). Check with finger if no moisture meter.
- Keep your plant at least 3 feet away from windows with strong direct sun, or use sheer curtains.
- Resist moving or repotting more often than every few weeks unless there are clear signs something’s wrong.
- Most importantly: pick one spot and stick with it long enough for your plant to settle—it needs time!
African Mask Plants are tough survivors when you nail these two foundations—not just “good enough,” but consistent conditions mimicking their rainforest understory homes indoors.
Do this once right—you’ll save yourself months of frustration and dead leaves—and gain one of the most rewarding tropical companions ever.
Trust me—I’ve walked through scorched leaves and sad wilts so you don’t have to go there again!
Keep going—you’ve got this!


