Jade Plant Bonsai: Practical Solutions for Healthy, Thriving Trees

The Jade Plant Bonsai Master Class: From First Cut to Living Sculpture
On a brisk Saturday morning in late March, I stared at the battered jade plant I’d just inherited—a spindly thing rescued from the edge of a friend’s recycling bin. Its leaves were wrinkled, trunk scarred from years of neglect, and yet…somewhere beneath its tired exterior was the promise of something grander, almost mythic.

That was my gateway into jade bonsai. What began as an act of rescue soon became relentless experimentation—failed cuts, surprising successes, and discoveries that no step-by-step list ever warned me about.
Join me as we walk together—all skill levels welcome—through every twist and triumph on the path to jade bonsai mastery. No platitudes here; only gritty wisdom gathered through seasons of trial (and laughter).
1. Welcome to Your New Obsession: Why Jade Plant Bonsai?
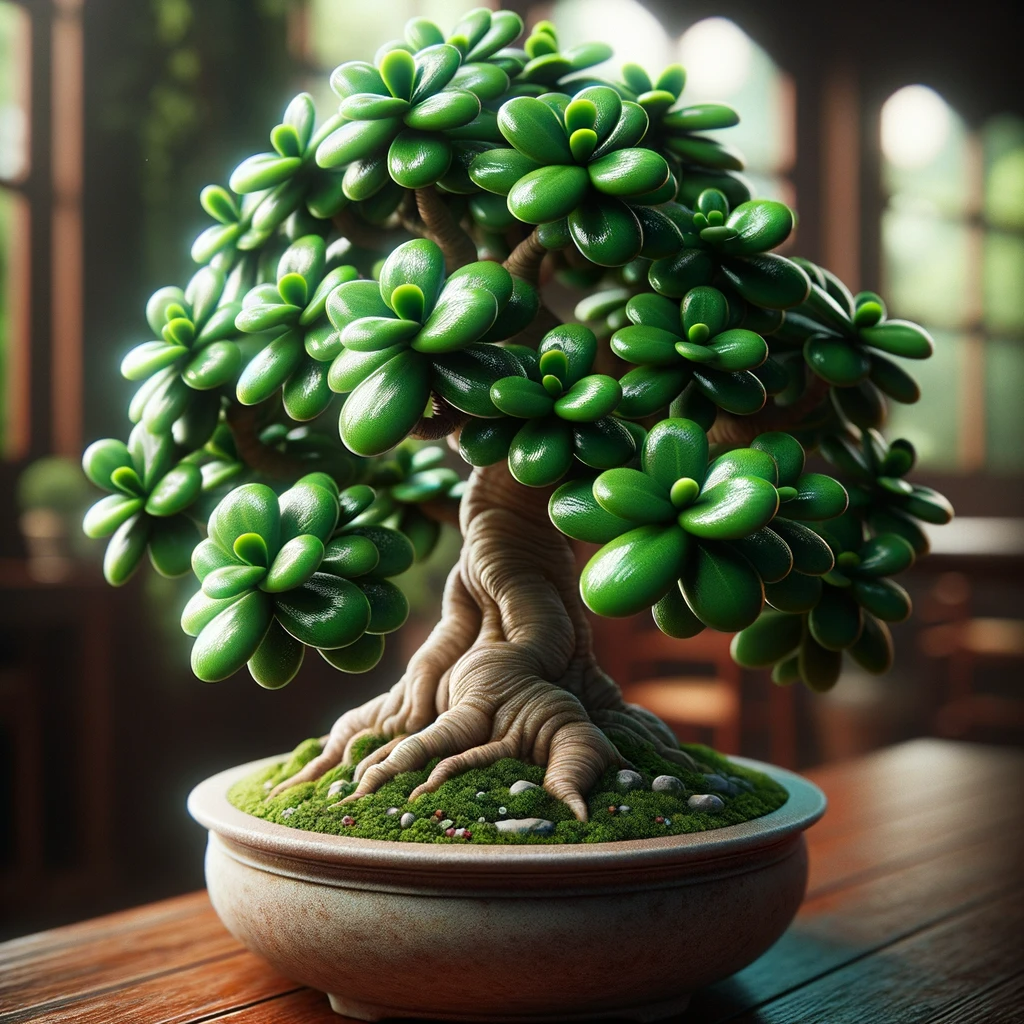
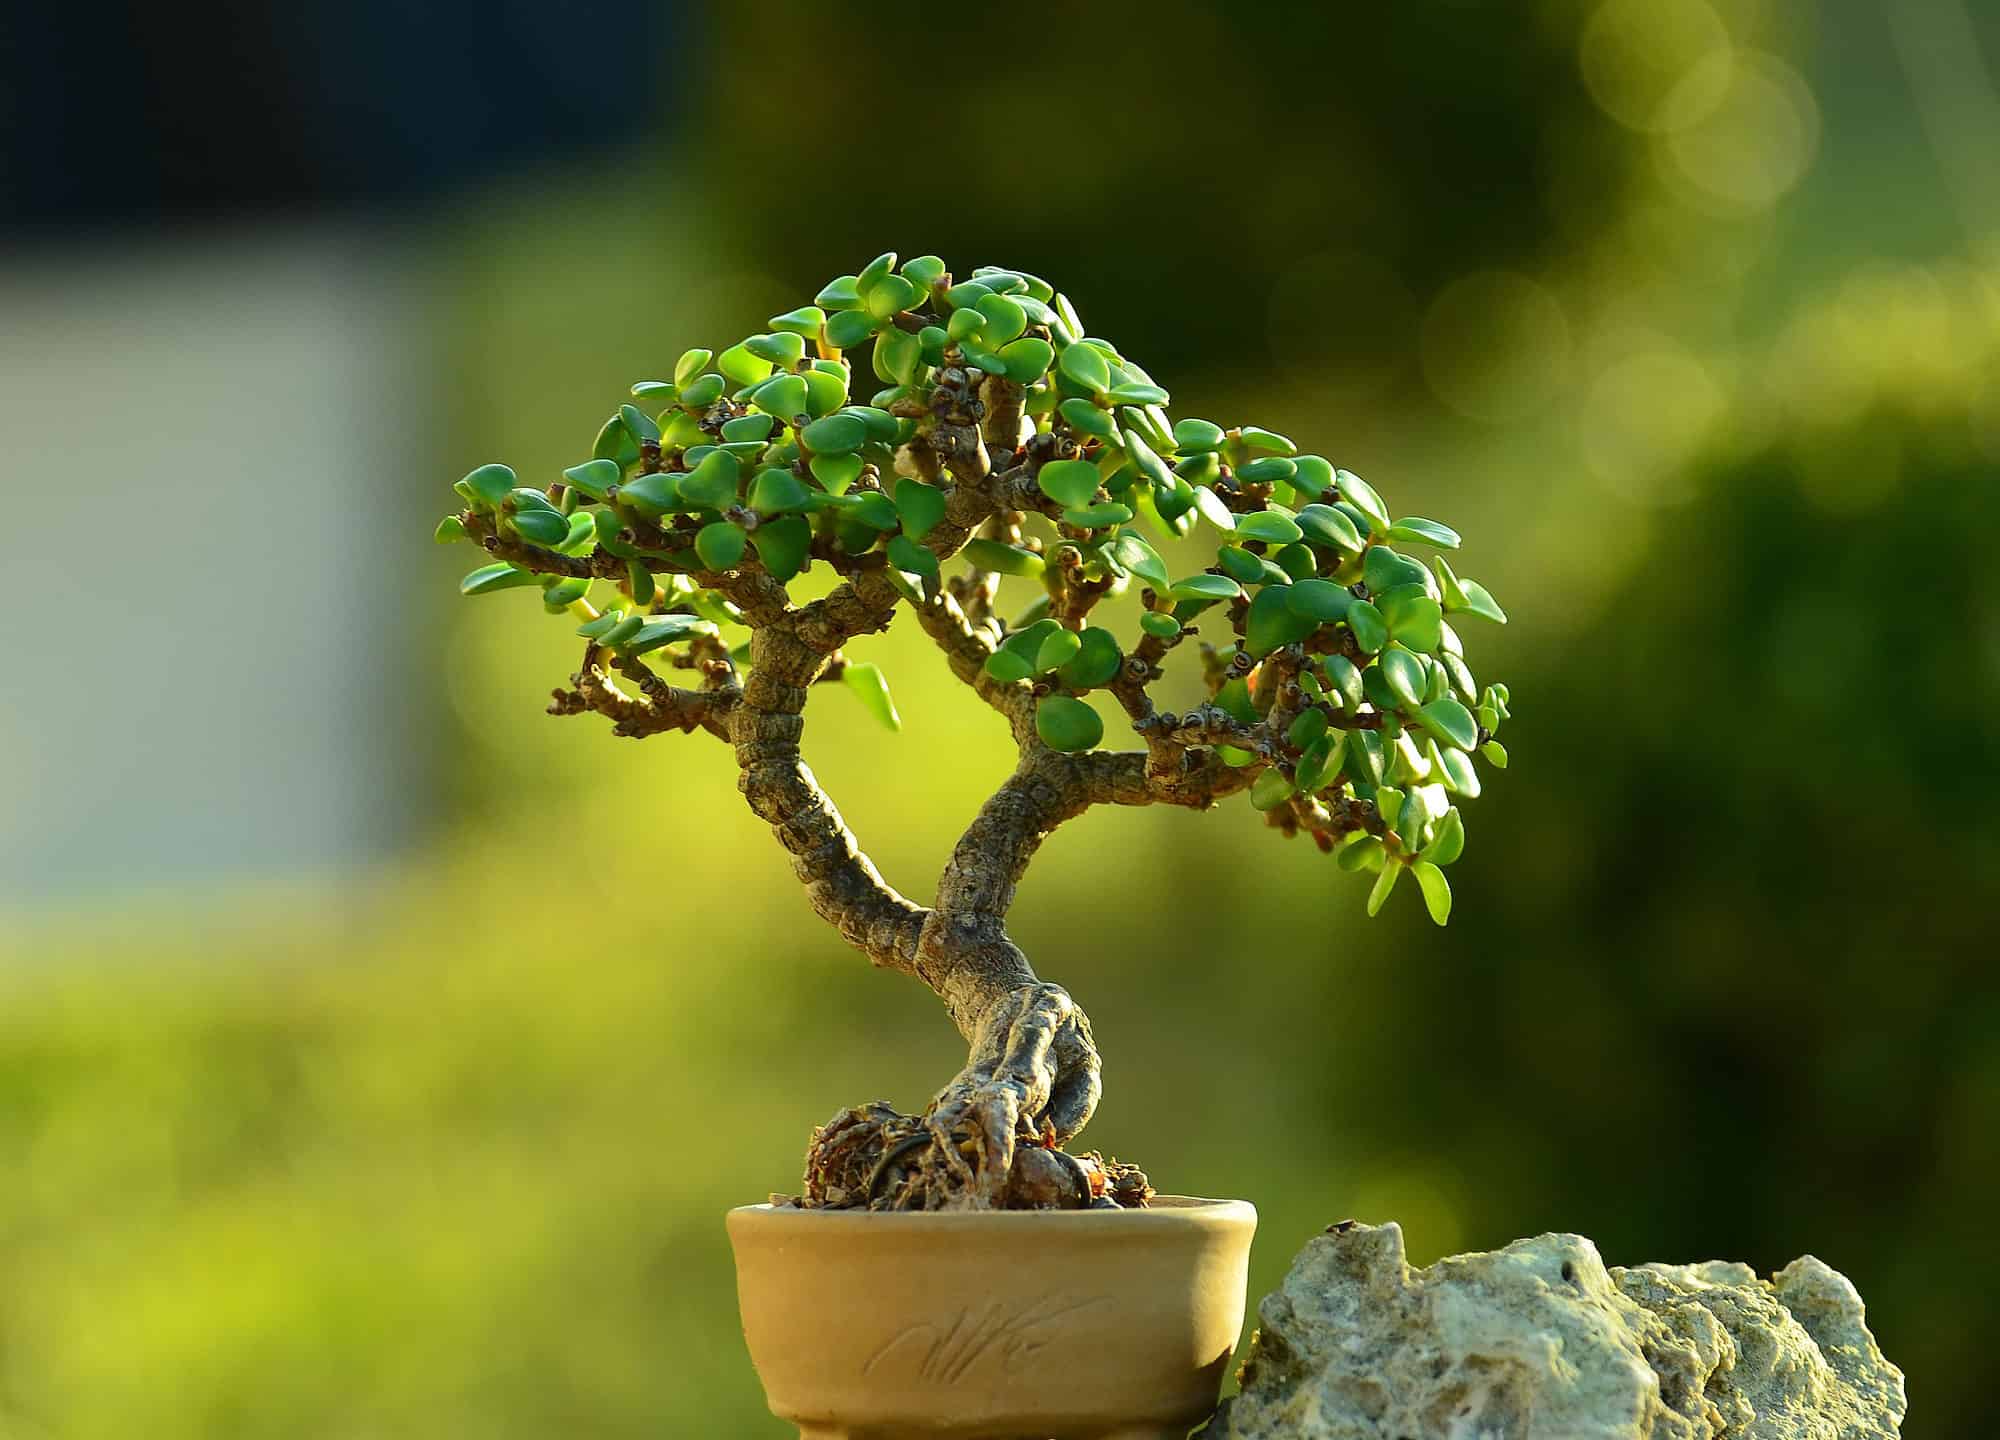
Picture this: It’s dawn. The first rays light up a thick-trunked silhouette perched on your windowsill—a miniature tree so gnarled it looks centuries old, leaves aglow like polished emeralds. This is not a plastic relic or a greenhouse prefab; it’s your living testament to patience and artistry.
Why Jades? The Case for Choosing Crassula ovata
My own initiation into bonsai began with classic trees—juniper, ficus—but they were fussy indoors and refused to forgive rookie blunders (like skipping a watering during finals week). Jade changed all that:
- Resilience: Survived dropped pots, missed waterings—even cat attacks (don’t ask).
- Speed: What would take pines five years (a fat base and eye-catching nebari) can happen with jade in two.
- Styling Range: Whether you crave windswept drama or upright tranquility, jade can be sculpted—if you dare push its limits.
I've seen plants morph from limp beginners to jaw-dropping centerpieces within three seasons—my “training forest” went from forlorn stragglers to a conversation piece at my housewarming party (“Wait—you made these?” became my favorite guest question).
2. Under the Hood: Understanding the Jade Plant Like an Expert
Let’s dig into what makes Crassula ovata so adaptable for bonsai—and where you’ll need to improvise versus following tradition by the letter.
Anatomy & Instincts
Crassulas store water in their trunk and glossy leaves—a defense forged under African sun but a crucial hint for us: overwatering kills faster than any other mistake.
A quick quiz I still do after every pruning session:
- How do the branches sound when bent?
- Young = starts soft then creaks
- Old = silent just before it snaps
- Where are nodes clustered?
- Every growth spurt brings new nodes closer together—that's where your future dense canopy begins
Unique Bonsai Rules for Jades
- Never repot right after deep watering—it’s heartbreak waiting to happen.
- Always let cut wounds dry at least overnight before returning soil.
- Skip peat-heavy soils; I once lost an entire tray (eight experimental cuttings!) because roots suffocated during one rainy autumn week.
3. An Apprenticeship in Miniature Craft: Step-by-Step From Seedling to Statement Piece
I want you not just reading these steps—but standing in my shoes as each season turns:
Stage One: Spotting Potential
The best starter jades are often “rescues”—old supermarket souvenirs or hand-me-downs with trunks thicker than your thumb. Don’t dismiss straggly stems; inside every awkward sapling is a possible masterpiece (the gnarliest one in my collection sat ignored behind someone’s shed for eight years).
Checklist Before You Begin:
- Trunk diameter at least pencil-thick
- Side branches near base (not just tufts at tips)
- Free of root rot/mushy tissue—even salvageable plants can lose everything fast if you ignore this early sign!
Tools For Your Journey
Here’s what actually matters:
- Razor-sharp shears (Sterilize them between cuts! A lesson learned after nearly losing half an old favorite to black stem rot.)
- Chopsticks—Not kidding! Perfect for loosening compacted soil during root work.
- Soil: 50% cactus mix + 30% coarse perlite + 20% pumice has been my gold standard since spring ‘21.
- Shallow pot, terra cotta if possible—a $5 shallow dish outperformed every glazed container in airflow tests!
- Aluminum wire (optional)—only for branches thinner than a drinking straw.
First Styling Session: Breaking Inertia
Before you make your first bold snip, stand back and imagine—what could this trunk become in five years? Upright oak? Windswept pine? Multi-stemmed grove?
For my “Grandfather Tree” project:
- Chose front based on curve and bark texture—not symmetry alone.
- Pruned main trunk down by one-third (“Am I killing it?” whispered my inner critic).
- Stripped low branches/leaves until trunk base felt “rooted.”
- Dusted wounds with cinnamon (nature’s own antifungal!).
Advice born from error: Over-prune by 10–20% less than you think at first sitting; many jades bounce back strongly—but some will sulk for weeks if pushed too hard off-schedule (late winter especially).
Root Surgery & Potting Magic
Nothing changes plant destiny more than radical root work.
- Gently tease out roots with chopsticks.
- Snip any blackened/tangled sections but never remove more than 50% total volume per session.
- Let exposed wounds dry IN SHADE overnight—in summer heat, even four hours does wonders preventing rot.
Position slightly off-center so each glance reveals new layers—asymmetry creates movement!

4. Growing Pains—and How Masters Outmaneuver Them
Everyone meets these villains along their journey:
Overwatering Fiascos
It took two tragic losses before I learned patience: Only water when even the bottom inch of soil feels entirely dry—and only then give enough until water trickles out drainage holes.
When disaster strikes?
- Remove sodden plant ASAP
- Allow roots open air until slightly leathery (6–12 hours)
- Repot DRY—no matter how counterintuitive it feels
Pruning Panic Attacks
Early on, my perfectionism kept branches too long (“Just in case!”) until leggy messes formed instead of artistic silhouettes.
Resolution came from hitting “reset”:
- Schedule big prunes only during spring surge
- Don’t fret if leaf-tips shrivel—the next burst is far denser!
Light Battles
Apartment life means improvisation:
I’ve used dollar store aluminum reflectors taped behind pots; combined with $20 clamp LED grow lamps set on timers (10am–6pm), even north-facing corners transformed into thriving green galleries within weeks.
Miss this detail and expect stretched stems that won’t hold shapes long-term!
5. Elevating Your Craft: Advanced Techniques Unveiled
Now let’s shift gears—from keeping alive…to shaping legacy pieces!
Mastering Succulent Wiring
By midsummer ‘21 I experimented with young shoots (<¼" thick)—wrapping gently with anodized aluminum wire for six weeks max.
Key lessons learned:
- Never wire past mild resistance.
- Remove wires as soon as shape holds—jade scarring is permanent beyond two months!
- For older wood? “Clip-and-grow” wins every time: prune just above node facing desired fork direction; repeat quarterly for intricate zig-zagging profiles.
Creating Micro-Leaves (& Wow Factor)
My smallest-leafed specimen sits beside me now—a result of ruthless discipline:
- Maximum sun exposure WITHOUT overheating glass nearby (~15K LUX ideal measured via phone app)
- Monthly trimming JUST above active nodes all summer; never fertilized past April (“less nitrogen = smaller leaves,” proved true year after year)
Nebari Engineering Secrets
Surface roots evoke ancient trees best when exposed gradually:
Each spring repotting, gently fan outward another ring but keep covered by thin gravel layer until new feeder roots appear…rush this process and risk dieback instead of flare!
6. Your Toolkit Refined—Invest Where It Matters Most
Skip overpriced sets; here are tried-and-tested investments plus raw honesty:
| Tool | My Experience |
|---|---|
| Japanese concave cutters | Heirloom quality if you’re bitten by the bug—they make pruning calluses vanish |
| Hardware-store wire | Works fine on soft stems—even household twist ties will do day-one |
| Mesh screen scraps | Stop precious soil loss through drainage holes |
| Hand-thrown ceramic pots | From Etsy artisans ($25–$60): stunning upgrade once root mass establishes |
And always…chopsticks end up MVPs whether untangling roots or propping up wayward branches post-prune!
7. Journeys That Inspire Confidence
Sarah's Turnaround Tale:
Last spring, Sarah nearly tossed her leggy unicorn horn-looking jade but instead went rogue—
cutting it down to three bare stubs above visible nodes (“It’ll never come back,” her husband teased). By September…the stubs exploded into dense rosettes across each branch tip!
What worked: Courage plus confidence that healthy root mass trumps timid pruning every time.
Eli's Studio Solution:
No sunlight views meant Eli installed clamp-on LEDs ($17 set from Target). He stuck religiously to turning pots weekly; now his zigzagging group planting rivals anything he saw on social media—and his neighbor commissioned him two multi-trunk gifts last Christmas!

Lena's Nebari Obsession:
During each annual repot Lena spent ten patient minutes splaying fine surface roots outward using chopsticks…and now strangers assume her centerpiece cost triple what she paid because the base swells like those legendary century-old Japanese maples.
8. Troubleshooting From Experience—not Textbooks
You’ll face unpredictable challenges unique to jades:
| Problem | Real-world Fix |
|---|---|
| Mushy dark stem bases | Cut all brown/black section away ABOVE healthy tissue; let both ends harden overnight before replanting |
| Leaves thin/wrinkled | Double-check root health first! If fine—increase soak interval by TWO days before panicking |
| Bleached leaf edges | Reduce grow light or slide pot back from window by six inches hard midday sun fries succulents quickly |
| Mealybugs/mites | Rubbing alcohol Q-tip swipe wipes colonies instantly—isolate infected pot while treating repeatedly |
Neem oil worked wonders twice…but always check sensitivity overnight first or risk burning prized foliage!
9. Year-Round Blueprint: The Jade Bonsai Calendar Revealed
Winter Rest: Minimal touches besides pest patrol
Early Spring: Major surgery time! Big chops/reports when growth resumes
Late Spring/Summer: Frequent pinches/pruning every few weeks = most compact growth
Fall Drawdown: Taper off water/fertilizer as light wanes
Tracking results month-by-month brought new appreciation—I once doubted progress until side-by-side photos revealed swelling trunks and tighter pads year-over-year (“Patience,” scribbled across April pages!).
10. Next-Level Growth—Community & Creativity Await
By now you’re armed not just with method but momentum:
Start exchanging stories/photos online—you’ll learn more absorbing others’ missteps than any manual provides! Challenge yourself yearly: experiment with styles beyond classics (multi-trunk forests! Windswept drama!). Trade clippings locally—the wildest varieties arrived via porch swaps rather than garden stores.
And savor this truth I've lived through many growing seasons—the heart beats calmest while hands shape living things.
One sunny afternoon soon enough, you’ll sip coffee beside your miniature "ancient" tree—knowing its form emerged not from luck or rote habit...but conscious risk-taking melded with daily care.
That is what makes jade bonsai truly unforgettable art.
So go forth—with shears sharpened and spirit curious! Your story deserves its own chapter among these tiny titans.
(And never forget—the weird bendy branch left today might become tomorrow's prize-winning arc...)


