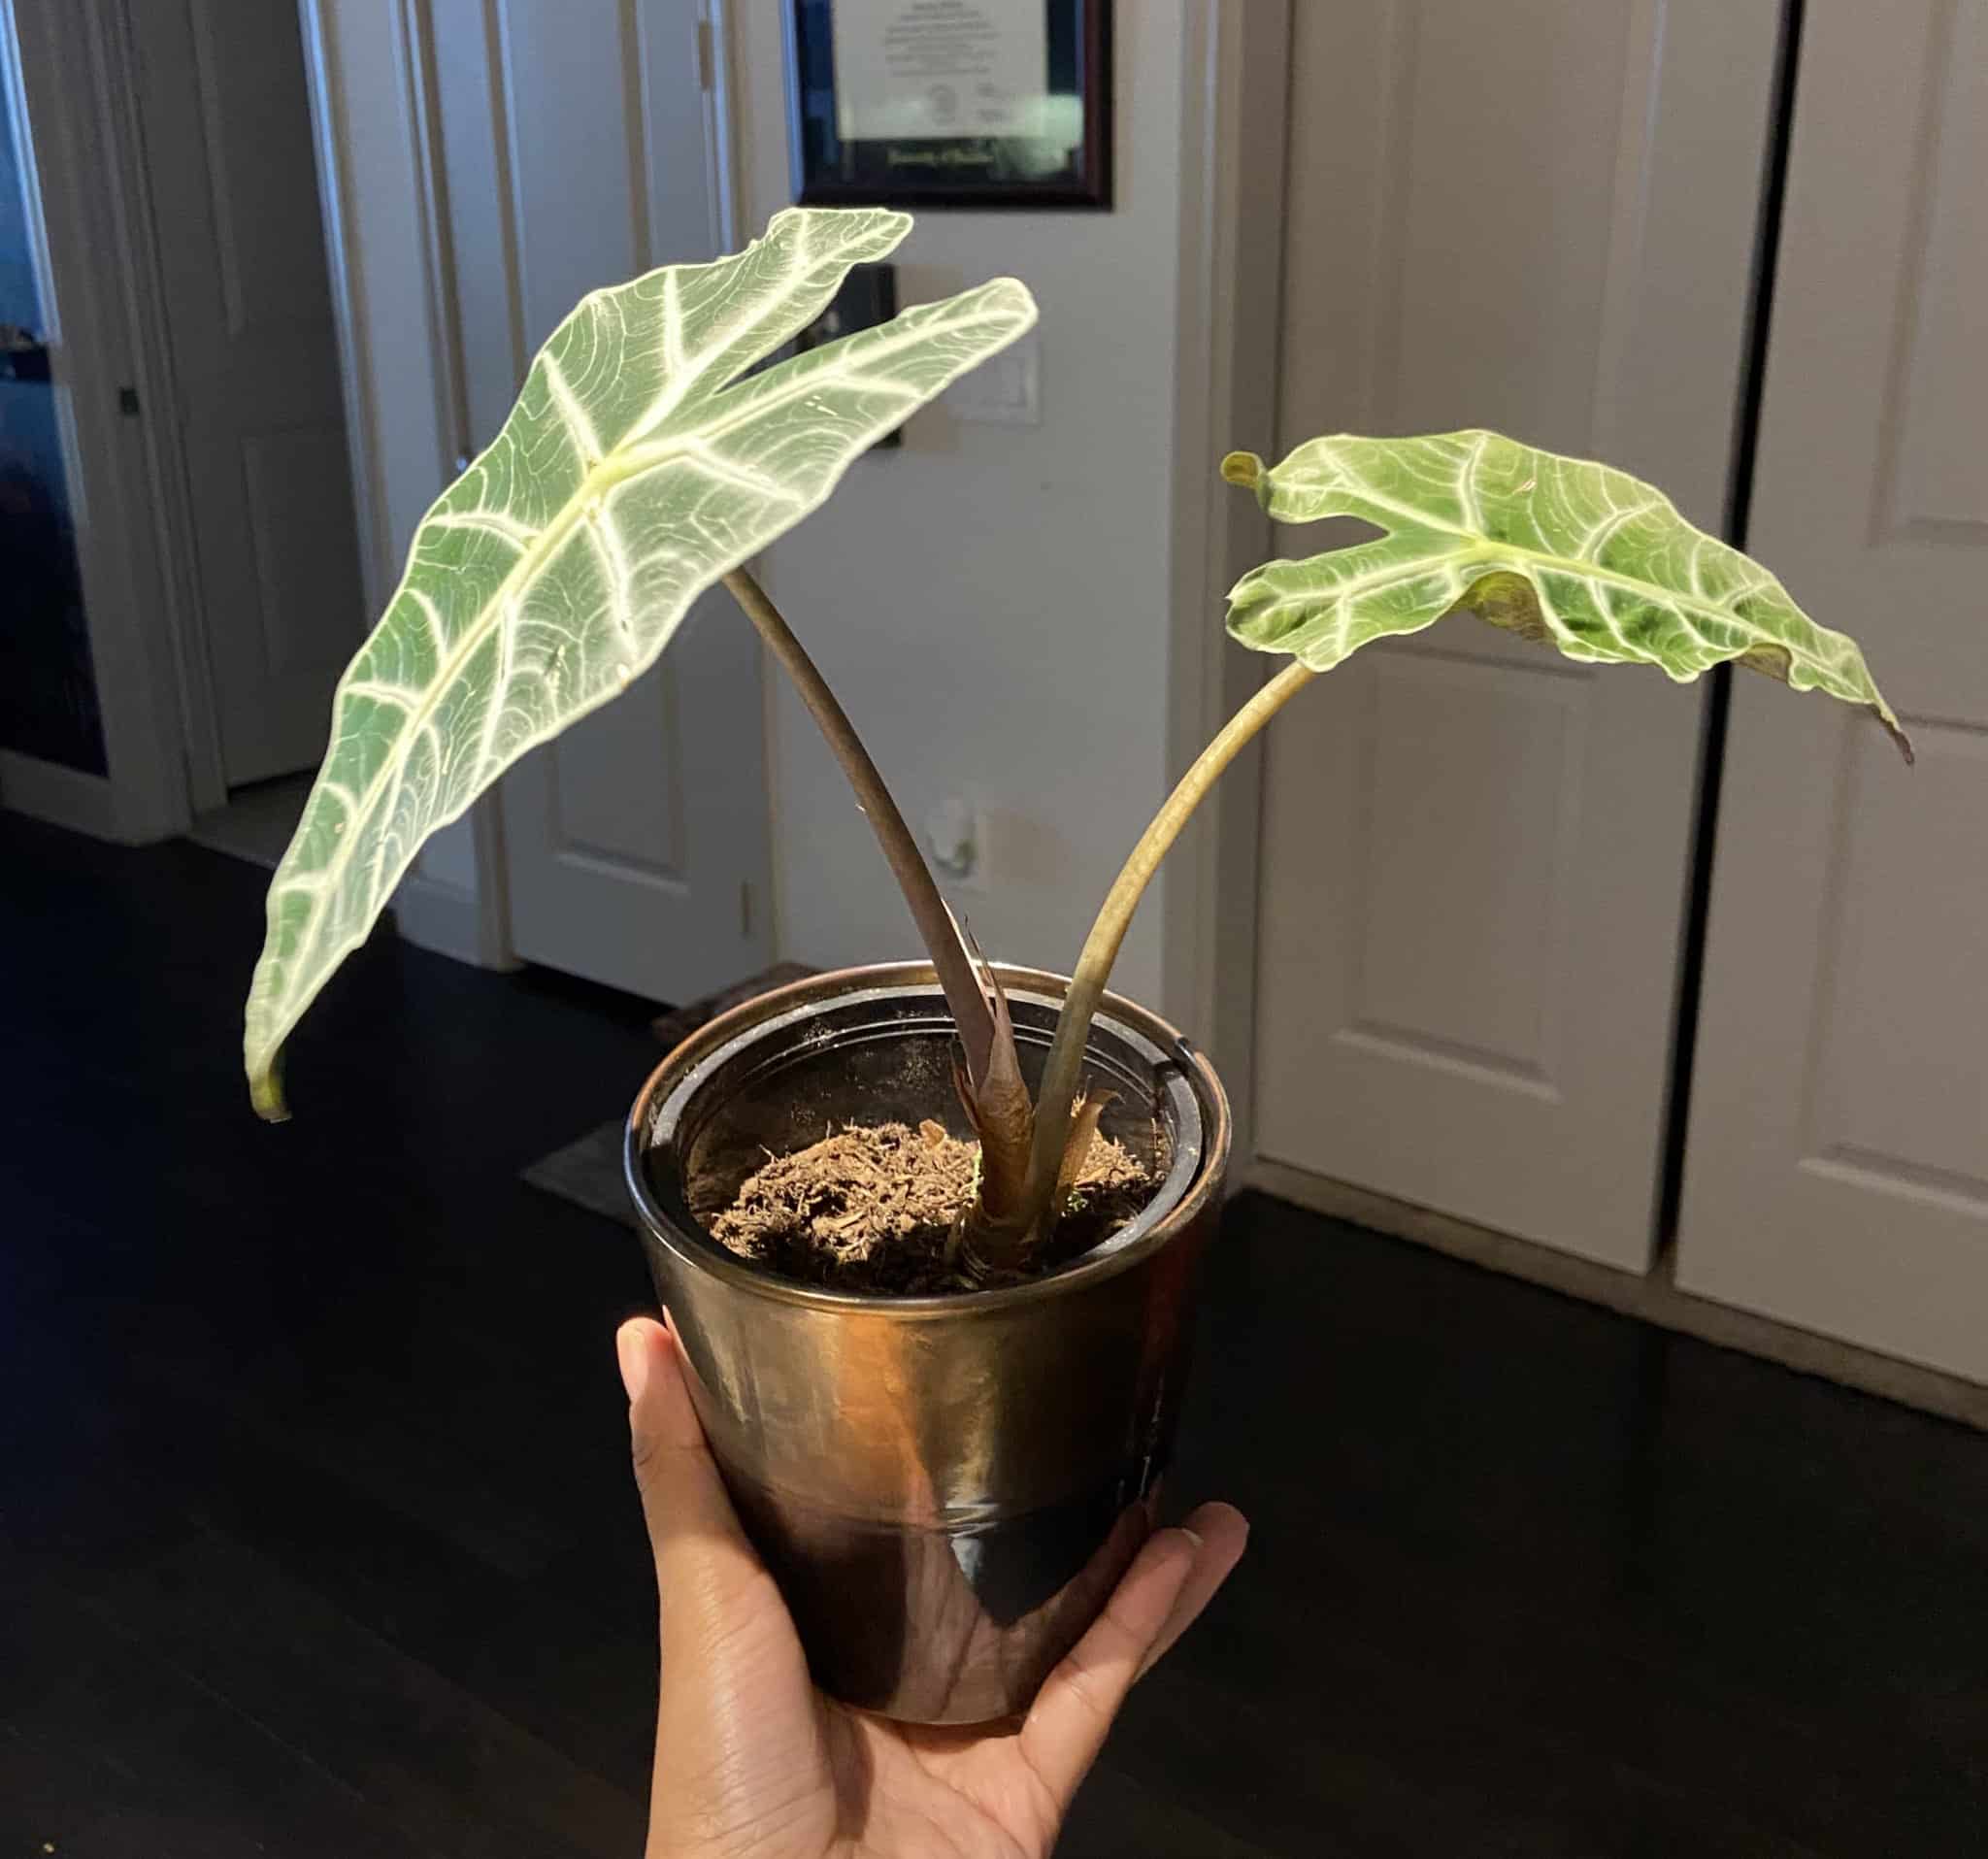
Understanding Light and Humidity Needs of Alocasia Polly Plants
When I first welcomed my Alocasia Polly into my home, I thought the secret to success was all about watering—after all, who hasn’t heard “keep the soil moist”? I tracked soil moisture religiously, yet the leaves kept curling and yellowing. Frustratingly, it took me nearly a month of trial and error before I realized that light and humidity—the two care factors everyone mentions but rarely explains in detail—were the real game-changers. If you’ve felt stuck with your Polly despite your best efforts, keep reading. I’ve been there. For a comprehensive guide to Alocasia Polly plant care, check out my detailed care article covering everything from soil to watering schedules.

The Light Puzzle: Why “Bright Indirect” Is Way More Complicated Than You Think
Almost every care guide throws out “bright, indirect light” like it’s a magic phrase. Spoiler alert: it’s not that simple. My first mistake? Placing my Polly near a north-facing window because “no direct sun” sounded safe. But after three weeks, the leaves looked dull, and those beautiful white veins lost their pop. It hit me: this plant was starving for light.
So, I downloaded a light meter app (I use Lux Light Meter on Android) and measured the light where my plant sat. The reading? About 500 lux—way below the 1500–2500 lux sweet spot Alocasias love. For comparison, a bright office is usually around 500 lux, so my Polly was basically in low-light mode.
What saved my plant? Moving it to an east-facing window where morning sun floods in gently but doesn’t scorch leaves. If you only have south or west windows, sheer curtains are your best friend—just don’t put your Polly right up against the glass or those edges will brown fast (learned that one the hard way).
Quick tip: Don’t guess your light level—measure it! Your eyes can fool you.
Humidity: Why Misting Is Like Putting a Band-Aid on a Broken Leg
I used to mist daily religiously, thinking that would keep humidity happy. Nope! In my dry winter apartment (humidity was a miserable 25%), misting only wet leaves temporarily but didn’t raise the air’s moisture enough. Result? Crispy brown leaf edges started appearing despite my efforts.
Then came the real breakthrough: I bought a small ultrasonic humidifier (Levoit LV600HH) and placed it about 18 inches away from the plant. Within five days, new leaves were vibrant and glossy again—old crispy edges even softened a bit! A pebble tray helped marginally but wasn’t nearly enough on its own; evaporation indoors is just too slow without extra help.
Bottom line: If your room’s relative humidity (RH) dips below 60%, misting alone won’t cut it. A dedicated humidifier is pretty much non-negotiable if you want your Polly happy—especially in homes with heating or air conditioning.
Real Life Example: The Office That Nearly Killed Their Alocasia Polly
Here’s a story from when I helped a design agency care for their office Polly. It sat near a big south-facing window behind sheer curtains—which sounds perfect, right? Yet within two months, yellow leaves with crispy edges popped up.
We measured:
- Light: Mid-morning readings averaged 2800 lux but shot up to 5000 lux during afternoon sun.
- Humidity: Hovered around 30% thanks to aggressive HVAC systems.
The fix? We moved the plant four feet away from the window and added an adjustable shade screen for afternoon sun protection. Plus, we introduced a compact humidifier running during office hours.
Two months later? Healthy new growth with glossy green leaves—and no more curling or browning.
Lesson learned: Even filtered south-facing sunlight can be too much if you’re not careful—and don’t underestimate how drying office air can be.

Rotate Your Plant Weekly — Seriously, It Matters More Than You Think
At first, I skipped this step because it seemed cosmetic. But leaves began leaning heavily to one side; stems on shaded sides got weak and floppy—a clear sign of stress.
Rotating weekly means each leaf gets balanced access to light and helps avoid permanent lopsided growth or weaker stems that break easily down the line. Honestly, this simple habit gave me some of my best leaf development moments—and most guides barely mention it!
Leaf Curling Isn’t Always About Water or Bugs
When I saw curling at leaf edges, my first thought was underwatering or spider mites—but treatments didn’t help at all.
It took some detective work before I connected curling with low nighttime humidity (below 40%) plus cold drafts from an air vent nearby. After stabilizing humidity above 60% AND sealing off those chilly drafts, curling stopped within two weeks.
This one surprised me because it shows how sensitive Alocasias are to microclimate fluctuations—not just watering or pests. If you want to learn more about common issues, check out my article on common pests and diseases affecting Alocasia Polly and how to treat them.
The Biggest Mistake Everyone Makes: Obsessing Over Water While Ignoring Environment Stability
Watering feels concrete—you can check soil moisture every day—but light and humidity are constantly shifting with seasons and heating cycles. That means your plant’s environment isn’t set-and-forget; it needs ongoing attention.
I started keeping a simple journal logging:
- Daily light intensity (lux)
- Humidity levels morning and night
- Visible leaf changes
Tracking this data helped me spot patterns I otherwise missed—even how morning fogging barely helped when heaters ran all night drying air drastically.
Your Action Plan: Simple Steps To Rescue & Thrive
If you’re ready to stop guessing and start helping your Alocasia Polly truly thrive:
- Measure actual light intensity using an app or simple meter; aim for roughly 1500–2500 lux.
- Choose east-facing windows if you can—or filter harsh south/west sunlight with sheer curtains.
- Invest in a good humidifier if indoor RH often dips below 60%. Misting won’t cut it alone.
- Rotate your plant weekly for even growth.
- Seal cold drafts, especially near vents or windows.
- Keep a care journal logging light levels, humidity percentages (morning/night), and leaf health to notice subtle changes early.
When you nail these steps, your Polly won’t just survive—it’ll unfurl those gorgeous glossy leaves week after week like clockwork. For advice on keeping your soil in top shape, see my tips on the best soil and fertilizers for healthy Alocasia Polly growth. For a complete overview of Alocasia Polly plant care, including watering and soil tips, be sure to check out my main care guide.
If you’ve ever felt like caring for Alocasia Polly is part science experiment, part magic trick—you’re not alone! But once you understand these nuances and ditch myths like “misting solves everything,” caring becomes way less frustrating…almost fun even. Trust me—I’ve burned leaves with direct sun and watched my Pollys gasp in dry air before getting this right myself.
Got curled leaves despite watering well? Feel like your lighting is “bright indirect” but something’s off? Try measuring instead of guessing—it might just surprise you how different reality is from what we think!
Happy growing—and may your Pollys dazzle! 🌿✨


