Moss Pole DIY: A Step-by-Step Guide to Boost Your Plant Health
Moss poles are everywhere on plant Instagram—often presented as a must-have, “best practice” for climbing houseplants. But let’s be honest: the moss pole trend is a little overhyped, and sometimes downright impractical. If you’ve ever bought a $40 prefab pole that slumped after three months or found yourself wrestling with soggy sphagnum, you know what I mean.
Let me offer the problem-solver’s take: most people approach DIY moss poles all wrong because they blindly follow generic tutorials instead of thinking about what their specific plant—and home—actually needs. Here’s how to side-step common pitfalls and wind up with something that really works (not just another Instagram prop).
The Real Reason to Make Your Own Moss Pole
Most advice says: "Moss poles mimic nature and make your plants happier." That’s only half true. In reality, Monsteras and Philodendrons don’t need a pole at all if you’re content with wild, trailing vines. The “tree trunk” effect is mostly for our benefit—a way to keep plants vertical and leaves tidy.

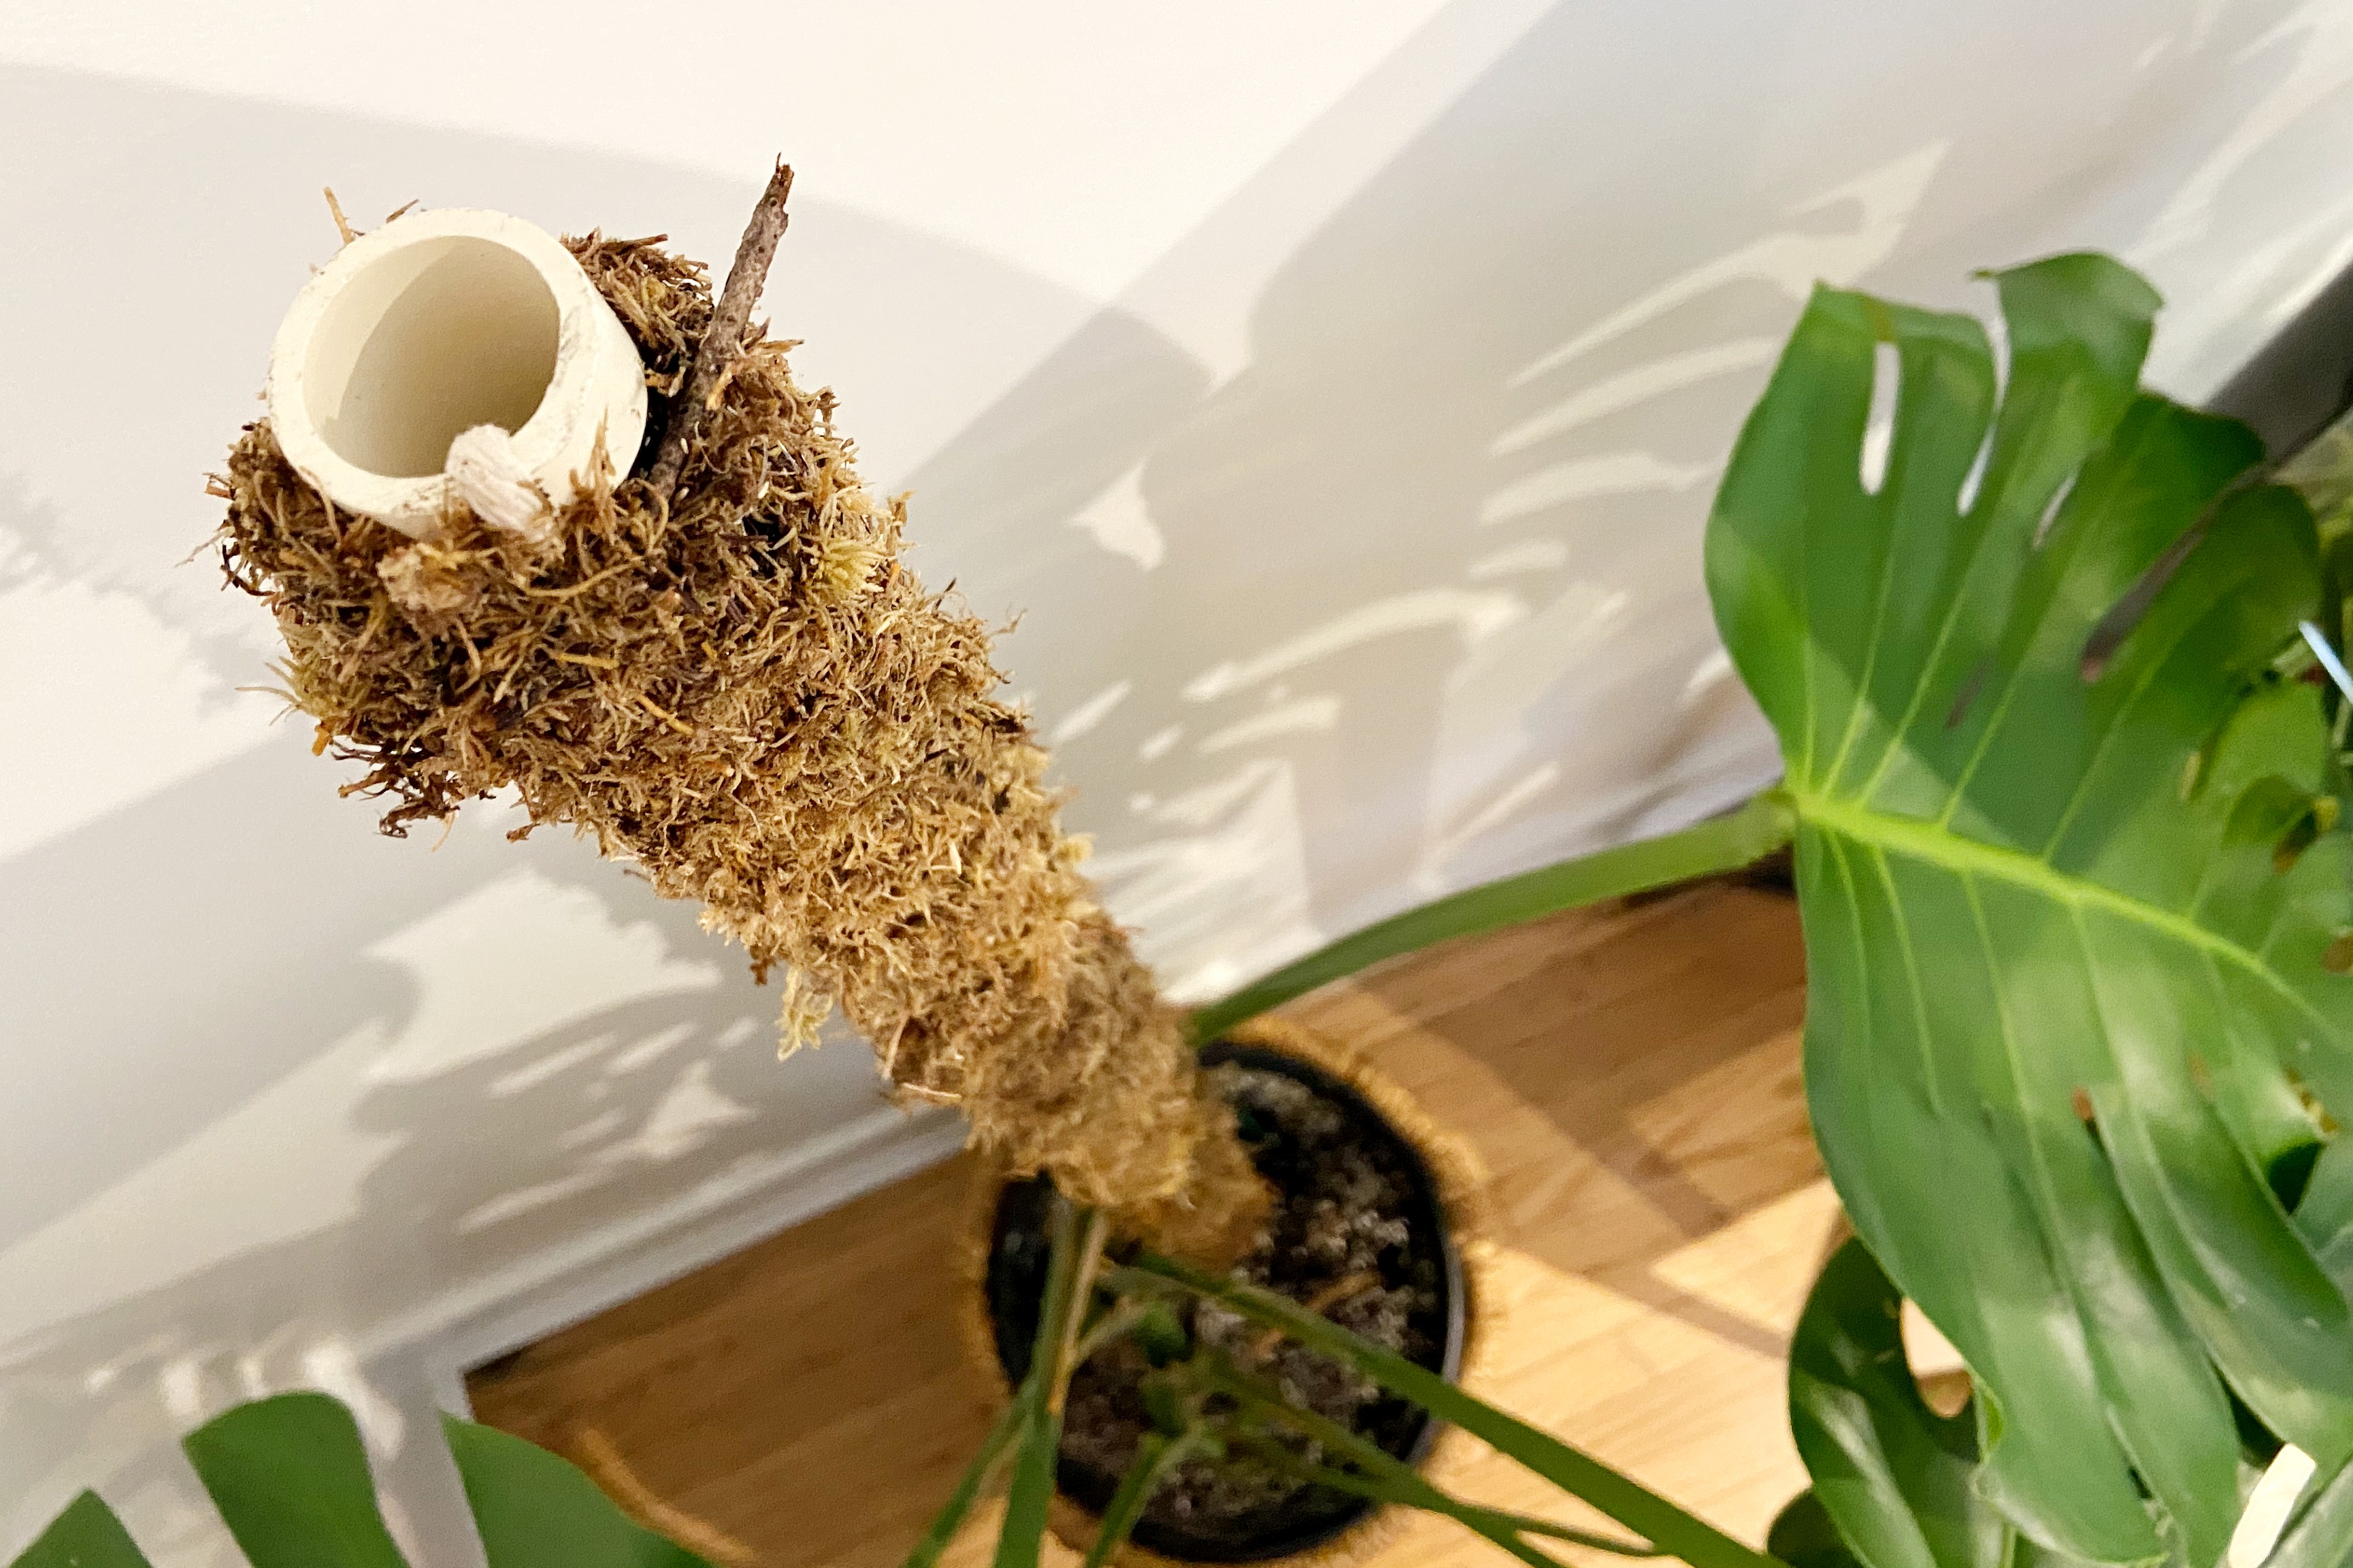
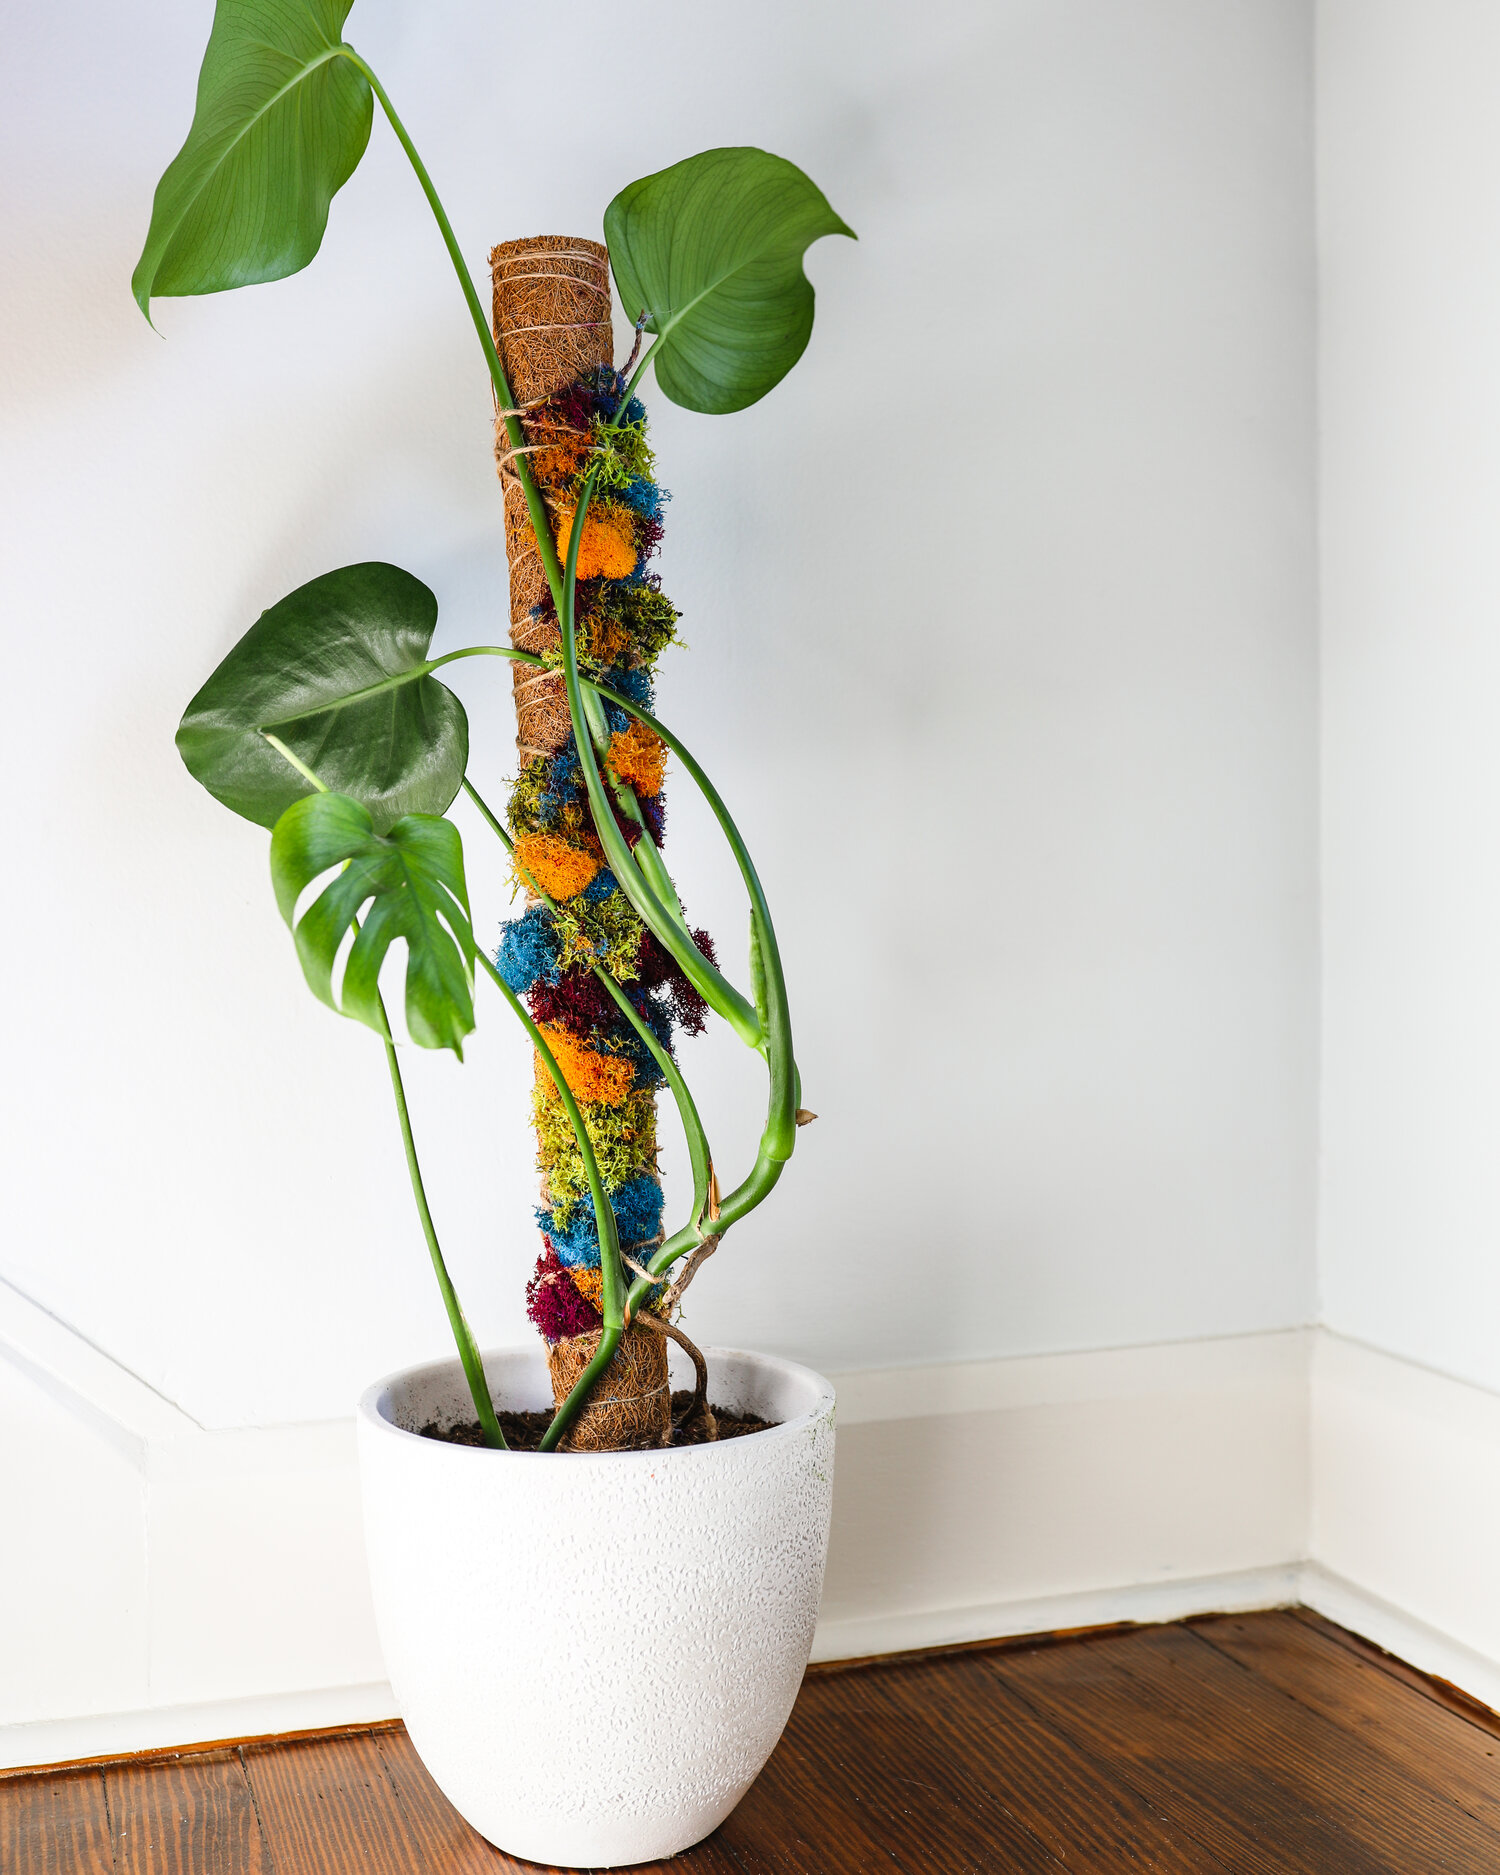
If you decide to build one, don’t fall for the idea that every pole must be picturesque or covered edge-to-edge in pristine sphagnum. What matters is stability, root attachment, and moisture—not aesthetics.
Materials: Let Go of Perfectionism (and Overpriced Supplies)
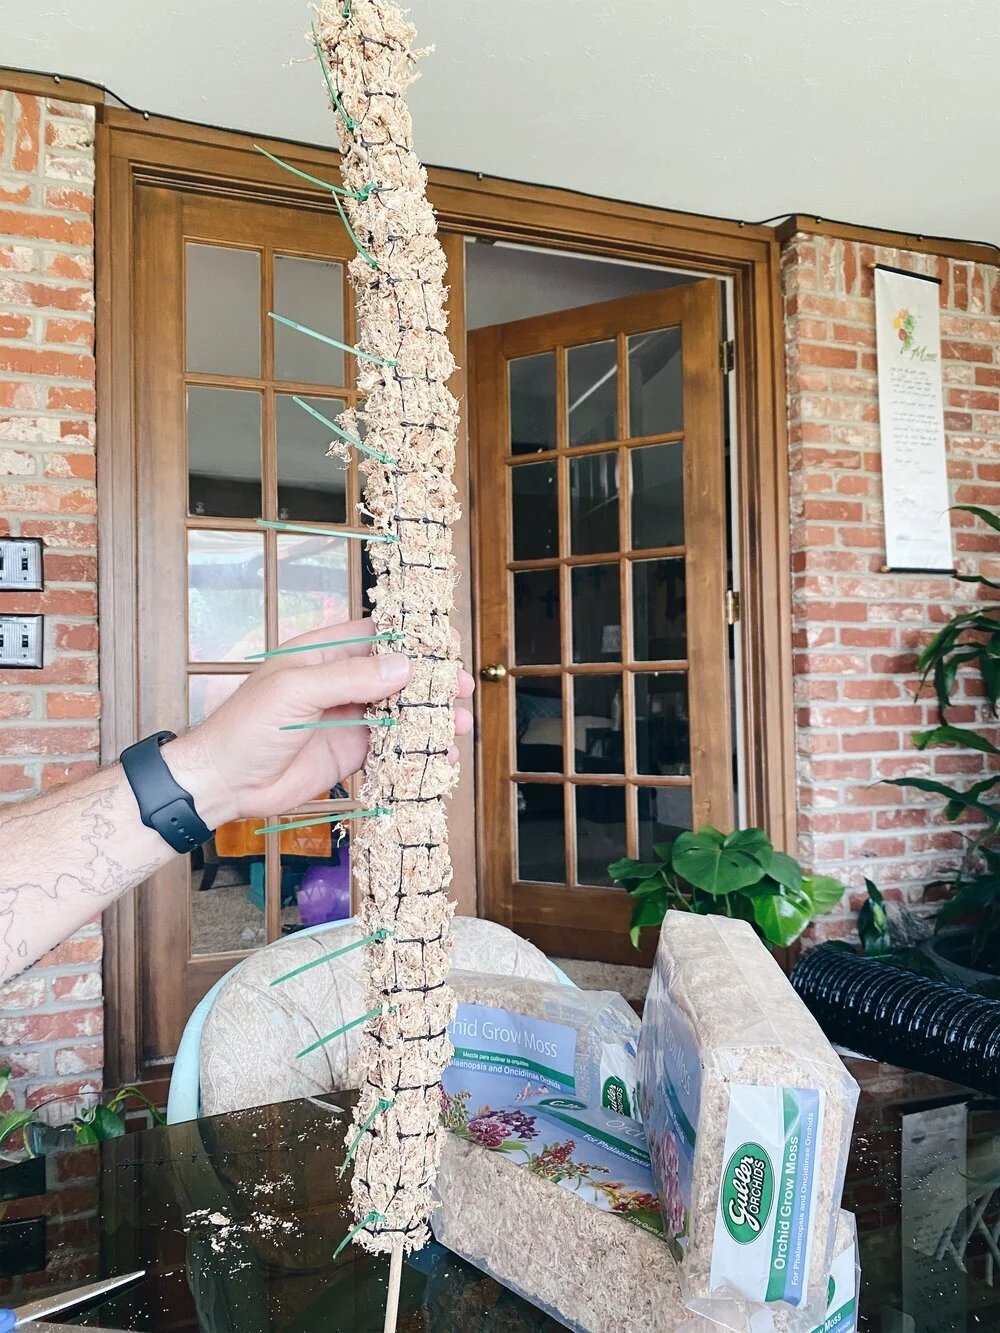
Here’s where most guides go astray: they treat materials like precious commodities, insisting on rare long-fibered New Zealand sphagnum or custom-etched PVC. In fact, my best-performing moss pole was built out of a $2 metal curtain rod (salvaged from the curb), leftover coco coir from a garden liner, and packing twine from an Amazon box.

Contrarian tip: Coco coir may dry out quicker than sphagnum—but it doesn’t compact into a slimy mess like old moss does after six months indoors. Sometimes “budget” options outperform fancy supplies in real-world conditions.
If you want numbers: my last pole cost under $8 total (including all recycled parts), versus $35+ for the weakest big-box store version—which collapsed when my Monstera hit 4ft tall.

Step-by-Step: The Pragmatist’s Method
Let’s break the rules:
-
Soak whatever substrate you use: Not just sphagnum—try bark chips or even chunky perlite mixed with coconut fiber if your environment is dry.
-
Ditch the dowel if needed: Thin rebar or metal rods are far more stable for big plants; no rot issues either.
-
Layer loosely: Most people pack moss too tight—roots need air as much as water. Imagine wrapping a burrito; overstuff it and nothing stays inside.
-
Skip chicken wire unless your plant is already top-heavy: Too fiddly for beginners and can cut inexperienced fingers.
-
Secure ends with zip ties: They’re cheap, quick, won't unravel when soaked—forget those finicky knots.
-
Install while repotting: Trying to wedge a finished pole into compacted soil almost always damages roots or destabilizes everything—you’ll regret it later.
-
Tie plants sparingly: Let them find their own grip; constant restraint leads to bent stems or constricted growth rings.
Back in 2020, my first attempt was classic overkill—I used three layers of sphagnum wrapped so tightly around bamboo that no air reached the core. Result? Mold within two weeks and zero aerial root action! Only after switching to an airy coir-and-bark mix did I see roots latch on naturally within about 18 days (in 55% household humidity).
Mistakes Nobody Talks About
-
Moss Poles = Maintenance
Everyone loves to talk about lush “after” photos but skips over upkeep realities: indoor heating dries poles fast during winter; even daily misting sometimes isn’t enough unless you add a humidity tray ($6) underneath. -
Overwatering Destroys More Plants Than Underwatering
If water pools inside PVC or at the base (especially if unperforated), roots will rot before they ever climb—that mistake cost me two Pothos cuttings back in January 2022 alone. -
Aesthetics Fade Fast
Within weeks, even the prettiest moss yellows—and it’ll be hidden under leaves anyway! Stop obsessing over symmetry; focus on structure. -
Not All Plants Want To Climb
Some variegated Monsteras actually put out smaller leaves when forced up a vertical support—they prefer to sprawl horizontally until mature.
What Success Actually Looks Like
Don’t expect explosive leaf splits overnight—aerial roots might take weeks before you see progress, especially in low-humidity climates like mine (Denver averages just 35% indoors). If you’re worried nothing’s happening: check weekly by gently lifting vines—you’ll often feel roots clinging before you can see them through foliage.
Dialogue from my last plant swap:
“You built that yourself? It looks… sturdy.”
“Yeah—it’s not pretty but it hasn’t toppled once! My Monstera doubled its leaf size since I stopped babying the substrate.”
If anyone tries this shortcut method—and hates their first result? Good! Every failed attempt teaches exactly what your microclimate needs better than any YouTube tutorial could predict.
Final Word: Don’t Worship The Moss Pole
DIY should solve problems, not create new ones—or siphon away cash better spent on more plants! Use what’s available; aim for function not perfection; adapt relentlessly based on your results—not because some influencer says there’s only one right way.
The best solution is always one built around your space, schedule, and willingness to get your hands dirty—even if it means breaking every rule in conventional plant-care wisdom along the way.