Propagation Techniques for Allium Plants: Seeds, Bulbs, Divisions
The first time I tried growing Alliums from seed, I was that impatient gardener staring at empty soil for months, wondering if anything would sprout. Spoiler alert: it didn’t. What I didn’t know then was that planting seeds is just one tiny piece of the puzzle—it’s timing, conditions, and choosing the right method for your specific Allium that really matter. For a comprehensive guide to Allium plant growth, this article will help you understand the basics before diving into propagation.

After years of trial and error with seeds, bulbs, and dividing clumps, I’ve learned what works (and what wastes your time). If you want Alliums that bloom reliably without losing your mind, here’s the real deal from my garden experiments.
Seeds: Slow and Steady Wins the Race (But It’s Worth It)
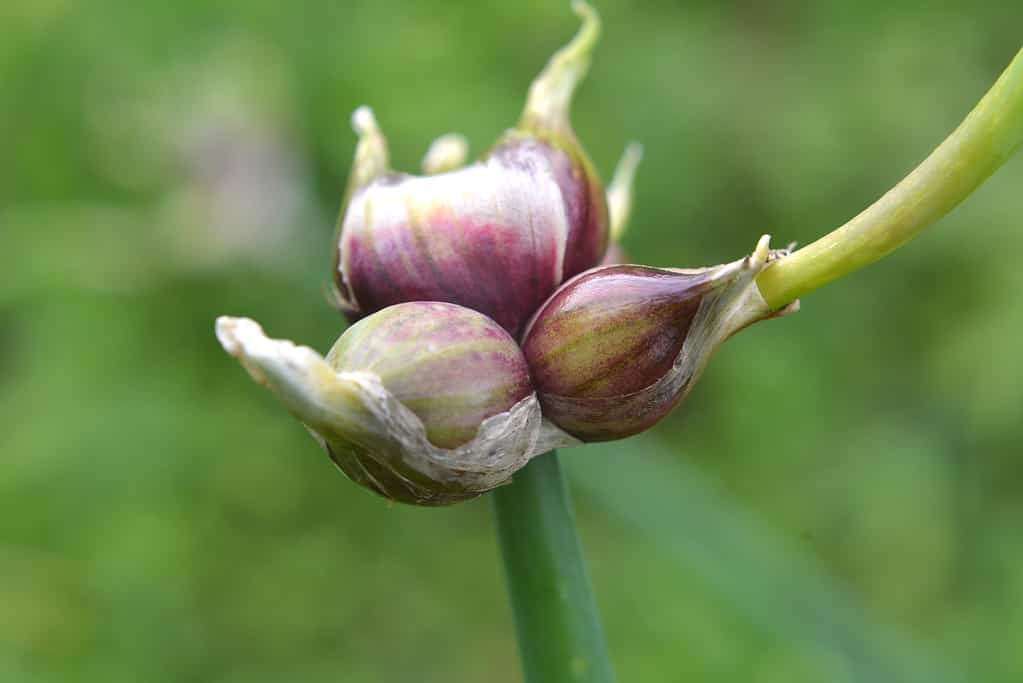
Starting Alliums from seed feels like an easy shortcut—just toss them in soil and wait, right? Nope. My first batch sat buried in cold, damp earth for weeks with zero action. The key fix: start seeds indoors 8 to 10 weeks before your last frost date using a gritty, sterilized mix (I swear by Espoma Organic Seed Starter).
Soaking seeds overnight before planting really softens their tough coats—especially for big guys like Allium giganteum. When sowing, don’t drown them; mist lightly to keep moisture steady but prevent mold. Seedlings usually pop up between 20 to 30 days.
Once they emerge, move seedlings under a simple LED grow light on a 12-hour timer. This builds strong stems and avoids those leggy babies that fall over at the first breeze. Here’s a reality check: don’t expect blooms next year unless you’re growing fast-blooming annual types. For common perennials like Allium moly, it took me nearly three years from seed to flower.
Still, if you want genetic diversity or are chasing rare varieties, seeds are unbeatable—even if patience is required.
Dividing Clumps: Your Shortcut to Flowers Fast
If you already have mature Alliums happily clumping along, division is your best bet for quick multiplication—and flowers within one season.
I had a breakthrough dividing Allium ‘Millenium’ one early spring. Using a garden fork (Fiskars makes an ergonomic one I love), I gently dug up bulbs and separated offsets by hand—no knives! Bruising bulbs invites rot, so handle carefully.
Plant divisions 4-6 inches apart, roughly twice as deep as the bulb height. For instance, a 2-inch bulb goes about 4 inches deep. Water lightly after planting to settle soil but stop watering once leaves yellow to avoid soggy bulbs.
Those divisions rewarded me with lush flowers that same season—a fraction of the wait time from seed!
One hiccup: avoid dividing during hot dry spells or just before heavy rains; stressed bulbs struggle to bounce back. Also, ensure good drainage—I lost half my divisions in clay-heavy beds before switching to raised beds mixed with compost and sand.
Planting Bulbs: The Reliable Classic
Planting Allium bulbs directly into well-prepared soil is what most gardeners turn to when they want dependable results fast.
Here’s my secret weapon: prepare your soil thoroughly by loosening it deeply and mixing in plenty of compost plus about 25% coarse builder’s sand for drainage. Bulbs hate sitting wet—that was my old mistake planting in clay soil.

Plant bulbs at around twice their height deep, spaced 4-6 inches apart. For example: a bulb 2 inches tall gets planted about 4 inches deep. Cover loosely so you can adjust after heavy rains settle the soil.
Sunlight is key—Alliums thrive in full sun (at least six hours daily). My happiest plants were always in prime sunny spots; shaded areas gave weak growth or no blooms at all.
Water sparingly after planting—just enough to settle soil around roots. Overwatering after shoots appear caused me lots of bulb rot headaches until I learned this balance.
This method got me flowering blooms that very season—a huge boost compared to waiting years from seed!
Real-Life Examples That Rewrote My Playbook
- Allium giganteum: Huge globe flowers need well-drained soil and full sun. I plant their bulbs every fall about 6 inches apart and divide established clumps every 3-4 years for ongoing vigor.
- Garlic (Allium sativum): Not grown from seed but cloves instead—planted late October about 6 inches apart in sandy loam amended with compost. Harvest mid-summer next year.
- Chives (Allium schoenoprasum): Small but mighty—they benefit from division every couple of years in early spring to prevent overcrowding and keep harvests fresh.
Troubleshooting Tips From My Garden Fails
- Seed germination flops? Seed freshness is critical. Older seeds lose viability quickly. Soaking or scarifying improved my germination rates by over 30%.
- Rotting bulbs? Nearly all rot came from poor drainage or planting too shallow/deep—raised beds fixed this completely.
- Failed divisions? Bruised bulbs die quietly—you won’t always see rot right away but plants won’t recover.
- No blooms after division? Sometimes it’s just seasonal delay; expect flowers the next season if not immediately.
For advice on managing common problems, see my guide on Allium plant pests and diseases.
What I’d Tell a Friend About Propagating Alliums
There’s no one-size-fits-all here:
- Want quick expansion? Divide established clumps carefully.
- Want new cultivars or genetic variety? Start seeds indoors months ahead—and buckle up for patience.
- Need immediate impact? Plant fresh bulbs in fall or spring with well-drained soil and full sun.
And here’s something almost nobody mentions: expect some failures—it’s part of learning! Every wilted seedling or rotted bulb taught me more than any guide ever could.
Your Next Steps — A Simple Checklist
- Identify your Allium type (bulb size, growth habit).
- Choose propagation method based on how soon you want flowers.
- Test soil drainage now: dig a foot-deep hole, fill with water; if it drains poorly after an hour, amend or build raised beds.
- Source fresh seeds or healthy bulbs from trusted places like Baker Creek Heirloom Seeds or local nurseries.
- Mark your calendar:
- Start indoor seeds 8–10 weeks before last frost.
- Plan divisions for early spring when plants are emerging.
- Plant bulbs in fall or early spring depending on species.
- Keep notes/photos each season—you’ll spot patterns fast.
- Connect with local gardening groups focused on Alliums—they’re gold mines for advice and plant swaps.
For more detailed advice on timing and care throughout the year, check out seasonal care tips for Allium plants.
For a complete overview of Allium plant care and growth, be sure to check out the main guide that covers everything from soil prep to pest control.
Looking back at those first few successful blooms felt like winning gold medals in patience and perseverance—which honestly felt better than any instant gratification gardening moment!
If you take only one thing away: matching your propagation method to both your Allium species and timeline changes everything—and saves frustration too.
Happy planting—and may your garden be bursting with those beautiful onion-flower globes soon!
P.S. One funny slip-up I still laugh about: I once overwatered newly planted Allium moly bulbs so badly they literally turned into mush overnight—lesson learned hard! But hey, sometimes mistakes make the best teachers… right?


