Unlock Bountiful Harvests: Pruning Techniques to Maximize Yield on Cold-Hardy Fruit Trees

Out there, beneath a sky that can’t make up its mind between March sun and icy drizzle, I kneel in the crusty snow beside my old Lodi apple and grin—because this is pruning season, and it’s honestly my favorite time to hack away at the myth that you need a horticulture degree (or fancy diagrams) to get fruit from cold-hardy trees.

Fellow northern grower, let’s drop the textbook lingo for a second. If you’ve ever stared up into a tangle of bare branches thinking, “Am I actually helping, or just making tree salad?”—you’re not alone. Early on, I fell for every over-complicated guide out there. “Maximize light penetration,” they said. “Encourage ideal spur formation.” One year, awash in diagrams from a glossy orchard book, I spent hours fussing over angles before freezing my butt off…and ended up with exactly four apples the size of golf balls. True story.
The Simple Rules That Beat Expert Confusion
Here’s what actually worked (and keeps working), after thawing out both myself and my perspective: Pruning is about small corrections—not surgery. Cold-hardy varieties just want enough room to breathe and bounce back; they don’t demand precision cuts mapped with engineering blueprints.
1. See It Like a Northern Tree Does
I stopped worrying about which cut was called what when I realized all my tree wanted was space—not a complex architecture lesson.
- Step back until you’re more spectator than surgeon.
- Look for places where two branches are scrapping like rival siblings or areas so dense sunlight doesn’t even try to squeeze through.
- If it looks crowded or like it’d catch snow and snap next storm—tag it mentally (or grab some painter’s tape if you’re like me).
Forget perfect V-shapes or textbook “leaders.” My Lodi produced its first bumper crop when I simply focused on opening things up, one competing branch at a time.
2. Tools: Keep ‘Em Sharp & Simple
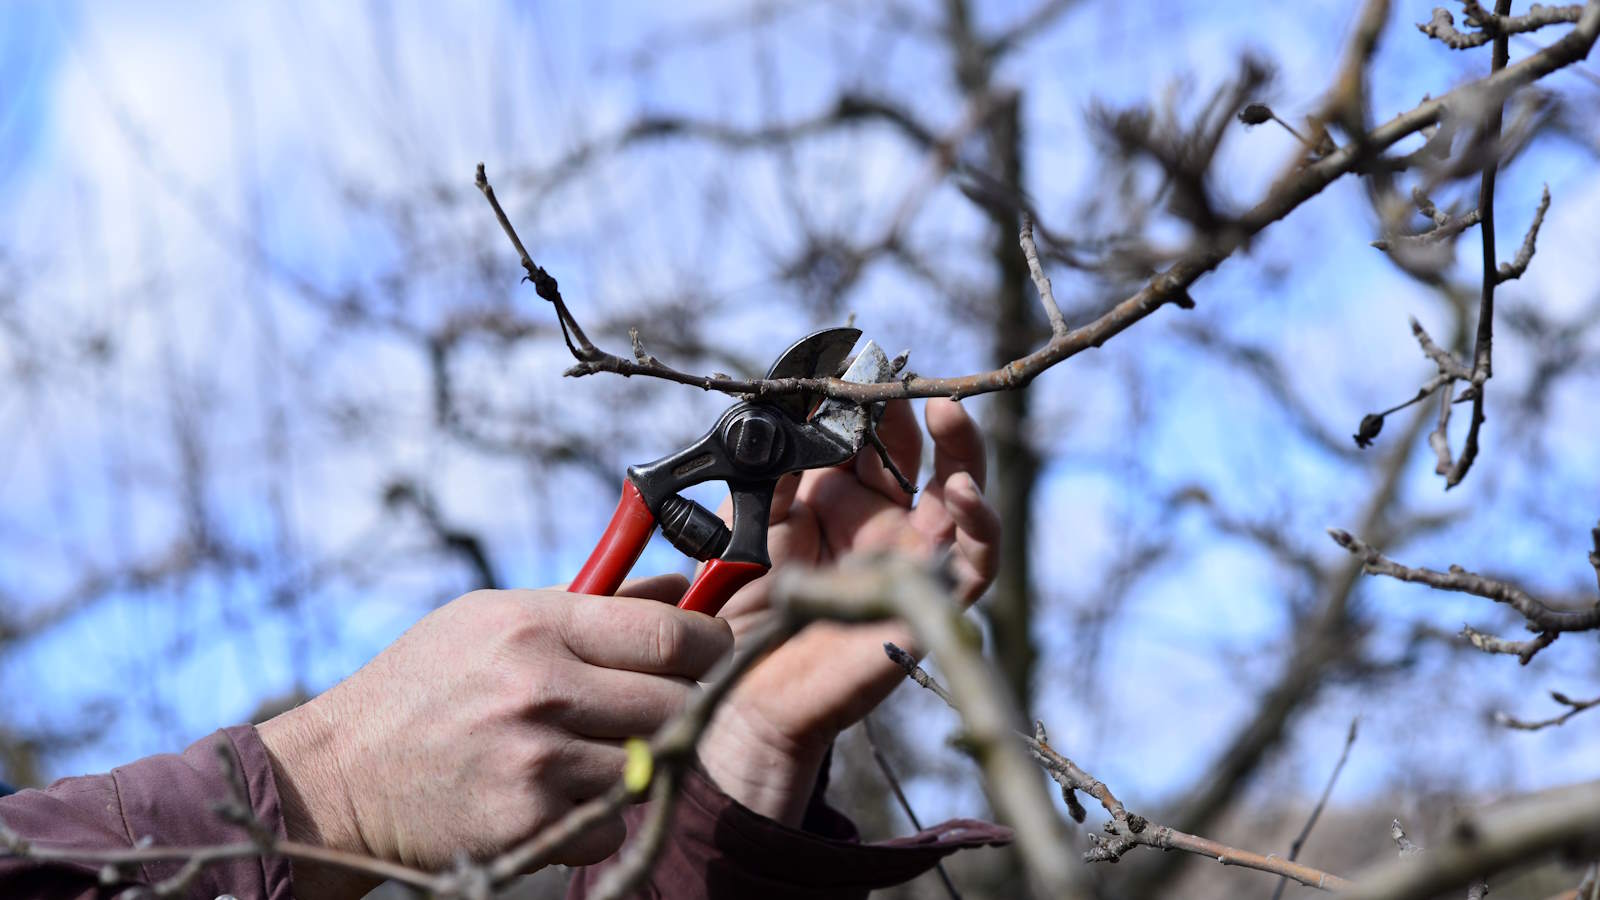
I spent $80 on bypass pruners once; turns out, my granddad’s no-name loppers (cleaned with vodka—don't judge) did an equal job when sharp. Fancy tools don’t equal better fruit.
- Disinfect with high-proof booze or diluted bleach if you want to avoid spreading disease.
- Touch up blades with any file or whetstone lying around the garage—the difference in clean healing is huge.
3. Prune When Your Breath Still Hangs in the Air
Late winter (“About two weeks after your car starts reliably every morning” is my rule)—that magic window before buds swell but after hard freezes mellow out.

In my corner of Wisconsin, that means President’s Day weekend is prime time. Prune too early? Learned that the hard way during the Polar Vortex of ’19: sliced off three healthy limbs and watched frost bite them black by March. Lesson learned—wait till deep winter backs off!
4. Less Is Truly More
That first year I got bold—a rare sunny Saturday led me to lop off nearly half the canopy on a Haralson apple thinking “let’s really open her up!” The poor thing spent two years sulking; meanwhile, saplings pruned gently grew twice as fast.
My golden number now? Never take more than 20% of wood in one go, especially with older trunks that endured decades of winters already.
5. Start With Thinning… And Don’t Sweat Terminology
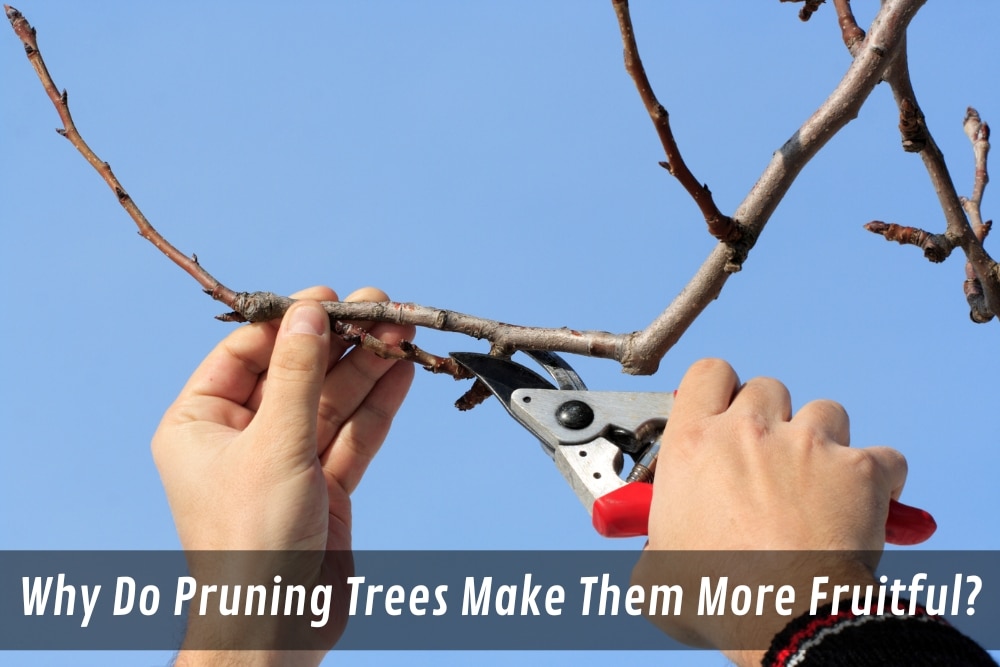
If you see two branches fighting for space, pick the weaker/lower/most inward one and cut it back at its base.

For young trees? Just snip long leaders by about a third above any bud pointing OUTWARDS—encourages side shoots next spring = more food production sites! This isn’t art—it’s common sense honed by repeats (and sometimes regrets).
I still remember standing with mittened hands comparing left vs right cuts on a tiny Cherry Stella way back—my “wrong” cut turned into her strongest limb by accident! Sometimes letting nature surprise you beats rigid planning.
Real Experiences From Real Folks
Take Anna down Route 6—her Ironwood pears were tangled messes until she started using chalk to mark crowded spots each winter walk-around instead of diagramming them indoors for hours. Three years later? Her jam jar count doubled; her pruning anxiety vanished entirely.

Or me: last spring I marked suspect limbs while chipping ice from boots and waited two more weeks than usual before cutting—the difference in wound healing was night-and-day compared to years past.
Quick Troubleshooting From My Blunders:
- Over-pruning: Trees look shocked come spring? Next season: only trim easy wins—anything obviously broken/crossed/dead.
- Confused about type: Peep your previous fruit placement photos if possible; aim to save strong branches that bore well.
- Tools dull/dirty: Splintery wounds = slow healing = sad tree vibes all summer.
- Second guessing yourself? Tag questionable cuts now; decide later! No need to play lumberjack all at once.
Today’s Checklist (No Ag Degree Needed):
- Circle your oldest or most crowded tree for inspection—even pre-coffee.
- Mark three problem branches max—that’s all!
- Clean/snug up your favorite loppers or pruners; don’t obsess over brand names.
- Set aside one late winter weekend right after your local deep freeze recedes.
- Linger after each cut; check how much lighter/more open things feel before taking another.
- Jot down (phone notes work fine) what you wish you knew this year—you’ll thank yourself next time!
And celebrate those little victories: Sun dappling lower limbs in April where snow previously lingered? That’s progress! A single cluster of juicier plums thanks to gutsy cuts last year? Proof positive it doesn’t have to be complicated—or intimidating—to get hardy trees thriving north of Zone 5.
Your trees want simplicity—and so do you! Trust experience over expert overkill; prune like someone who relishes hopeful mornings outdoors rather than someone worried about horticultural perfectionism…and watch those sturdy branches pay you back tenfold come harvest time!


