Repotting Citrus Bonsai: Your Step-by-Step Guide to Thriving Growth
Citrus bonsai care has a reputation for being complicated—a parade of technical charts, root-zone chemistry lectures, debates over the “best” substrate ratios. In reality, it’s not nearly as high-stakes as many experts make it sound. Repotting well is more about noticing your tree’s signals and removing obstacles, not chasing some mythical perfect technique.

Let’s break down the basics: when and how to repot your citrus bonsai so you boost its health without falling into analysis paralysis or relying on advice that sounds impressive but doesn’t hold up in your kitchen or backyard.
Why Repotting is Simpler Than You Think
Years ago, I was guilty of reading every forum thread before even touching my trees. The result? Intimidation—and missed opportunities to just act when the signs were obvious. Here’s what I’ve learned from dozens of repots (and a few disasters): citrus bonsai are tough, and their needs are remarkably consistent, no matter how many expert variations you read online.
Memorize this: fresh soil + freed-up roots + right timing = robust growth. Everything else is just details.
Forget the Calendar Obsession
Textbook advice says “every 2–3 years,” but I made my worst repotting errors by following other people’s timelines instead of observing my own plants. Case in point—Spring 2021: I ignored soggy, compacted soil on my Meyer lemon because it technically wasn’t two years yet. It paid me back with yellowing leaves and stalled growth for months. Since then, I’ve critically watched for:
- Water running quickly out of the drainage holes (not soaking in)
- Dense mats of roots circling round and round
- Soil that either never dries or dries almost instantly
- Growth slowing down or leaves looking tired
If you see these—even if it hasn’t been a full two years—it’s time. The tree always knows sooner than your calendar app does.

About That "Early Spring" Rule…
Here’s where most guides get fussy—down to moon phases and temperature graphs. My experience? Citrus tolerate repotting best when they’re just waking up, simple as that. As soon as buds swell or before new leaf flushes start, do the deed.
In zones with weird weather swings (looking at you, Pacific Northwest), focus less on dates and more on signs from the plant itself: slight swelling at bud sites means go-time; active grown-out shoots means wait until next year.
Dead Simple Repotting Steps—No Overthinking Required
I used to lay out tools like a surgeon prepping for heart surgery; now it's just what works:
1. Gear Up
You only need:
- A wider shallow pot with bottom holes (ceramic or plastic both work)
- Fast-draining citrus mix (my quick hack: 40% large-grain akadama + 30% pumice + 30% pine bark)
- Clean sharp scissors or shears
- Chopstick or old bamboo skewer
- Watering can with a rose attachment
Cost breakdown? Expect about $18–$22 if buying specialty mix in small bags—a little cheaper if mixing yourself with bulk components.
2. Remove With Care (But Don’t Panic)
Don’t tug—tilt the pot slightly sideways while supporting the trunk base (never pull branches). If roots cling hard to edges, slide in your skewer to gently loosen.
3. Tease Out Roots
Use fingers or chopstick to remove old soil from roots’ perimeter—especially where they’re forming tight spirals against the container wall.
Sensation check: healthy roots feel cool and springy; mushy zones mean rot, best trimmed away.
4. Prune Roots Sparingly
Here’s where so-called pros often go wild chopping away half the root mass “to encourage feeder roots.” Every time I tried this heavy-handed approach, recovery stalled for weeks.
What actually works? Trim off up to one-third total root length at most—focusing only on dead brown tips or overly thick circling portions.
Think gentle haircut, not buzz cut.
5. Pot Up Simply
Cover drainage holes with mesh if handy (I sometimes skip this unless my mix is really fine).
Set down an inch-thick base layer of fresh soil.
Place tree back in at same depth as before; don’t bury trunk higher up than its old mark.
Fill gaps around roots in increments—poke gently with your stick so mix fills all voids without big air pockets left behind.

6. Saturate Thoroughly
Flood until water flows cleanly out bottom—for me this always takes less water than I think (~½ gallon for a standard 8" pot). This settles everything nicely; no need for fancy fertilizer-water blends at planting time.
Real Outcomes That Cut Through Theory
A couple case studies from my own benches:
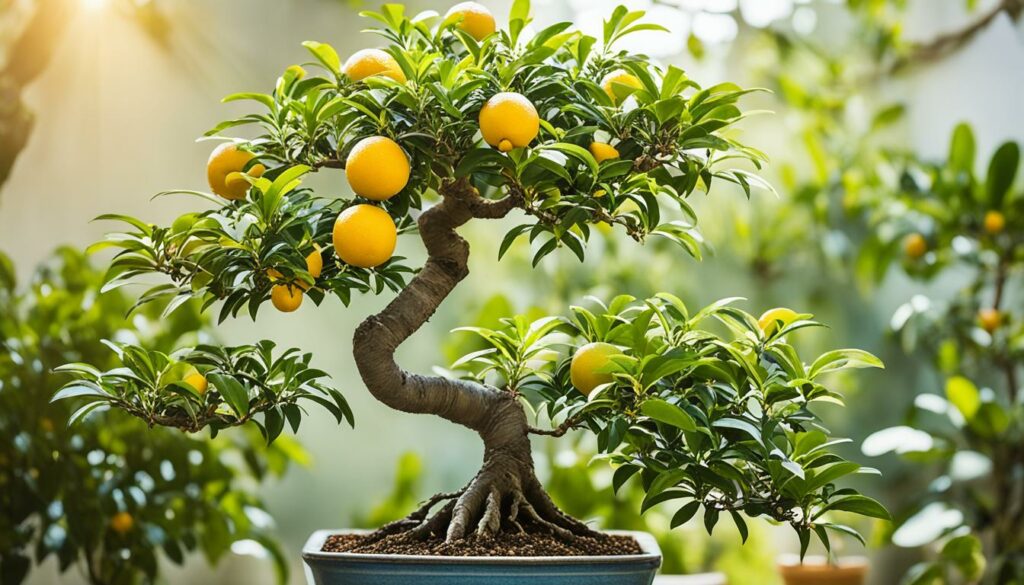
Last March I rescued an overgrown calamondin jammed solid into a cheap clay pot—the entire interior was practically solid root mass with less than two tablespoons of original substrate left! After cleaning up circling roots by about 25%, dropping it into chunky new soil in late March, growth exploded within four weeks: shiny new leaves everywhere and glossy fruit by midsummer.
Contrast that with summer 2022 when I rushed a poorly-rooted kumquat into a repot during August heat after spotting minor leaf curl—I lost half those leaves overnight and spent three months coaxing recovery through strategic shade and daily misting; lesson learned about sticking close to springtime whenever possible!

Common Pitfalls—and Easy Fixes
Even keeping it simple isn't foolproof—but most missteps are reversible:
If leaves drop: Mild loss happens due to shock; resist fiddling further! Raise humidity (group pots together or tray-and-pebble method) and wait out two weeks before making changes.
If you lose more than one-third of roots: Consider trimming back branch tips by about 15%. Balance speeds up bounce-back every single time compared to leaving a fully-leafy top on weakened roots.
Persistent yellow leaves post-repot?: Review moisture levels first! Fresh airy mix often holds water differently; err toward slightly drier between thorough soakings until vigorous new buds appear.
Hold off on all fertilizers until there are visible new shoots—you’ll see far faster recovery this way based on every trial run I've logged since 2019!
Cut Through Complexity: My Go-To Citrus Bonsai Repot Formula
- Watch your trees—not just advice columns—for root-bound signals
- Wait for first spring bud swell—the year will vary
- Use fast-draining chunky citrus mix over any basic garden center bagged dirt
- Prune only enough root mass to open things up—not slash-and-burn style!
- Stick close to existing planting depth
- Water thoroughly once—then let dry-down dictate your next watering cycle
- Keep hands off fertilizer until plant shows clear regrowth (typically within 2–4 weeks)
Over time I've learned citrus are less fragile than their reputation suggests—they thrive when given space at the right moment without drama or hyper-detailed rituals.
So if you catch yourself overcomplicating—take a breath, follow these minimal steps, and let observation guide improvements next round rather than trying to nail mythical perfection first shot out.
That’s how robust bonsai collections get built: simple routines honed by practice...not dogma!
Ready for spring? Trust your instincts—you know more than you think once you've seen those first promising green shoots return!