Step Into Relief: How Sandals for Plantar Transformed My Every Day Comfort
Finding sandals for plantar pain isn’t just about arch support and brand names—it’s a minefield of hidden mistakes almost everyone makes, especially in those first desperate months of heel pain. Let’s cut through the noise and talk honestly about what goes wrong, why it happens, and how you can sidestep the usual traps to find genuine relief.

The Mistakes No One Warns You About
1. Chasing “Comfort” Without Knowing What That Means
I remember my first bout with plantar fasciitis: I bought three pairs labeled “cushiony” and “ergonomic,” thinking that plush meant protective. They felt soft in the store, but by week two, my heels screamed louder than before. Here’s the truth: squishy ≠ supportive. That marshmallowy feel disguises a lack of structure, letting your arch collapse instead of supporting it.
What to do instead:
Test sandals by pressing into the arch—does it push back? Try on both feet and stand for five minutes; if your foot starts to ache or feels unstable, put them back.
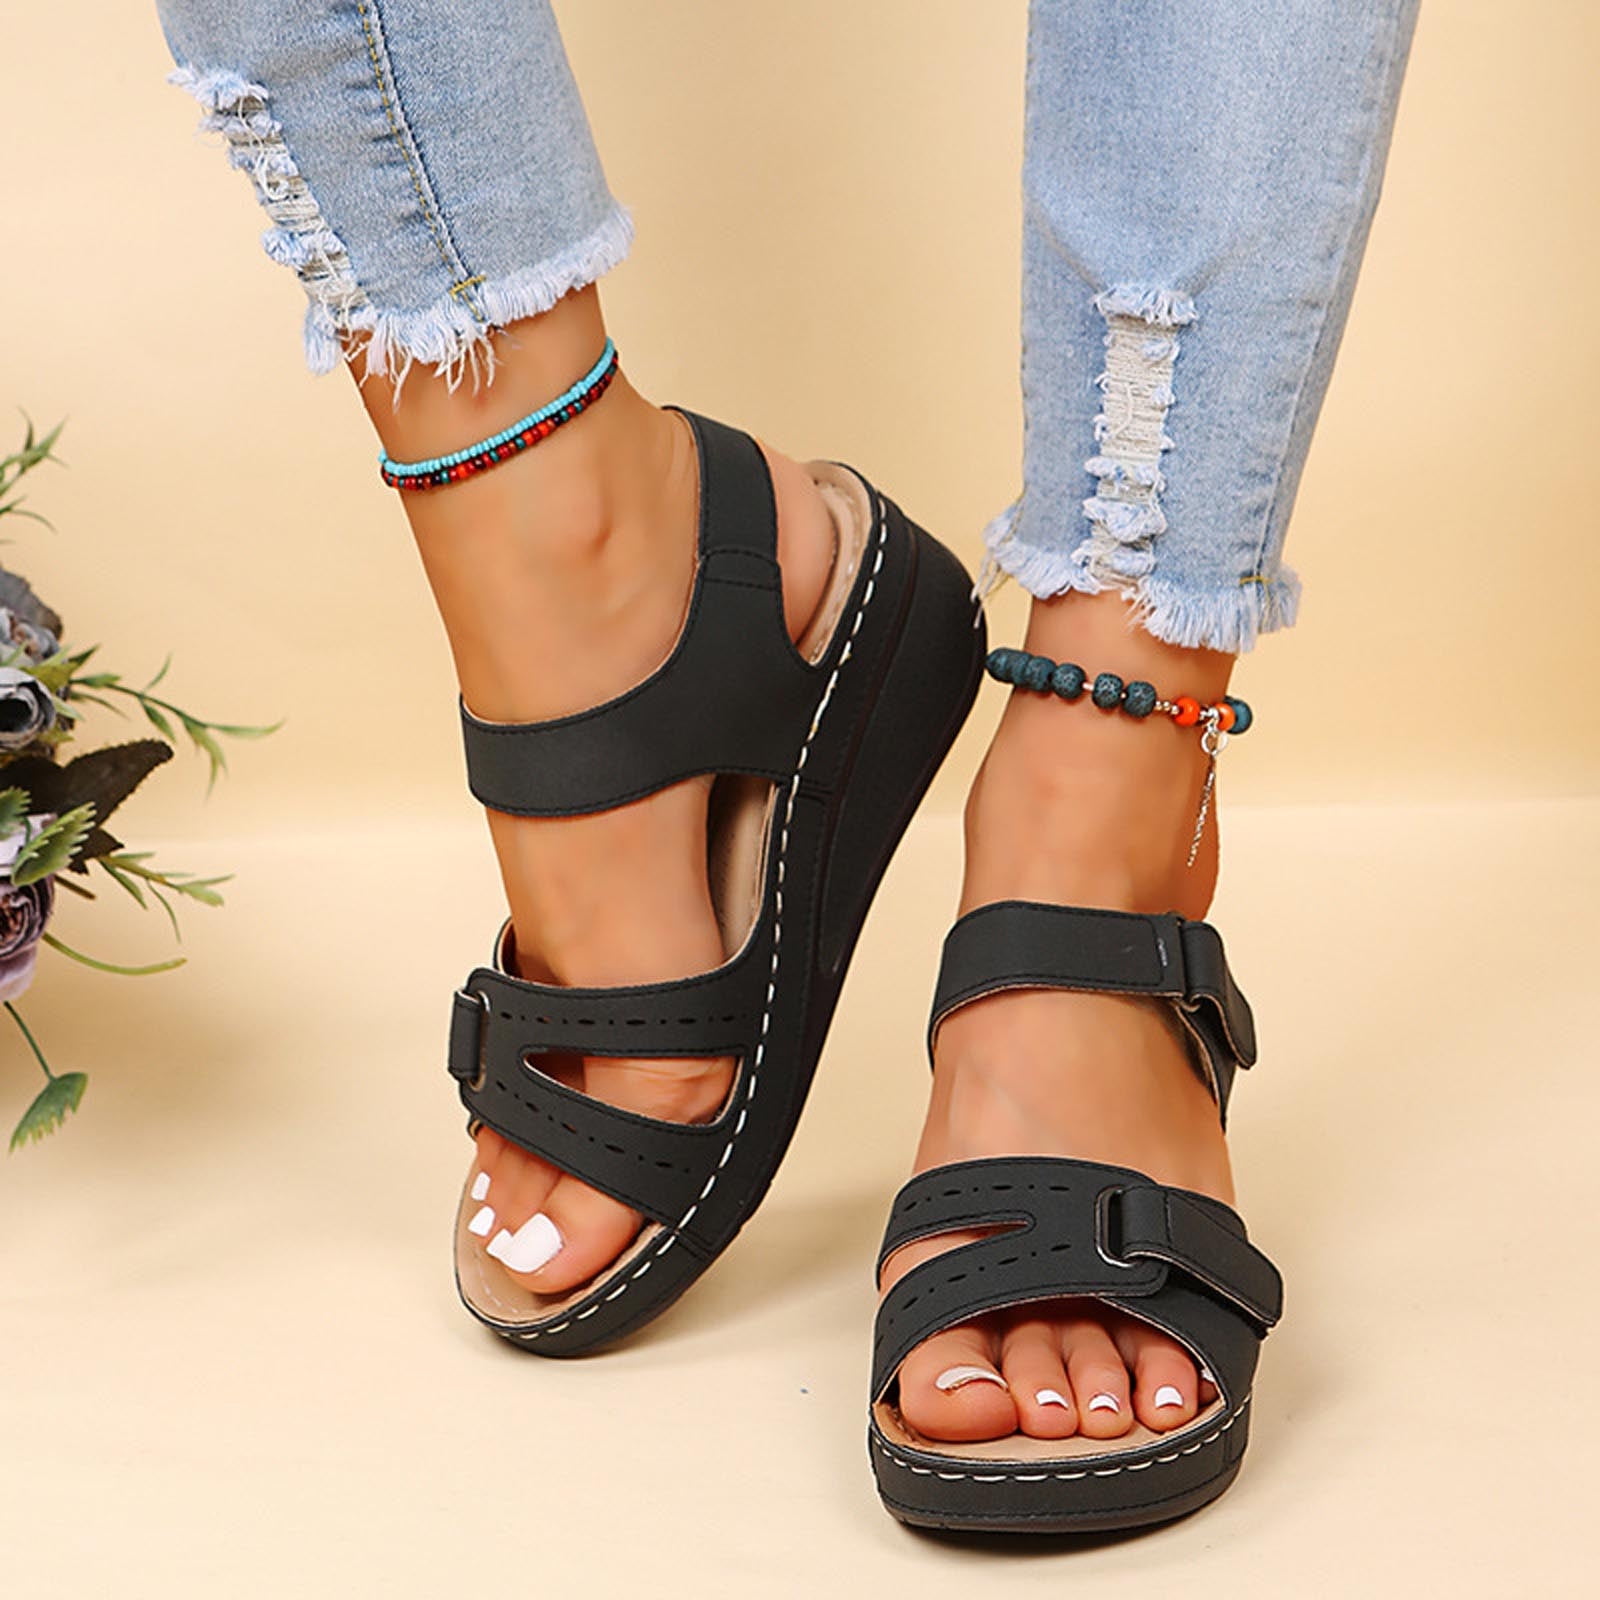
2. Ignoring Heel Cup Depth
This detail gets skipped constantly—even by experts! A shallow heel cup lets your foot slide around, tugging at the already-inflamed fascia with every step. I once wore a pair of otherwise “perfect” Birkenstocks to a music festival; halfway through, my feet were sliding like hockey pucks across ice.
What to look for:
Aim for a sandal with a defined heel cup—at least ¼ inch deep—that cradles (not just touches) your heel bone.
3. Assuming Expensive = Effective
It’s easy to get lured by top-dollar models or influencer picks. My $125 “orthopedic” slides looked great but lacked critical midfoot support—I found out after two weeks (and one wasted return window). Cost doesn’t guarantee results; some $60 models outperform brands twice their price.
Solution:
Read verified reviews from people who mention plantar fasciitis specifically—not just generic comfort—and look for mentions of long-term relief (think months, not hours).
4. Overlooking Adjustability
Feet swell more than you realize—especially in summer heat or after long walks—which means that perfect fit at noon turns into toe-pinching misery by dinnertime. Every time I’ve skipped adjustable straps for style reasons, I’ve regretted it within days.
Why this matters:
Look for sandals with multiple points of adjustability—across the forefoot and ankle if possible—to accommodate changing foot volume throughout the day.
5. Wearing Sandals Indoors Only—Then Neglecting Outdoor Needs
Many make this mistake: buying super-supportive house slides but then slipping on flat flip-flops outside “just for errands.” The damage adds up quickly; even an hour in unsupportive shoes can undo days of progress.
How to break this cycle:
Commit to supportive sandals everywhere—even short outdoor walks—and leave backup pairs at doors so temptation never wins out over comfort.
6. Underestimating Break-In Time
Supportive sandals aren’t instant magic wands—they need time to mold to your foot shape and let tendons adjust gradually. My mistake was wearing new Naots all day at an amusement park: blisters plus sore arches made me vow never again.
Best practice:
Break them in slowly—start with 30 minutes daily indoors and add an extra half hour each day until full-time wear feels natural.
Brand Picks Based on Real-World Experience
After years (and dozens of failed experiments), here’s what actually worked—not just for me but also for clients who’d nearly given up:
- Vionic Tide II: Pronounced arch plus deep heel cup; took one week to break in.
- Birkenstock Arizona Soft Footbed: Cork molds perfectly after about ten wears; avoid if your arches are extremely high.
- OOFOS OOriginal Sandal: Feels strange at first (super squishy), but saved my feet post-marathon training sessions.
- Naot Kayla: Best choice if you need both forefoot AND ankle adjustability.
- Orthofeet Malibu Two-Way Strap: If you use prescription orthotics or have wide feet—these finally stopped my mother-in-law’s endless returns!
The Real Cost Breakdown
Let’s be blunt: most supportive sandals cost between $70–$140—but factor in how many $25 drugstore pairs fail you each year (I averaged three per summer before wising up). Over five years, investing in quality saved me hundreds and kept me off anti-inflammatories most mornings.
Lessons Learned: Why It Matters
The biggest mistake is believing you’ll “just live with it.” Every shortcut—a cute cheap sandal here, ignoring fit there—is another month limping through life when real solutions exist. Once I stopped compromising (“it’ll do” became “let’s fix this”), daily walks returned…along with hiking trips and zero dread about standing at family gatherings.
If you’re reading this while massaging sore heels after another disappointing day out: know that change isn’t only possible—it’s probable when you stop repeating these overlooked mistakes.
Your Next Move
- Audit your current pairs—are they truly supporting you? Test for arch firmness and heel cup depth.
- Prioritize adjustability—even if it means passing up trendier styles.
- Order from retailers with generous return policies (Zappos still wins here).
- Break new sandals in gradually; set calendar reminders if needed.
- Commit: No more “just around the block” exceptions—you deserve all-day ease.
Stop hoping pain will magically fade and start demanding better from every step forward—you might be surprised how fast life opens up again when you do things right the first time.


