From Seed to Bloom: Your Step-by-Step Guide to Planting Impatiens

If you’ve ever felt overwhelmed by the “fussy” reputation of impatiens seeds, let me start with a confession: my first batch was a comedy of errors. I made the classic mistake—listening to too many complicated, expert voices telling me I needed humidity domes, heat mats with thermostats, pH meters, and a spreadsheet for tracking each tray. By the time I’d set it all up, I’d practically missed the sowing window!

But here’s what three seasons (and more than a few failed trays) have taught me: growing impatiens from seed is wonderfully straightforward if you focus on just three things—timing, light, and moisture. That’s it! Forget the overcomplicated routines; these little seeds want to grow.
Let’s break this down into a refreshingly simple, enthusiast-tested approach that anyone can follow.
The No-Fuss Impatiens Seed-Starting Method
1. Timing Is Everything (And It’s Simple Math)
Don’t get lost in charts or calculators. Just find your region’s last frost date (easily Googled), then count backward 10–12 weeks. For me in Cincinnati—last frost is April 25th—so every year around early February, I grab my supplies and get started.
Pro tip: Write your sowing date on masking tape right on the seed tray—it keeps you on track without any fancy apps.

2. Supplies You Truly Need
Skip the gadgets; here’s my barebones kit:
- Fresh impatiens seeds (check that packet date!)
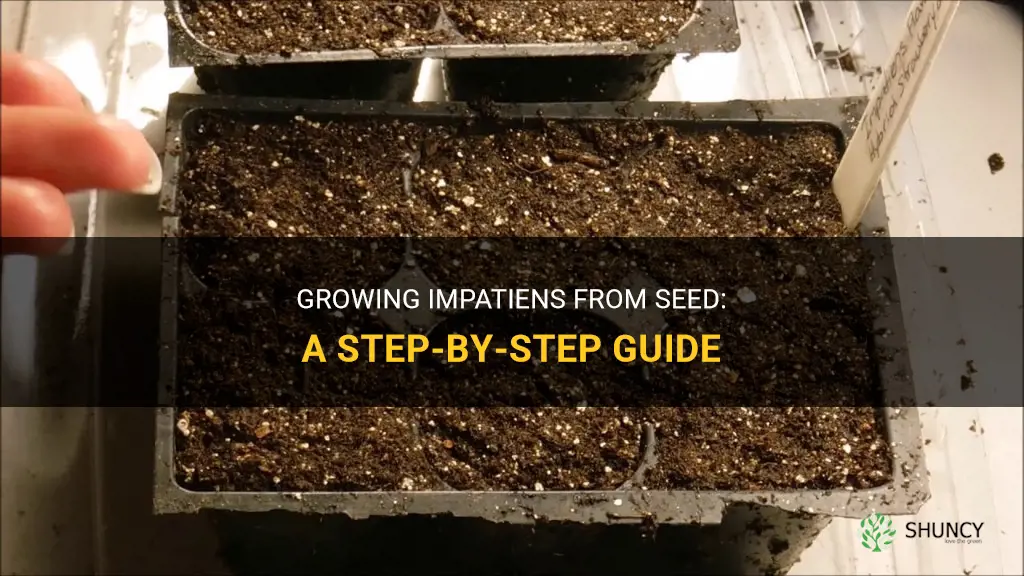
- An old plastic salad container (hello, upcycling!) or any shallow tray
- Fine-textured seed-starting mix (don’t use garden soil)
- A spray bottle filled with tap water
- Plastic wrap or a clear bag
- A sunny windowsill or an LED desk lamp
I’ve never used a heat mat for impatiens—room temperature is enough unless your house drops below 65°F at night.
3. The Seed Sowing Secret? Don’t Overthink It!
This step gets way too much mystique online. Here’s how it really goes:
- Dump your seed-starting mix into a bowl; add water until it feels like wrung-out sponge.
- Press mix gently into your tray so it’s level but not packed tight.
- Sprinkle seeds thinly over the surface—they’re tiny as pepper grains! Don’t bury them.
- Give everything a gentle mist so the top glistens.
- Lay plastic wrap loosely over the tray to trap humidity—but leave one corner open for airflow.
That’s it! No need to fuss about exact spacing or specialized domes.
4. Light: The Non-Negotiable
Here’s where most folks trip up—the “bright spot” advice is vague! Let me clarify:
My first year, I tried growing on an east-facing kitchen ledge. The seedlings stretched tall and pale before flopping over—a heartbreaking sight after two weeks of anticipation.
The next season? I clipped an old $15 clamp-on LED lamp right above my tray (about 2 inches away). Boom—sturdy little green soldiers emerged within ten days and stayed compact.

If you’re using natural light, south-facing windows are best in late winter/early spring. If not, any basic LED grow light will do wonders—no need for expensive setups!
5. Water Like You’re Dusting Pastries
Forget scheduled watering charts; just check your tray daily by touch:
- If the surface feels dry to your fingertip? Mist lightly.
- If it still feels damp? Wait another day.
Overwatering causes more seedling deaths than anything else—I learned this after losing half a tray to fuzzy white mold in year two because I thought “moist” meant “almost swampy.”
As soon as you spot green sprouts poking up (usually between days 10–14), ditch that plastic wrap so air can flow and reduce fungal risk immediately.
6. Separating Success From Chaos
When seedlings have their second set of true leaves (usually week four), transplant them carefully:
Here’s my trick: use an old chopstick to tease apart roots—never tug by their delicate stems! If two seedlings are tangled together and you feel resistance, snip one off at soil level instead of risking both.
Move each survivor into its own yogurt cup or cell pack with fresh mix; water gently from below by setting pots in a shallow pan of water for five minutes—a much gentler method than overhead watering!
Lessons Learned In Real Life
My friend Jen went full Martha Stewart her first try—with heating mats and daily log entries—and still ended up with spindly plants because she skipped supplemental light (“I thought my window was enough!”). She switched to my minimalist clamp-lamp setup last spring and texted: “They look like store-bought plugs!”
Meanwhile, Tim once drowned his seeds thinking they had to stay wet at all times—he wound up with nothing but green fuzz across his trays (“It looked like moss!”). Now he uses only misting until sprouting and reports nearly 100% germination every year since.
And yes—I’ve personally sown seeds too late before… only to watch June roll around with nothing but leafy seedlings while everyone else enjoyed blooms. Trust that 10–12 week head start!

Troubleshooting Without Tears
Keep this cheat sheet taped inside your seed box:
| Problem | Most Likely Cause | Quick Fix |
|---|---|---|
| No sprouts | Too chilly/little light | Move closer to lamp or warmer room |
| Mold/fuzz | Overwatering/no airflow | Remove cover sooner; mist less |
| Leggy seedlings | Weak light | Lower lamp closer or switch windows |
| Sudden collapse | Damping-off | Increase air circulation ASAP |
Don’t stress if something goes sideways—you can always re-sow another batch within two weeks of your target date and still catch up fast!
Why Bother With Seeds?
Honestly? Because nothing matches seeing trays go from invisible specks to riotous color—all varieties you’ll never find at big box stores for $4 per six-pack. Last year I grew ‘Accent Star Mix,’ which turned heads all summer long—and cost me under $3 for seeds plus some recycled containers.
Plus: once you conquer impatiens from seed, petunias and begonias suddenly seem easy too!
Your Next Steps Made Easy
- Mark your sowing date now using last frost minus 10–12 weeks.
- Gather supplies—you probably already have most on hand.
- Set up one bright spot with either sun or an LED desk lamp.
- Practice misting evenly on dry potting mix—it really helps!
- When ready… sow those seeds with confidence—you’ve got this!
Every successful batch starts with ignoring perfectionism and trusting yourself more than experts who make things sound harder than they are. Ask questions if you hit a snag—I guarantee there are easy fixes for nearly every hiccup along the way!
And above all: enjoy watching those tiny green miracles unfold before spring even arrives outside your window—that thrill never gets old!


