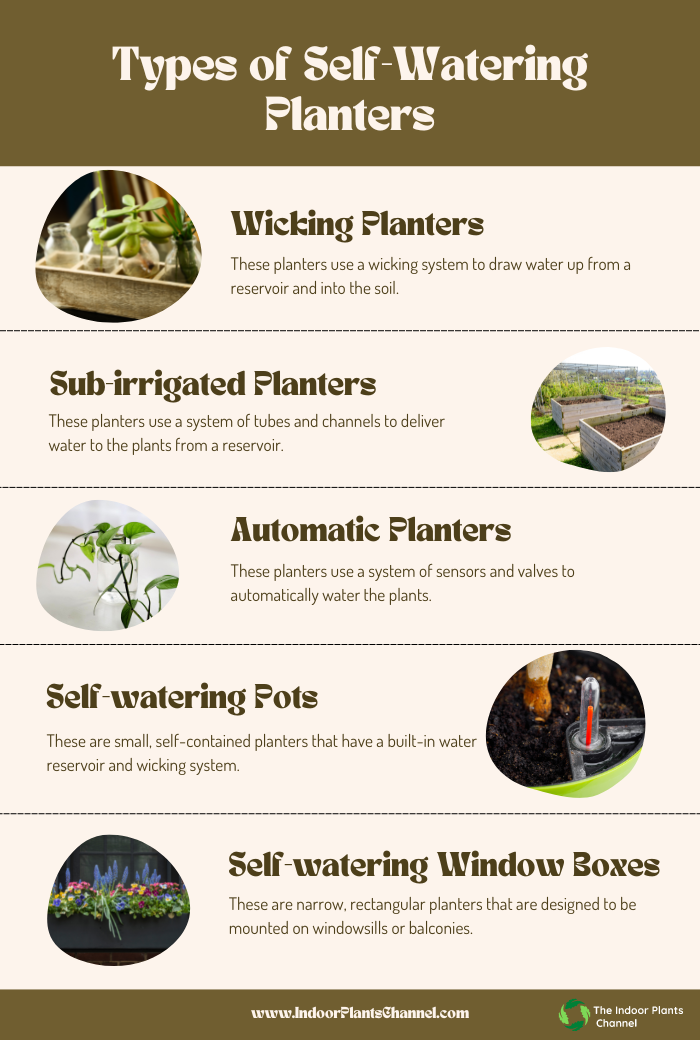
Unlock Garden Success: Top Benefits of Using Self-Watering Systems for Vegetable Gardens
Ask any seasoned gardener about self-watering systems, and you’ll hear a chorus of praise—but what most guides skip is the messy learning curve behind that success. Before I ever trusted my lettuce to a sub-irrigated setup, I made every mistake in the book (and a few not in it). If you’re considering upgrading your vegetable garden’s watering routine, here’s what nobody tells you about the real benefits—and hidden pitfalls—of self-watering systems.
Self-Watering Systems: The Benefits You Expect...and the Pitfalls You Don’t
1. Time Saved—But Not Where You Expect
Everyone touts “set it and forget it,” but here’s where most new users fumble: believing there’s zero maintenance. In 2021, after installing an elaborate wicking bed system across my 10 raised beds, I assumed my work was over for the summer. By July, partially clogged tubing (from hard water deposits) meant two beds went bone-dry while others flooded. The time-saver only materialized after I learned to add a monthly five-minute flush with vinegar solution—a step none of the glossy product manuals mentioned.
Mistake nobody warns about: Underestimating initial setup quirks and minor upkeep. Actual savings show up after you tweak and troubleshoot those first couple months.
2. Consistent Moisture—But Watch for Root Rot Traps
Yes, steady soil moisture leads to happier veggies. But here’s a dirty secret among container gardeners: early self-watering setups often drown plants if soil mix isn’t right. Back in 2019, I used regular loam from the yard in my first SIP buckets—big mistake! Within weeks, my basil roots looked like wet spaghetti: brown, mushy, dead.
The fix? Blend at least one-third perlite or coarse sand into your substrate—without it, even the fanciest reservoir just creates a root rot incubator.

Mistake nobody talks about: Ignoring soil structure when switching to self-watering equals disaster—not better growth.
3. Water Efficiency—Until Reservoirs Become Breeding Grounds
It feels great knowing you’re using less water—until midsummer algae takes over your tanks or mosquitoes set up shop inside open reservoirs (found out the hard way on both counts). Covering reservoirs with black plastic or painting them opaque blocks light and deters bugs; topping up with BT dunks keeps larvae away for pennies per month.
Mistake hidden beneath “eco-friendly” claims: Failing to shield reservoirs leads to more problems than solutions down the road.
4. Bigger Yields Are Real—but Only With Even Watering
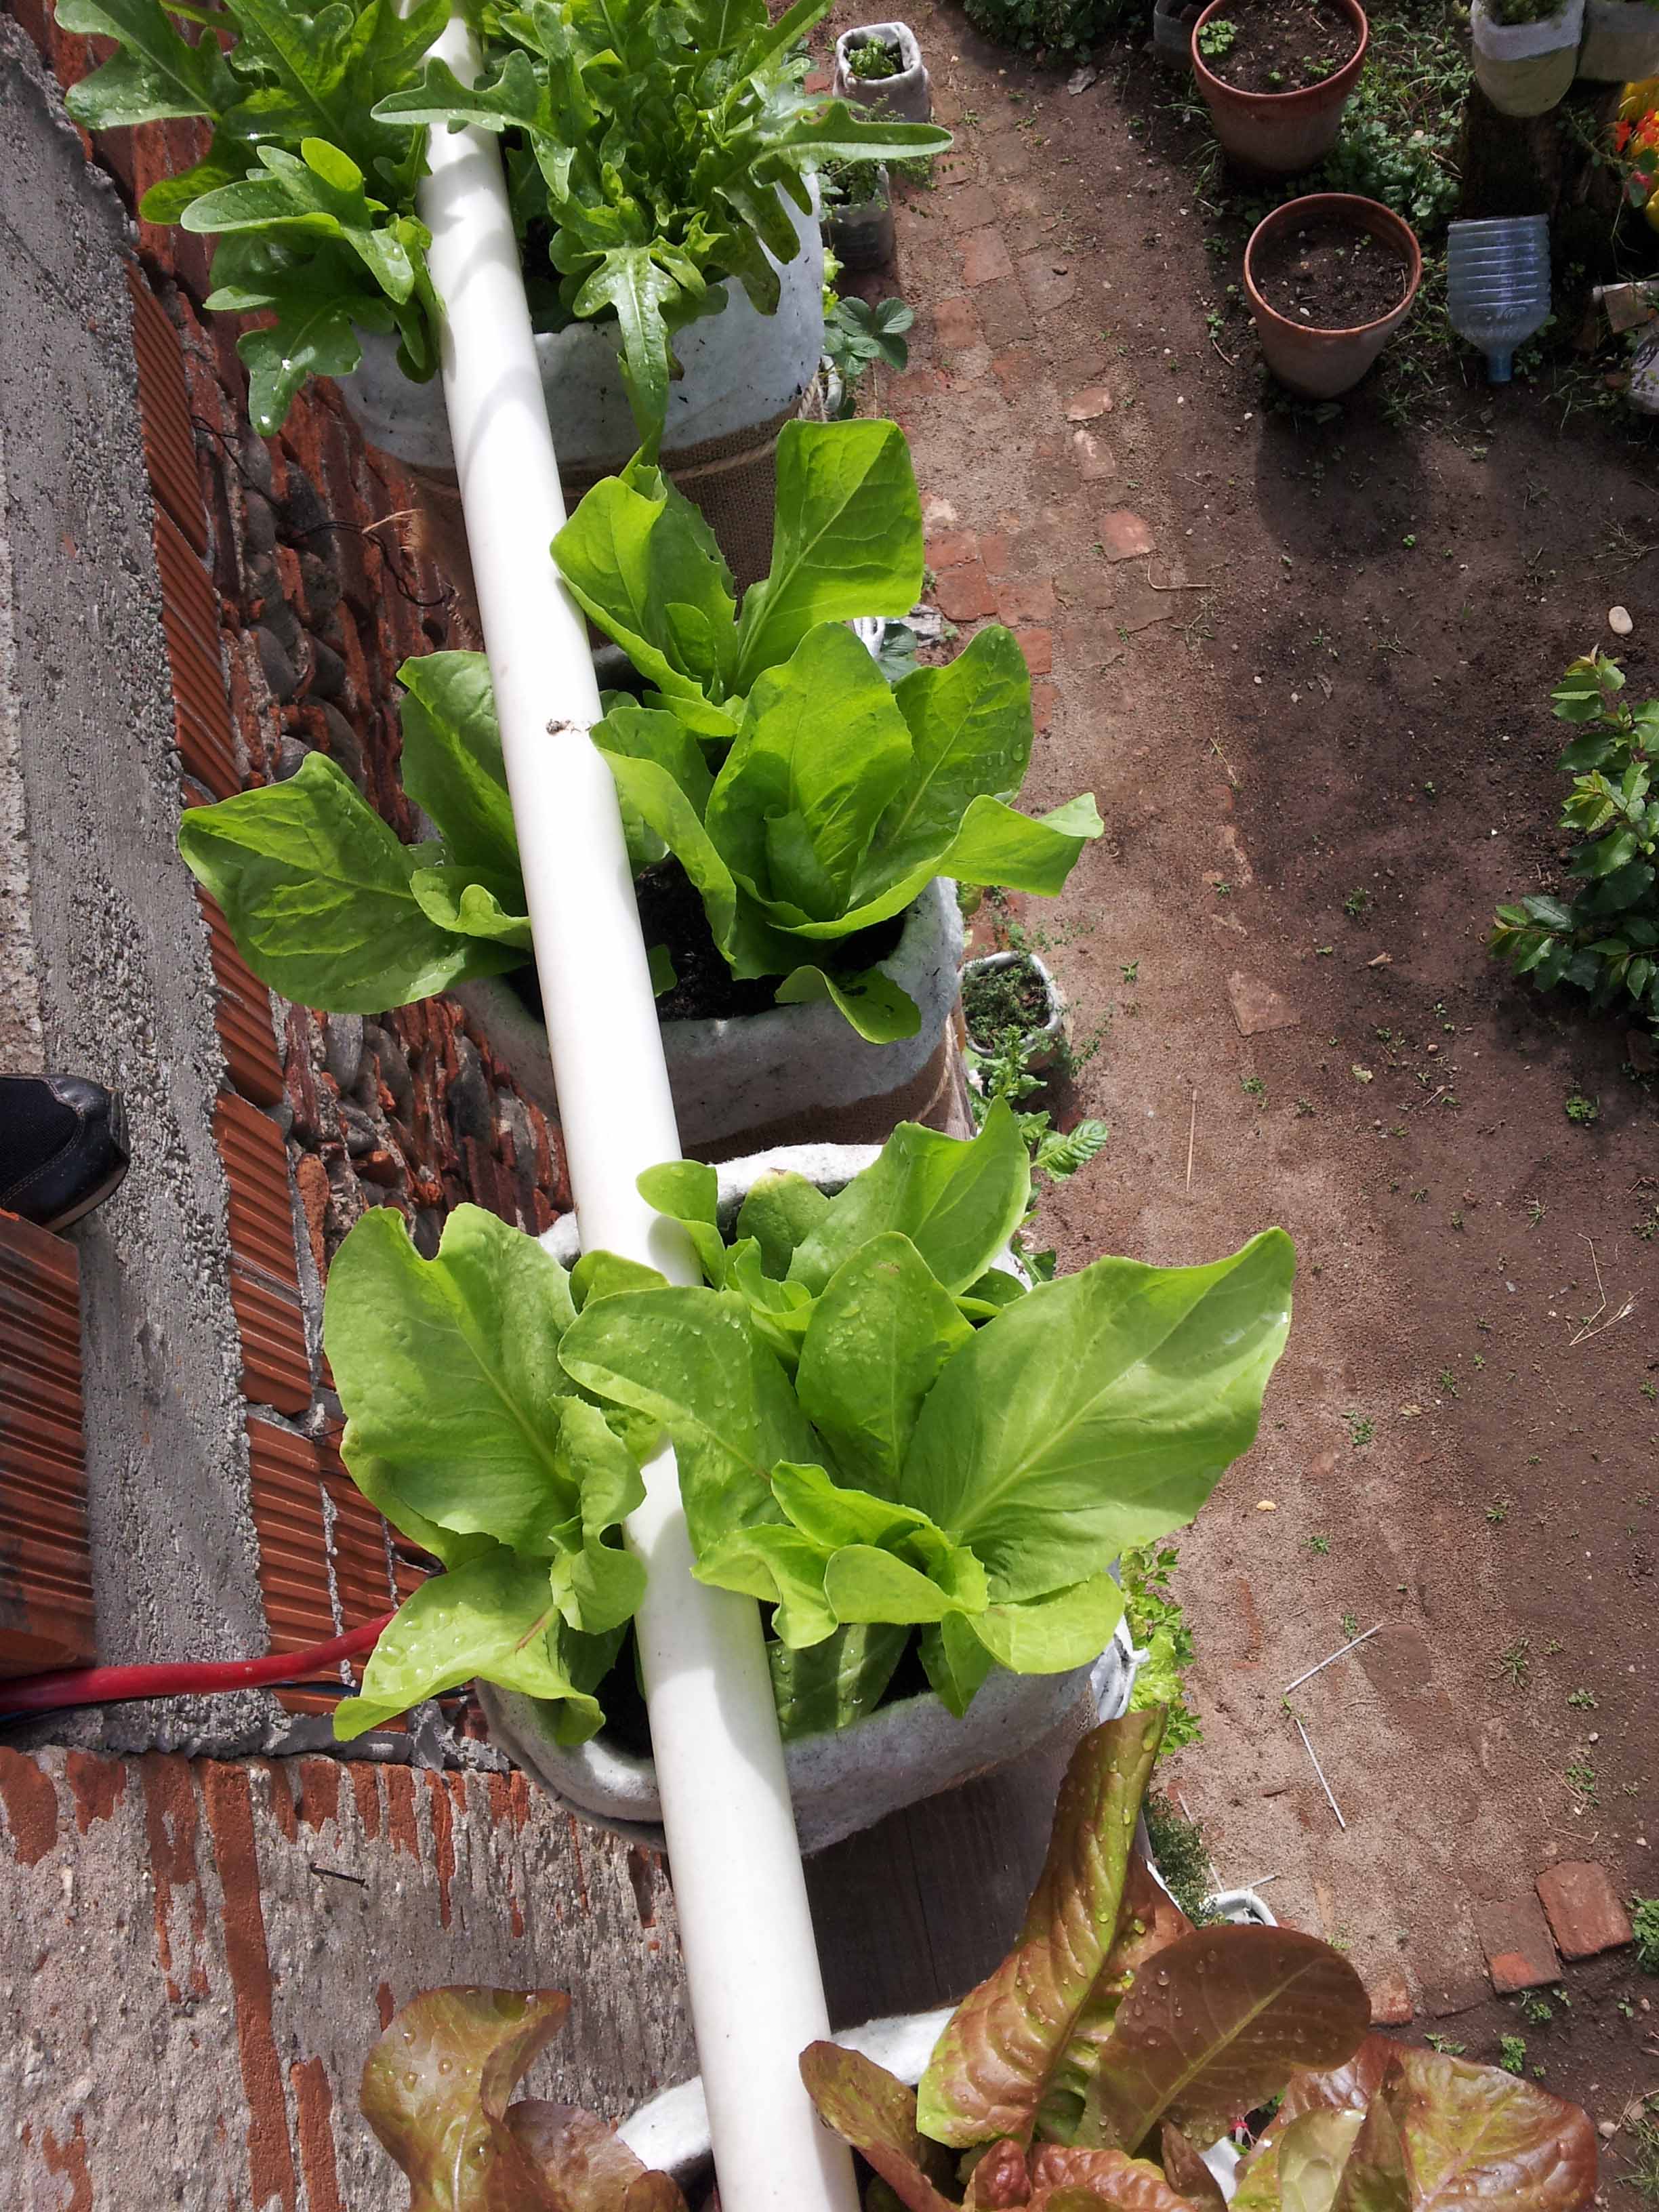
After switching four tomato beds from drip irrigation to bottom-up wicking systems in 2022, yields jumped by nearly 30% (measured by weight at harvest). But on close inspection, one bed lagged behind: its wicking fabric had bunched up near one side during installation, creating dry pockets under half the plants.
The fix was simple but humbling—take time during setup to ensure even distribution of wicks or matting material; uneven watering quietly sabotages results for months before you notice stunted plants or uneven ripening.

Mistake everyone makes once: Rushing installation without checking moisture distribution across all zones.
Mistakes Most Gardeners Won’t Admit
Let’s break down a few more “silent fails” that rarely get shared:
-
Assuming All Crops Thrive Equally:
Leafy greens love consistent moisture; root crops like carrots can suffer from too much if drainage isn’t perfect. In my garden journal (yes—I track everything!), radishes sprouted slower in pure wicking setups compared to traditional beds unless I adjusted frequency by half-closing feeder tubes every other week. -
Scaling Up Too Fast:
Enthusiasm is high after first success—so many gardeners convert entire plots before ironing out kinks on a single test bed. Result? Lost crops and costly do-overs that kill motivation fast. -
Ignoring Water Quality:
In regions with mineral-heavy tap water (I’m looking at you, Phoenix), salt deposits accumulate rapidly in closed reservoirs—adding a flush cycle four times per season brought back lush growth after two years of limp spinach and yellowing chard. -
Forgetting About Winterization:
Come October, those same reservoirs become ice traps unless drained or insulated—a rookie error that cost me three cracked barrels in 2020 ($54 each).
Real Numbers & Tools That Actually Work
Don’t just take abstract “efficiency” claims at face value:
- A basic DIY SIP bucket costs ~$7–12 per unit versus $45+ for commercial planters.
- Using Blumat automatic watering spikes ($20 for four) cut hand-watering by 85% last August.
- Monthly savings: After tracking our city water bill pre/post system install over two seasons, our family used ~25% less water May–September—a drop from $62/mo average to $46/mo—even factoring in occasional hand-top-offs during heat waves.
- Success metric I now swear by: If wilting occurs more than twice per month during peak summer heatwaves? Your system needs an adjustment—not just hope-for-the-best refills!
Sensory Checks > Blind Trust
Garden forums overflow with folks assuming their system works perfectly because there’s still water left in the reservoir—but dig down (literally), and sometimes half your root zone is dry as dust while another corner is soggy mud. Now every Friday morning means plunging fingers into two corners of each bed (“Does it feel cool? Slightly damp?”), not just reading reservoir levels—a tip picked up after losing three lettuce plantings back-to-back despite “plenty of water below.”

The Analyst's Checklist for First-Time Users
- Pilot Test One Bed/Container: Treat it like an experiment—you’ll learn more fixing minor hiccups on one unit than fighting chaos across ten.
- Document Everything For One Month: Take quick notes: How often do you top off? Any odd smells? Are certain plant sections growing faster?
- Audit Soil Mix Closely: Aim for fast-draining blends; peat/coconut coir + compost + chunky aerator like perlite works best.
- Check Reservoirs Weekly for Slime/Bugs/Salt Rings: Prevention beats rescue missions every time.
- Measure Yield & Labor Time vs Last Year: Quantify gains so you actually see progress—not just hope for improvement.
- Stay Flexible With Schedules & Adjustments: What worked last month might flop during extreme heat or rain spells; treat each season as new data gathering period.
Why It’s Worth Every Bump Along The Way
Here’s what nobody admits until they’ve tried this themselves: Self-watering systems don’t magically erase all garden challenges—but they dramatically shift which ones matter most. You’ll trade frantic evening hose sessions for quick diagnostics and minor tweaks…and those are skills worth having if you want bigger yields year after year without burnout.
Every failure becomes part of your personal playbook—the kind no gardening influencer posts about till years later when they finally show their “before” photos full of shriveled eggplants and crispy kale.
If perfectionism is holding you back (“what if I mess it up?”), remember: Even failed experiments deliver priceless data—and next season’s bumper crop starts with today’s small upgrade and honest troubleshooting.
Most of us only wish we’d started sooner…just minus all those unspoken mistakes along the way!


