Transform Your Garden: Inspiring Creeping Jenny Ground Cover Ideas
Picture this: You’re standing in your backyard, staring at a patch of earth that looks more like a lost sock than lush green carpet. Someone (maybe even that guy at the garden center) told you Creeping Jenny would solve all your woes. Spoiler alert: It can—but only if you sidestep the mistakes everyone makes but hardly anyone warns you about.

Let’s get real about using Creeping Jenny as ground cover. This isn’t just another plant profile; it’s the behind-the-scenes, hard-earned wisdom from someone who’s both celebrated glorious golden rivers and wrestled with tangled messes.
The Mistakes No One Warns You About
Mistake #1: Trusting “Tough” Hype and Ignoring Microclimates
I remember my first “Jenny experiment” back in 2017—a north-facing slope in full shade, soggy after every rainstorm. Every blog said Creeping Jenny was “tough as nails.” Mine? Rot city! Nobody told me that drainage is non-negotiable—even for so-called bulletproof plants.
Lesson learned:
Don’t treat microclimates like an afterthought. If you squish your fingers into the soil and they come up muddy, add sand or pea gravel before planting, or choose another spot altogether. And don’t believe every sunny Instagram photo—Jenny needs at least half a day of sun for that chartreuse pop.

Mistake #2: Planting Too Close (and Instant Regret Later)
I get it—you want coverage, fast! But crowd those baby Jennies 6 inches apart and by mid-summer they’ll be suffocating each other. I’ve done it (the urge is real!), only to spend half an hour untangling mats by July.
My fix:
Space plants 12-15 inches apart. Yes, it looks sparse at first—but by late June you’ll have a seamless patch without chokeholds or dead spots in the middle (which always seem to happen where you can’t reach).

Mistake #3: Assuming Weeds Are Done Forever
This one’s classic—I once used Creeping Jenny around my mailbox post, feeling smug… until chickweed and dandelions blasted through before Jenny took off. Turns out, those first 2-3 months are prime weed-invasion time.
Keep a hand fork nearby and do quick weed sweeps weekly at first. Light mulch between new plantings really helps close the gap—think of it like putting down a drop cloth before painting.
Mistake #4: Underestimating Its Wanderlust
Nobody talks about how quietly Creeping Jenny sneaks past its borders until one day it’s halfway across your walkway—or entangled with your expensive hostas. This happened to me with a patio border project; I skipped edging because “it looked natural.” By year two? It looked wild—in all the wrong ways.

Absolute game-changer:
Invest in physical edging before planting. Steel strips work best if you want invisible lines; chunky stones double as design elements AND roadblocks. If I could go back and install edging before my first attempt… let’s just say my weekends would have been much less weeding-intensive!
Mistake #5: Trying to Control With Shears Alone
Confession time: My first year with creeping jenny, trimming it felt like mowing grass—harmless! But heavy shearing stresses plants (leaves brown edges), especially during hot snaps or dry spells.
What actually works? Hand-pulling runners outside your desired zone every three weeks during peak growth (late spring/summer). It sounds tedious but takes five minutes with gloves on—and keeps everything looking intentional rather than accidental.
Design Moves That Actually Work (and Won’t Backfire)
After years of trial-and-error—and several “what was I thinking?” moments—I’ve landed on some favorite approaches:
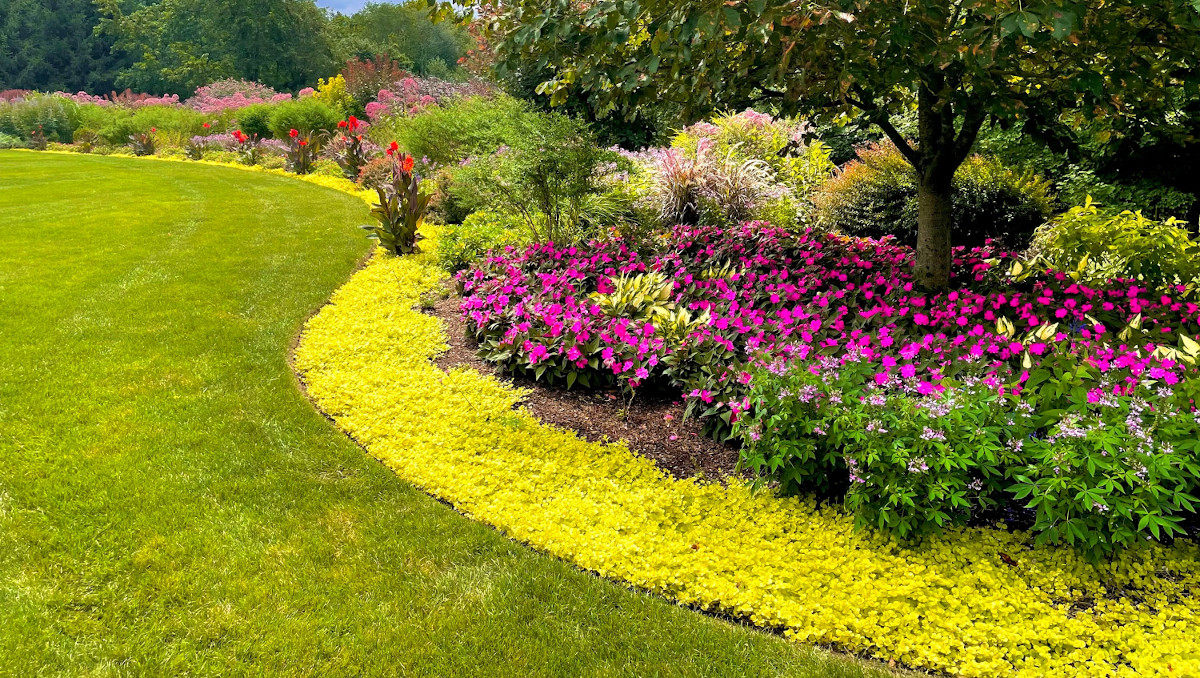
- The Waterfall Trick: Plant above retaining walls or raised beds so vines cascade down—not up into other beds! Tip from my own garden: Pair with blue lobelia underneath for instant wow.
- Living Accent for Pots: Drop small nursery pots of Jenny into larger containers alongside upright grasses—the contrast turns ordinary planters into living sculptures.
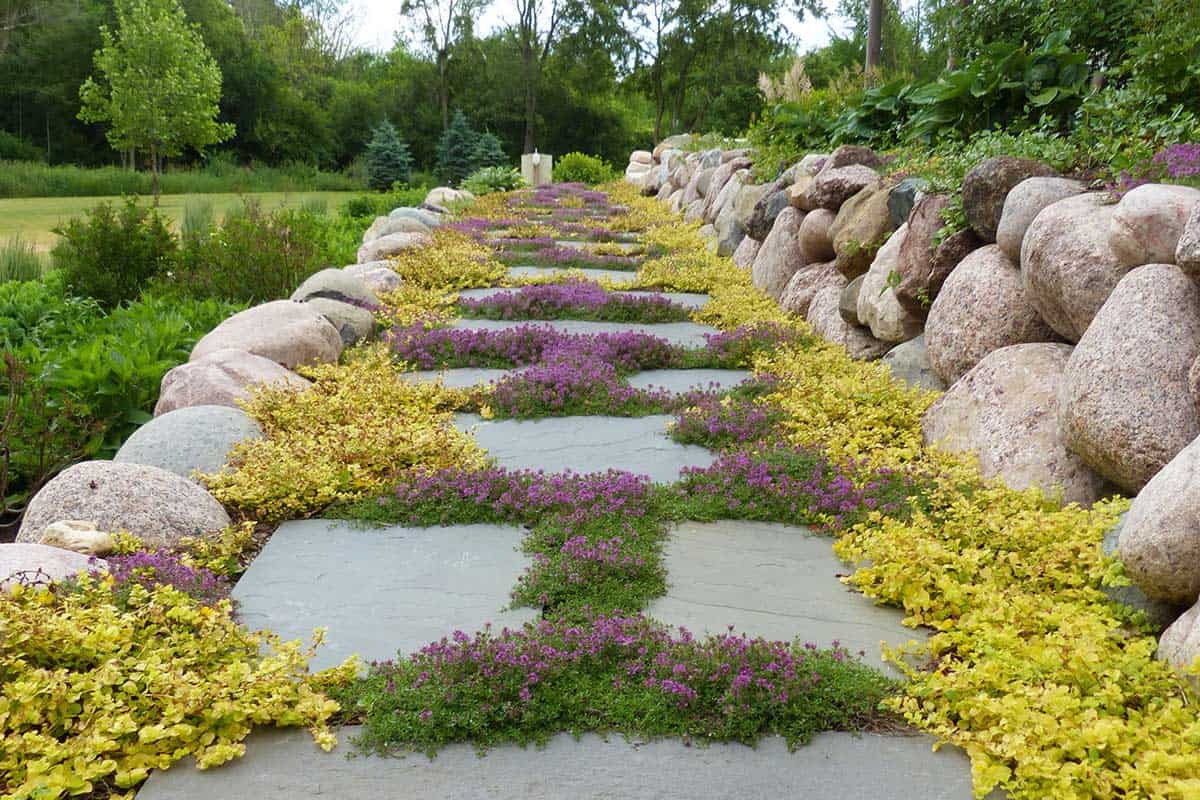
- Tapestry Pathways: Interplant Jenny between flagstones but use cuttings layered over light gravel so roots stay shallow—makes weeding easier later.
- Shady Drama Mix: Under mature trees where lawn fails, combine Jenny with Japanese forest grass and ferns—the layered textures are pure woodland movie magic.
Real Talk Troubleshooting
When things go sideways (they will!), here’s what I wish someone had told me:
- Brown patches after winter? Don’t panic—it rebounds fast after raking out dead bits and tossing on compost in early spring.
- Invasive streak? Don’t wait! Pull runners early; if things get wild anyway, slice back sections with a sharp spade—like giving your garden a haircut.
- Neighbor freaked out when yours crossed property lines? Swap stories; offer divisions—they might become converts instead of critics!
Your Roadmap to Lush Success
- Walk Your Space at Different Times – Morning vs afternoon light makes all the difference; look for at least four hours direct sun for gold cultivars.
- Test Drainage Before You Plant – Dig a hole, fill it with water—if it drains within an hour, celebrate!
- Edge First—Not Last – Set boundaries before enthusiasm gets ahead of practicality.
- Mulch Between Young Plants…Lightly – Not too thick or stems may rot.
- Check In Weekly For The First Two Months – Five-minute walks will save you hours later on.
And here’s my favorite part: When friends ask how my “effortless” ground cover always looks perfect? I laugh—a little too loud—and tell them about the times I thought I’d lost the battle entirely… until this season when everything finally clicked.
Creeping Jenny can absolutely transform drab spaces into something magical—but only when you’re honest about its quirks and ready to course-correct along the way. Embrace those learning curves—they’re proof you're growing right alongside your garden!


